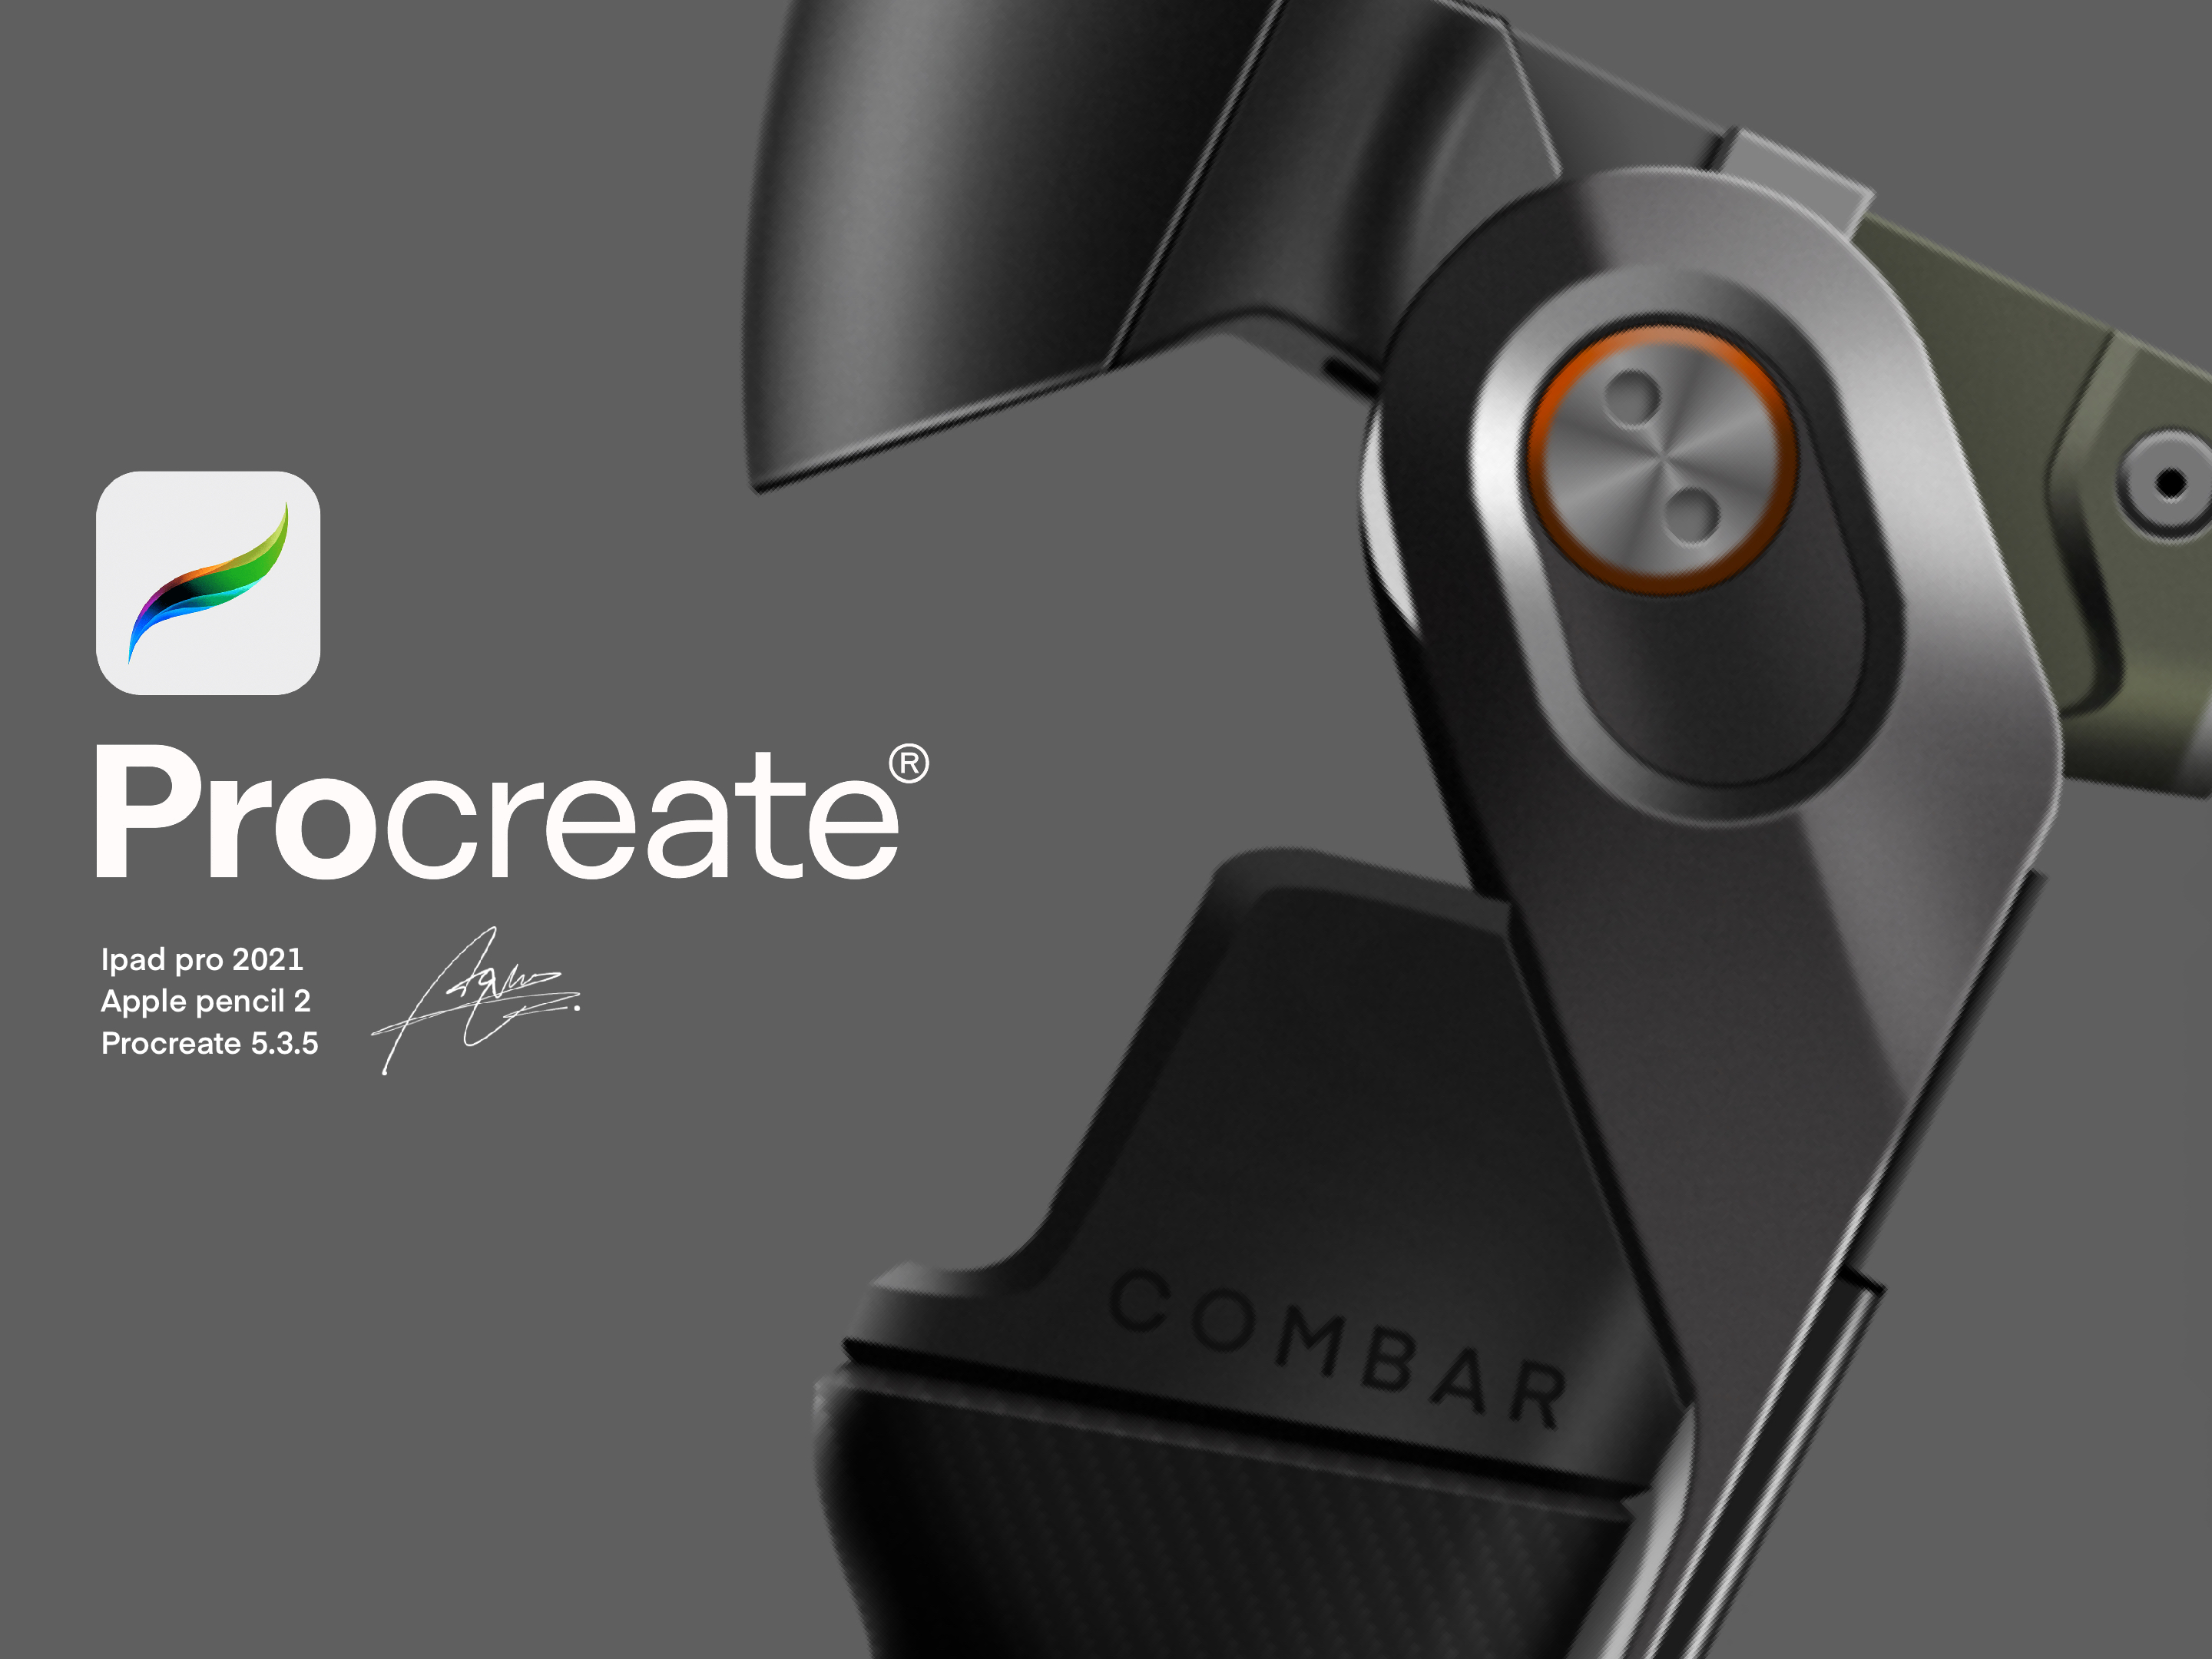
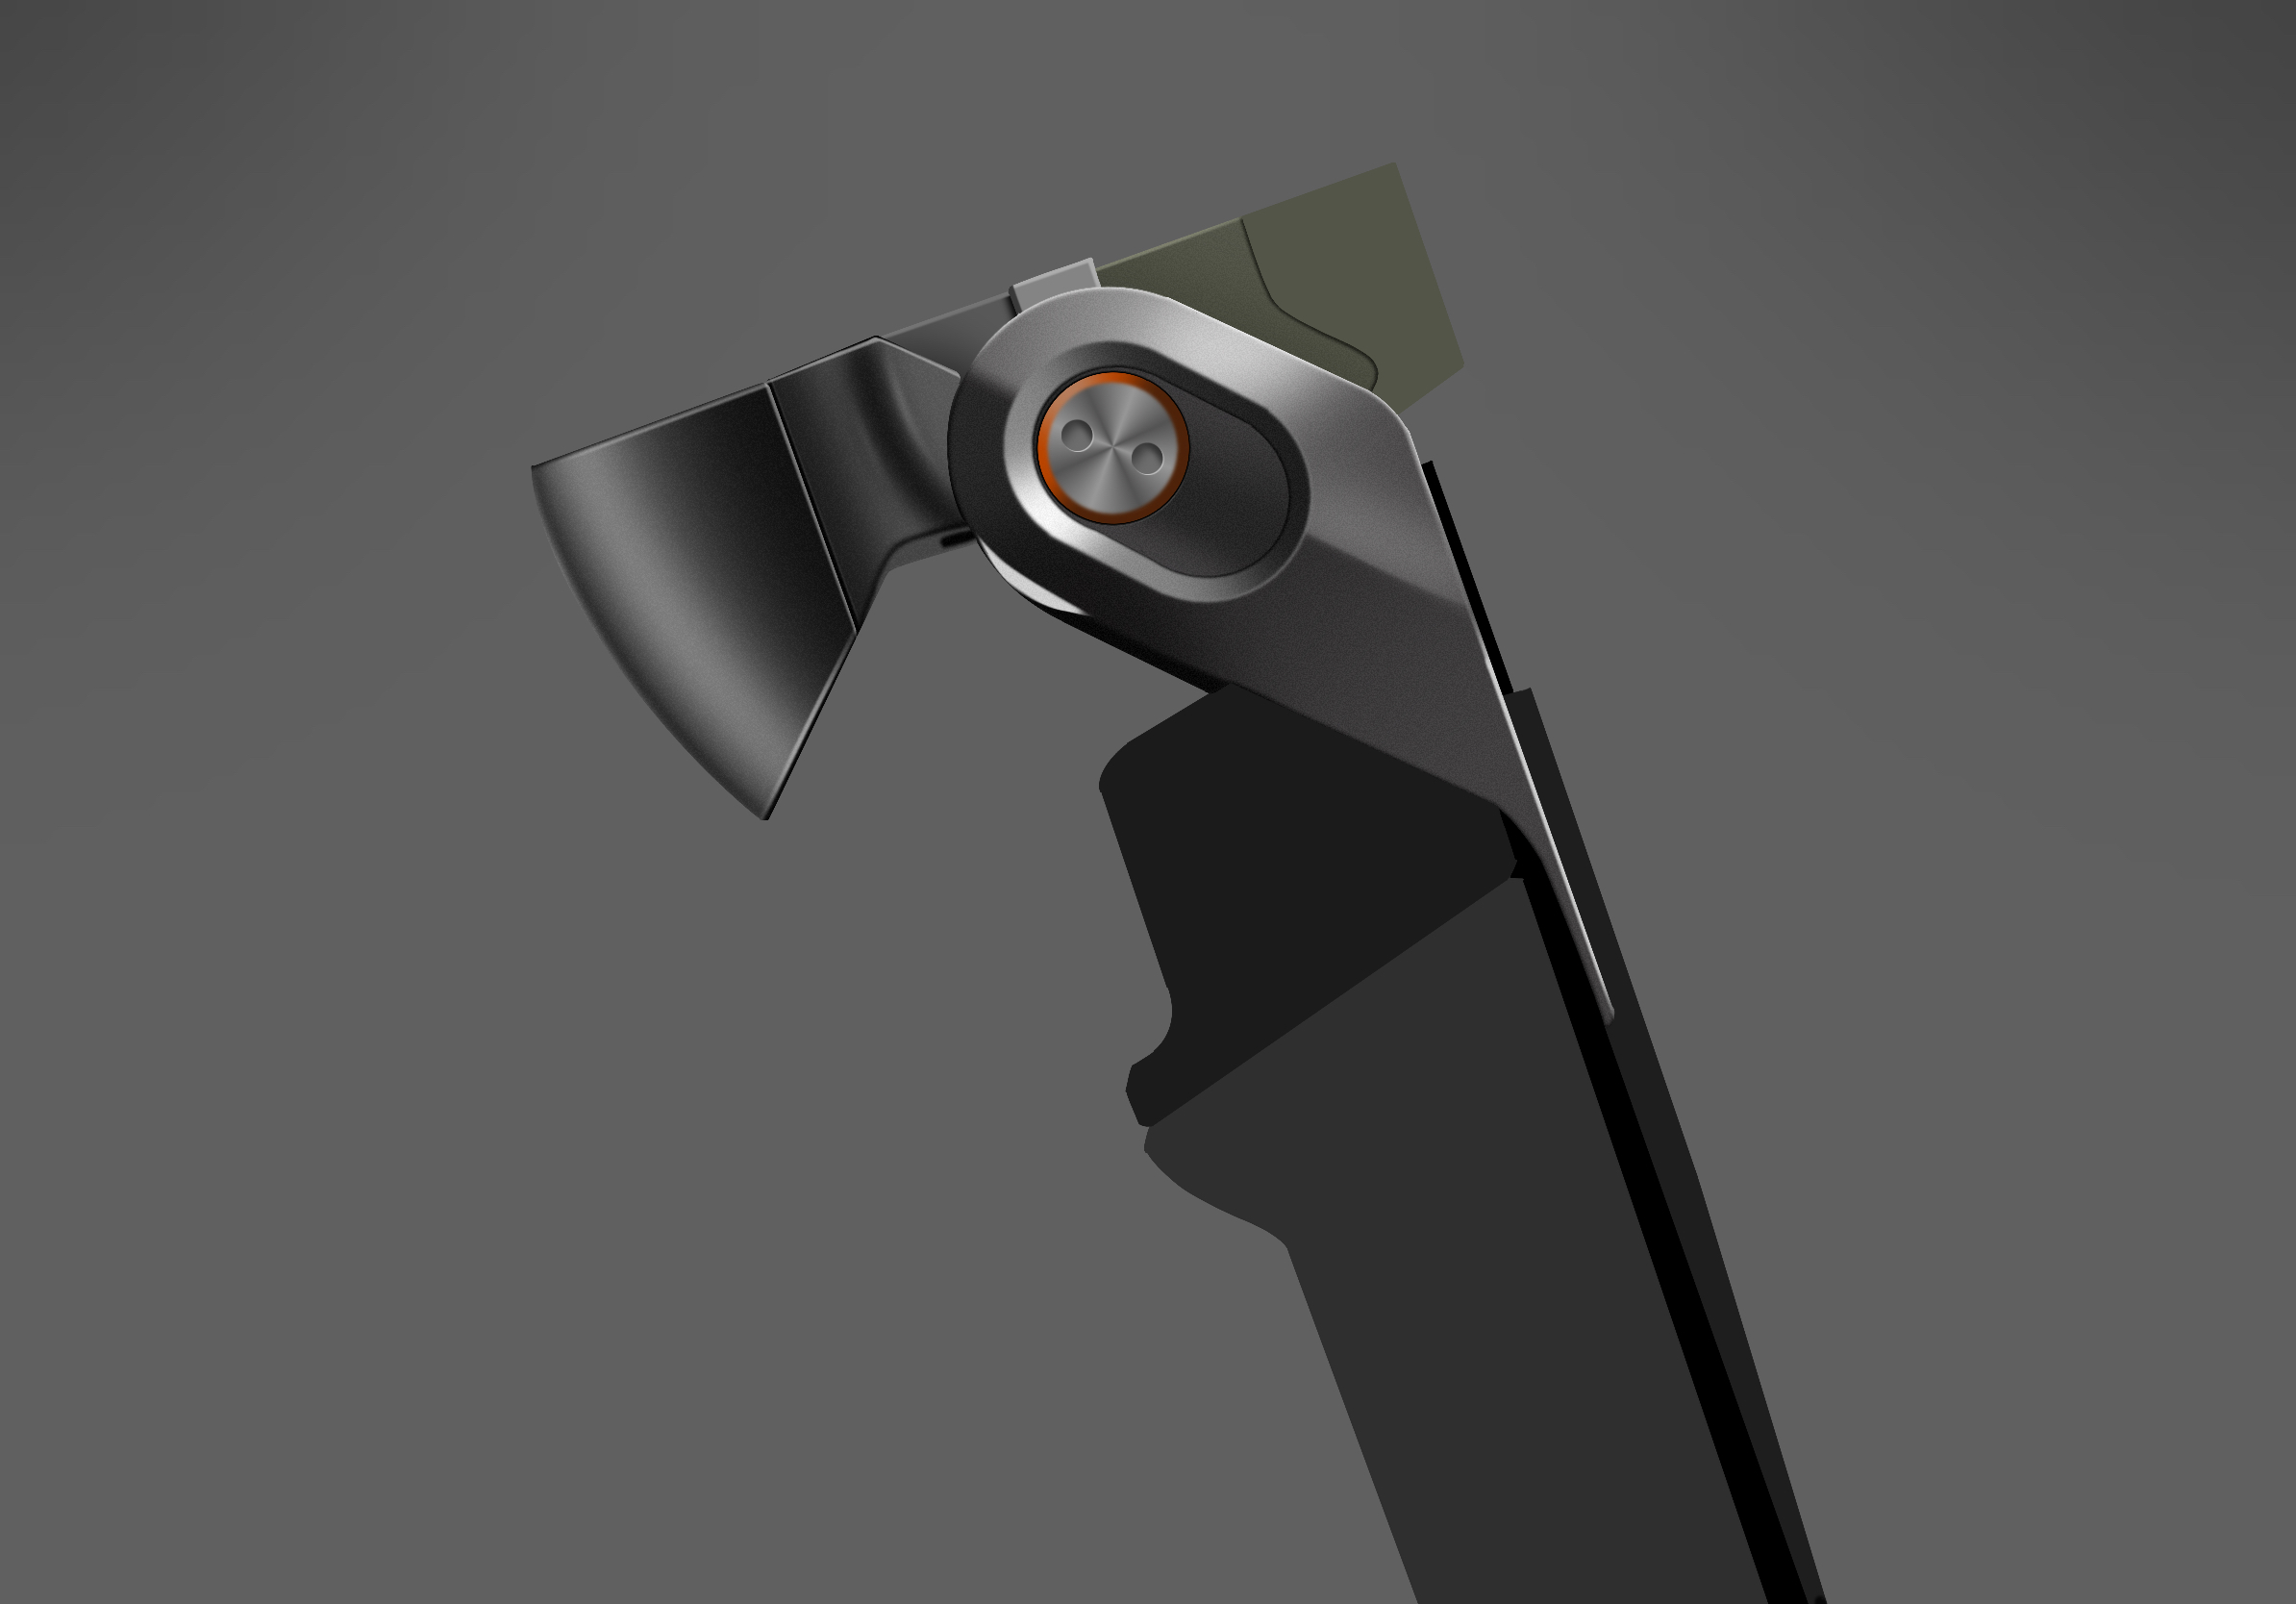
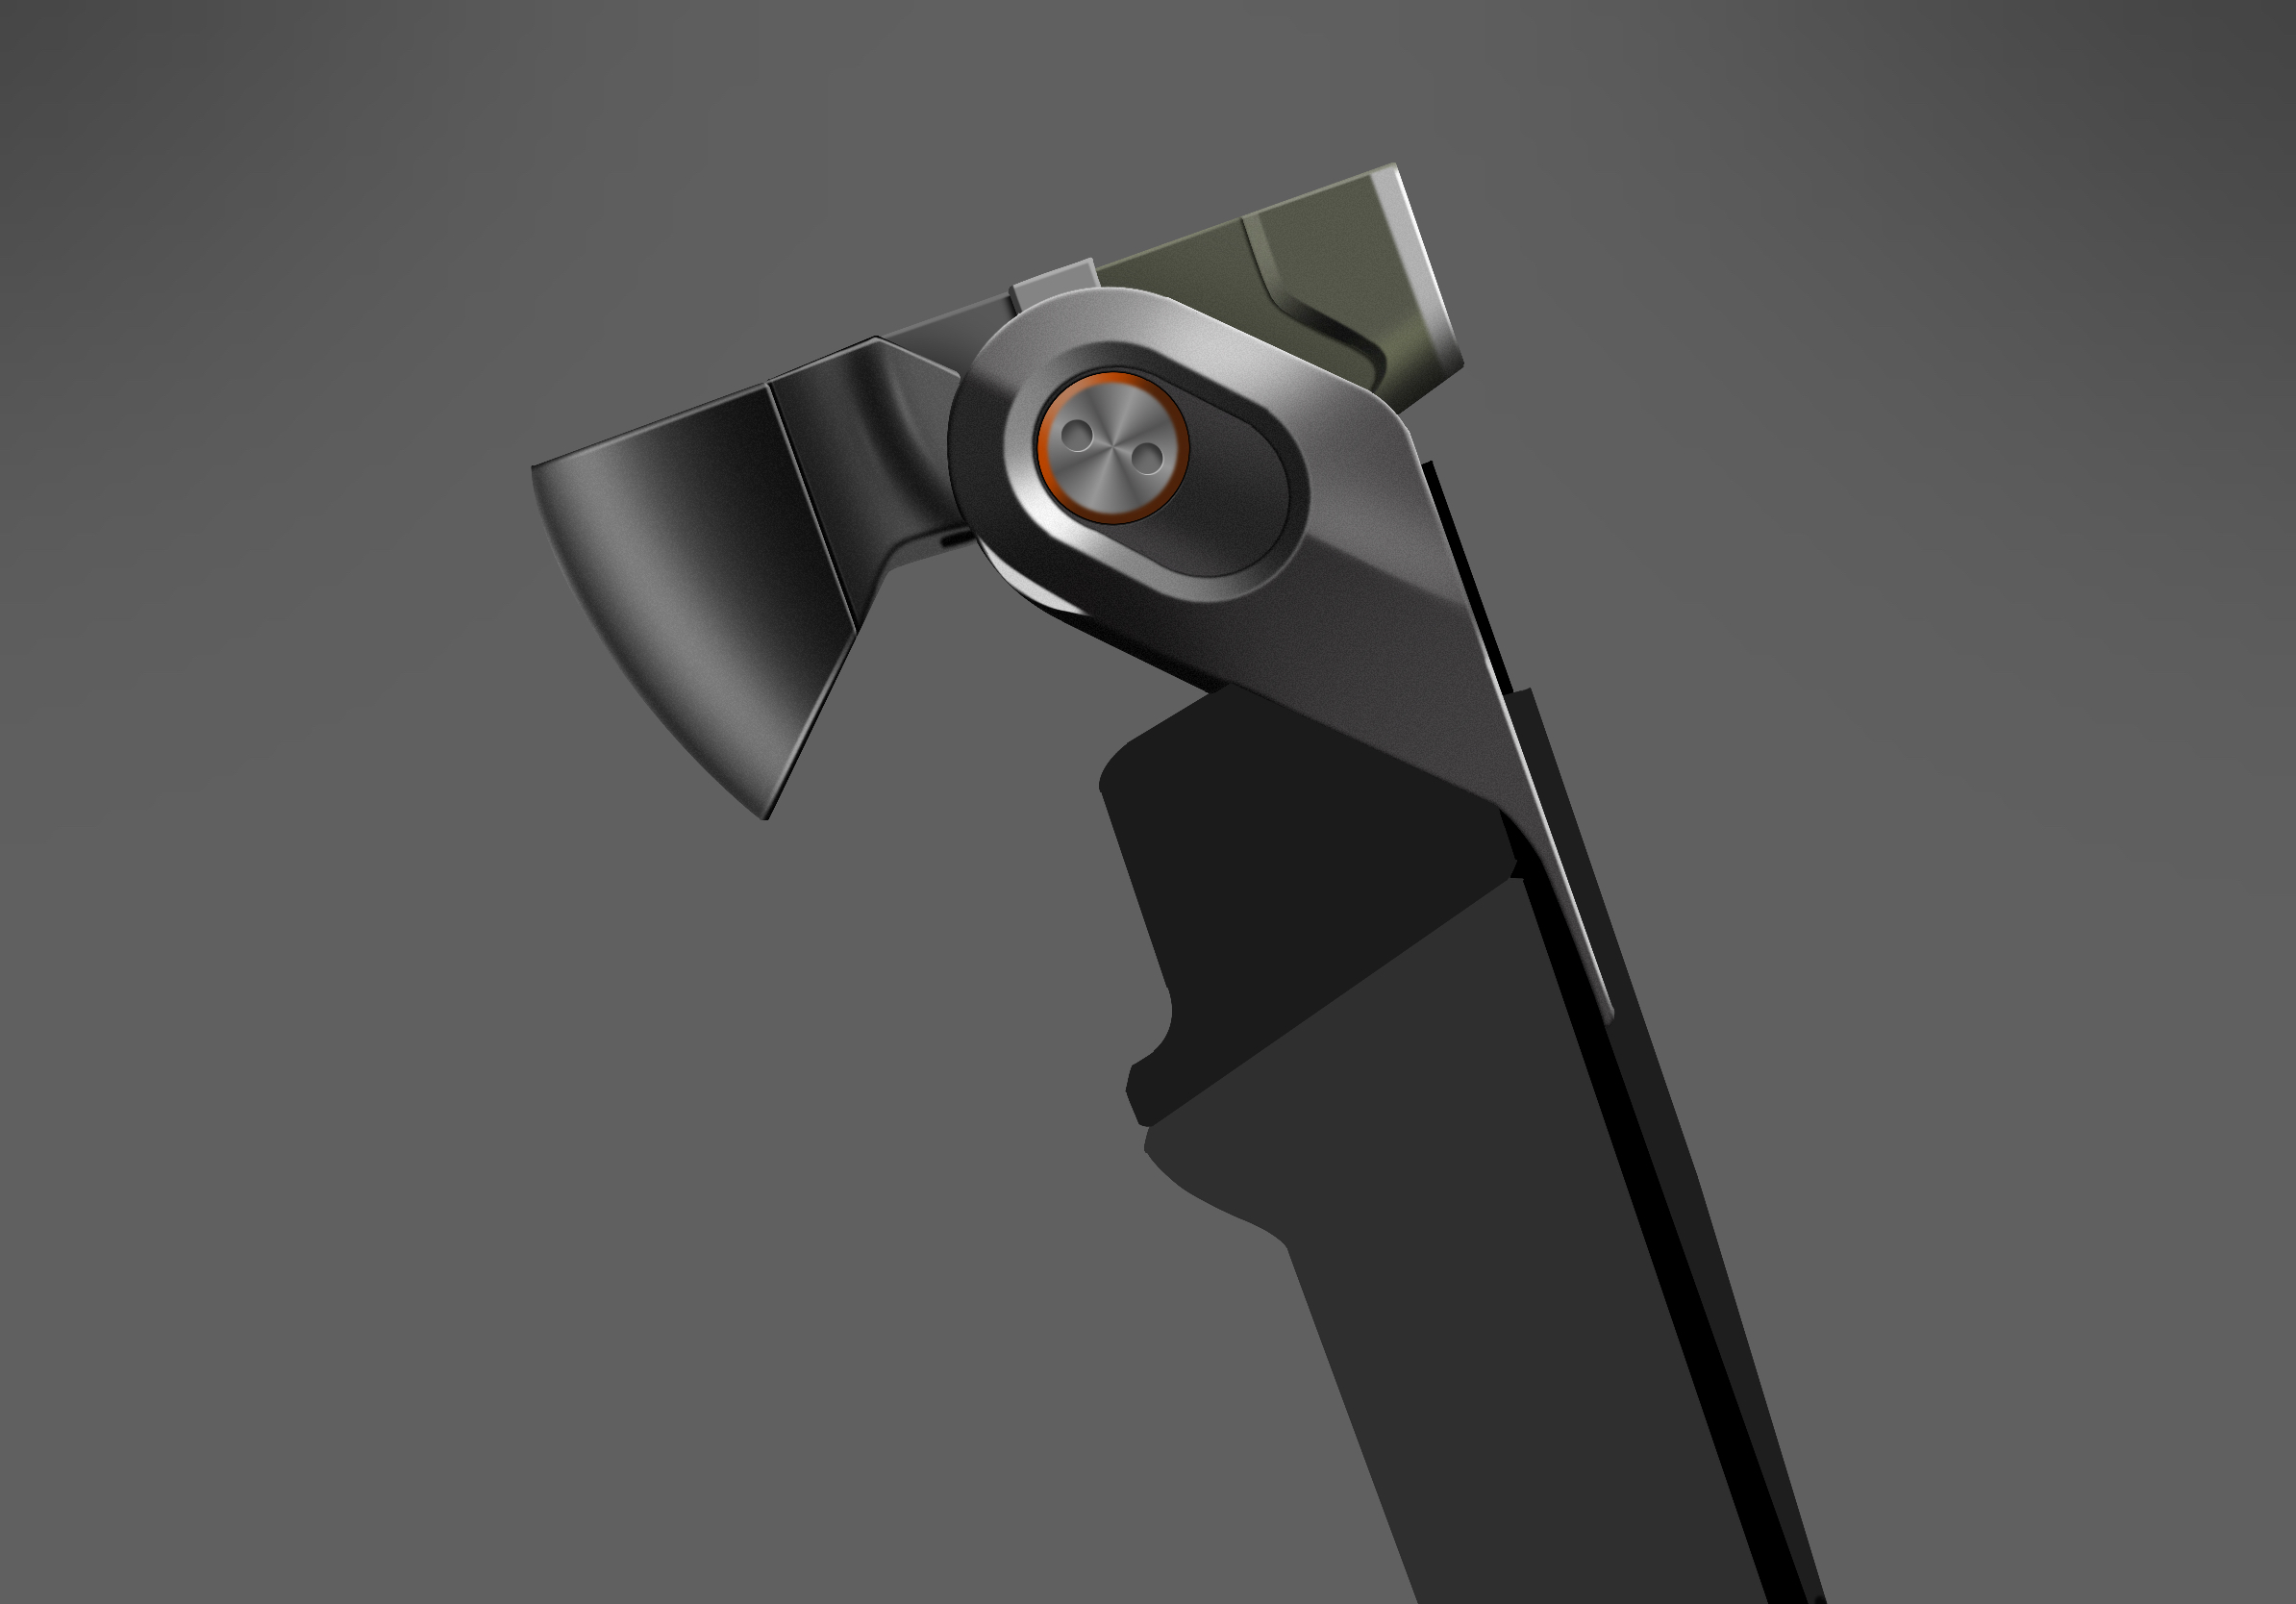
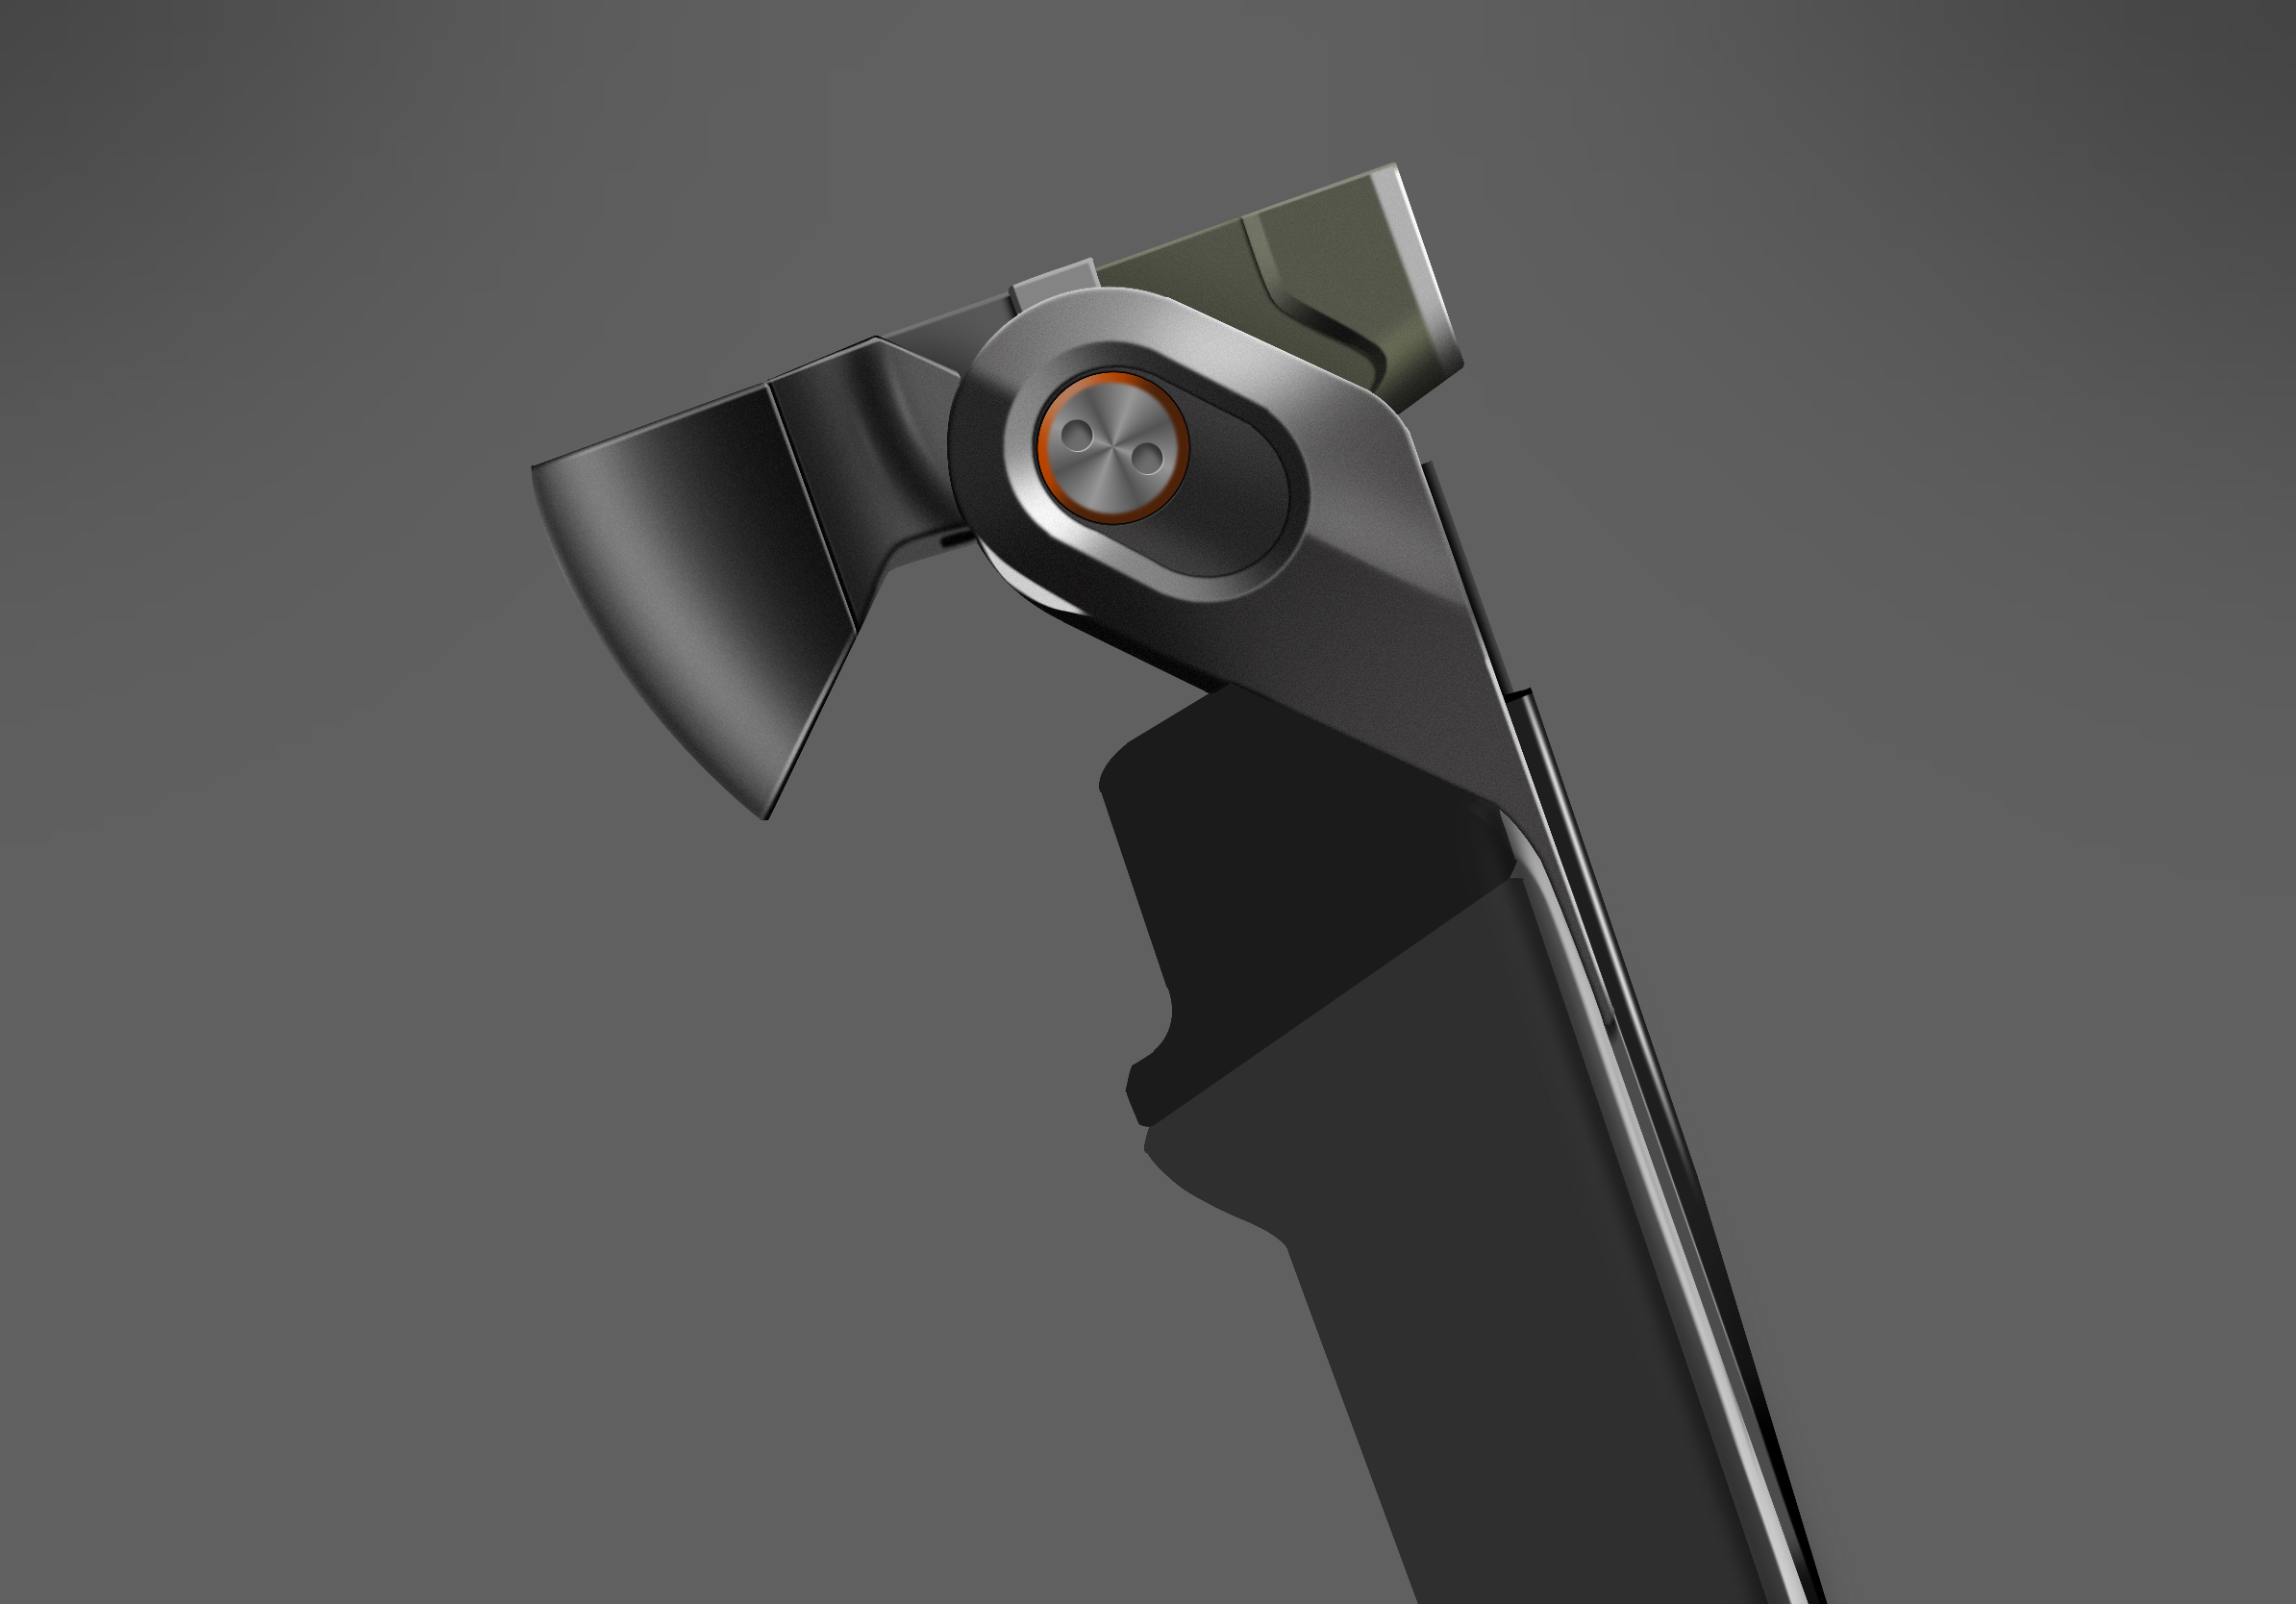
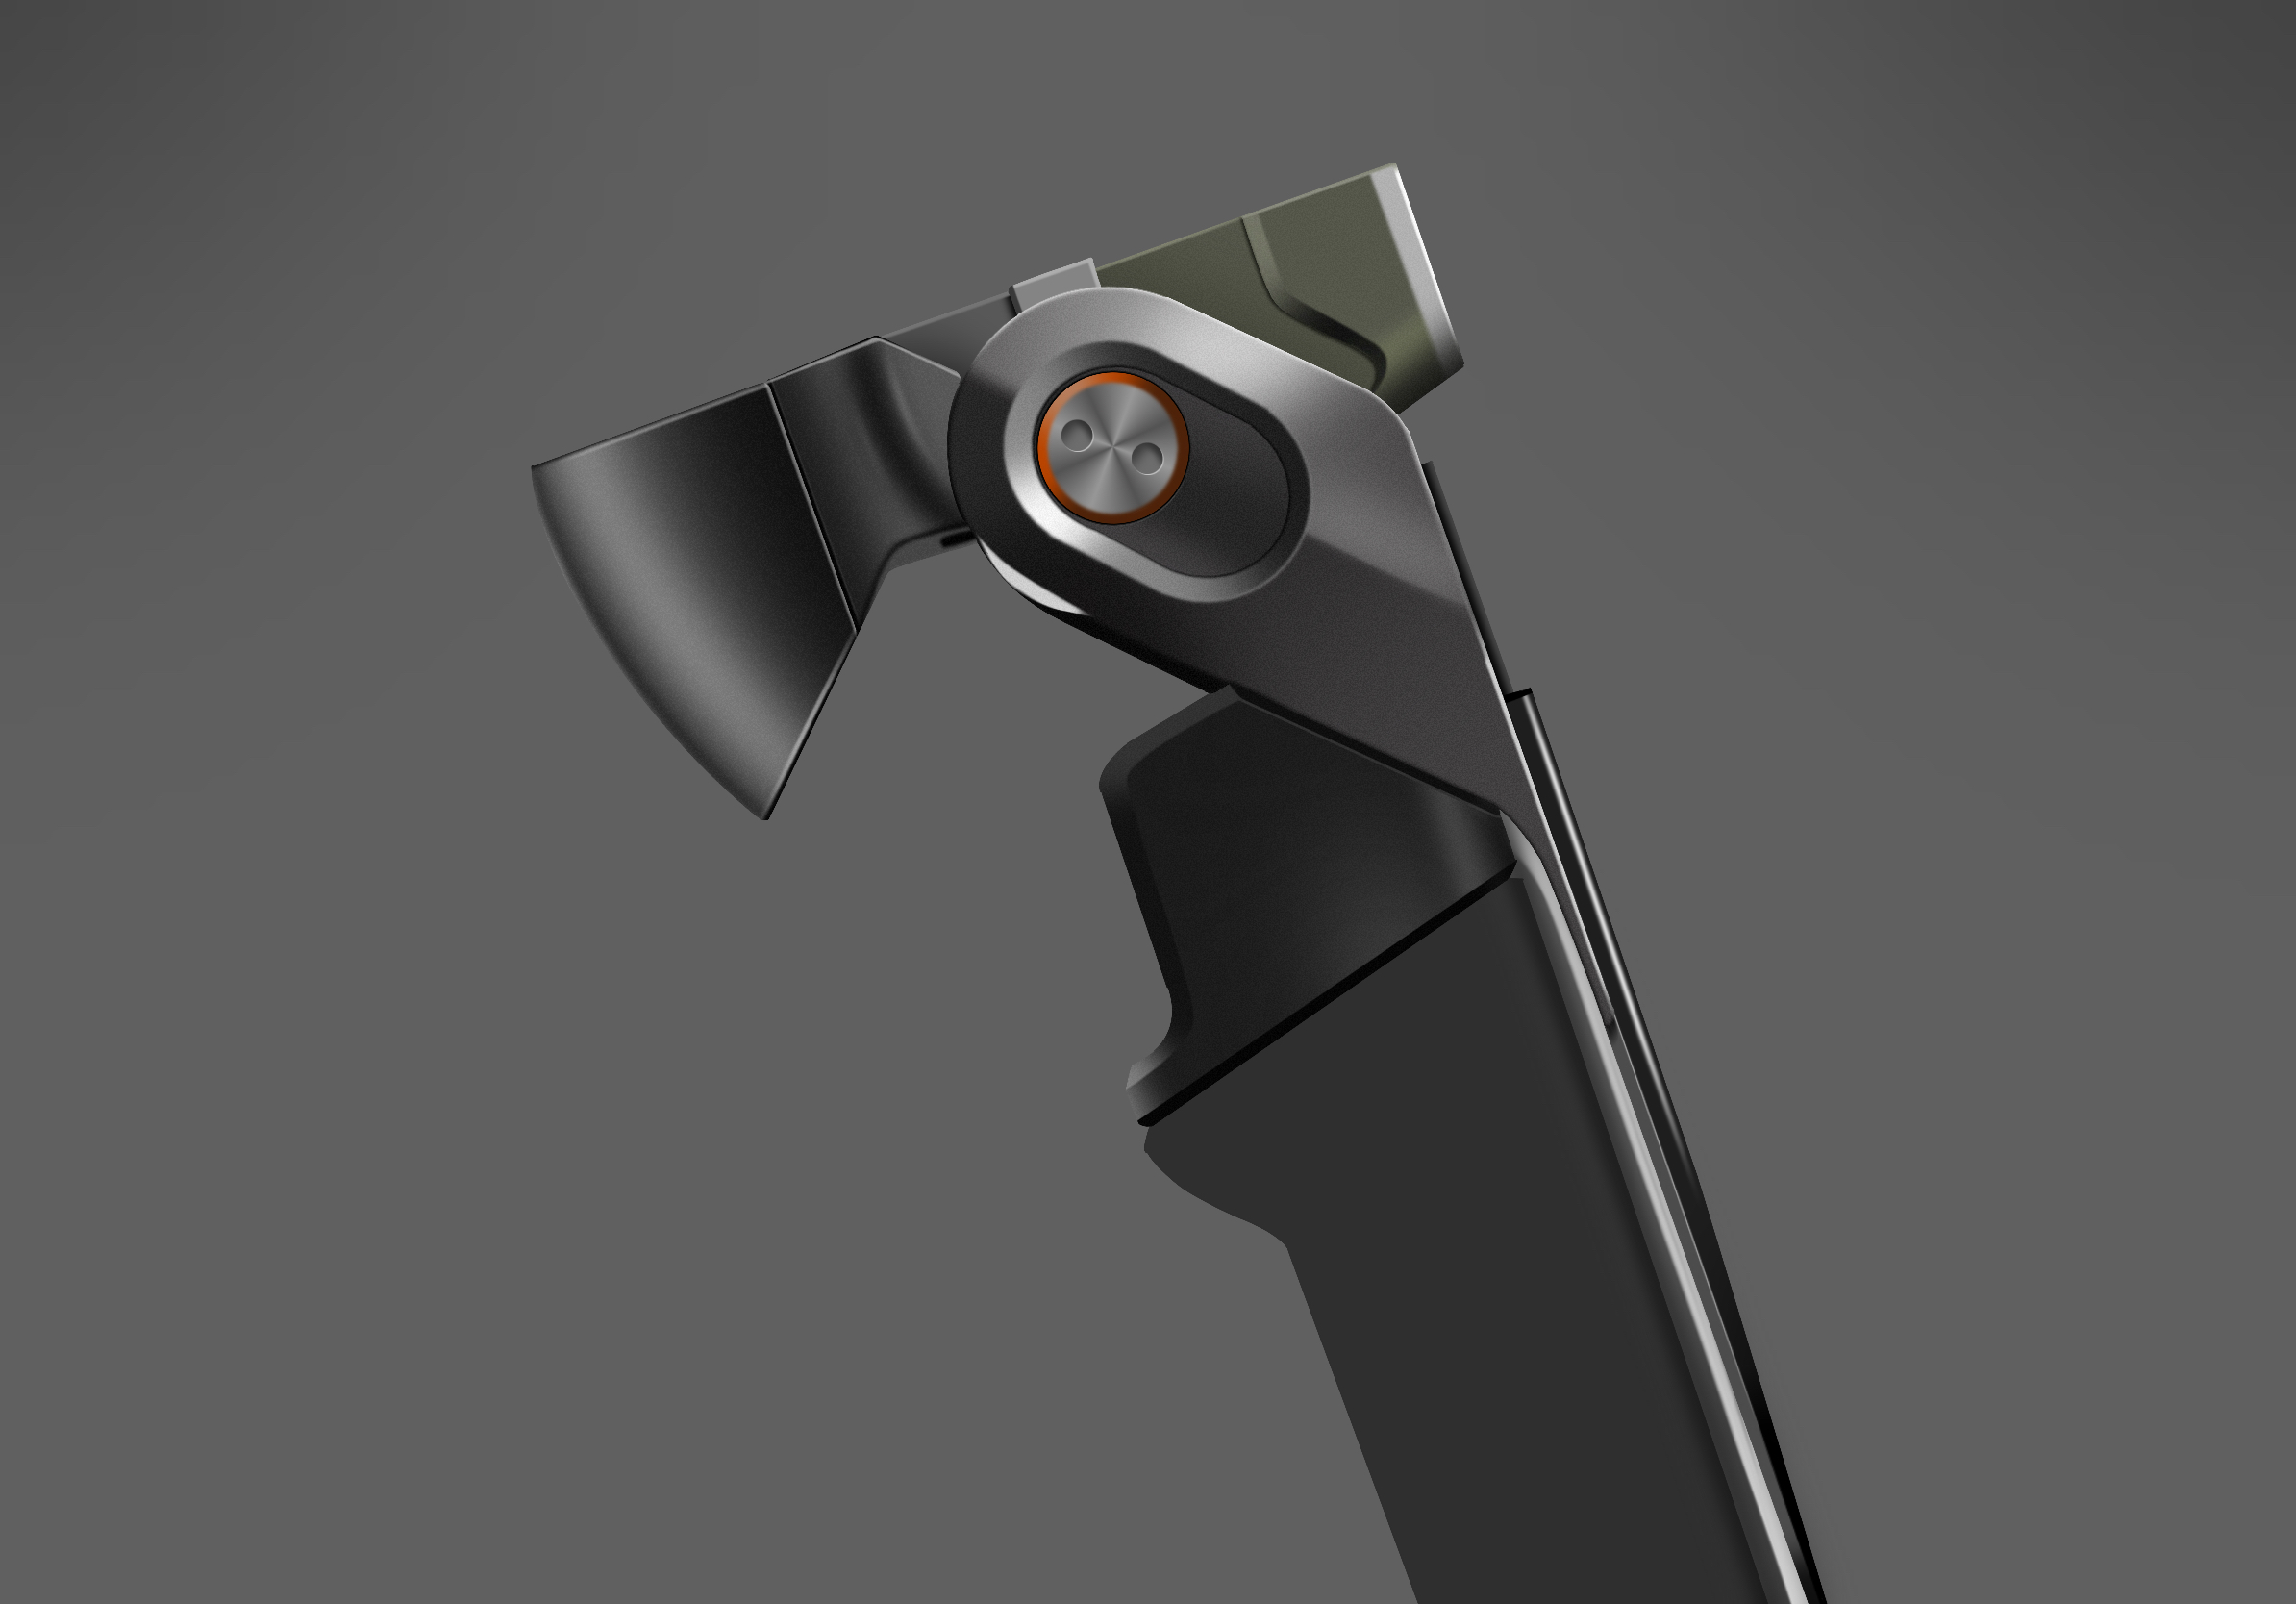
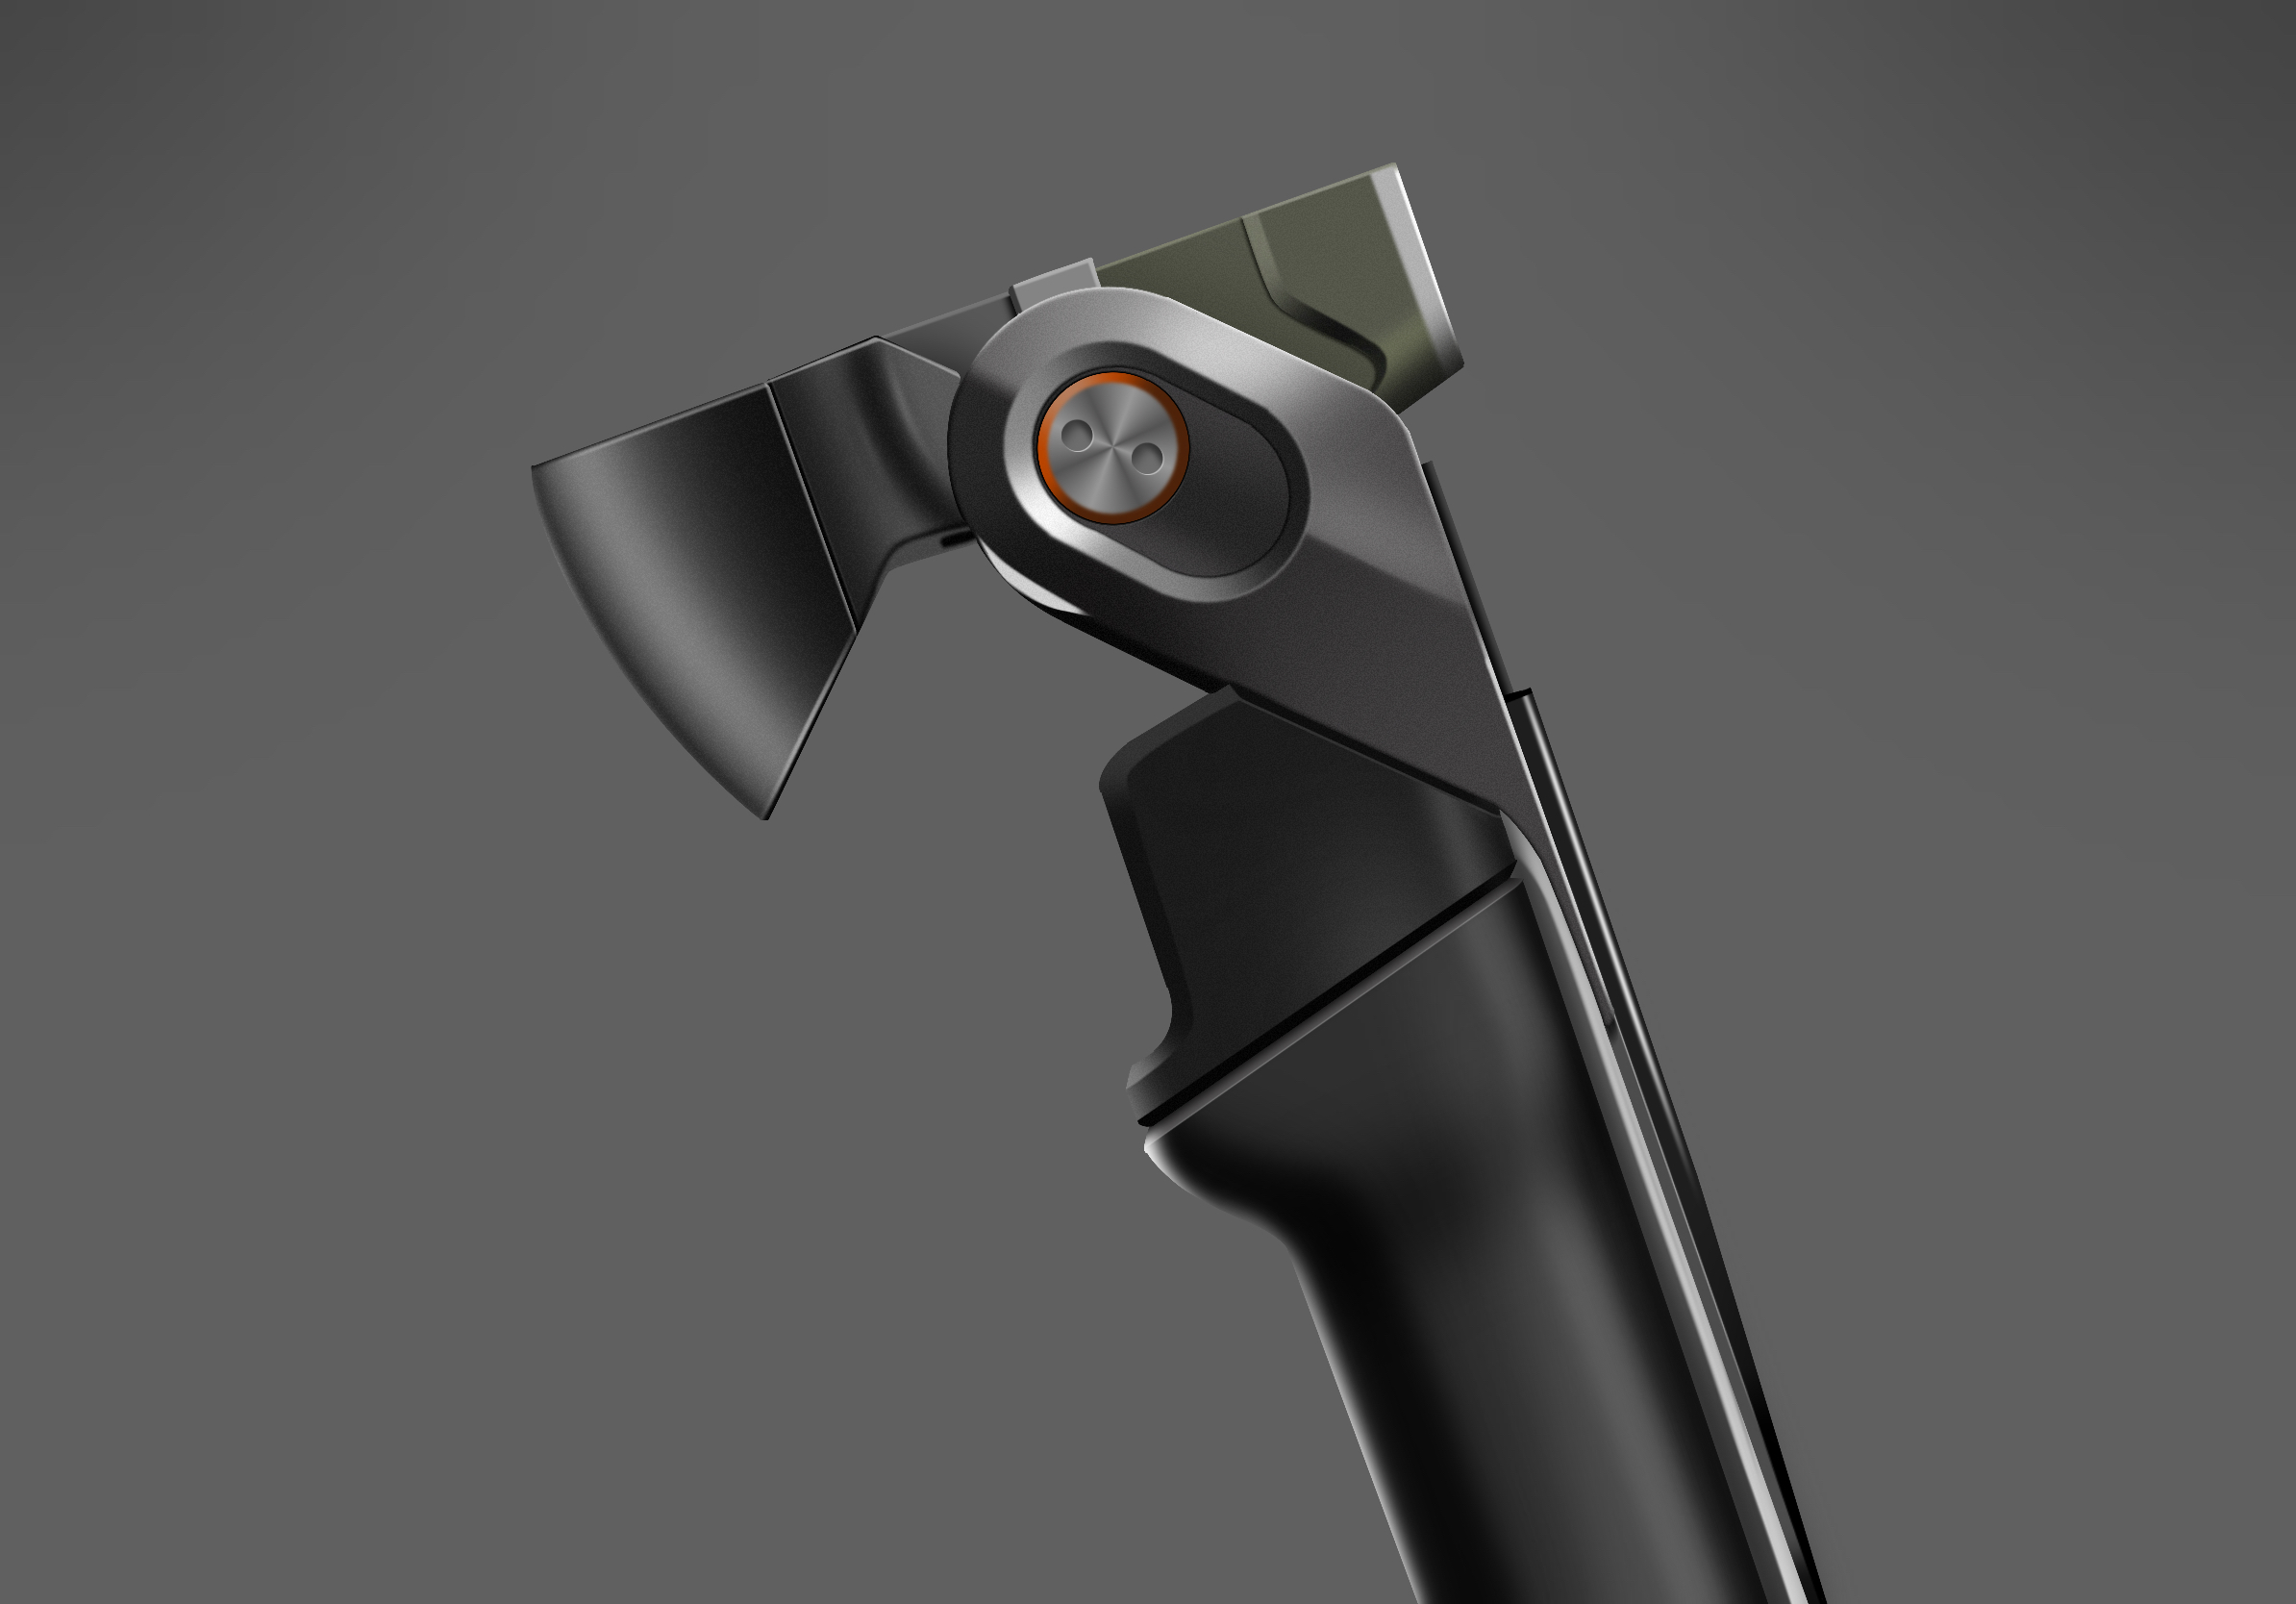
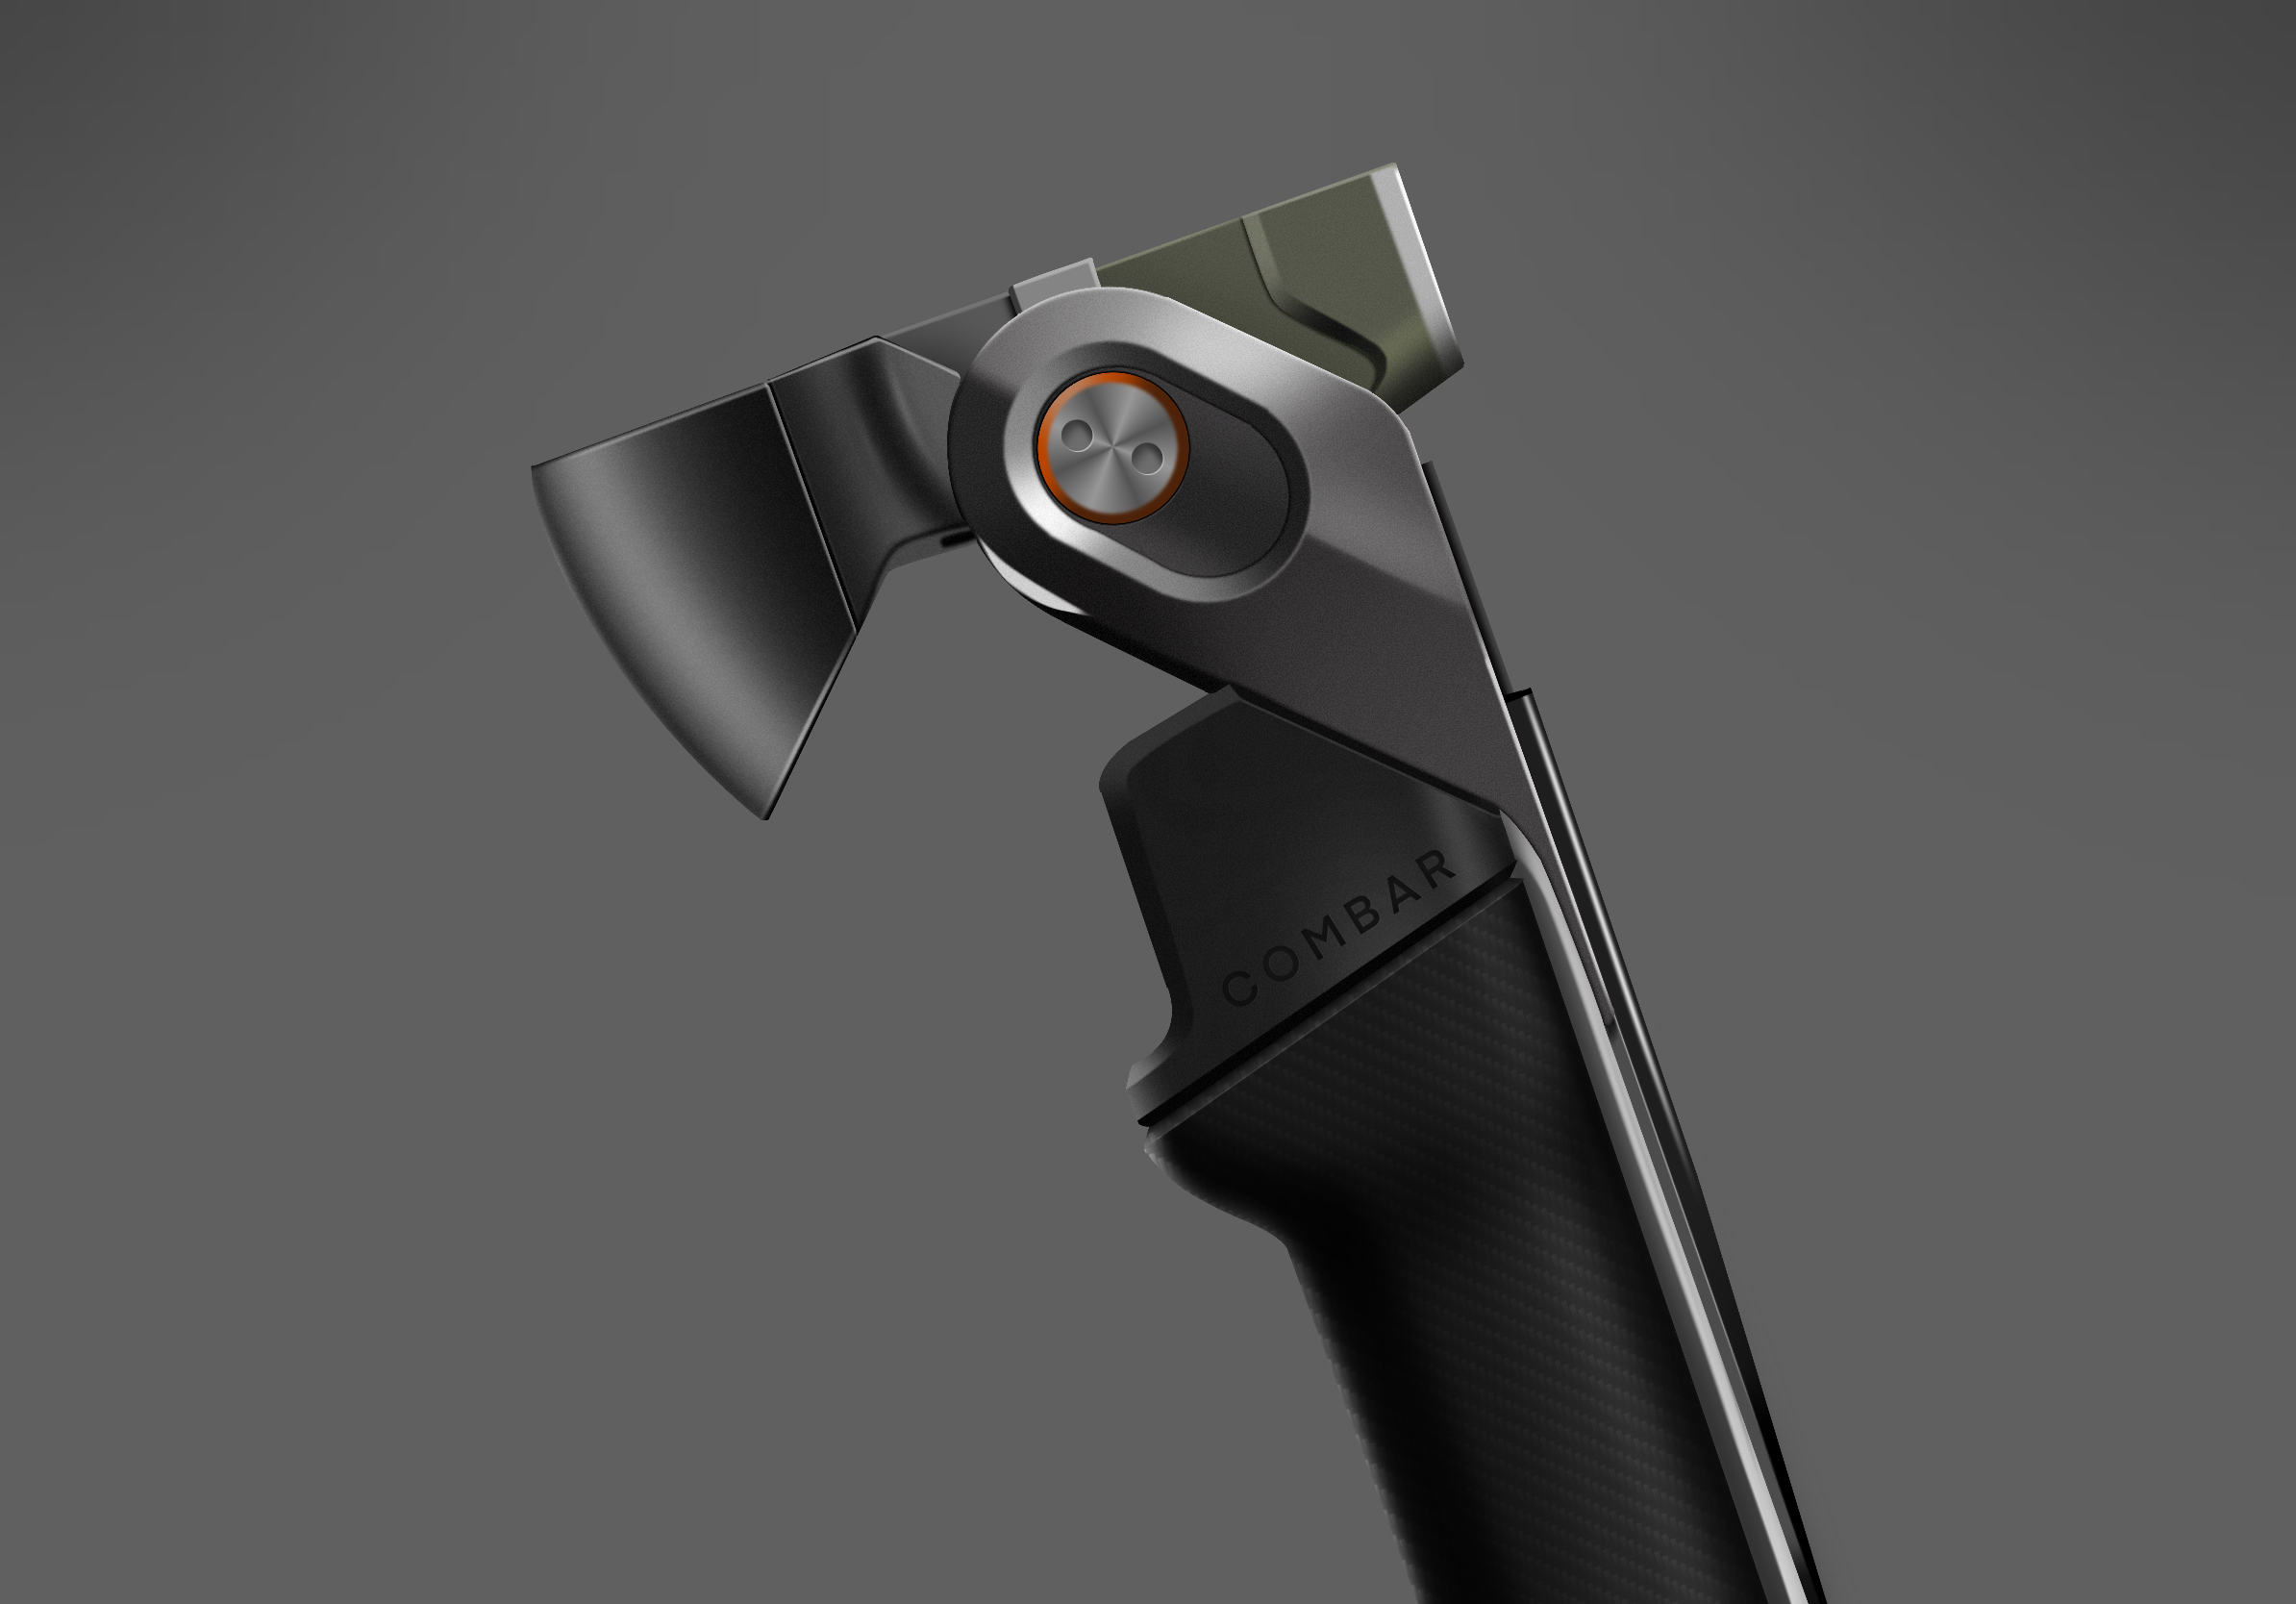
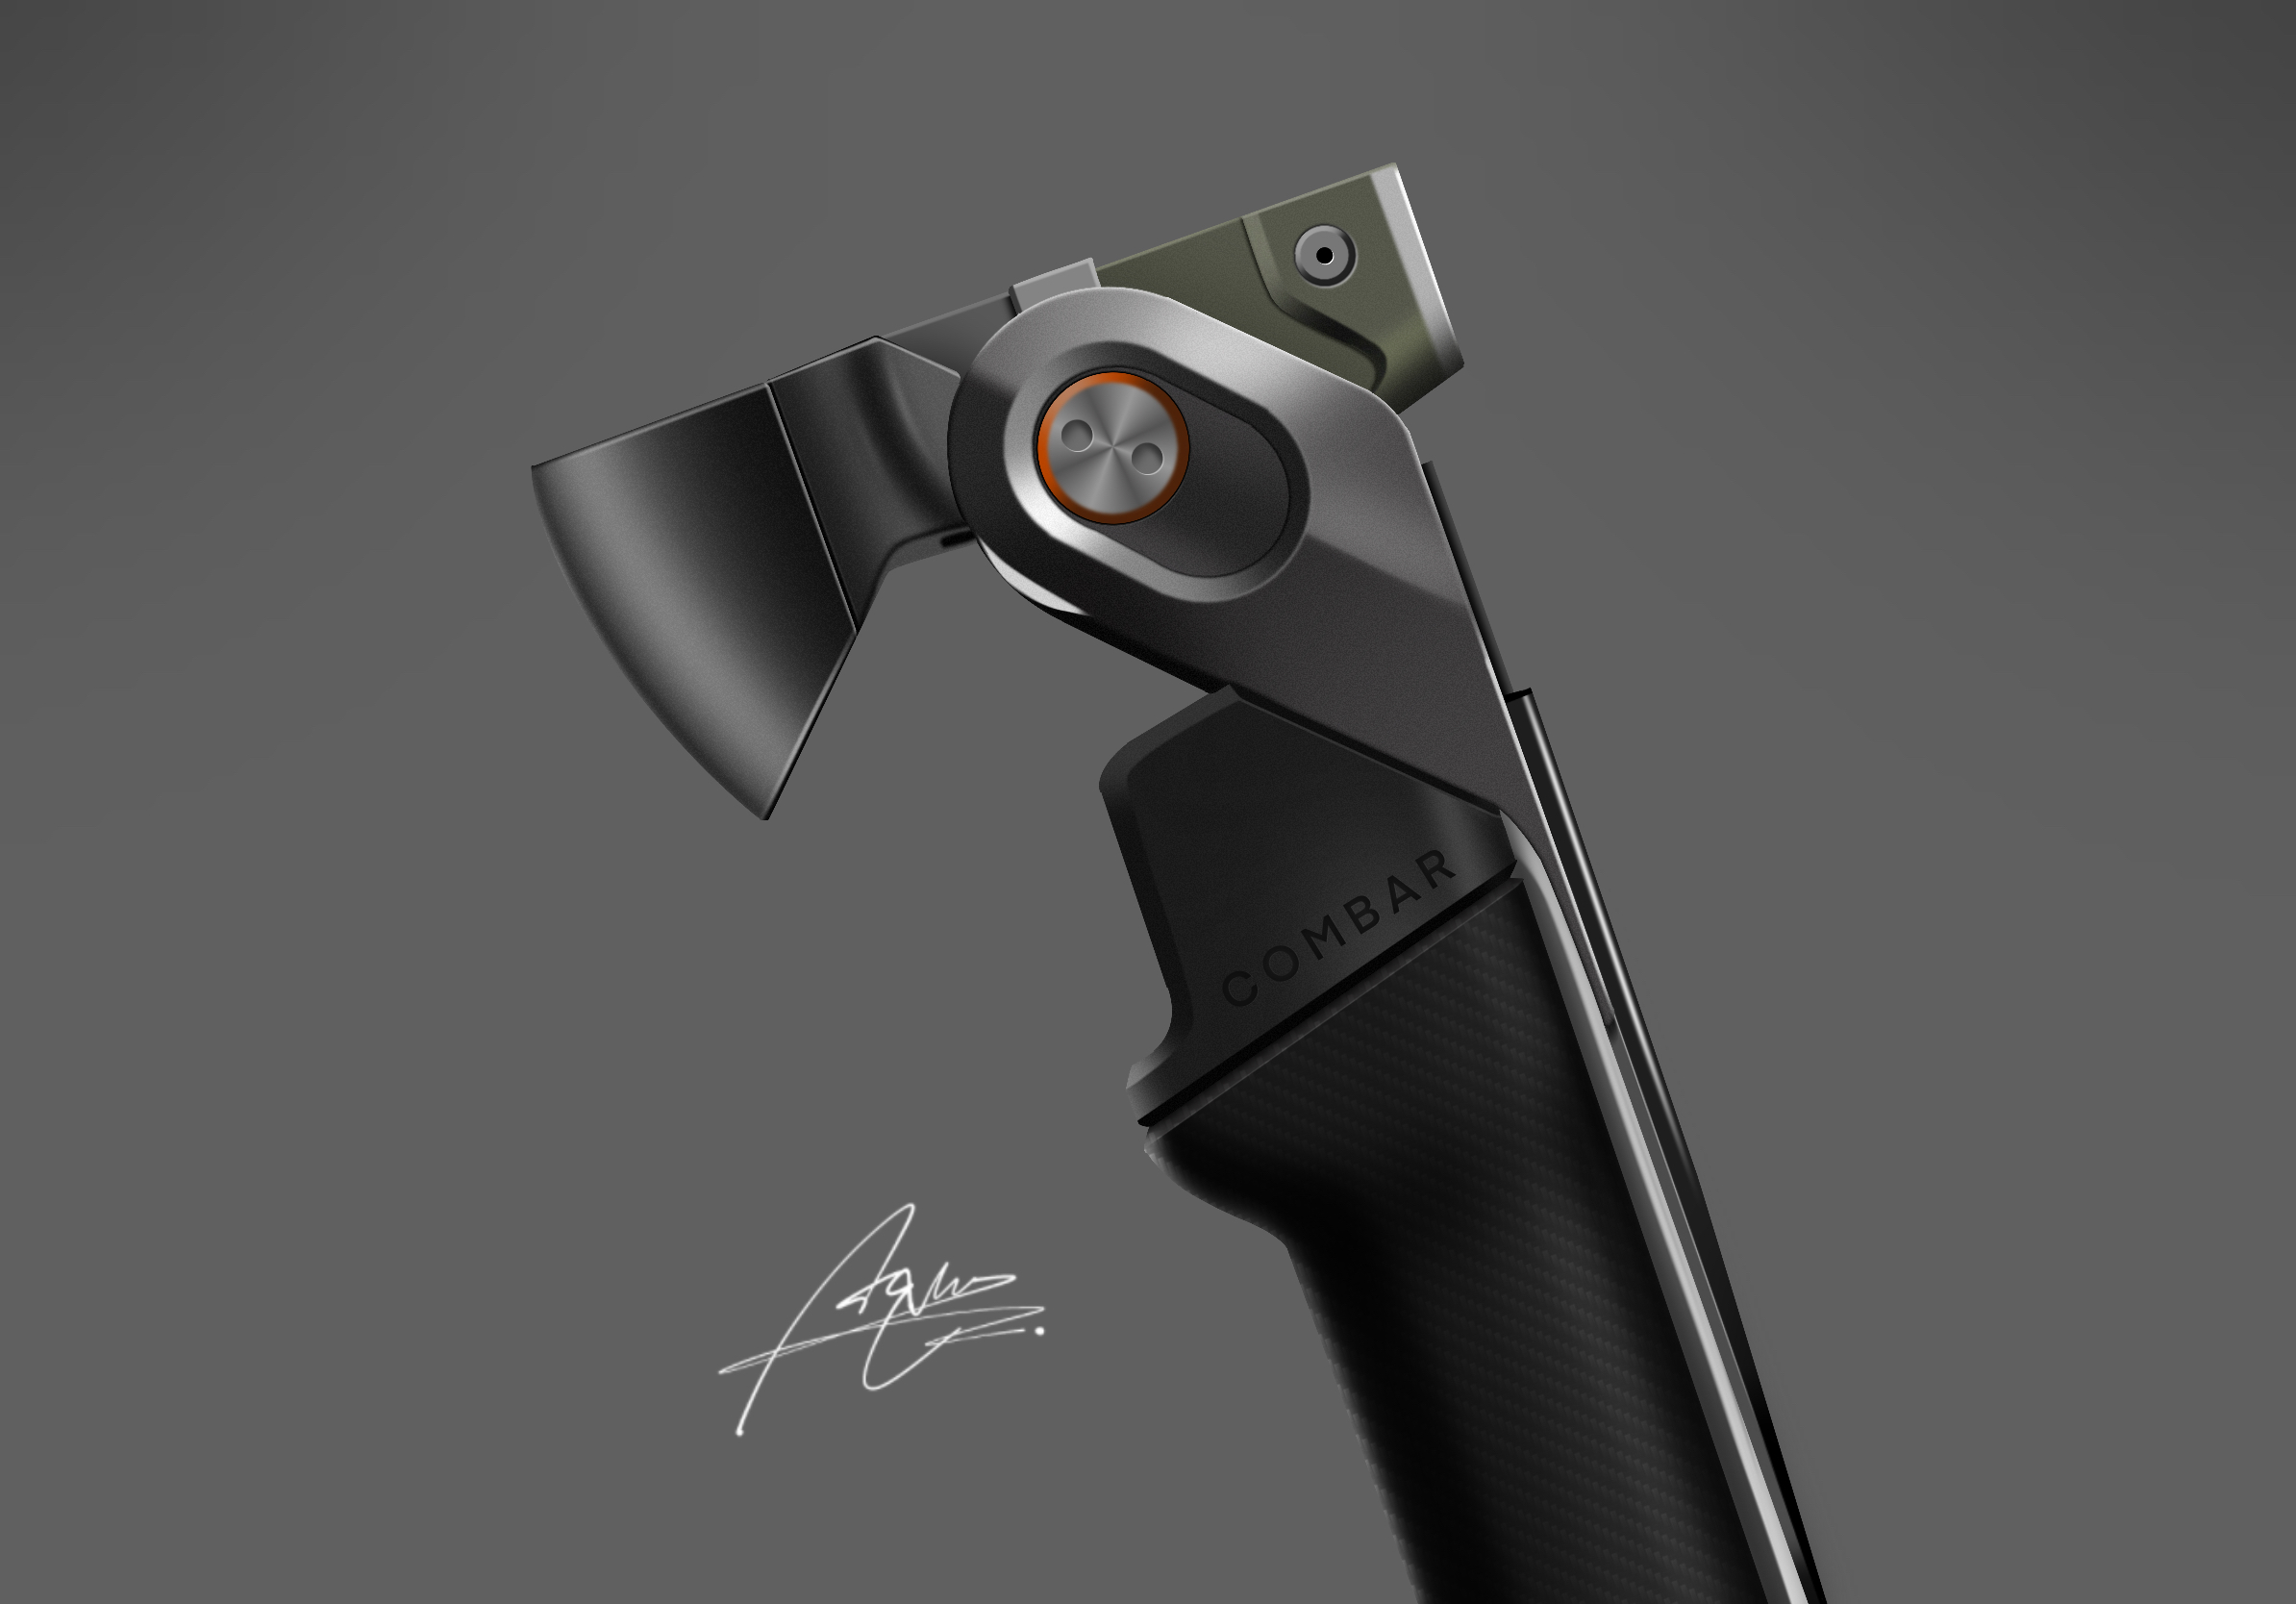
This time to share with you an axe product painting process.
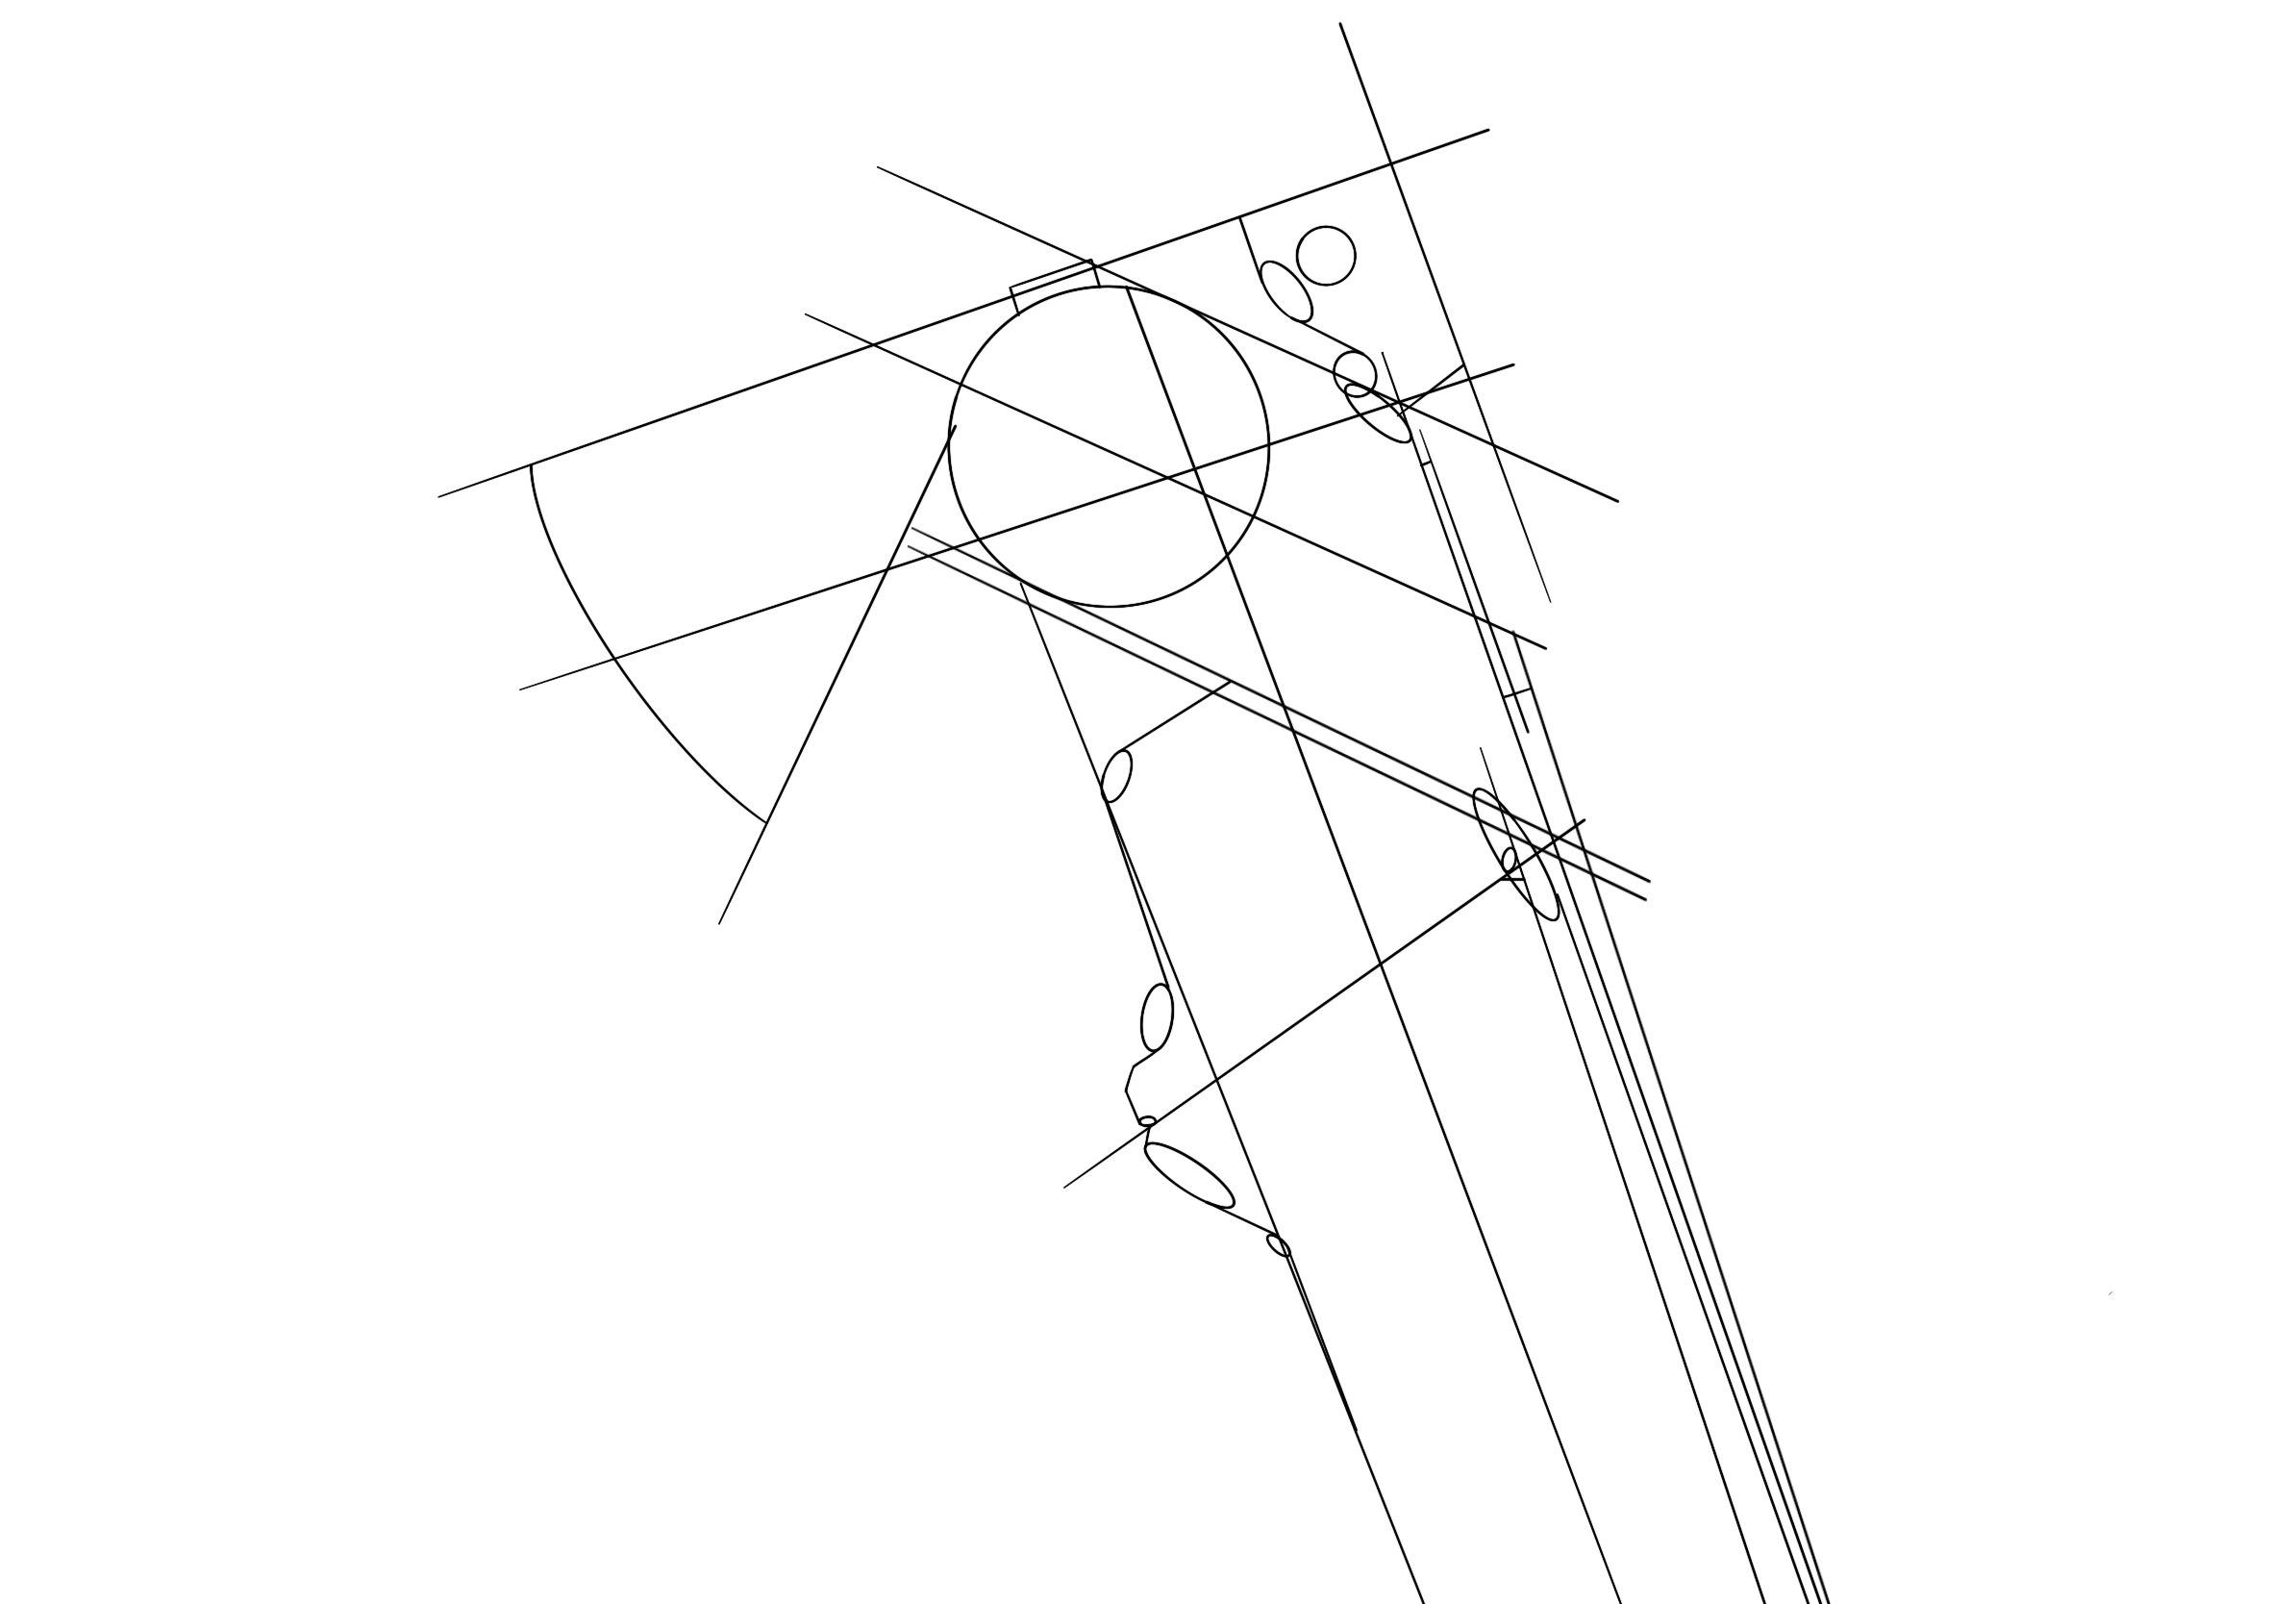
In the first step, we have been talking about the line draft. Use a pencil brush to start the draft, and use a technical pen or studio pen to draw the line draft to get the perfect line draft.
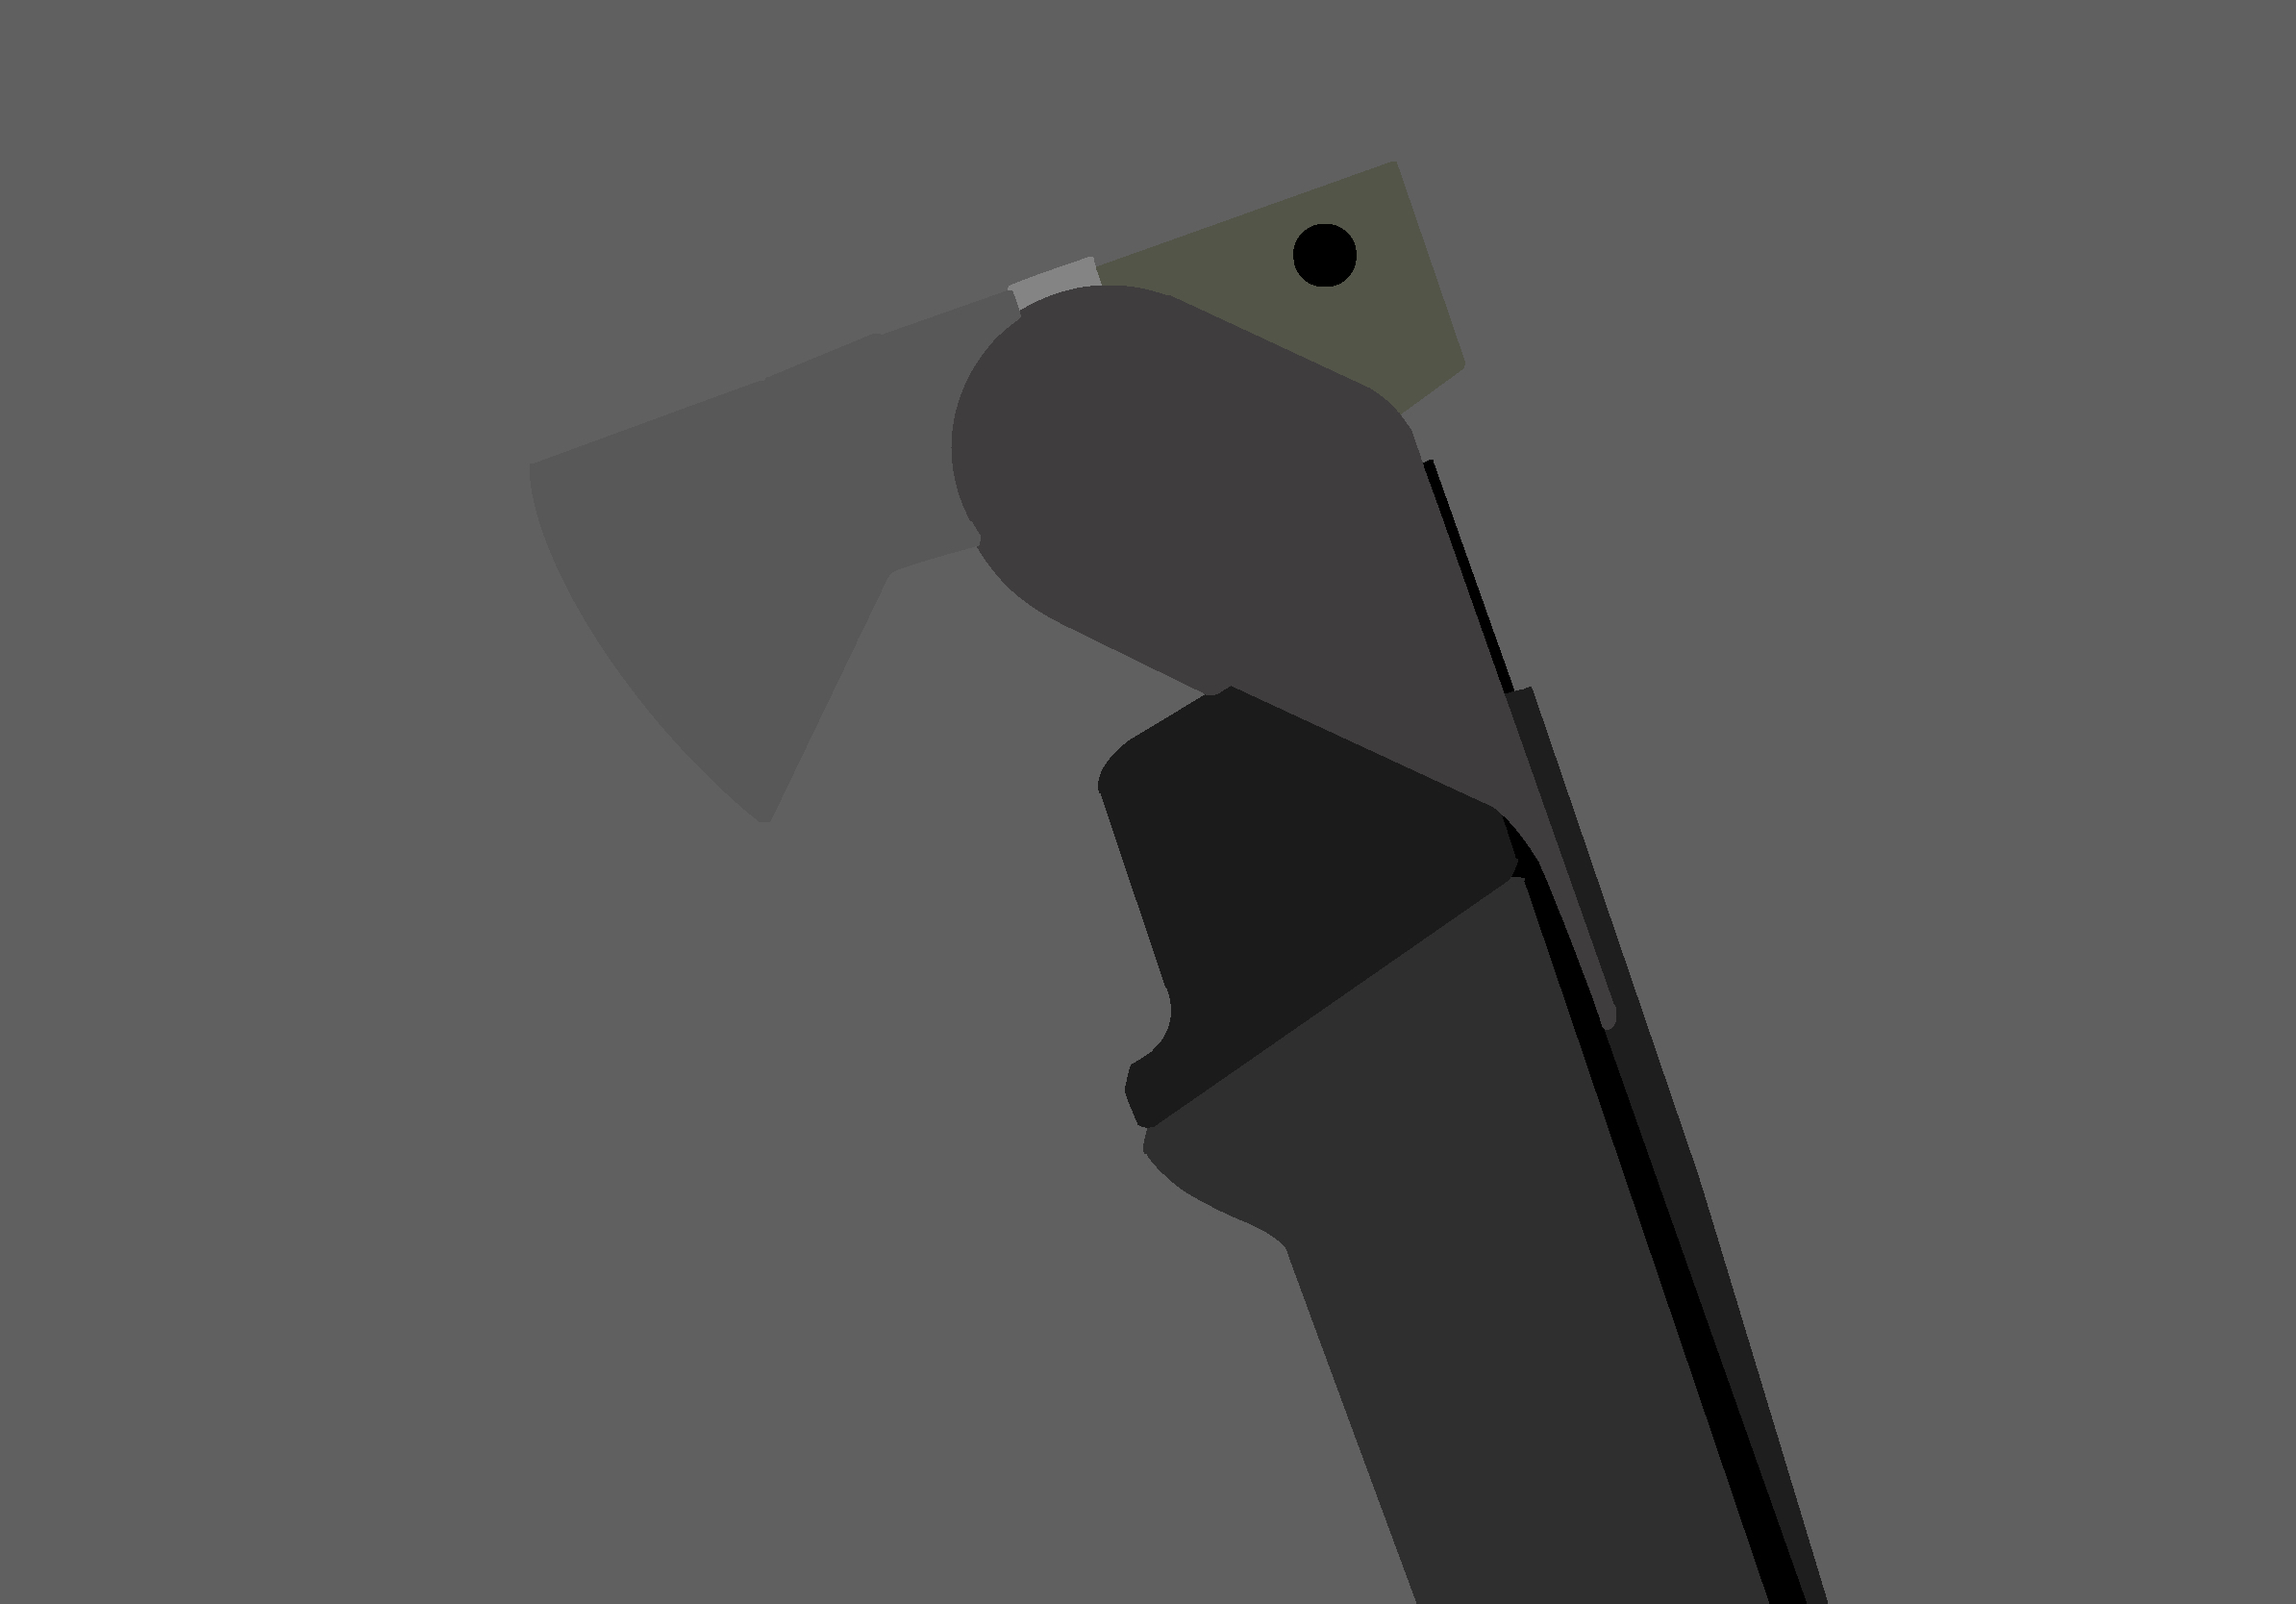
The second step is to fill in the color by removing the line draft. Select the area you need to fill in the color to copy and paste, and then fill in the color without damaging the original line draft.
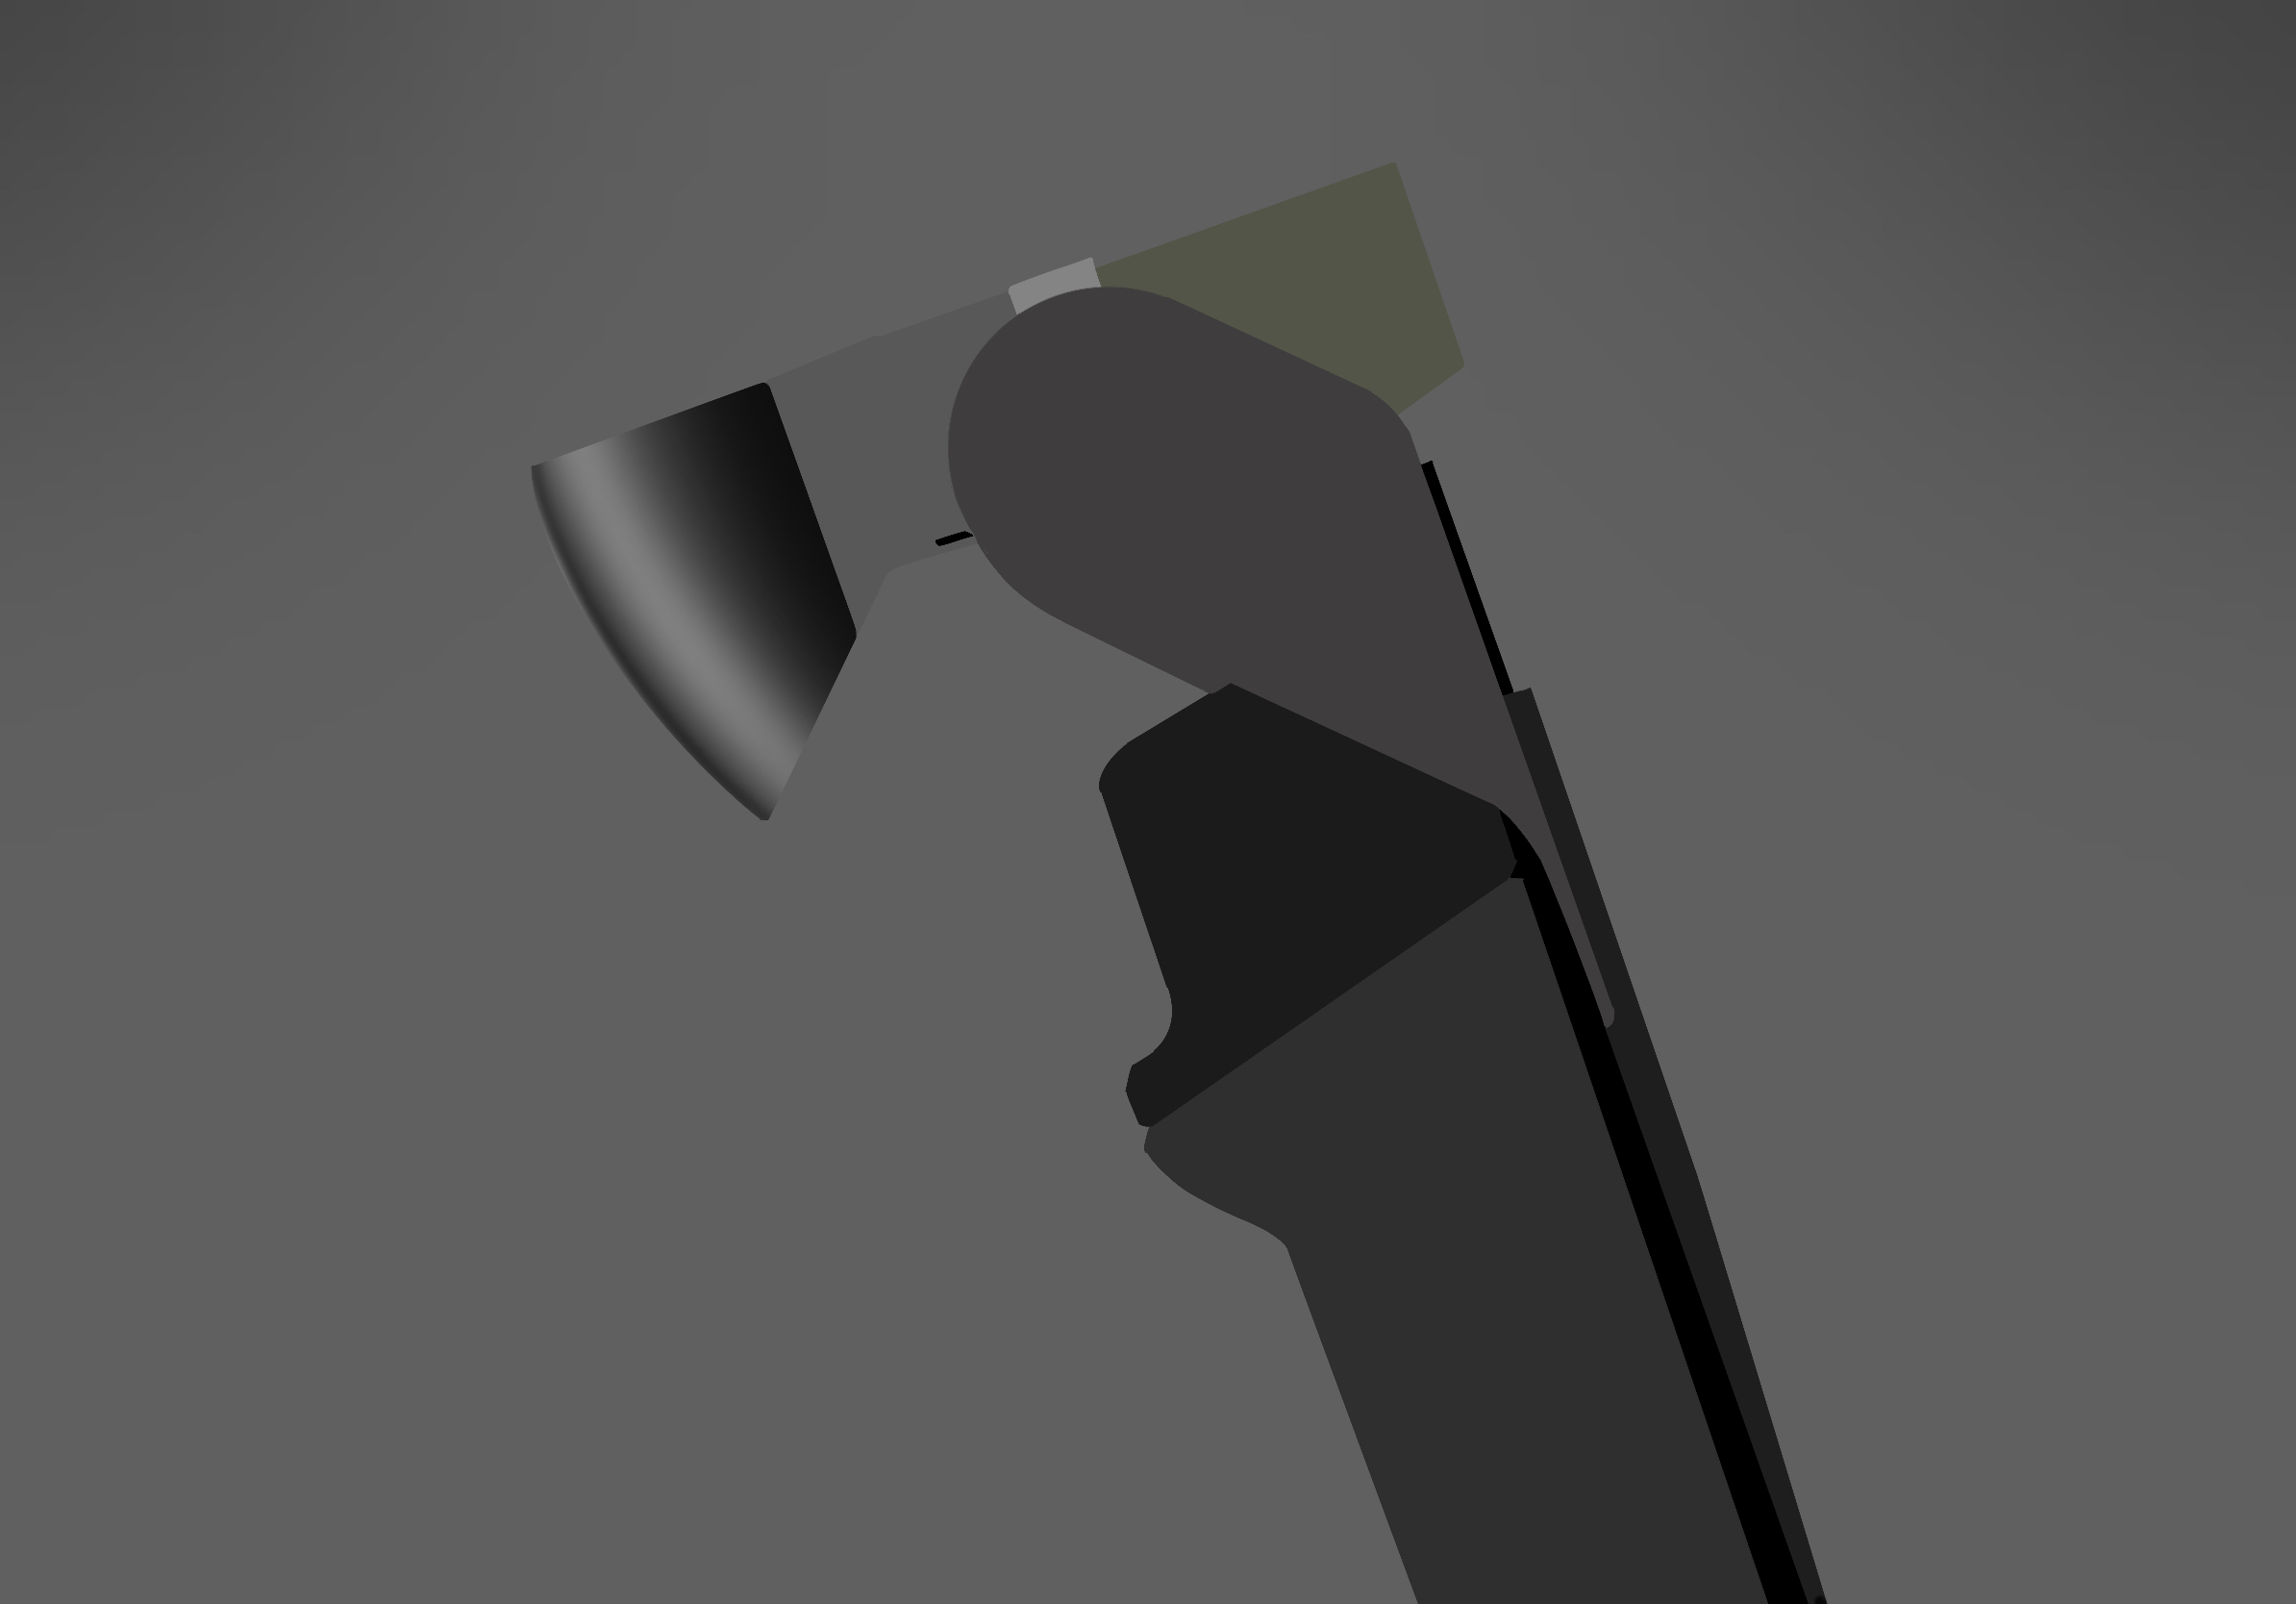
The third step, the axe part, brush the dark sides directly, brighten the highlights.
In the fourth step, the concave-convex feeling is made, and the contrast between light and dark is pulled apart to form concave-convex.
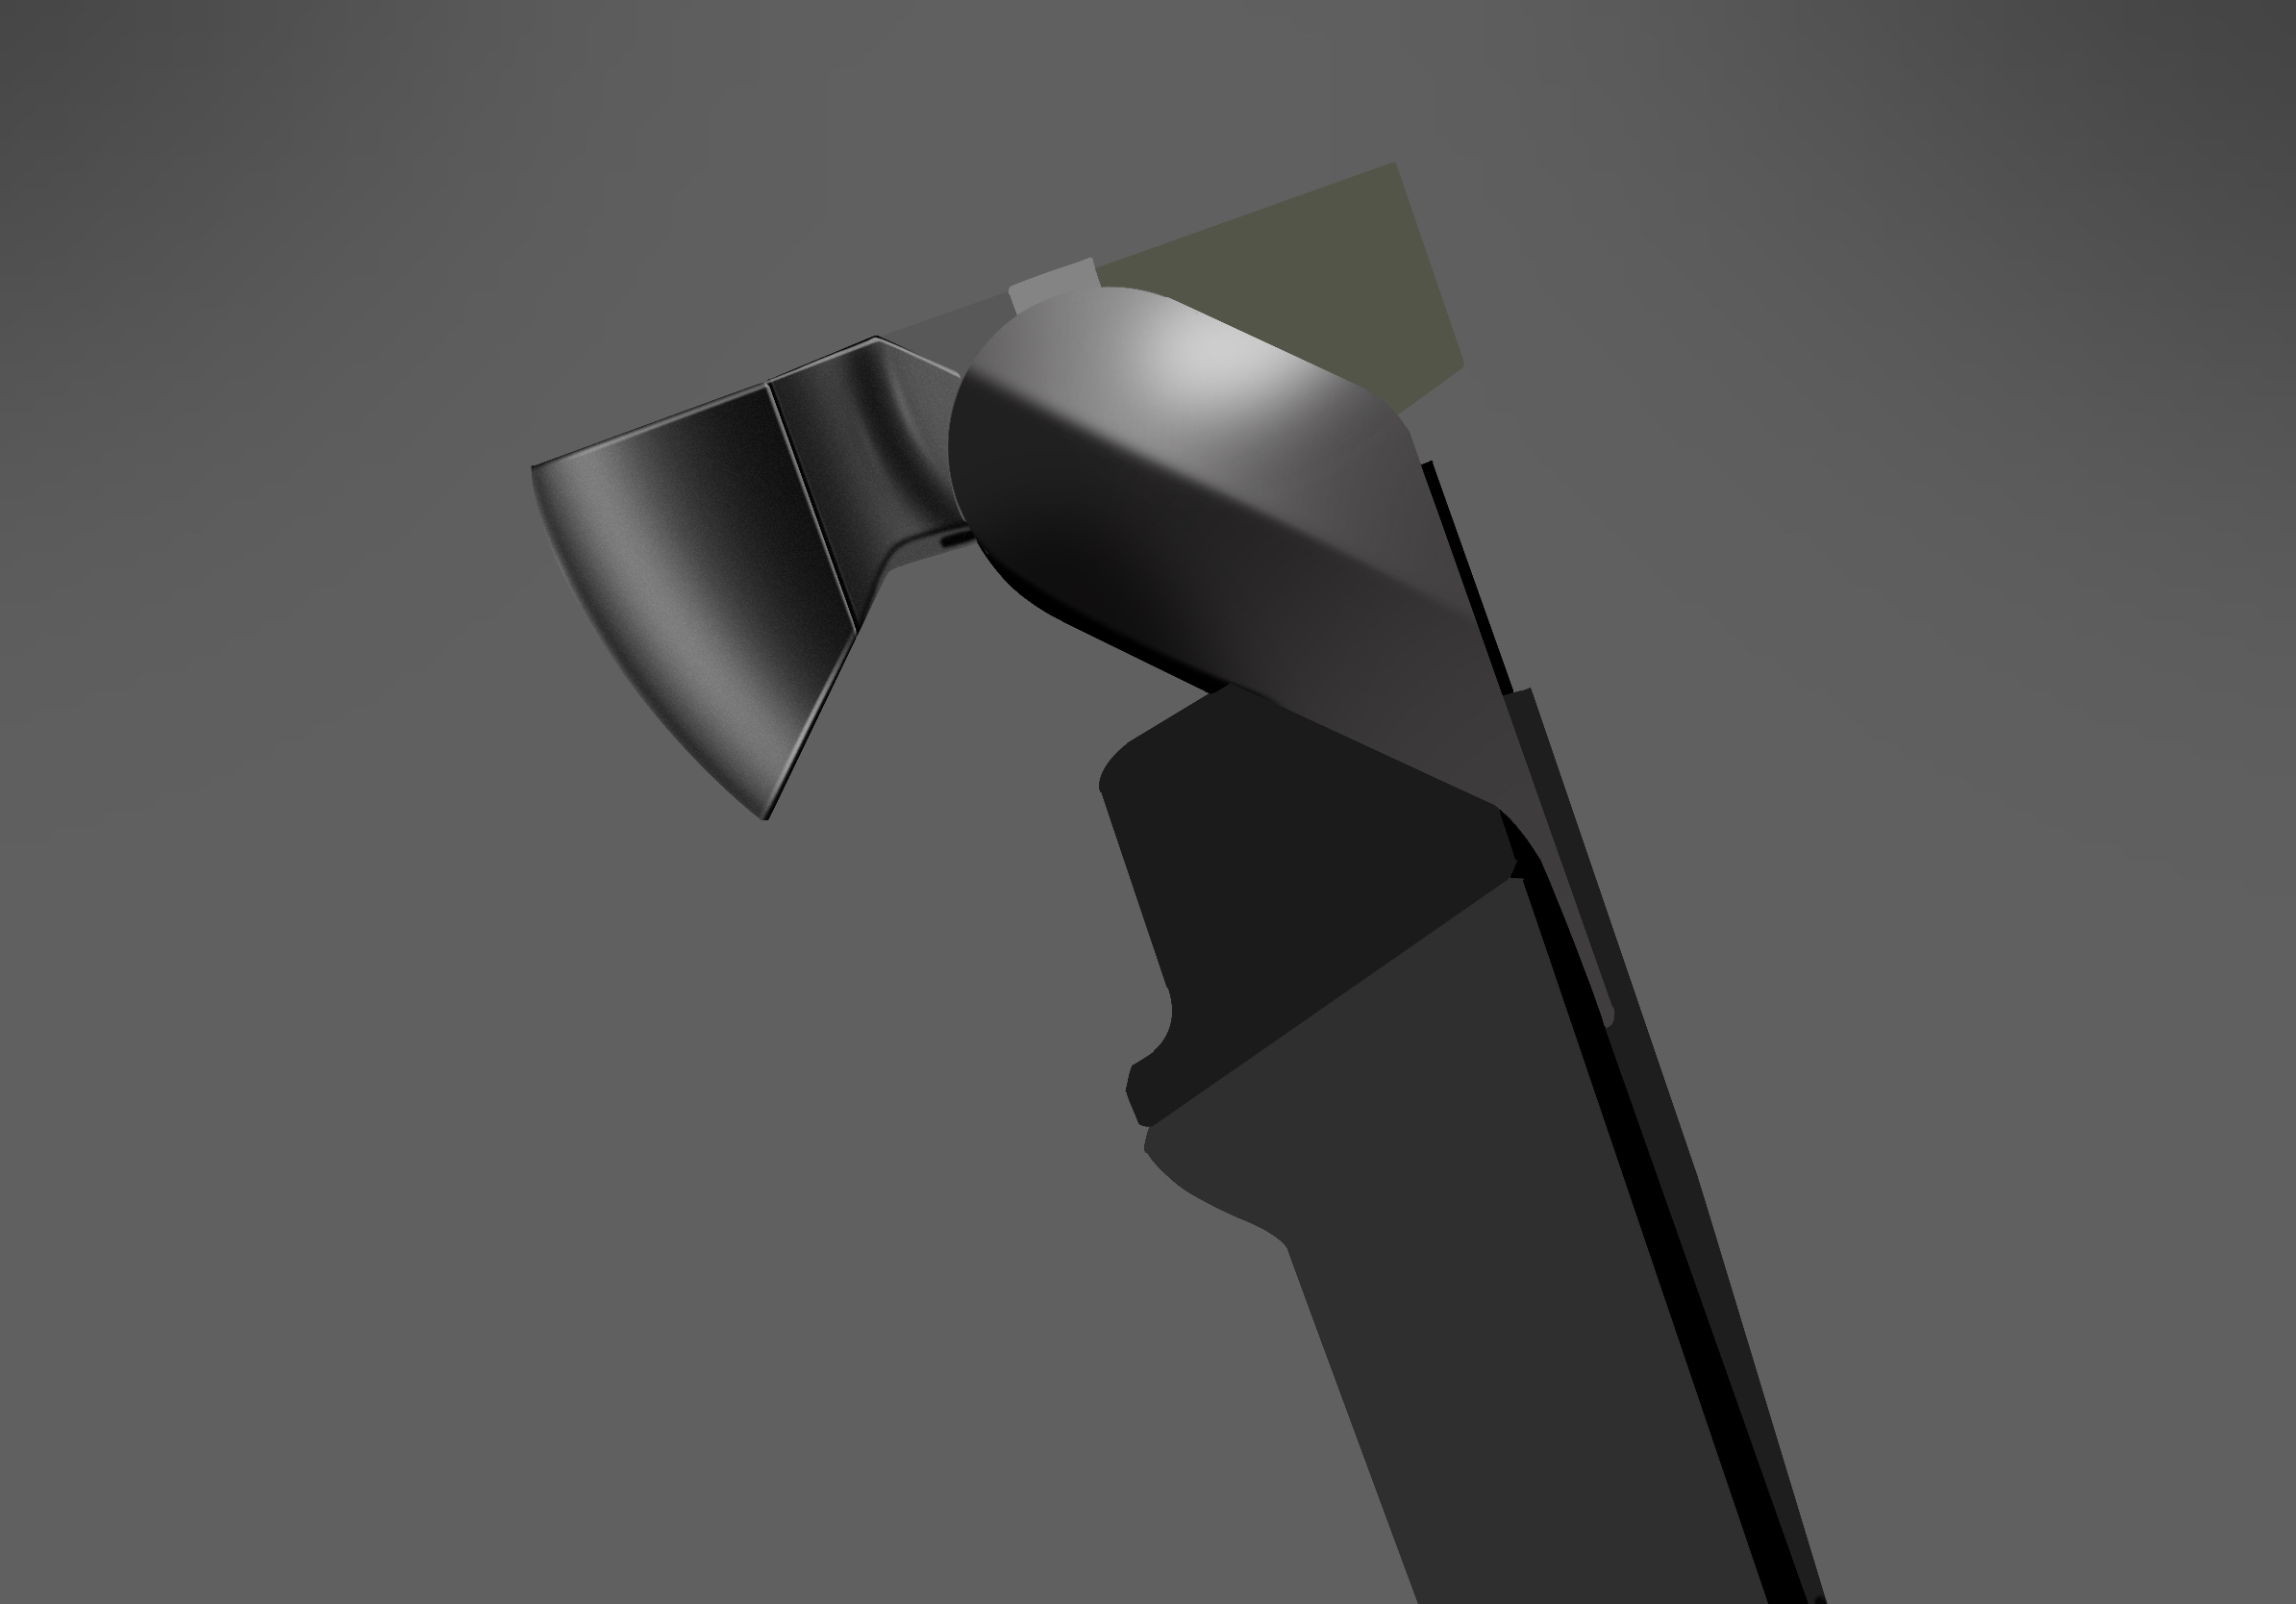
The fifth step is to analyze the direction of the light source and make it clear that the light is bright and the light is dark.
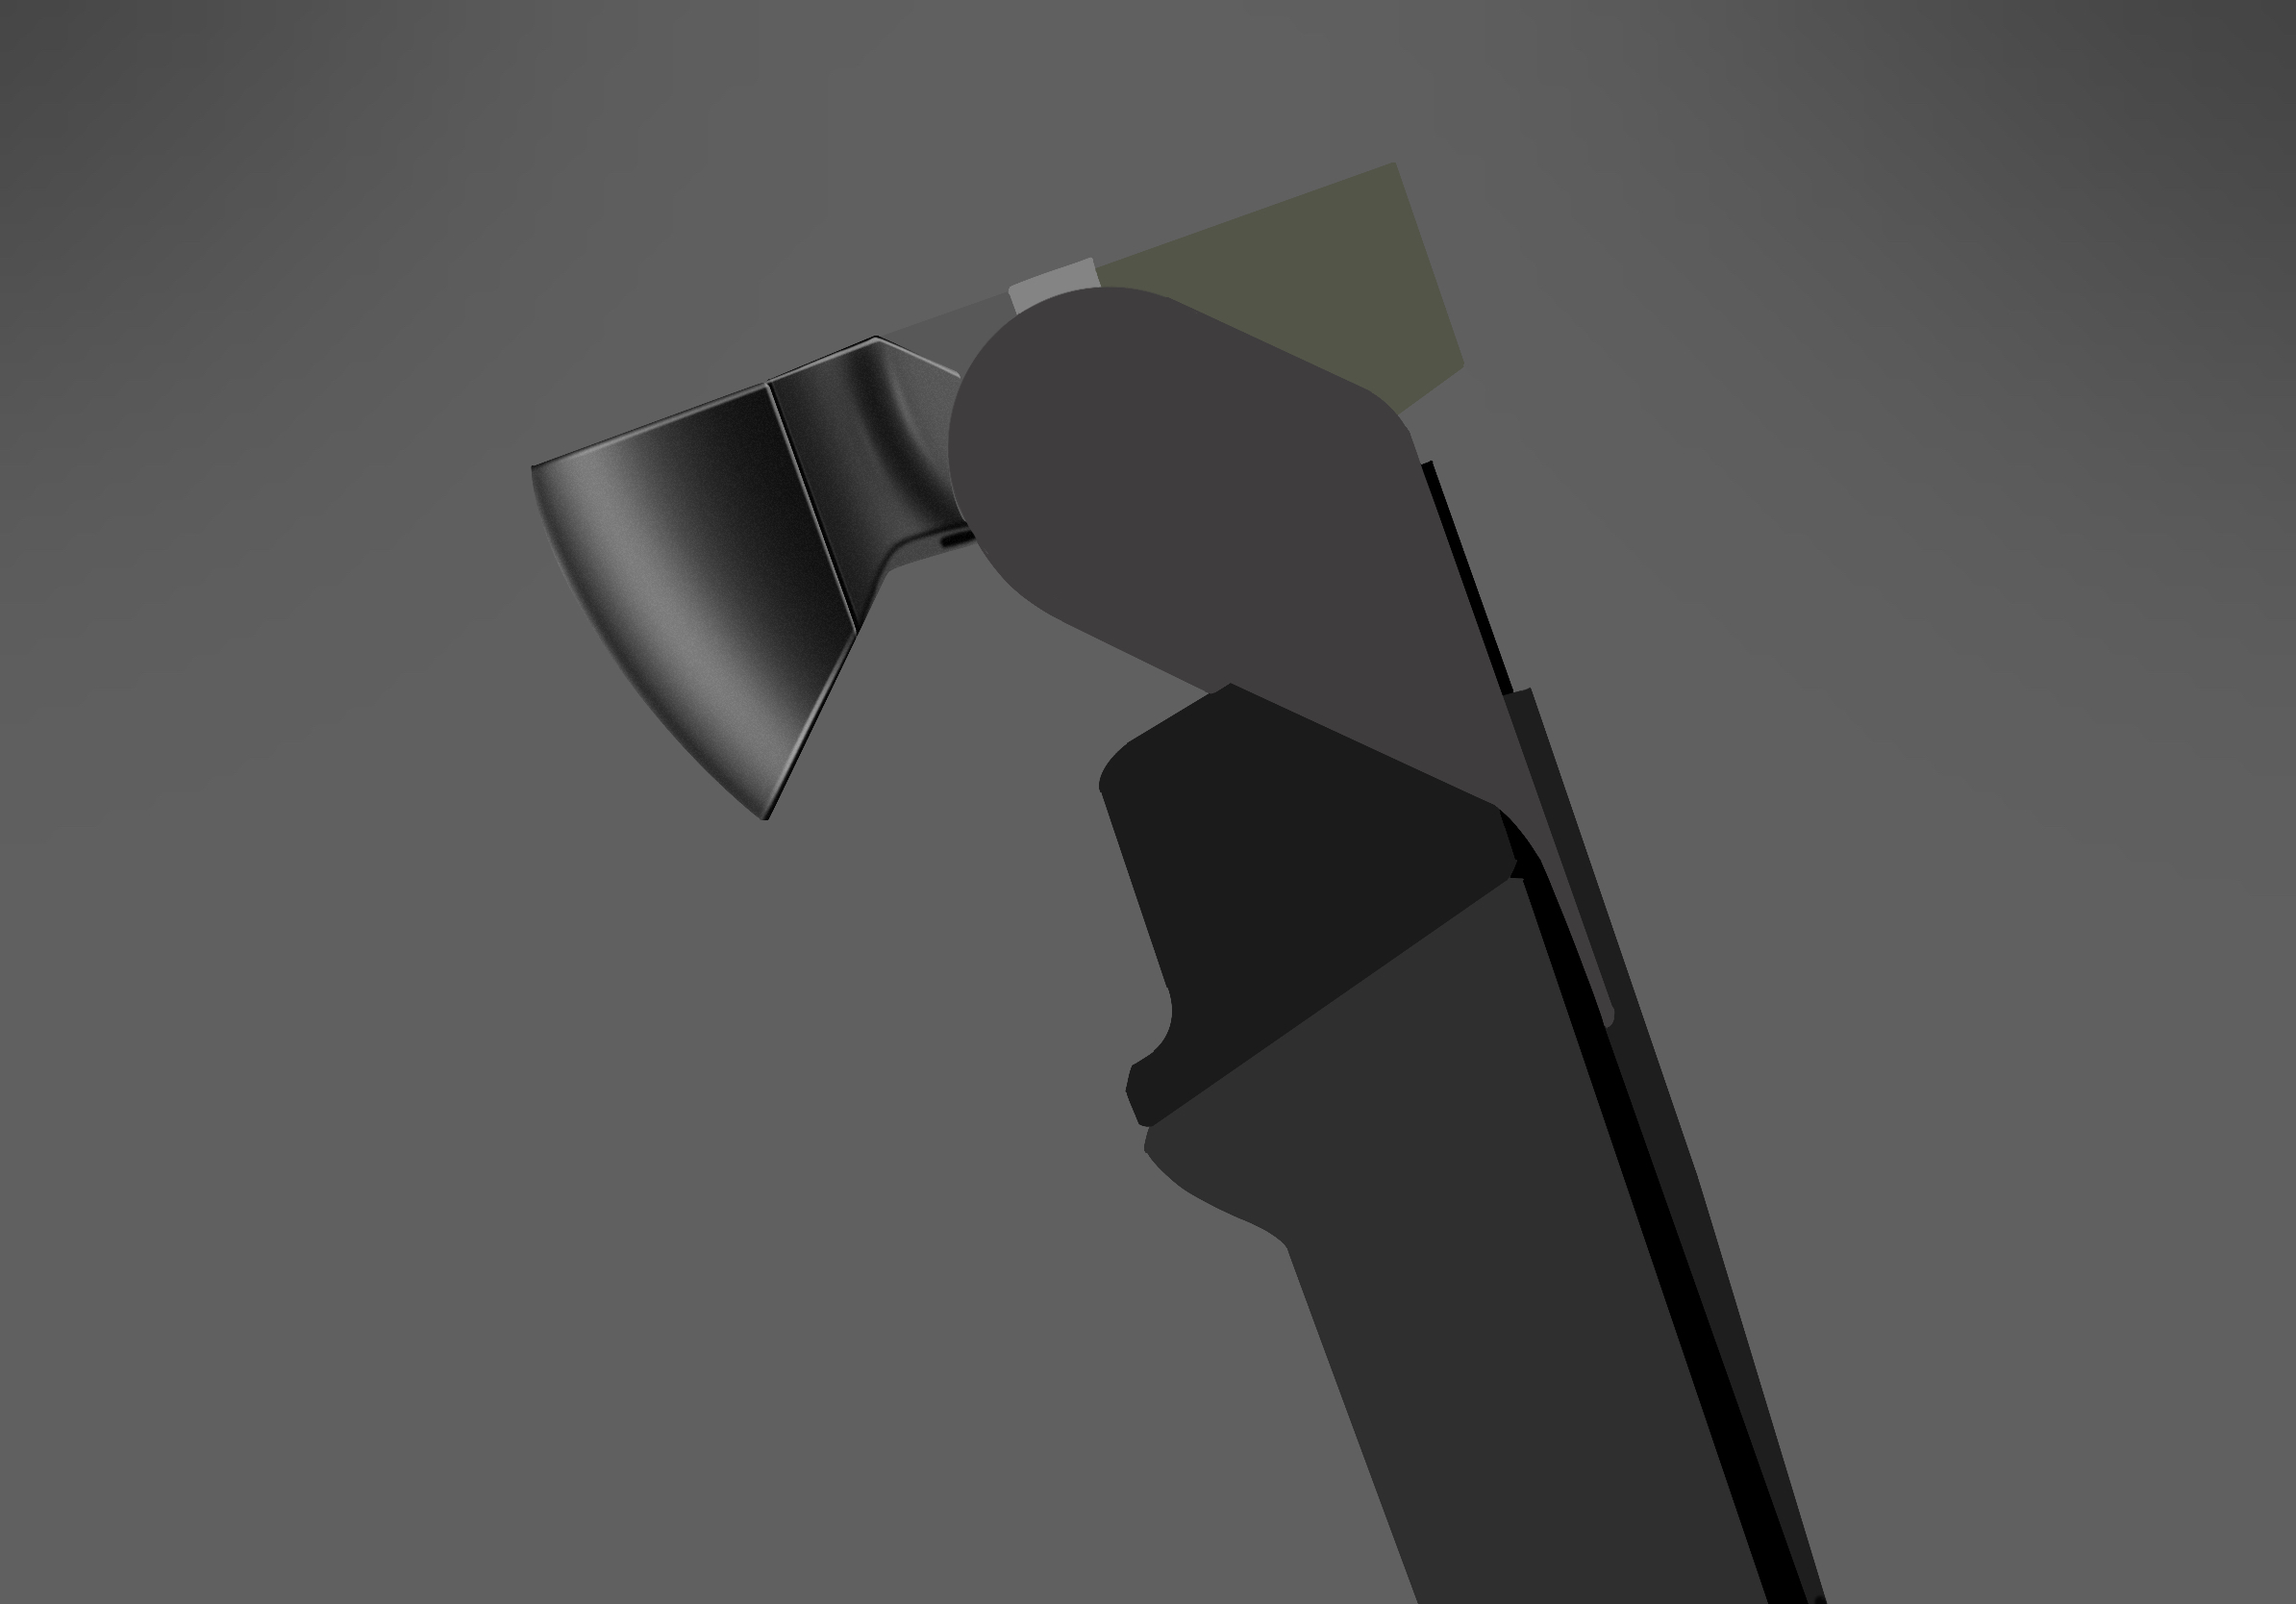
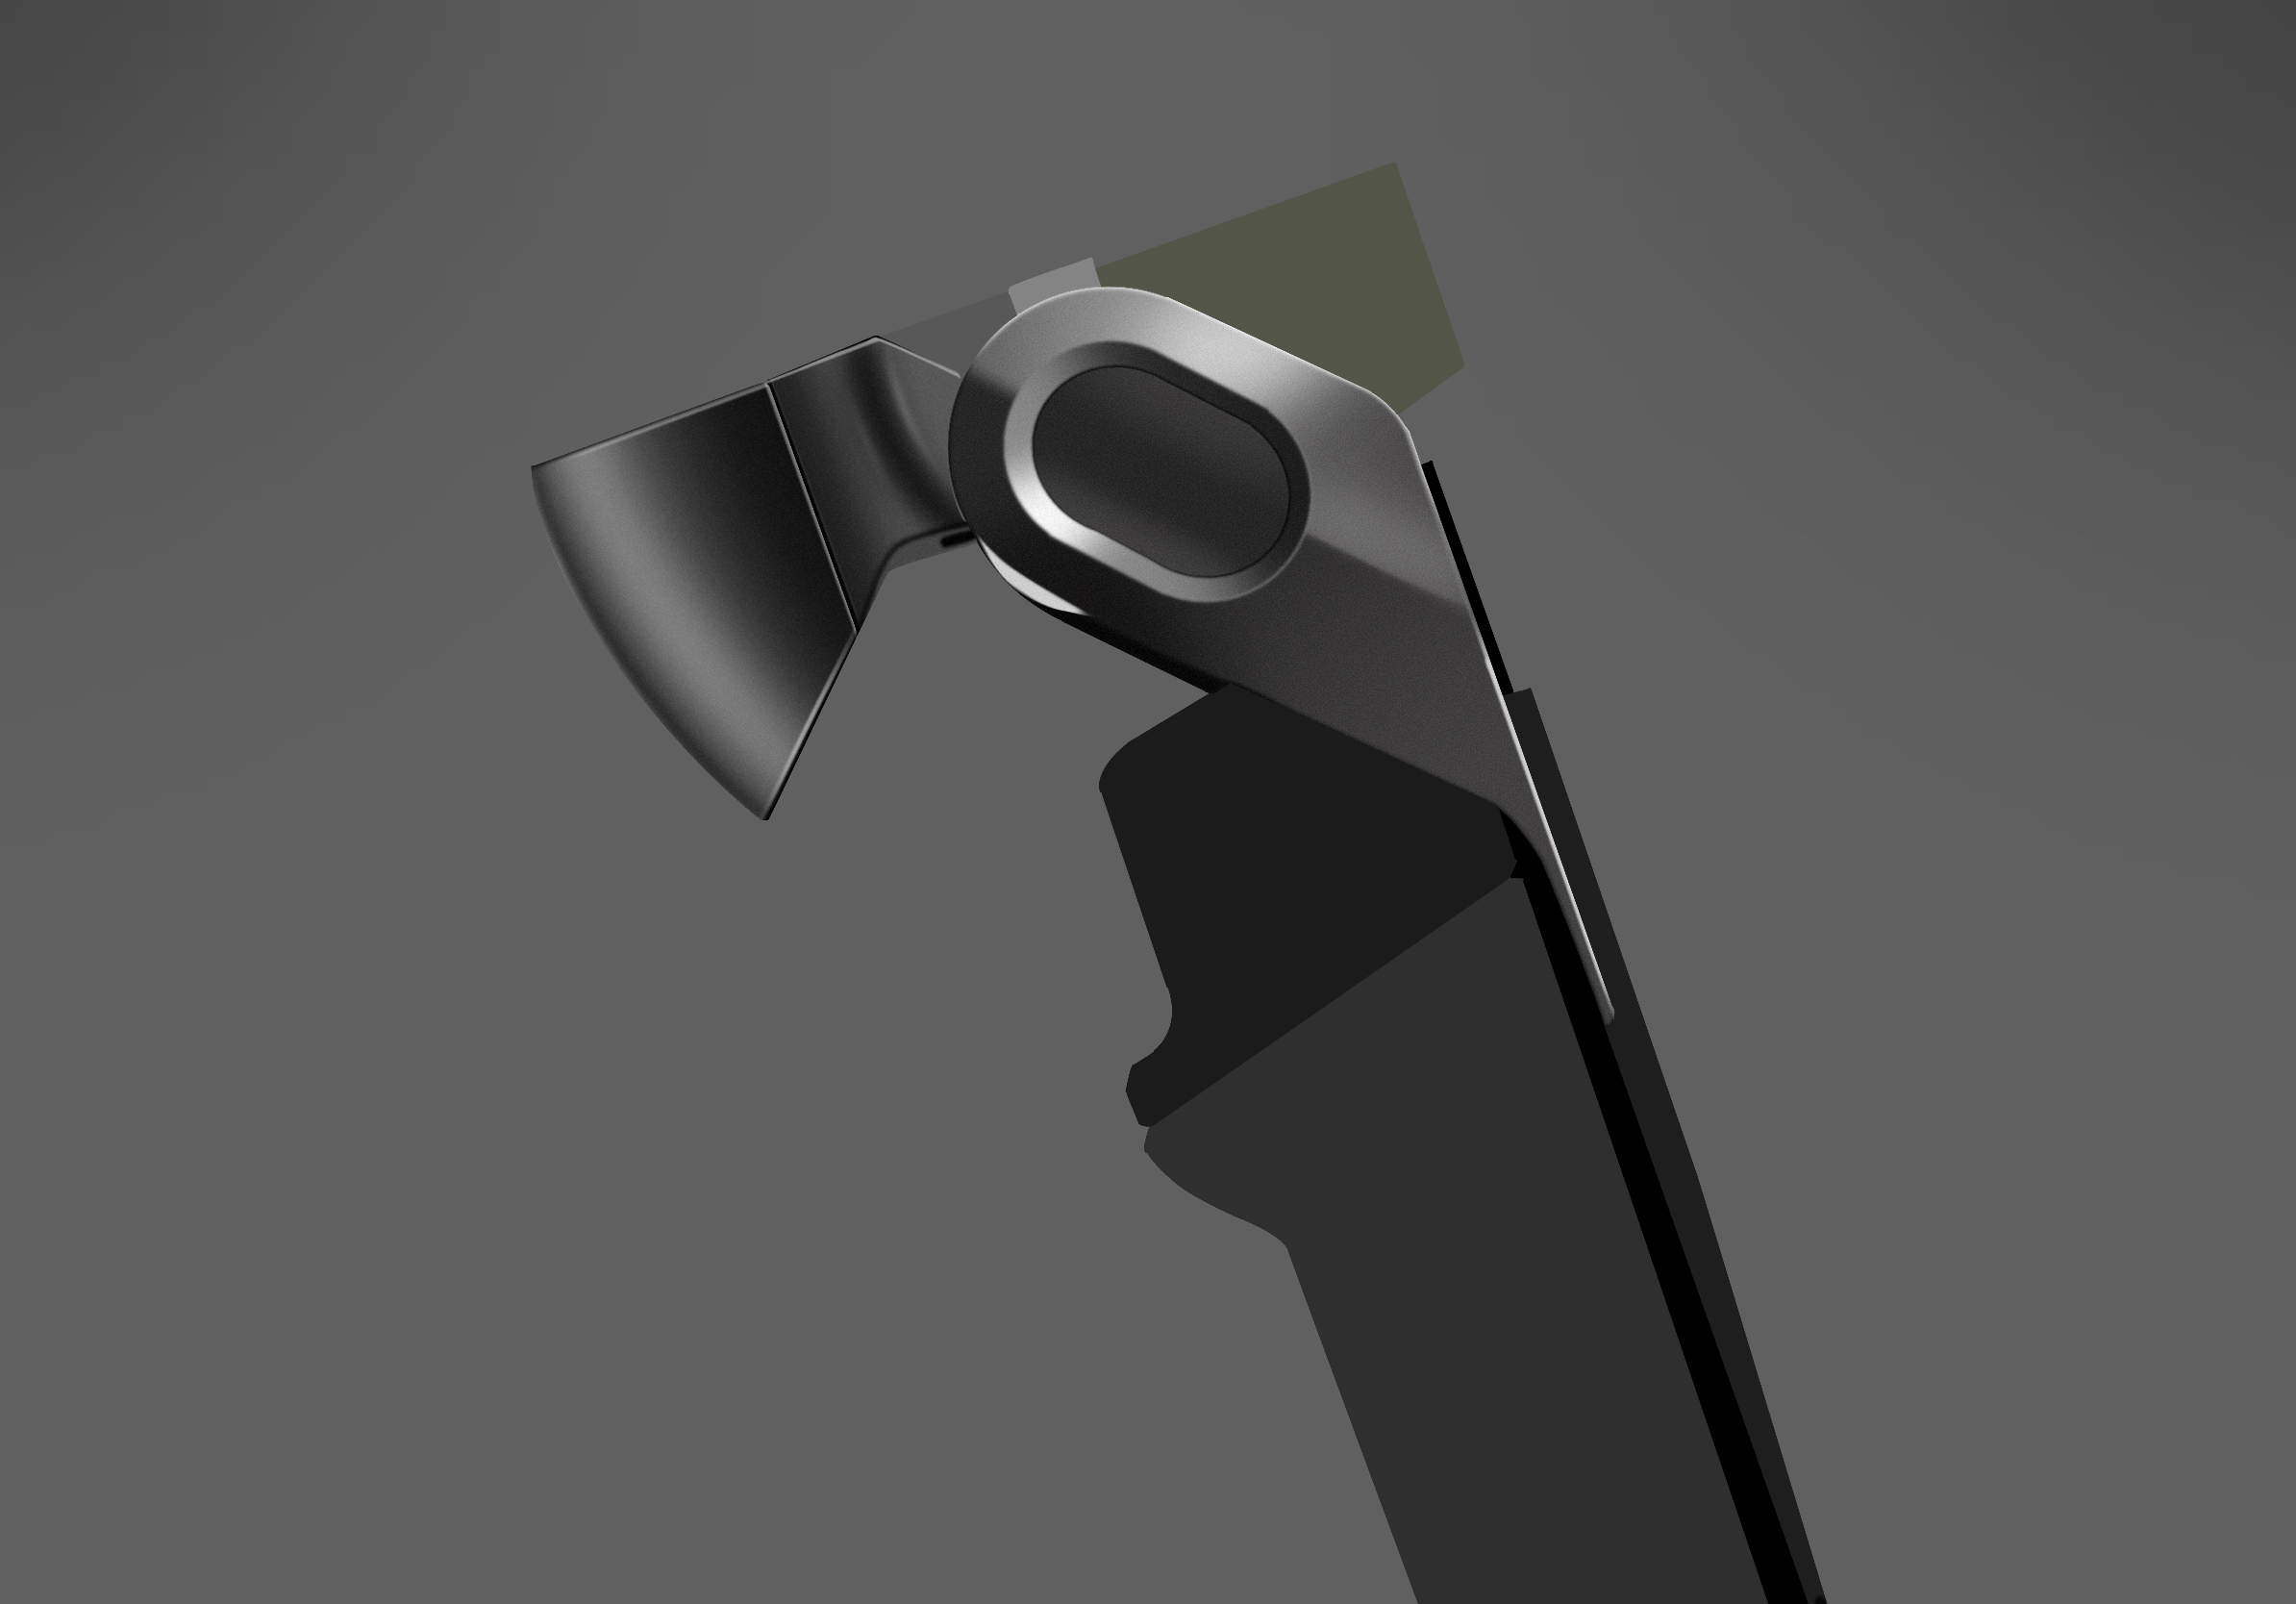
The sixth step is to superimpose a runway circle on the top, and then alpha lock to draw the feeling of depression, with light below and dark above. In the middle is a small face with a curvature.
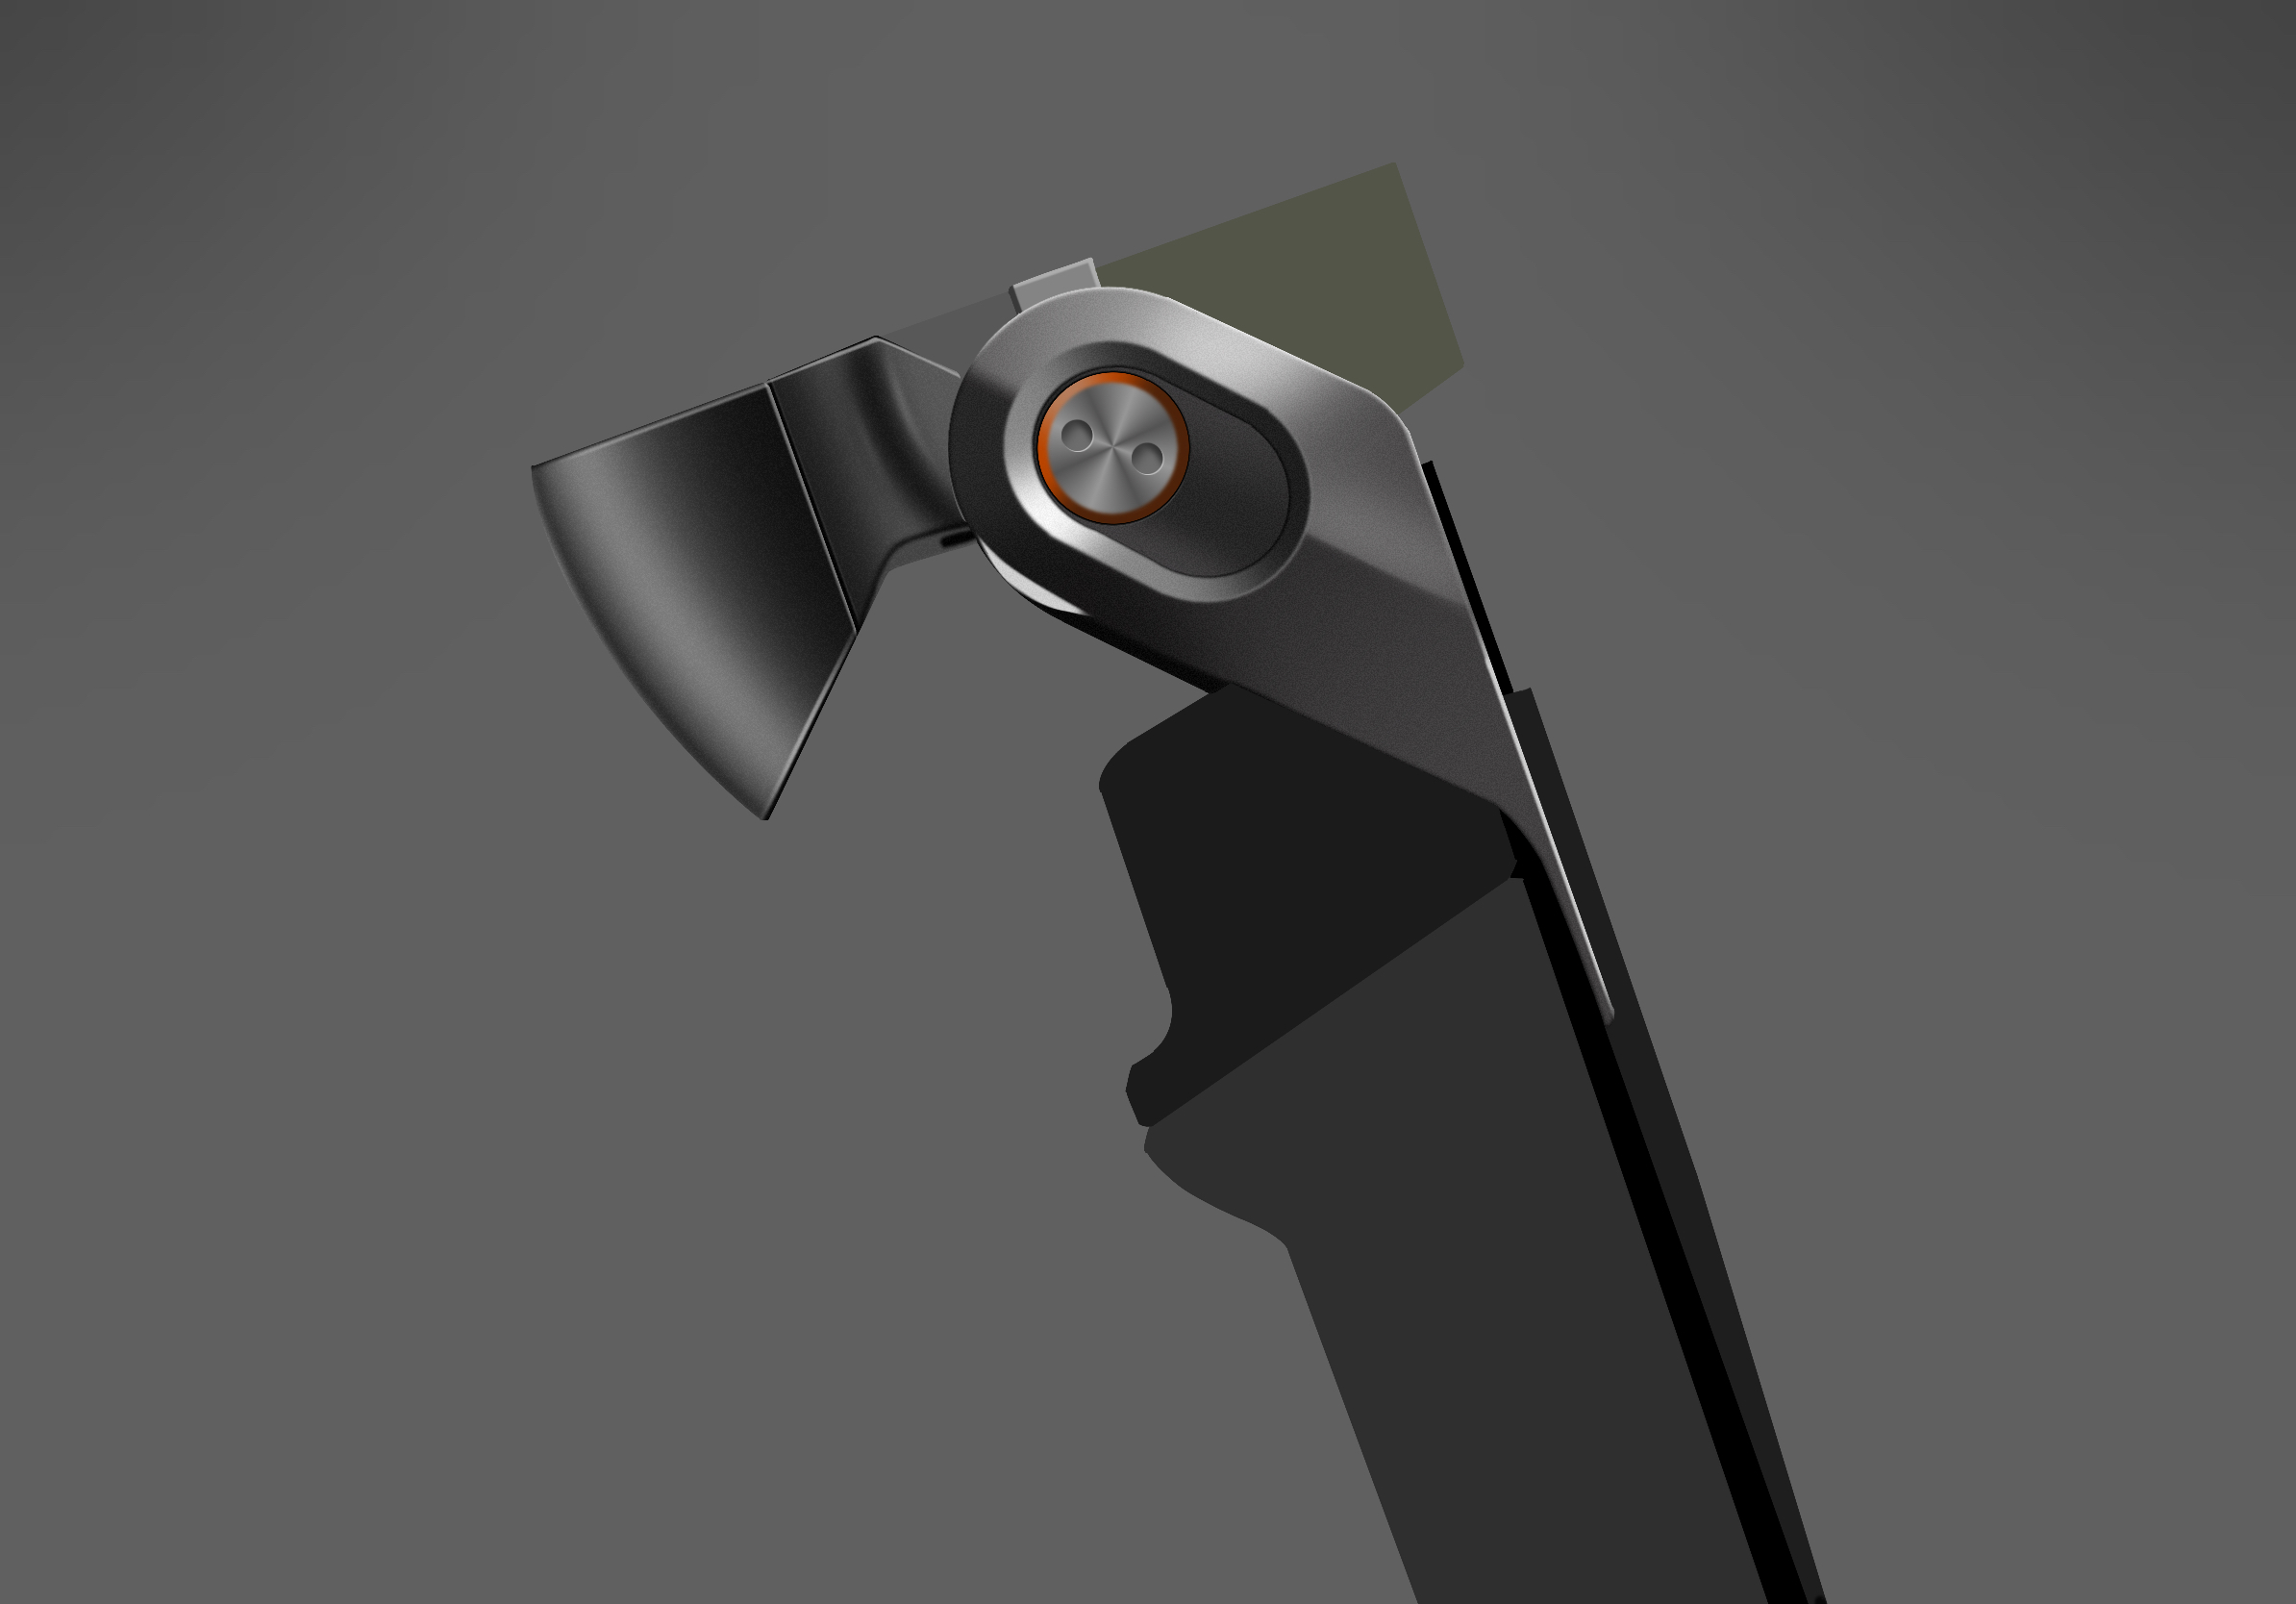
In the seventh step, the middle concentric circle is scaled, and the alpha lock is also used to draw. Use a CD texture brush and click it. Two small holes should everyone will not say.
Step 8, add a little detail. Don't say much, will ha.
Step 9, the details of the green part, the turning point, and the color separation. The color separation layer can be placed at the bottom, and other layers representing light and shadow are superimposed in blending mode.
Step 10, for small details on the right, use 95% black to draw the dark part, and directly brush the white with high light for simple indication.
The eleventh step is to draw the bright parts of the left and right corners first, and use a new layer to draw the bright parts. The surrounding twists can be selected and filled with the box selection tool, and the alpha is locked in the color.
In the twelfth step, draw the dark part on both sides of the handle part, and draw the bright part on the right side and the outline light on the left side. Finally in the middle of the painting bump.
Step 13, add carbon fiber texture, positive stack bottom, adjust opacity. Finally add the text and it is finished.
An industrial designer who loves to learn.🫡
From time to time I'll give you a little bit of this line of dry goods.🫡
The copyright of this work belongs to Aqun. No use is allowed without explicit permission from owner.

New user?Create an account
Log In Reset your password.
Account existed?Log In
Read and agree to the User Agreement Terms of Use.

Please enter your email to reset your password
Boss, can you fill in the color with reference?
Can bosses produce a complete video? please ask
Always learn to draw without wireframes
It's a good painting.
Cow
The eyes can do it, but the hands can't.