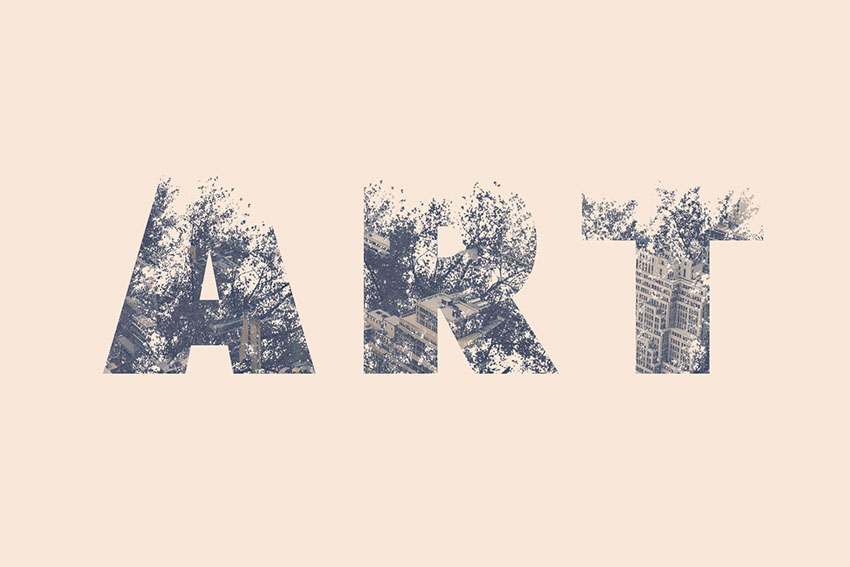
The double exposure of branches and buildings is looming in the original square and flat fonts, making the fonts interesting at once. Who wouldn't want to use such words as the title? Follow the tutorial step by step, and you can also make this effect!
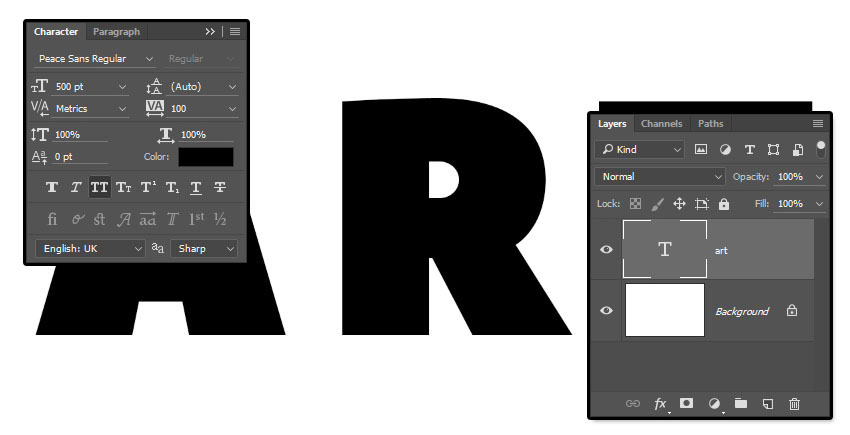
First, create a new file with 1500*1000 pixels in PS and fill the background with white. Use Peace Sans Regular fonts to create text in the middle of the canvas. The words should be larger to facilitate details. As shown in the figure, the font size is set to 500 points and the kerning is set to 100.
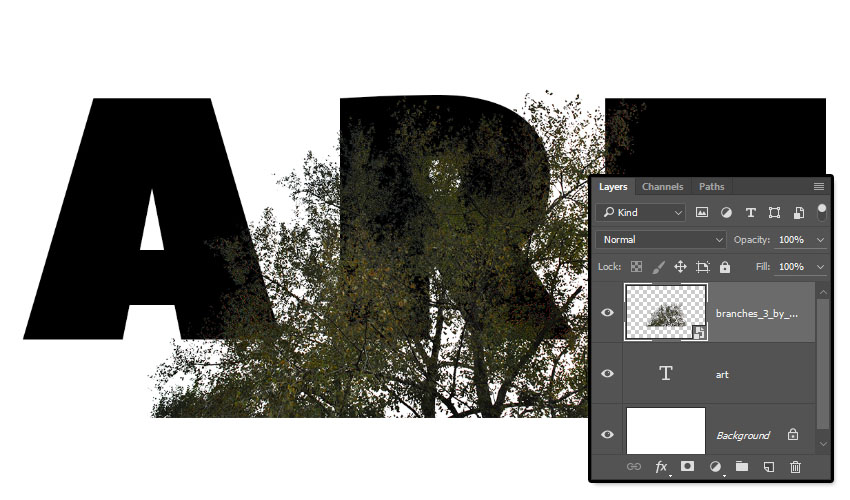
Place the branch layer above the text layer, zoom and adjust the angle as needed.
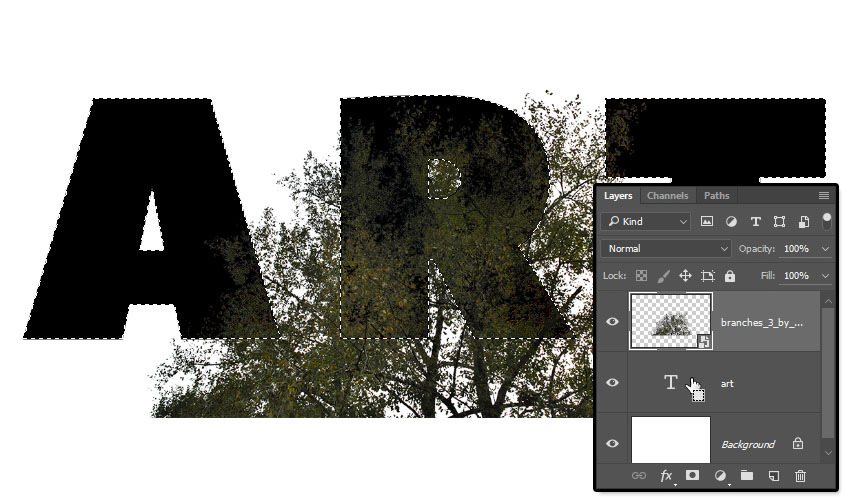
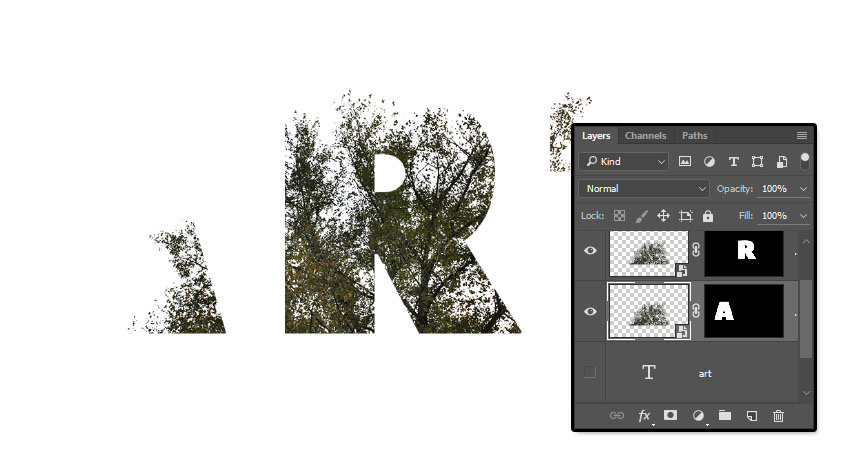
Command to click on the thumbnail of the text layer to create a selection.
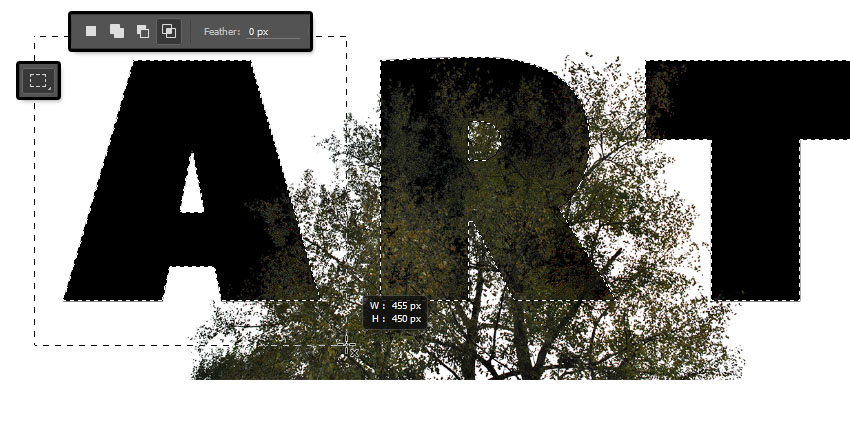
Select the rectangular marquee tool and select the intersection option in the upper function box. As shown in the figure, the Rectangular Marquee tool selects the first letter.
The two constituencies intersect, redundant constituencies are deleted, and only the first letter of the constituency is retained.
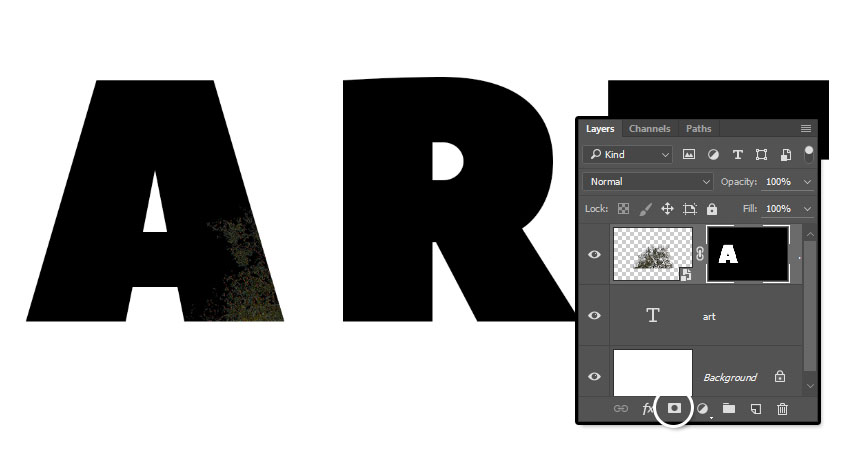
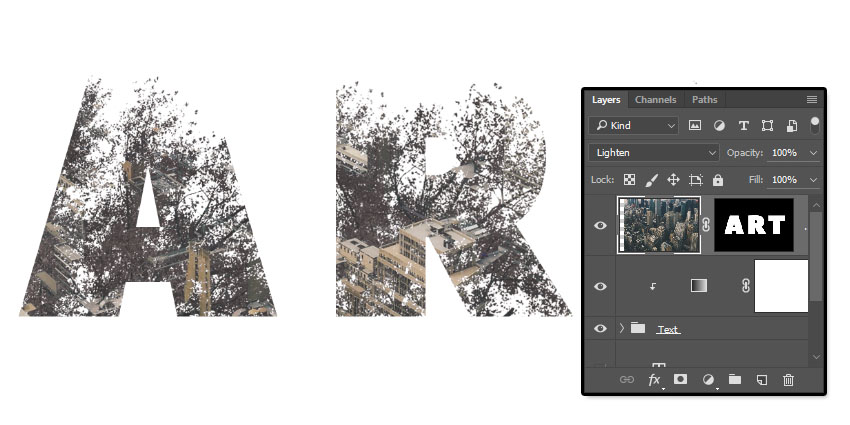
Select the branch layer and select the mask tool in the layer panel.
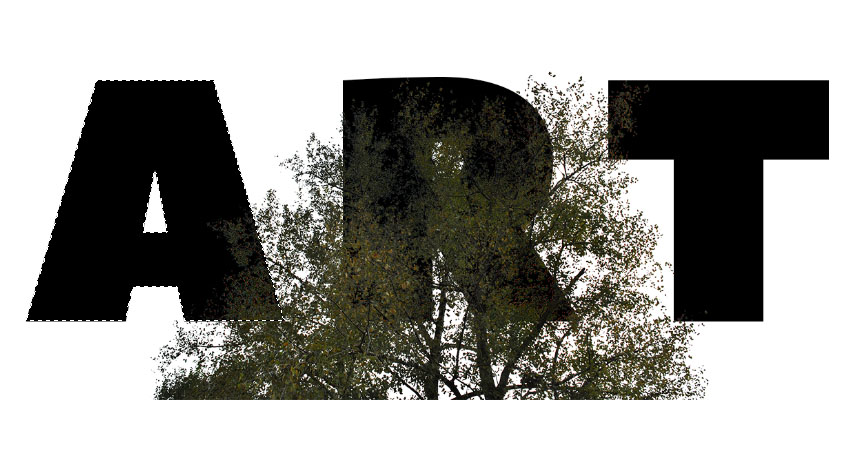
Other letters follow the above steps to do the same.
Hide the original text from the layer, and we can see the effect like the above picture!
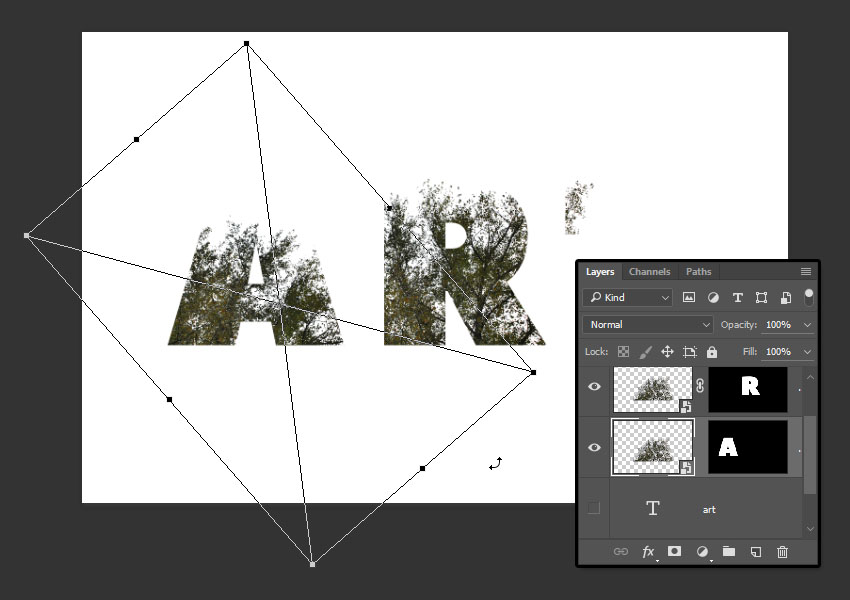
Click the link icon between the branch layer and the mask to unlink. So we can adjust the branch layer individually. Use free transformation tools to scale and rotate according to preferences.
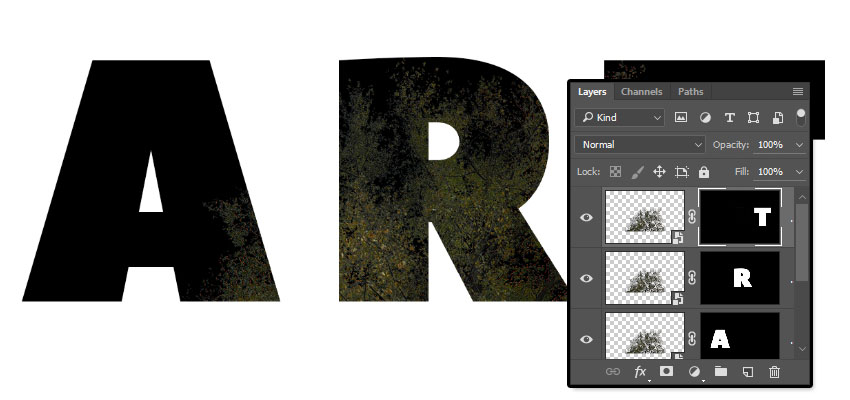
Do the same for other letters, don't forget to relink the mask after the adjustment is completed! Then put all the branch layers into a folder.
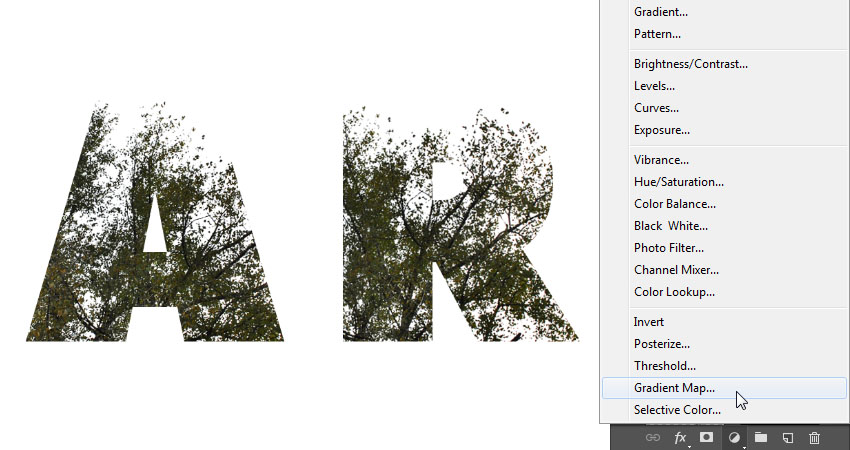
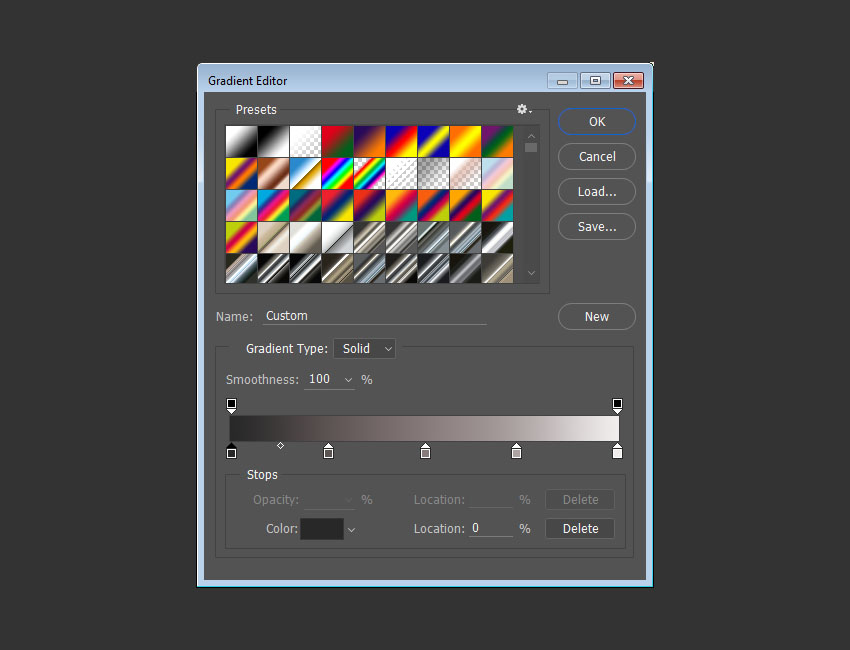
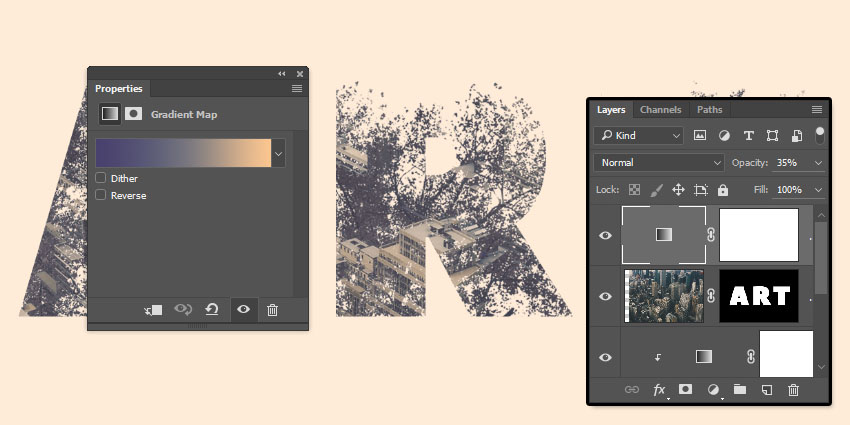
Click to create a new fill or adjust layer in the bottom layer panel, as shown in the figure, and select gradient mapping.
Open the gradient editor and set the color stop value from left to right according to the above figure. The color number and position of the specific color are:#282828-0%,
#5 c5353-25%,
#877 a7a-50%,
# ada3a3-75%,
# f1ed-100%.
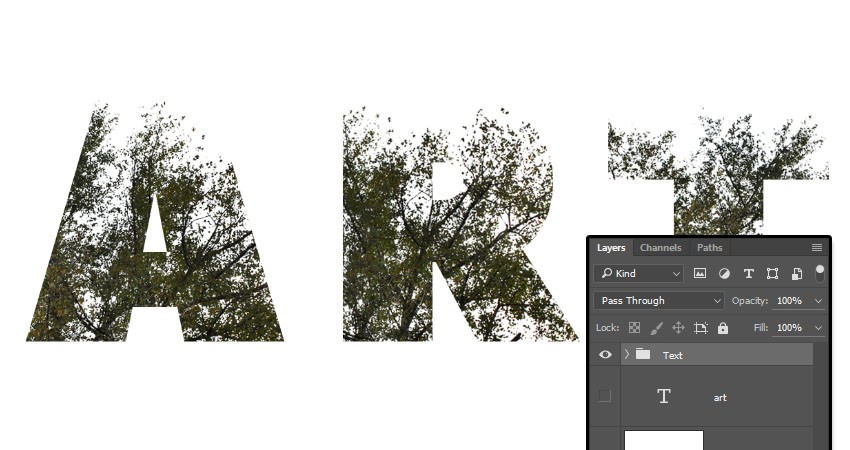
Place building pictures above all layers, adjust their size as needed, and repeat the operation of the above branch layers to achieve the effect of double exposure.
Create a new gradient adjustment layer above all layers, and adjust the color, opacity and other parameters of the gradient bar according to preferences.
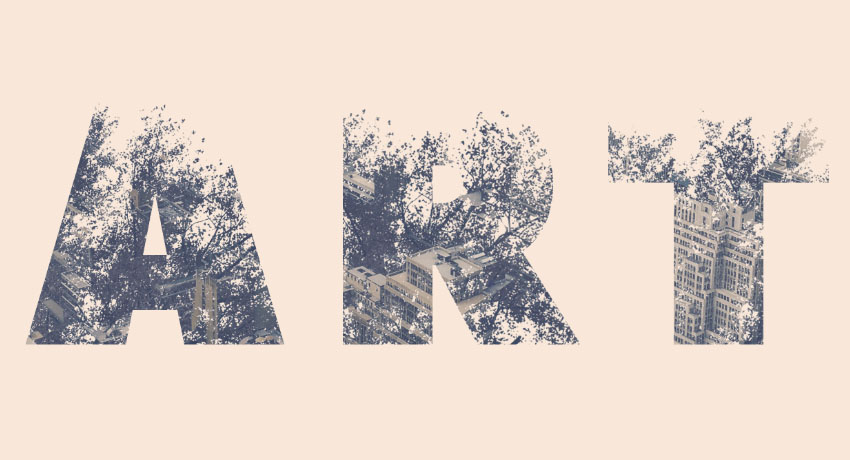
This is the final effect!


The horse has lost his horse.
Coach, I want to learn
Great
Like, want to learn