In the afternoon, I just have time to share my rendering experience, hoping to be helpful to your growth.
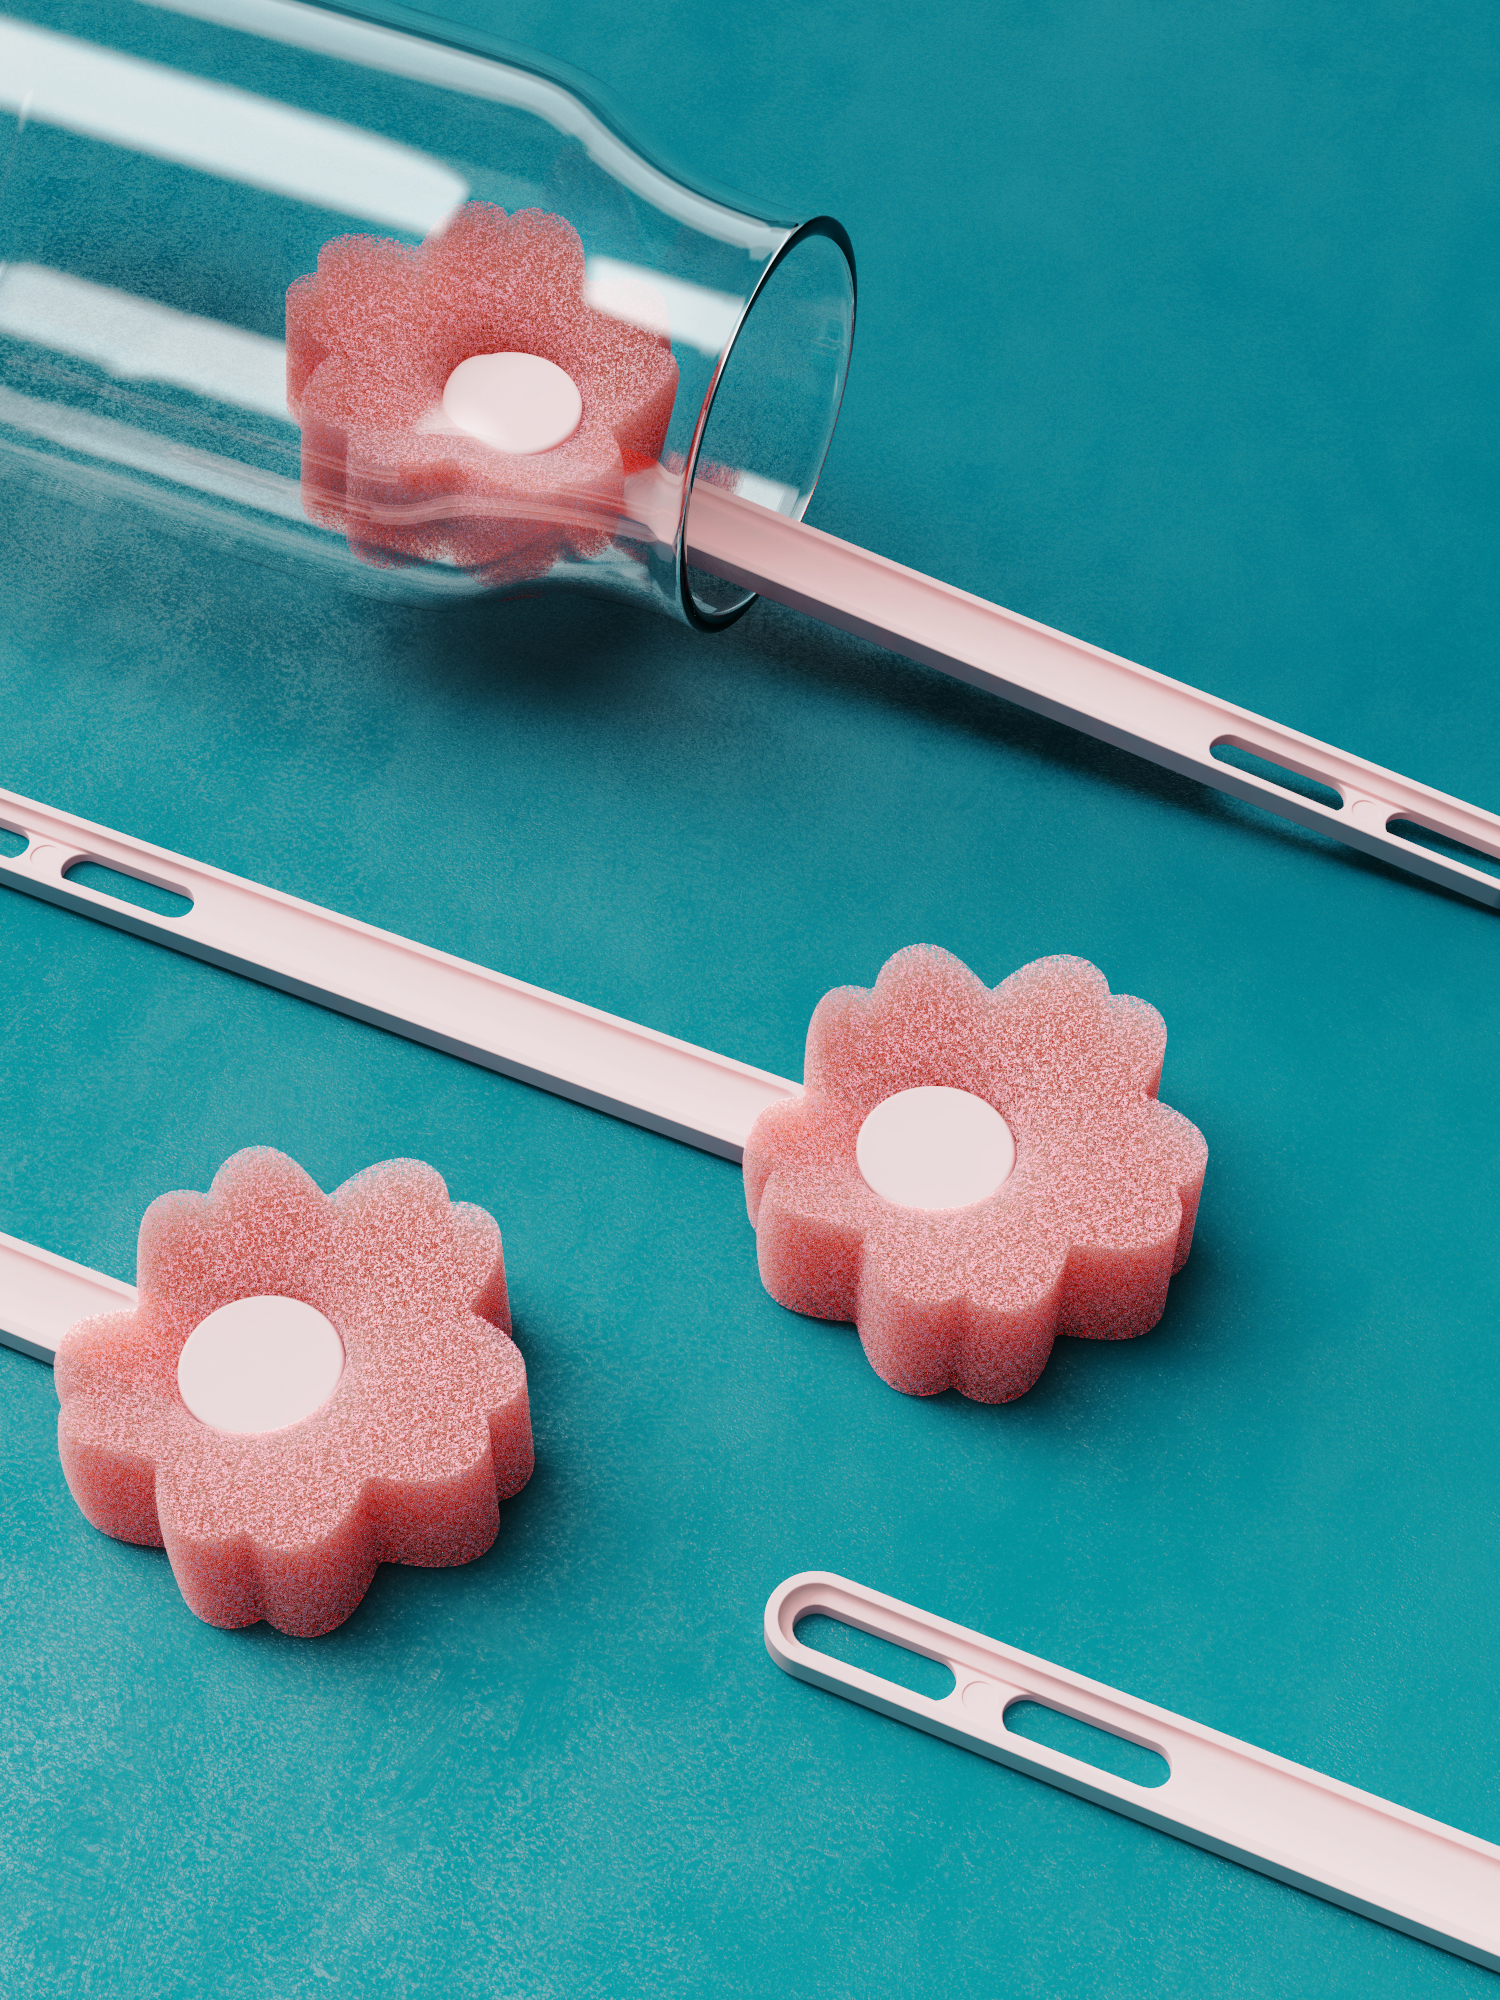
The result map, typesetting refers to a photographic work of Zhanku.
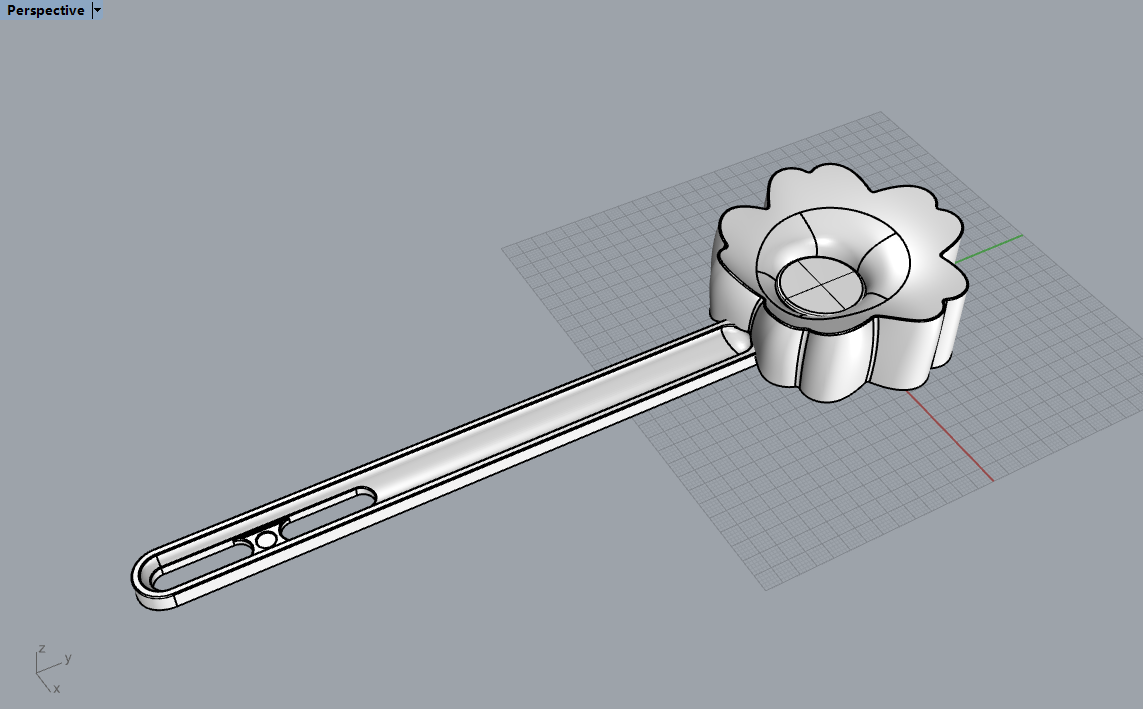
Facet reference for modeling rhinoceros =-=. Because the point is to render this part, let's skip it first.
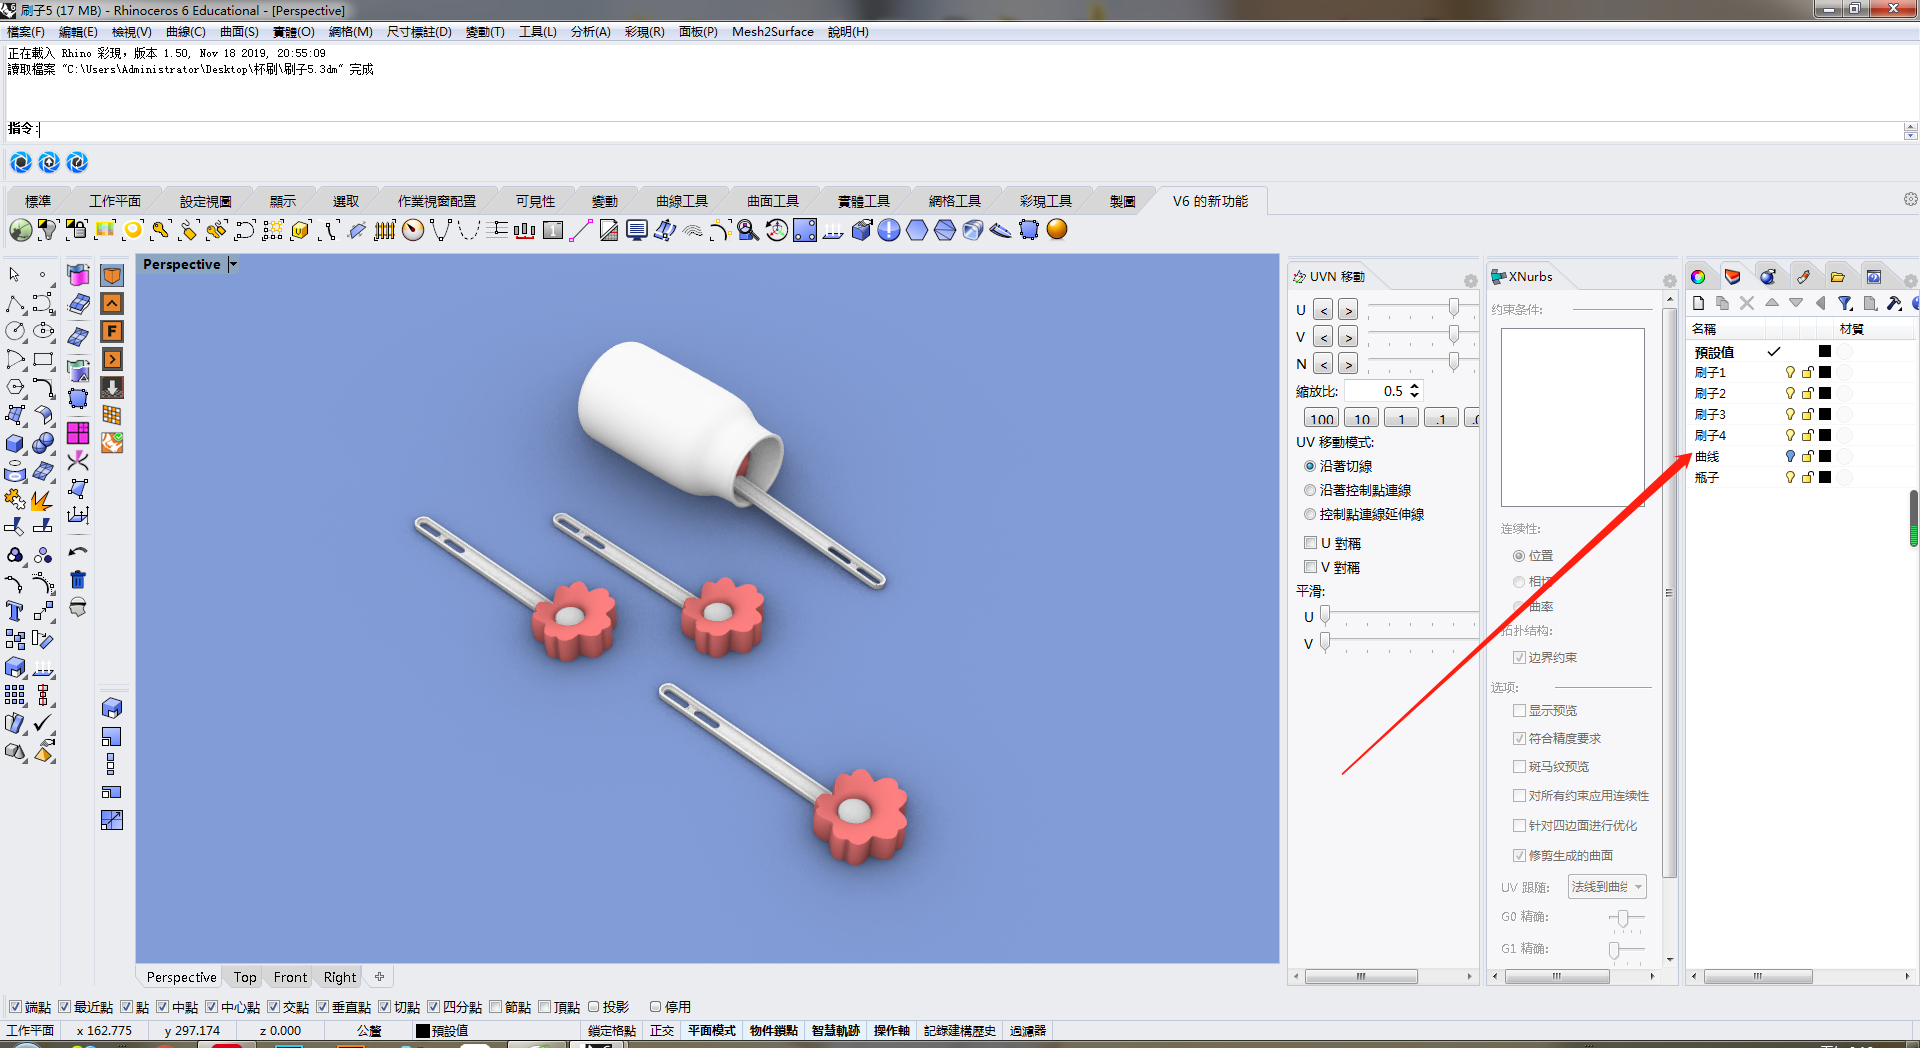
Build scenes in rhinoceros, because I don't like to import ks with plug-ins, so I will divide the objects that may be moved into a separate layer. This is also crucial for animating in ks.
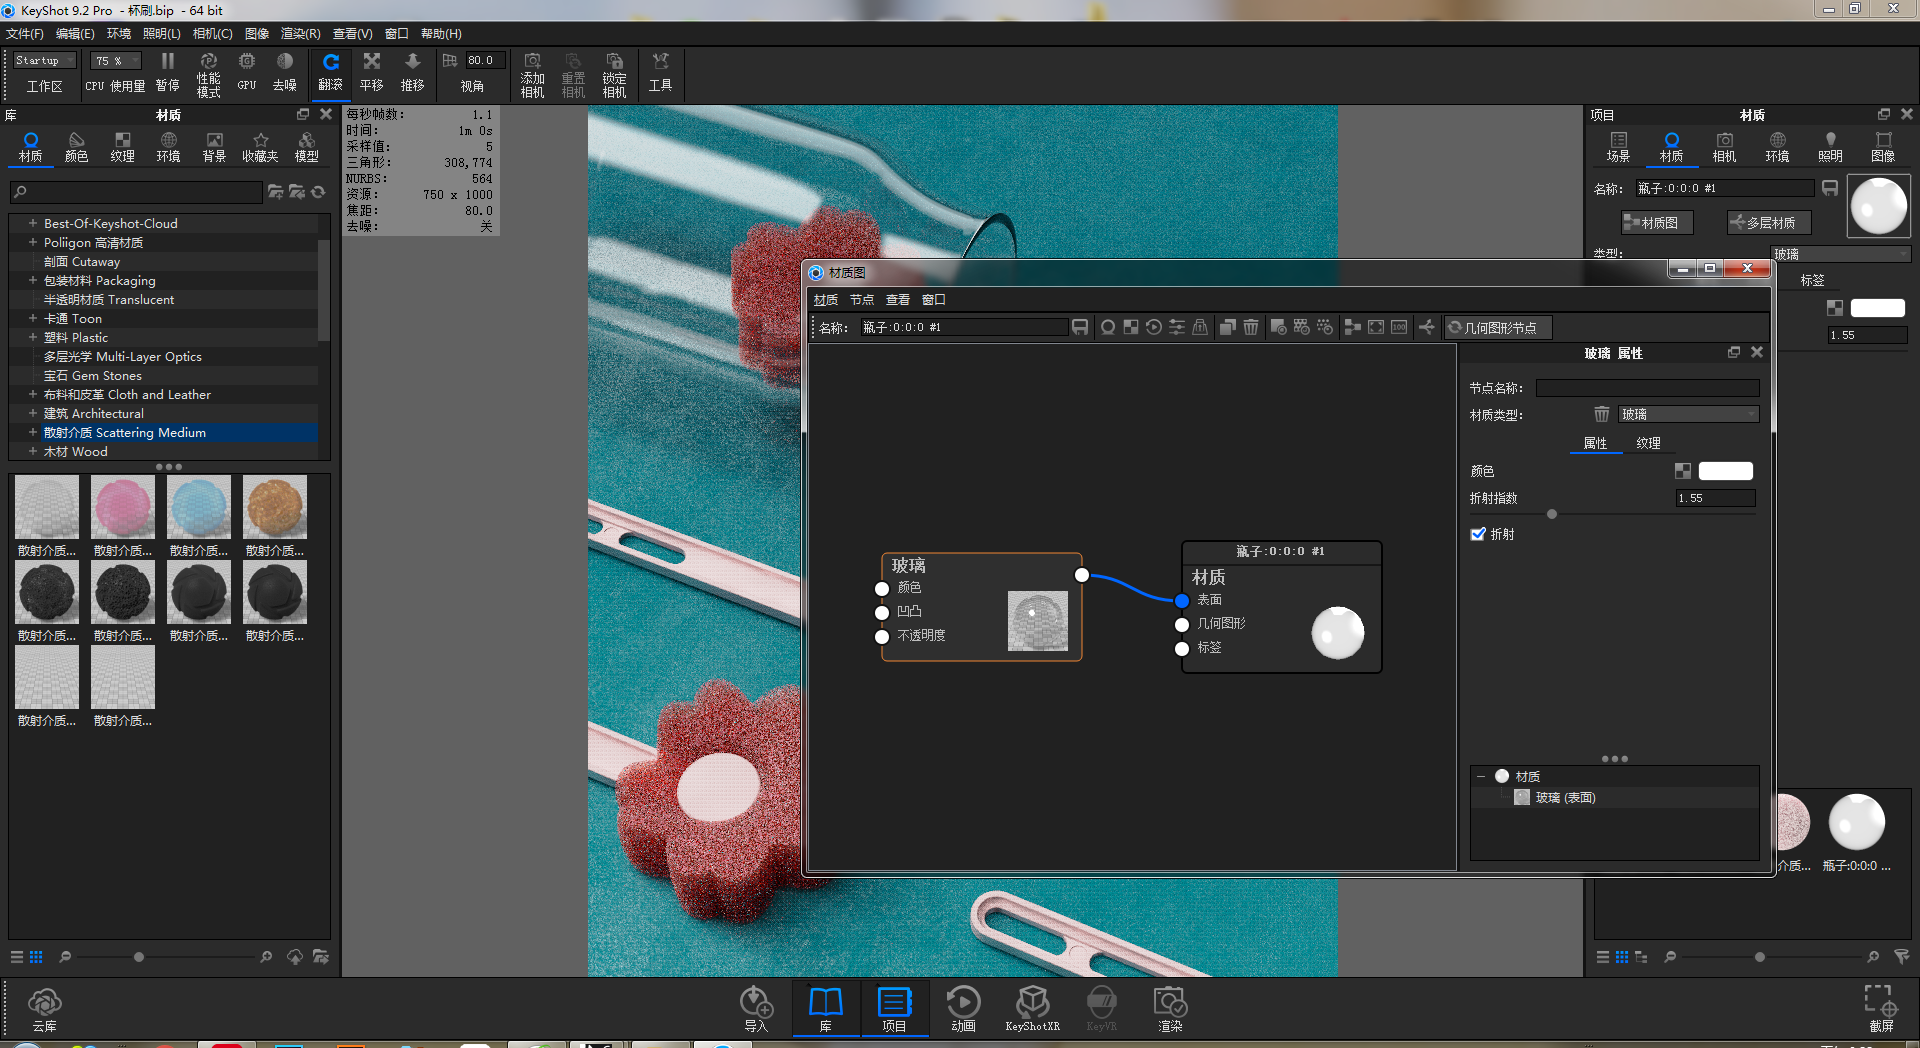
Glass material, remember to hook the refraction so as to better reflect the thickness of the glass. Refraction index =-=. There are many tutorials that are principles. I won't say much here. Personal understanding is that the higher the index, the more solid the glass, the brighter the light, and the higher the index will disappear at 1, the higher the metal.
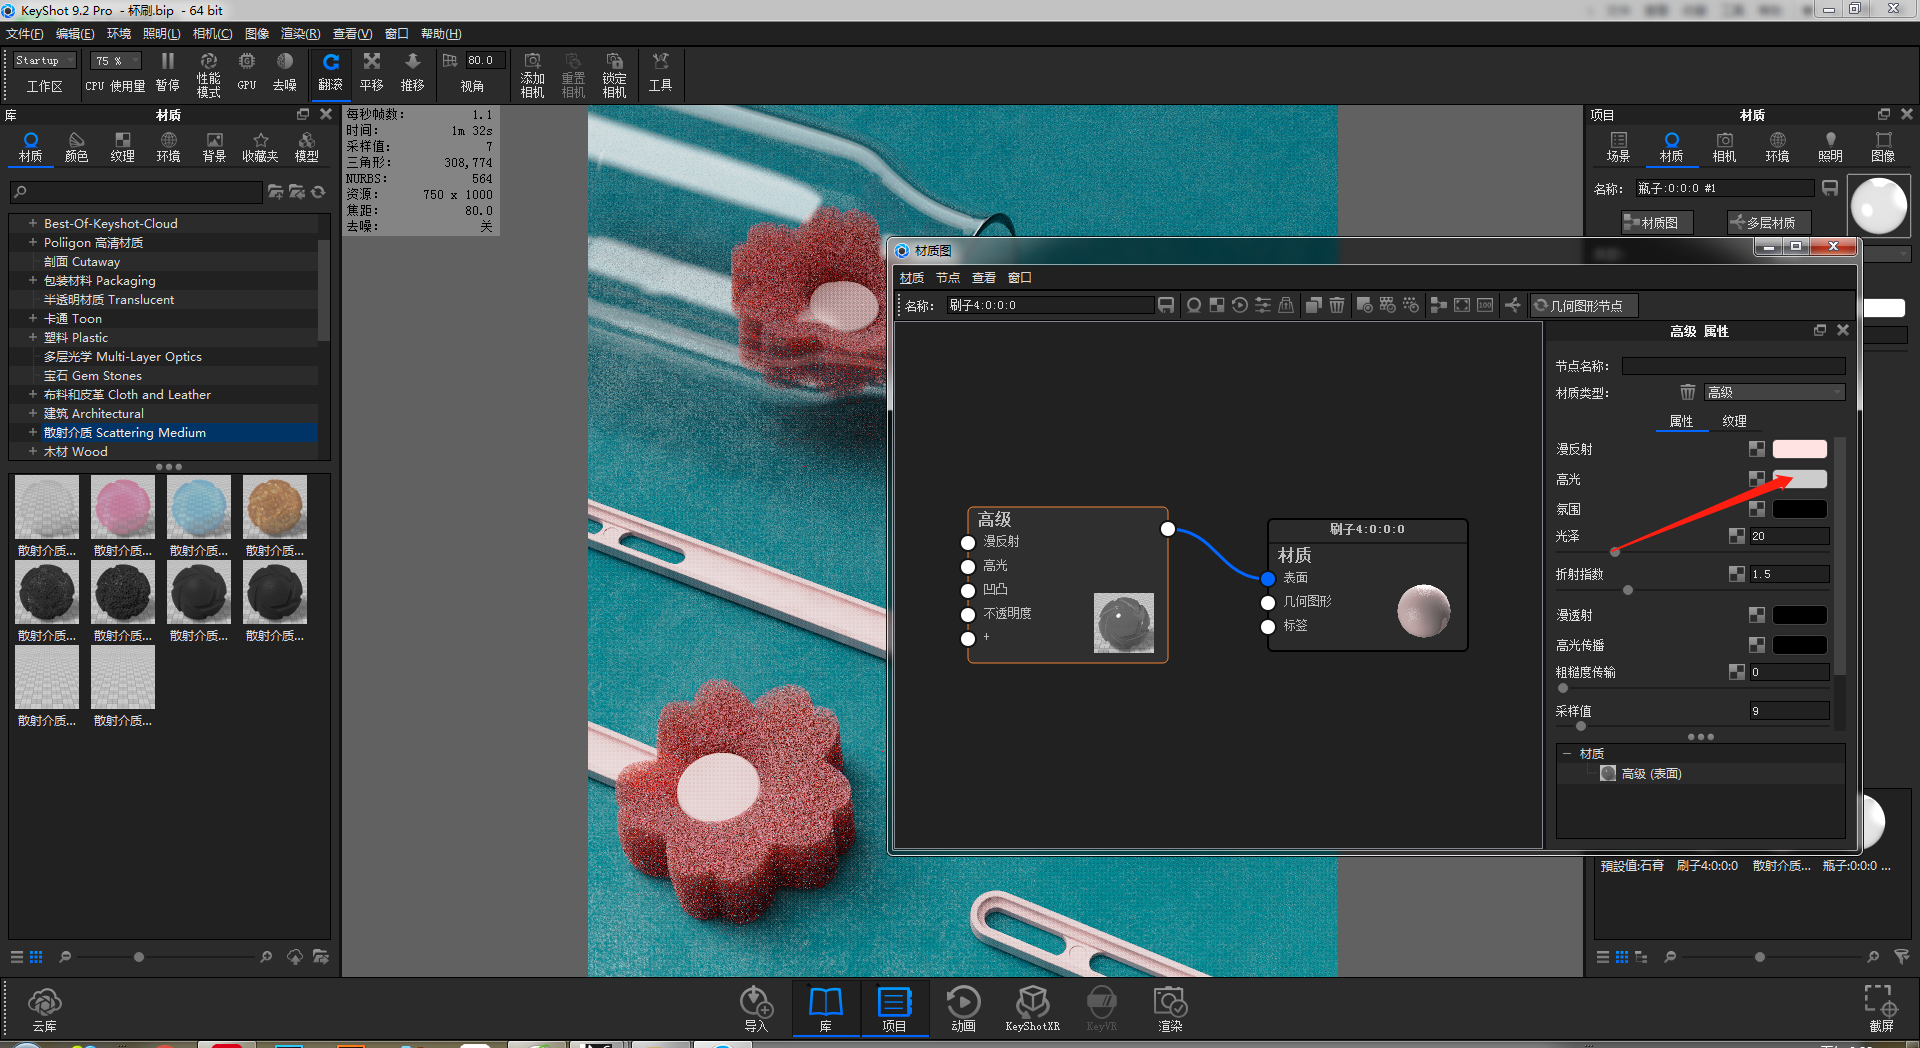
The material of the stick is a relatively simple and advanced material. I highly recommend advanced materials. I usually use this material to adjust it into various materials and have high support for labels. It is worth noting that many small partners will have exposure problems in rendering. Here we can turn the highlights to gray to effectively improve the exposure problems.
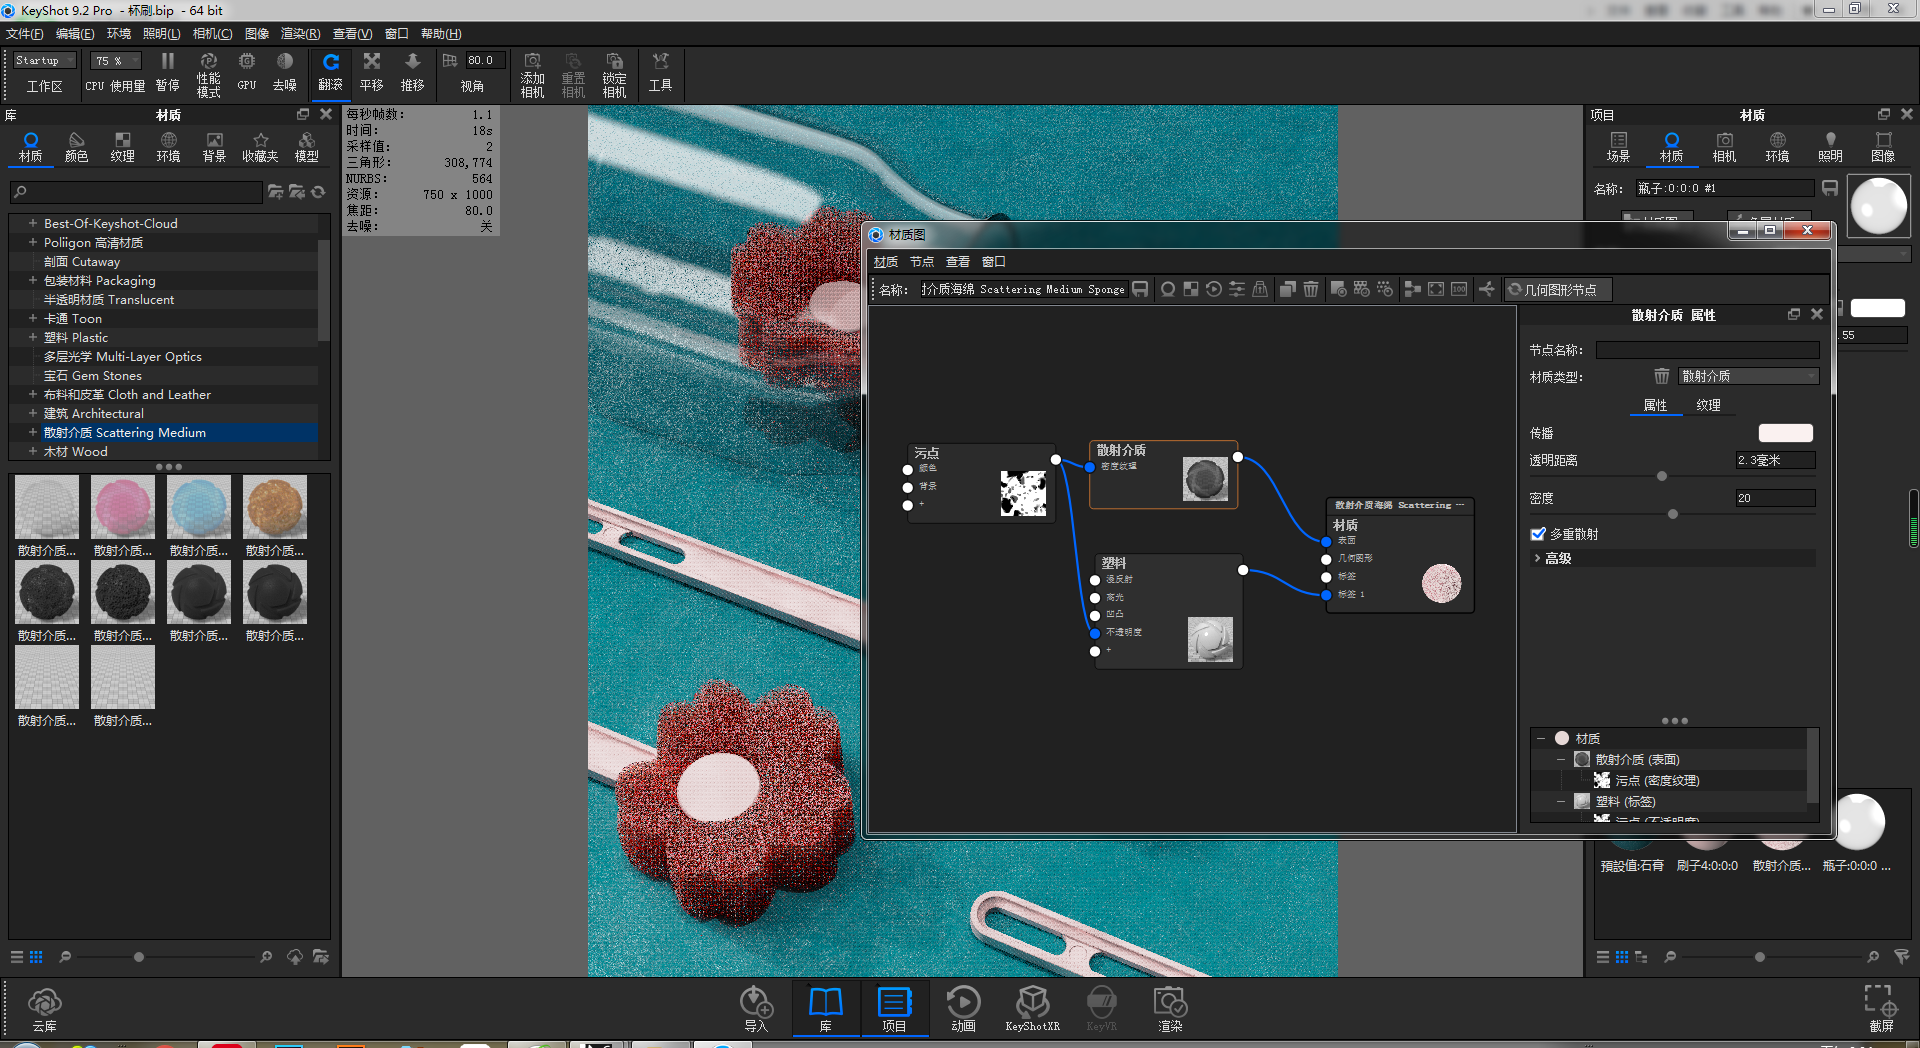
Finally, I will focus on the sponge material. The scattering medium used in the main material can make objects such as clouds and marshmallows. The black and white map controls his density.
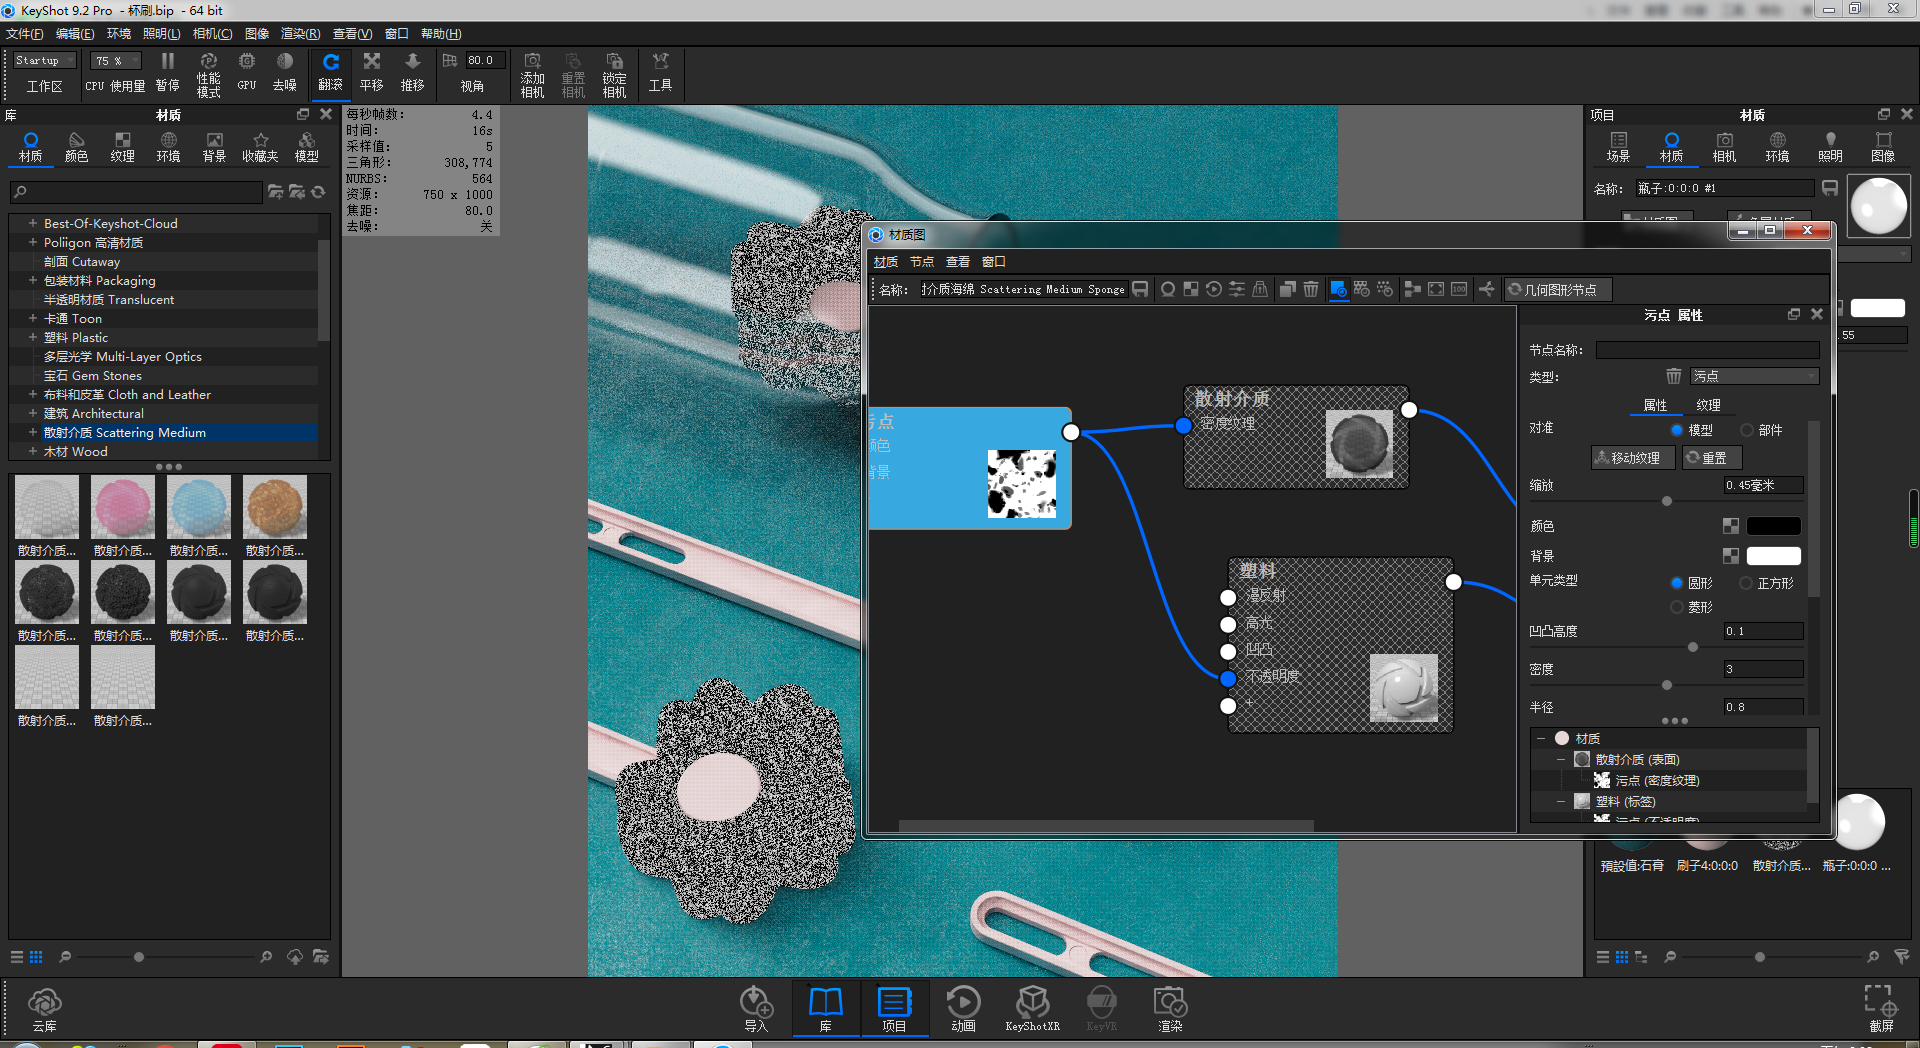
Press C on the map to observe only the information of the map.
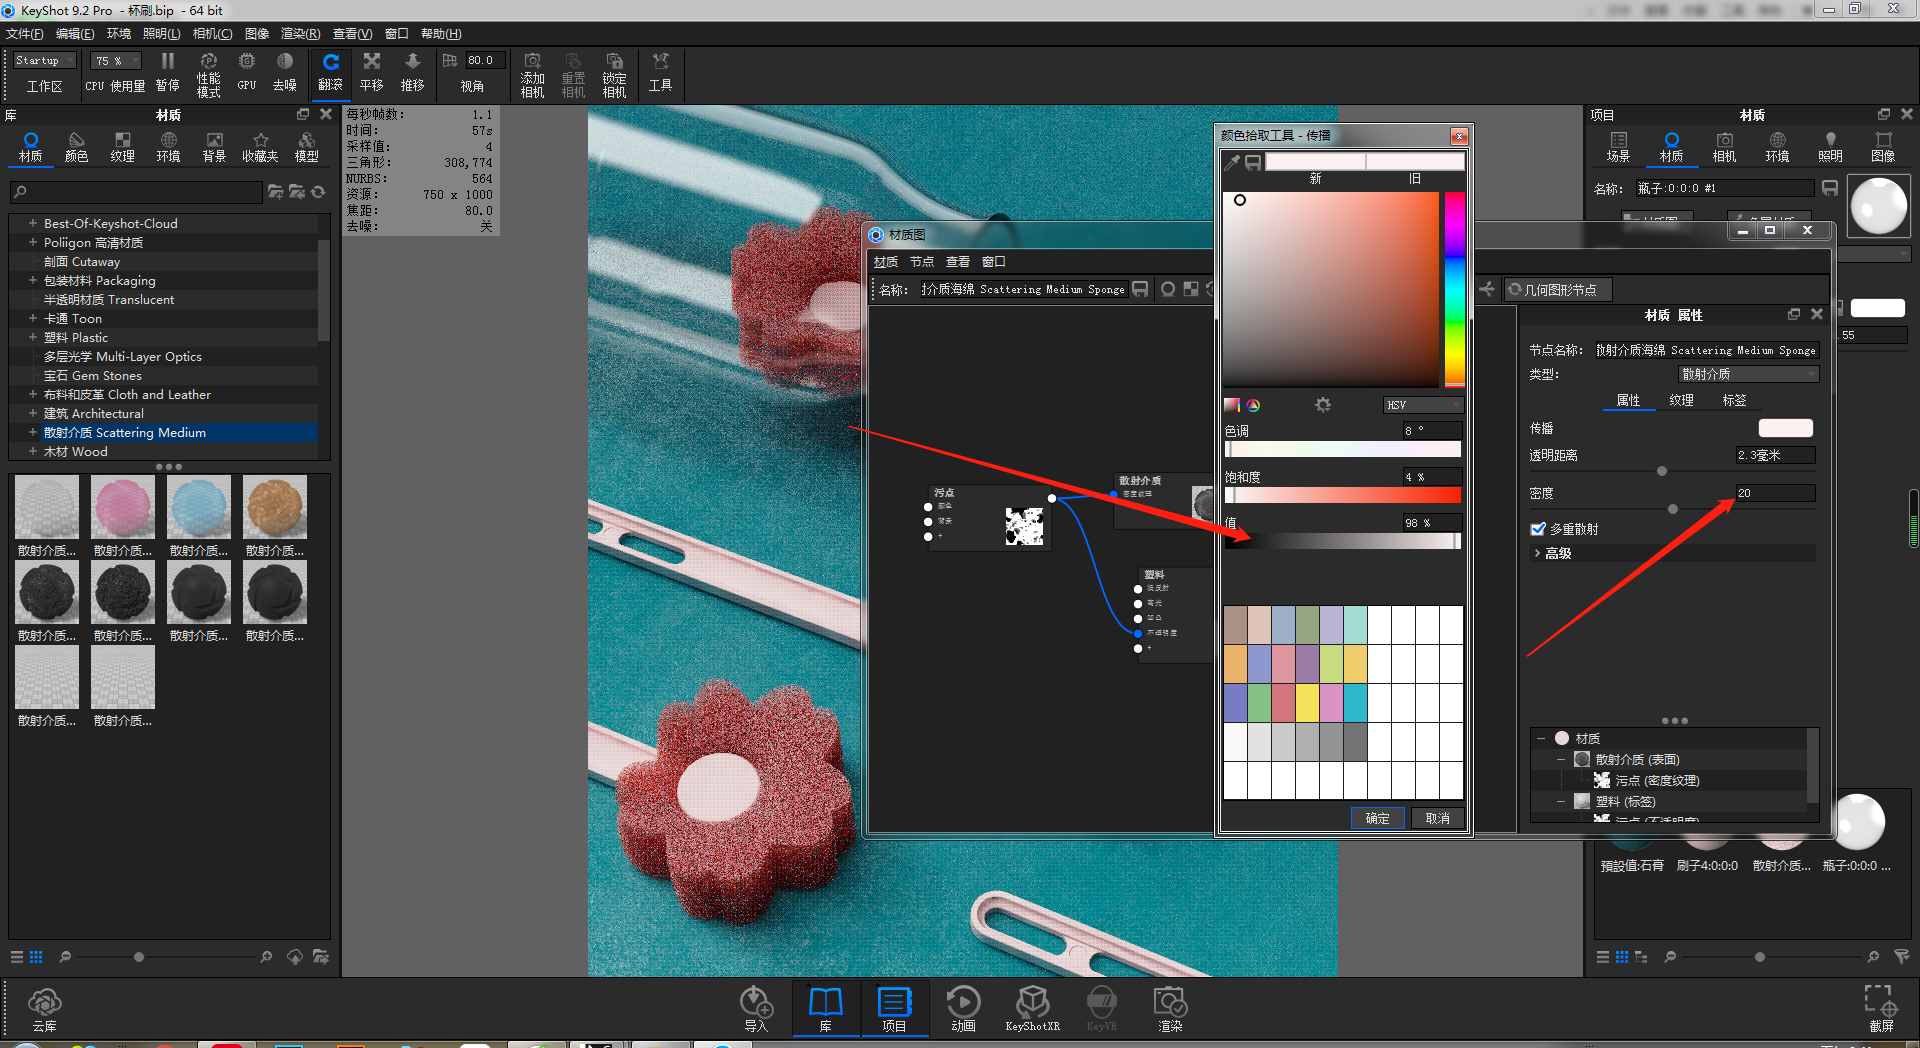
It is worth noting that the color value is similar to the density. When it is 100, the sponge will be very transparent, so it is not recommended to set it to 100.
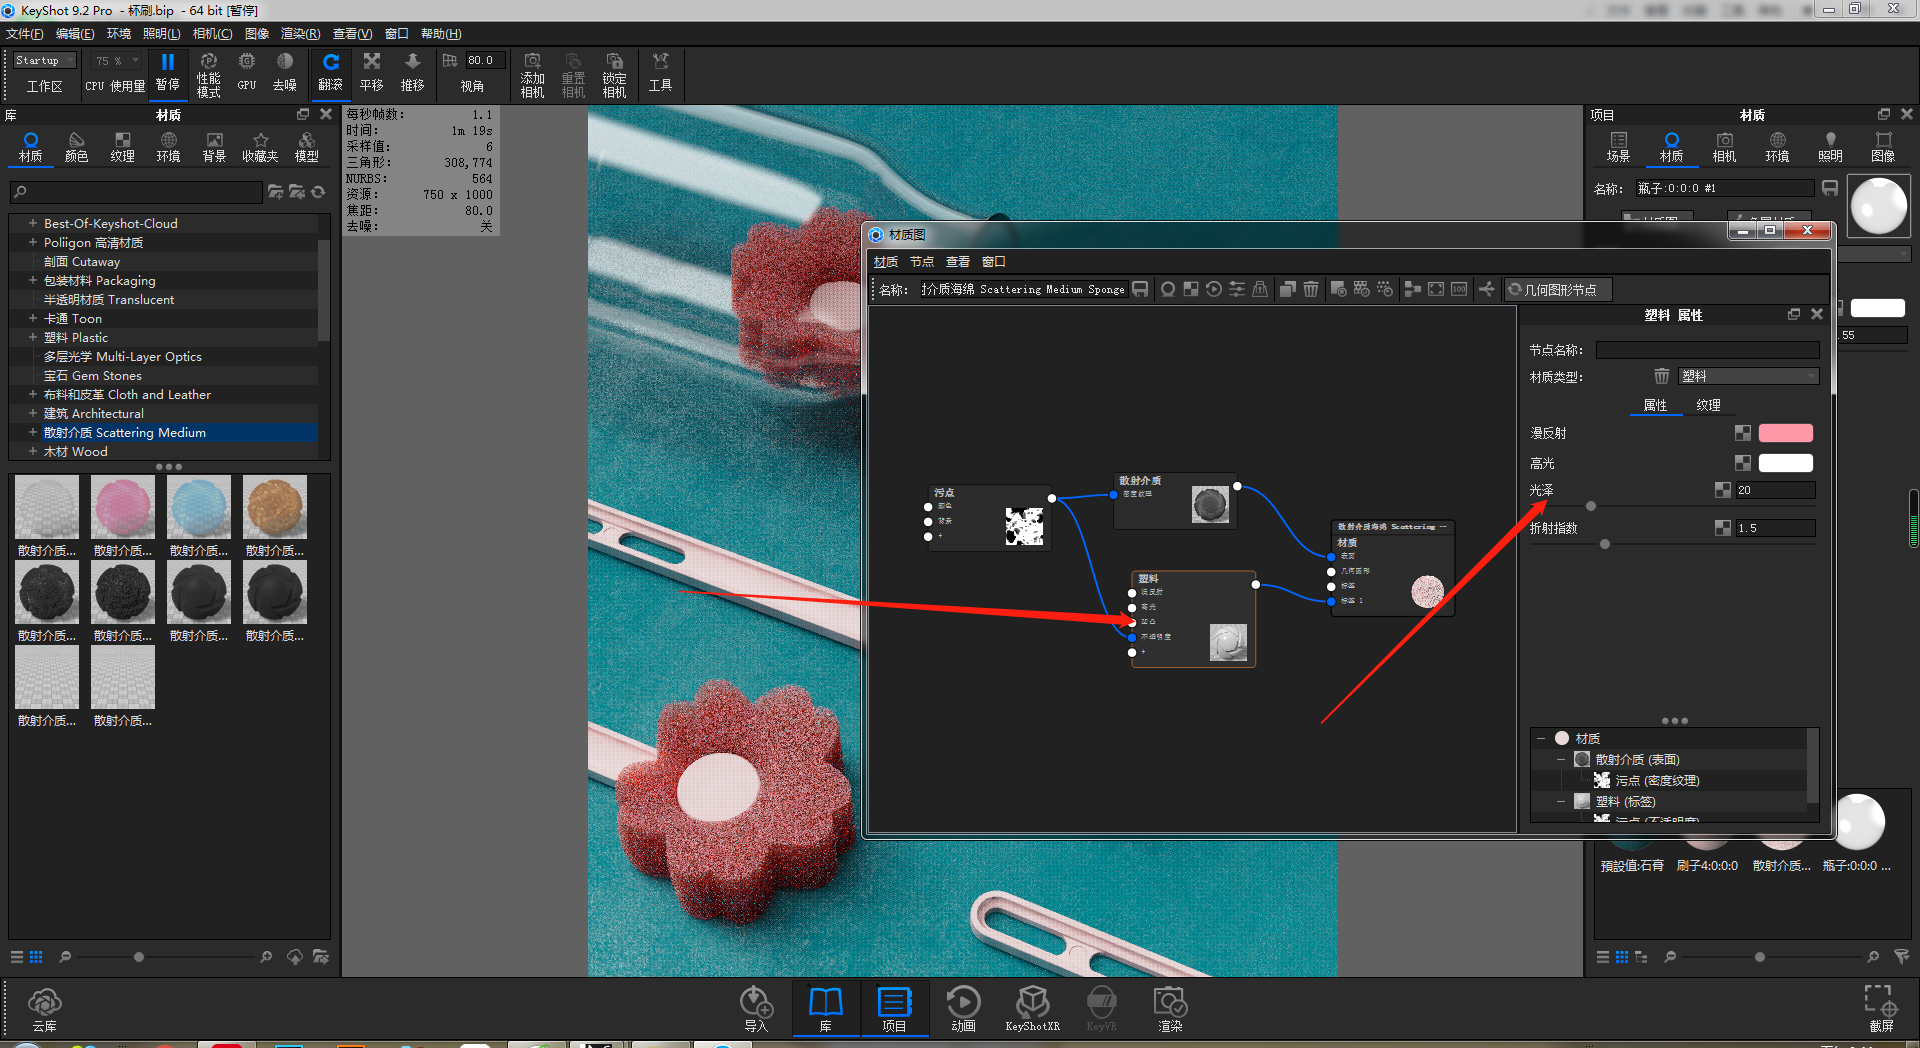
Because the lighter the color of the scattering material, the more transparent it will be, but when rendering light-colored objects, we need to add a plastic or advanced label to make it less transparent!!! Focus
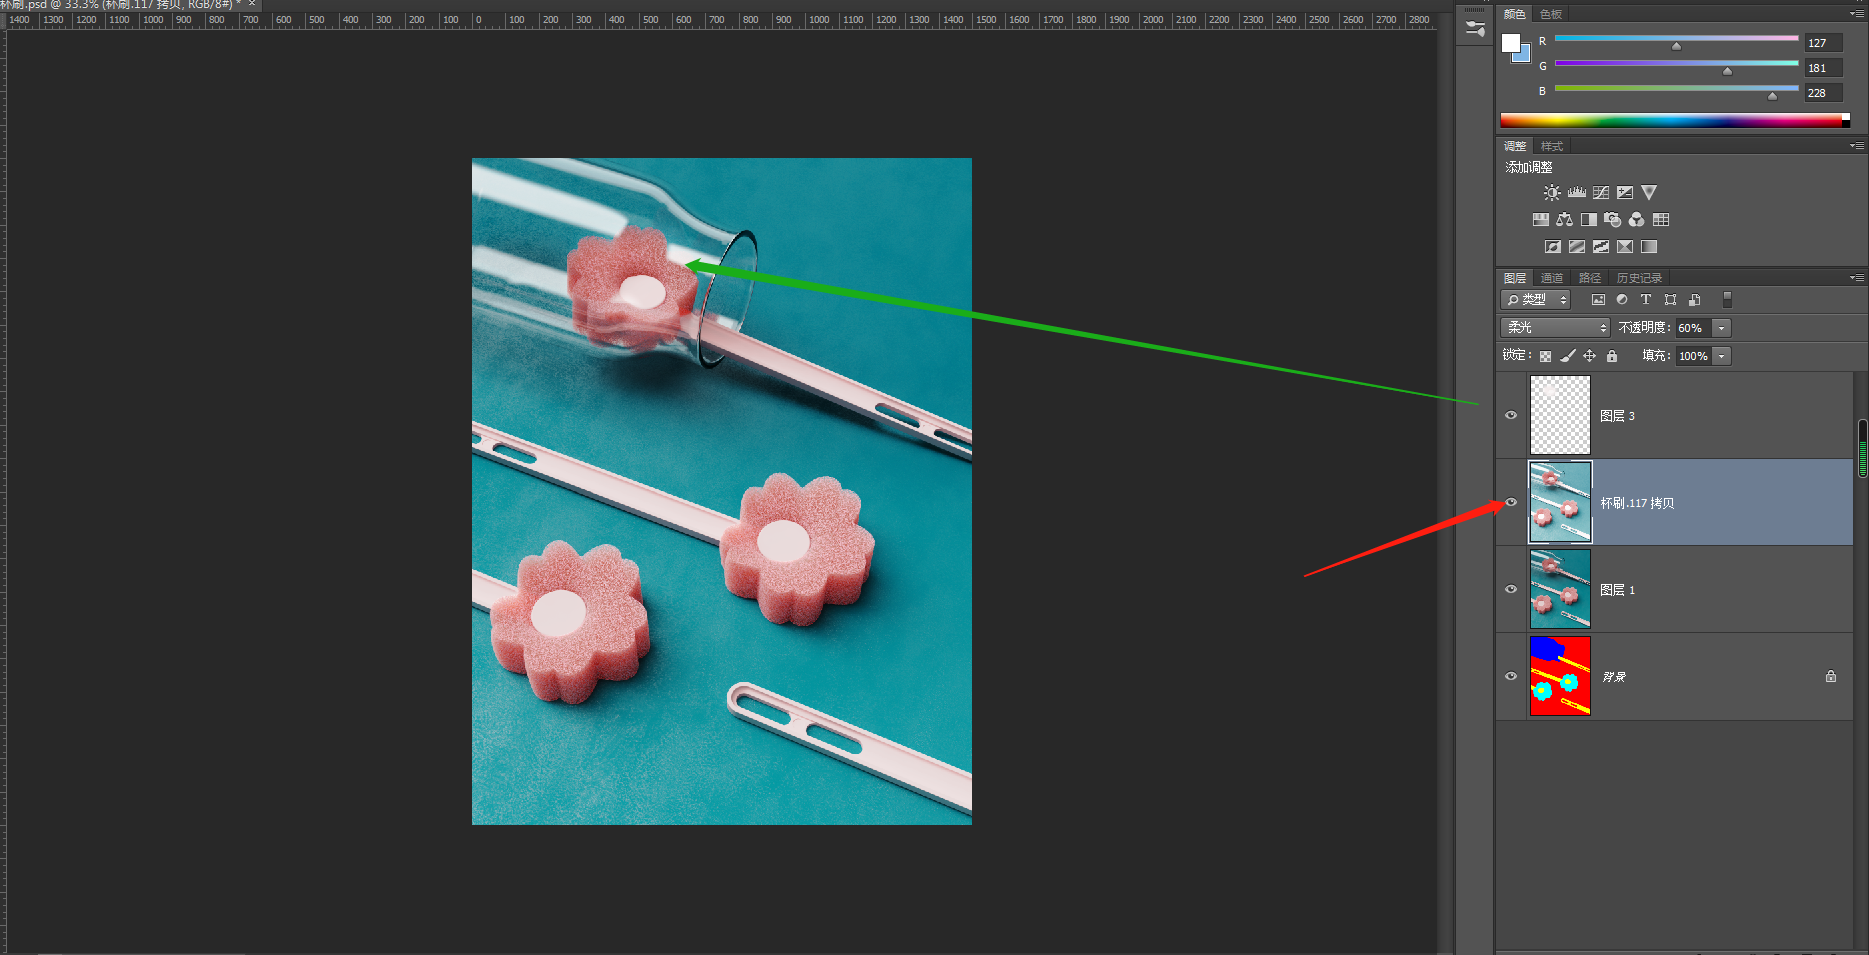
I don't know the P picture, so I simply drag into ps to copy the original picture layer to adjust the contrast and use soft light. Because the sponge in the bottle is dark and a white layer of soft light is added to that area, it is done.
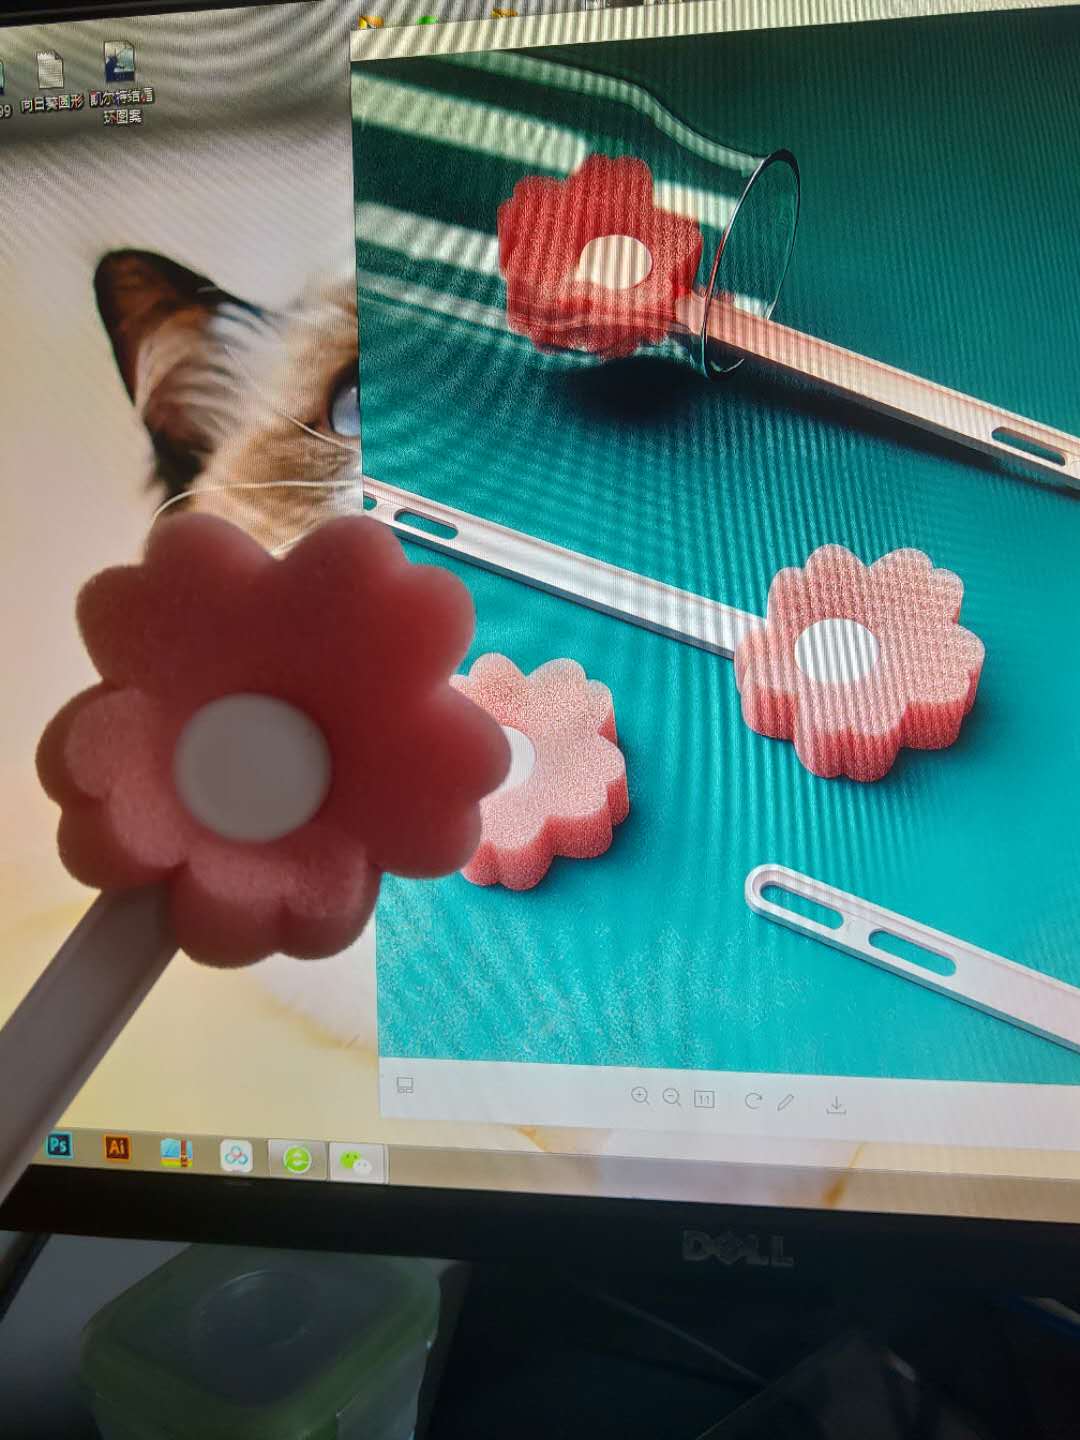
Finally, take a picture. O(∩_∩)O

New user?Create an account
Log In Reset your password.
Account existed?Log In
Read and agree to the User Agreement Terms of Use.

Please enter your email to reset your password
Pay attention to the bosses and look forward to their works.
I'm crazy, pink
It's amazing. Looking forward to more stunning works.
Yes, I am looking forward to posting the next tutorial and continuing to show my selfless spirit. ha ha
I didn't expect to adjust to the guy in my hand
A big boss was found in the notice on the front page.
OK
Thank you, big brother, only the sponge behind doesn't know which one to check will output separately
Digging troughs, conscience tutorials, fans
Eldest brother, do you have a tutorial! I don't quite understand...
Thanks, friend.
What environment do you use in this? I didn't have enough shadows last night. I class = "expression-icon expression-type4" title = "surprise">/I>
There is a small detail that I found when I was doing it. Remind everyone that I added a floor to the ground, and then there was a white bottom no matter how I adjusted the sponge material, and then I lowered the floor 0.01 and the bottom disappeared. I don't know why I added the floor or what.
Wow, the texture is really great! I don't even know how to render it.
Can bosses send me a KS source file, 837100673@qq.com