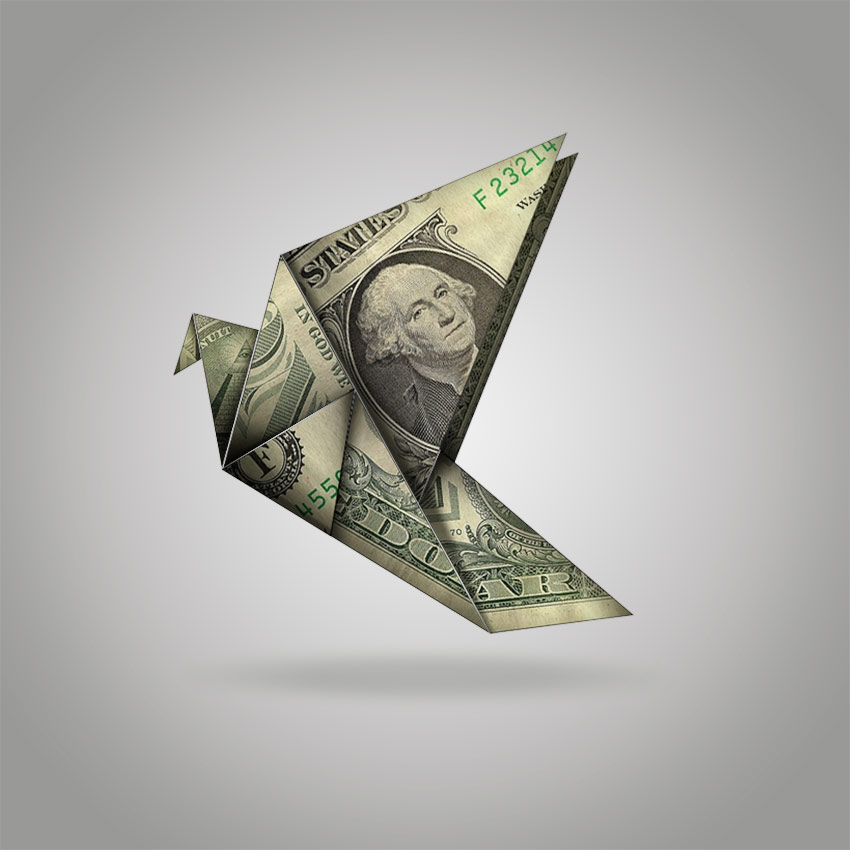
We need a picture of paper crane and a picture of a one-dollar bill before it is officially made. If you really have a paper crane folded into a dollar bill at hand, it will make your work more real!
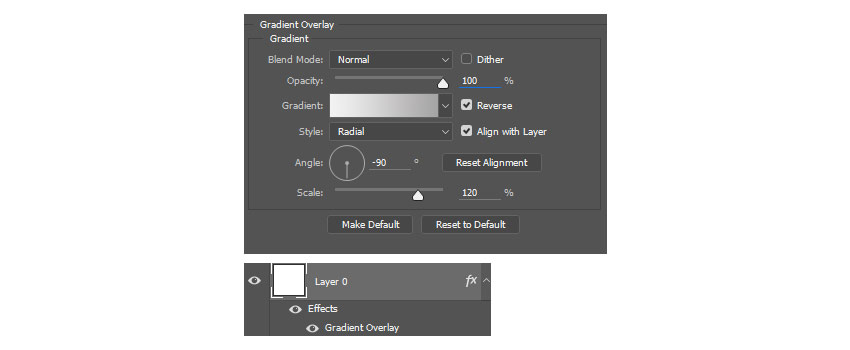

The first step is to create a background. Create a canvas with 850*850 pixels in PS, right-click the background layer to enter the blending option, as shown in the figure to create a radial gradient from white to light gray
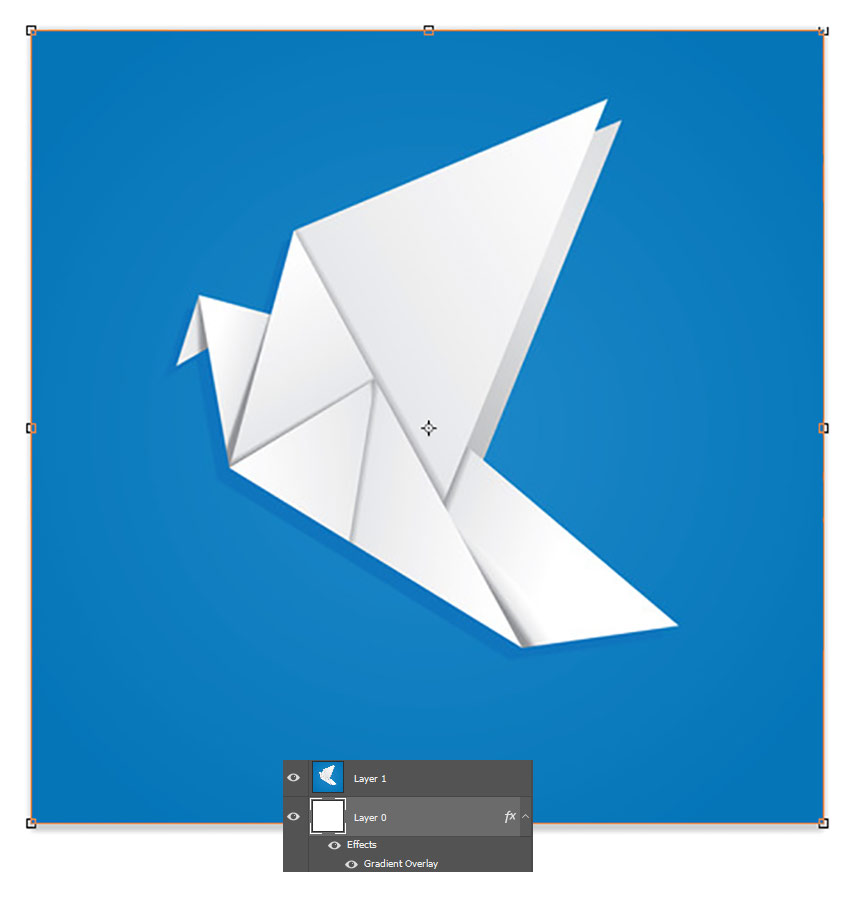
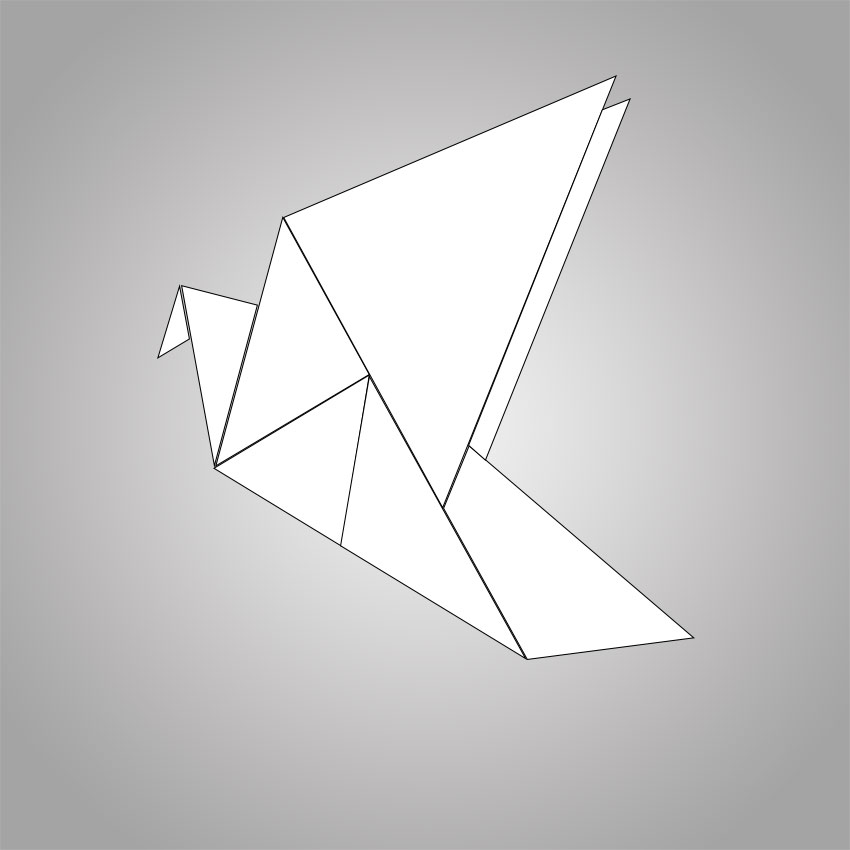
The second step is to create an origami image. Import the pre-found origami image into PS and resize it through the free transformation tool.
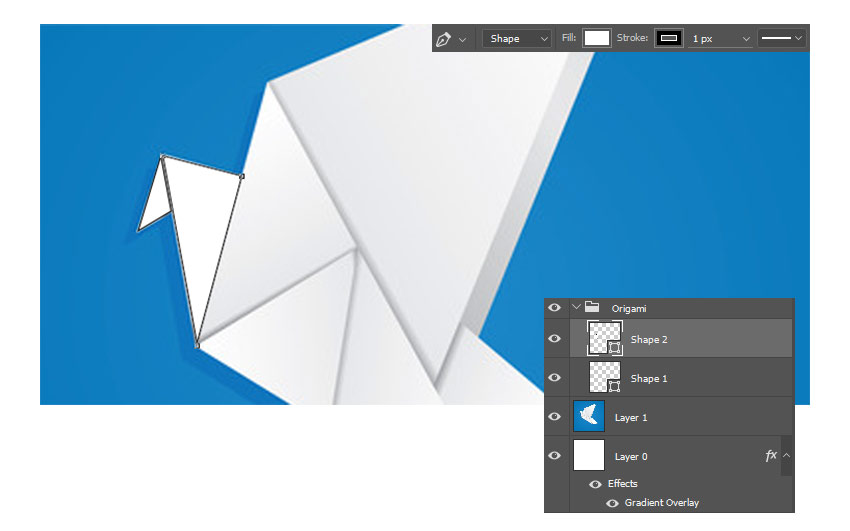
The third step is to create a new group and use the pen tool to tick out different parts of the paper crane and put into the new layer shape one.
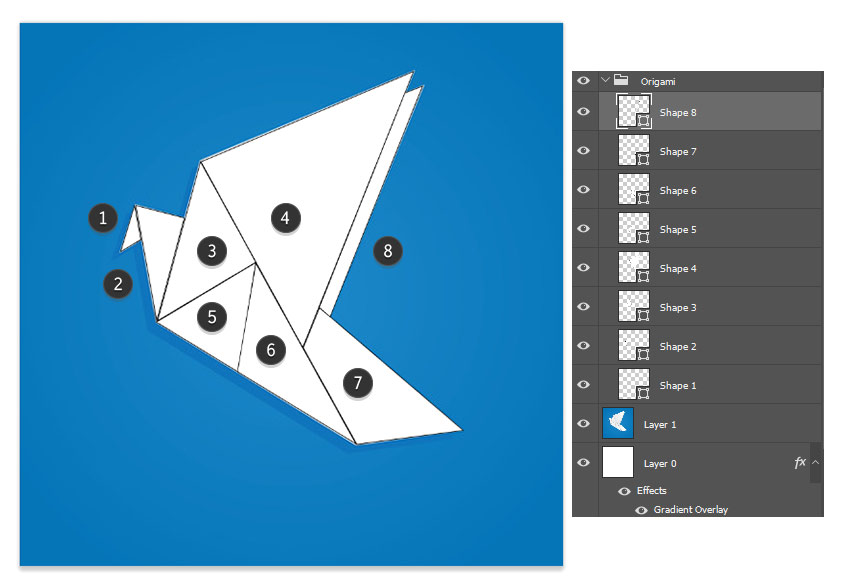
Make sure that each part of the paper crane is ticked out with a pen tool. In the end, the figure is divided into eight parts.
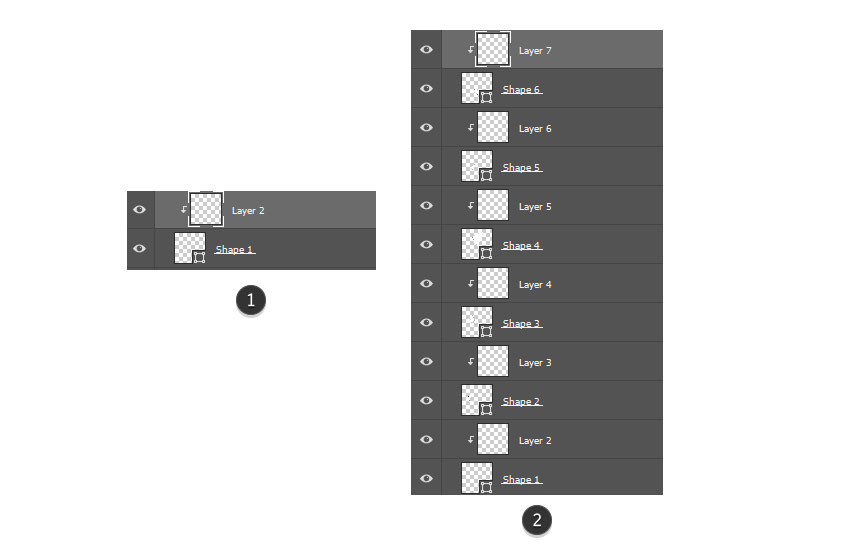
Step 4, create a new layer on Shape 1 and right-click to create a clipping mask. After each layer also according to the above method to do the same operation.
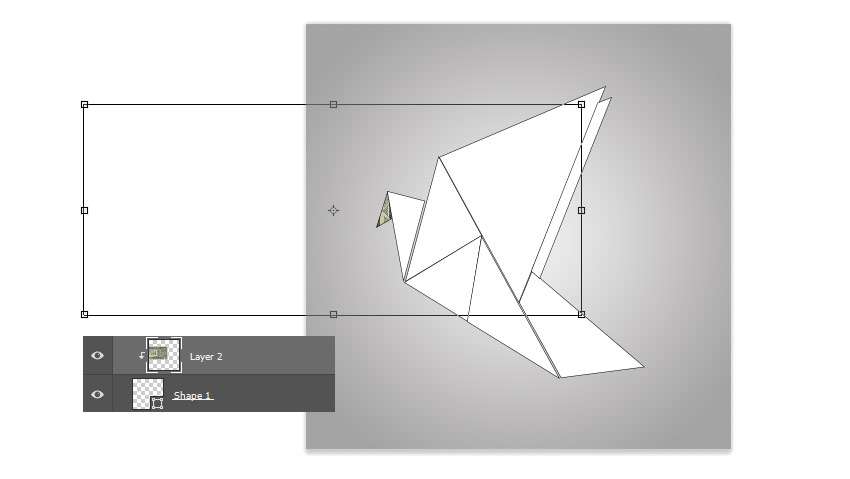
In the fifth step, copy and paste the front or back of the one-dollar bill on each cut mask, and use the free transformation tool to place it in a reasonable position.
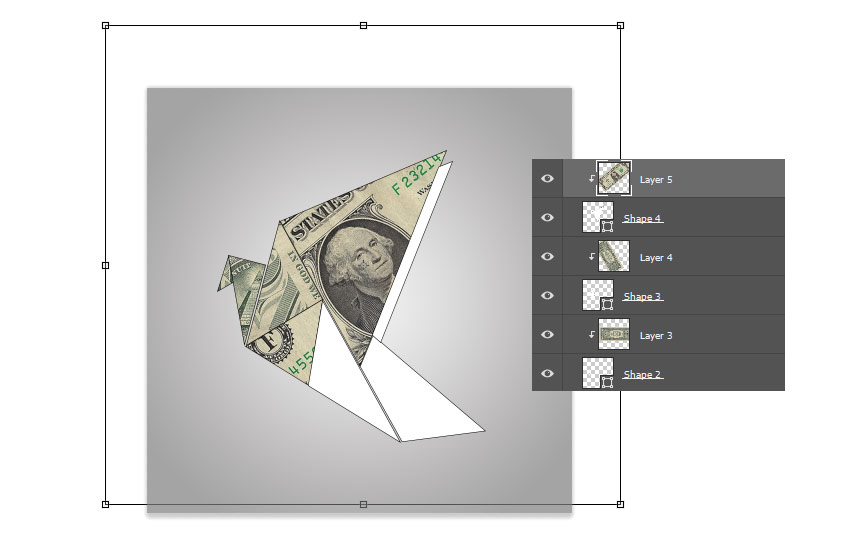
Try to figure out the appearance of the actual paper money paper crane, and carefully adjust the cut mask. It would be great if there were real models!
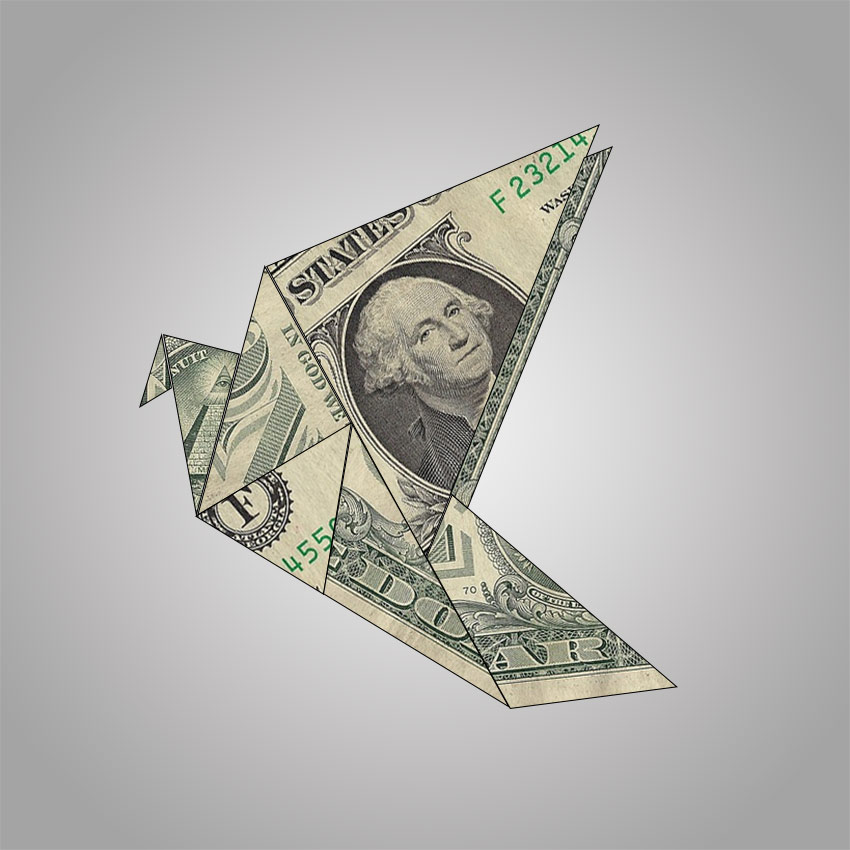
This is what it looks like to finish!
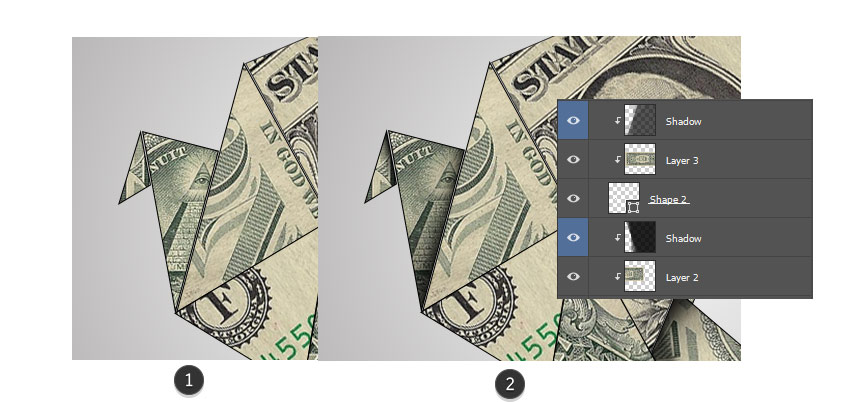
Step 6, add shadows. In order to make the paper crane look more real, we need to add some shadows. Use the gradient tool to make the following settings: linear gradient, color from black to transparent, opacity set to 30%. Create a new layer on each dollar layer and right-click to create a clipping mask. Set the layer color to blue to facilitate distinction and rename the layer to Shadow"
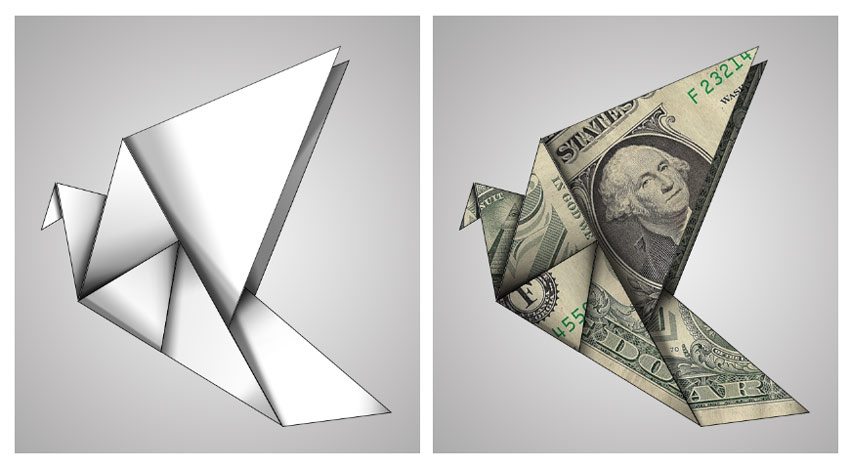
Hide the dollar layer and use the gradient tool to add shadows to each shadow layer. Referring to the real paper crane will look more real!
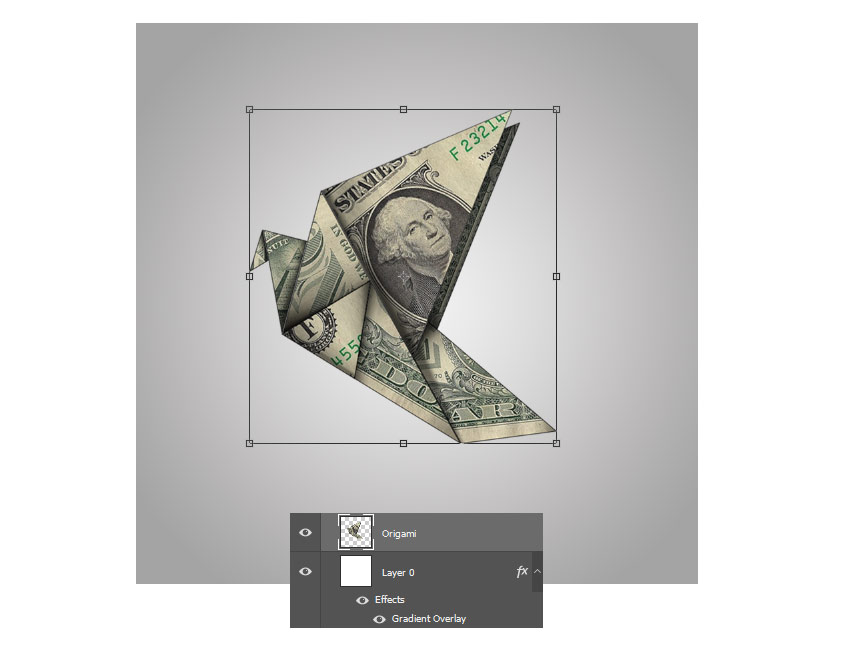
Step 7, let's take another step to make the paper crane alive! Merge all layers except the background layer. Use the free transformation tool to adjust its size angle.
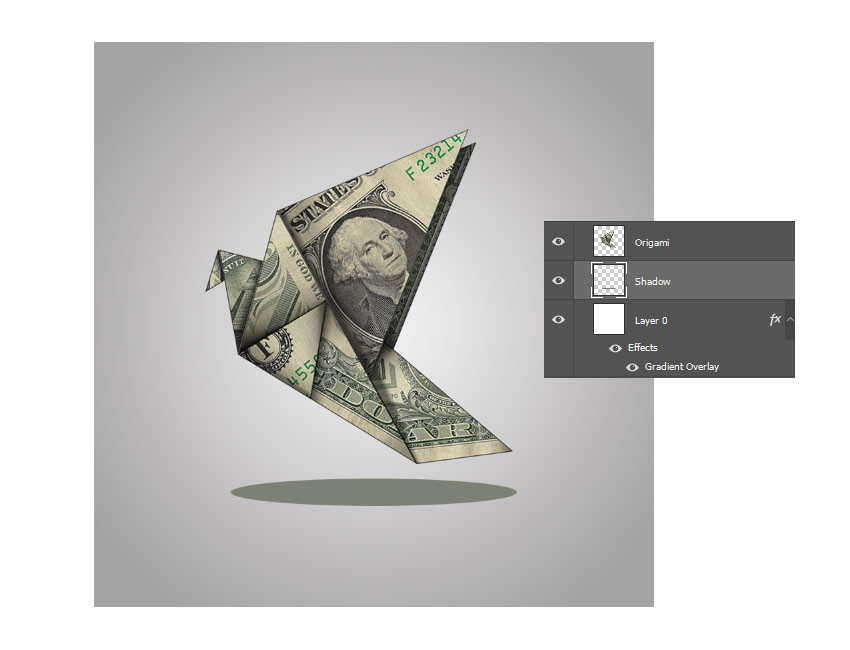
Create a new layer under the origami layer and use the ellipse marquee tool to create an oval filled with dark green.

In filter> blur> dynamic blur, set the angle to 0 degrees and the distance to 155 pixels.
In filter> blur> Gaussian blur, set the radius to 7 pixels to reduce the layer opacity to 28%.
Form a subtle and precise shadow.
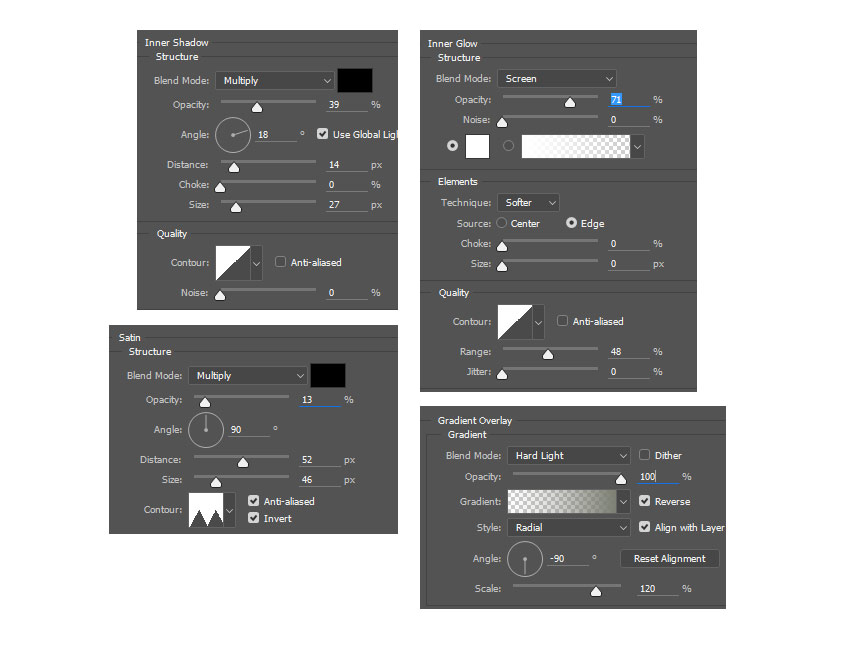
The eighth step, the final touch-up. Right-click the origami layer to select the blending option. Add inner shadow, inner light, gradient superposition. The exact parameter settings are shown in the figure.
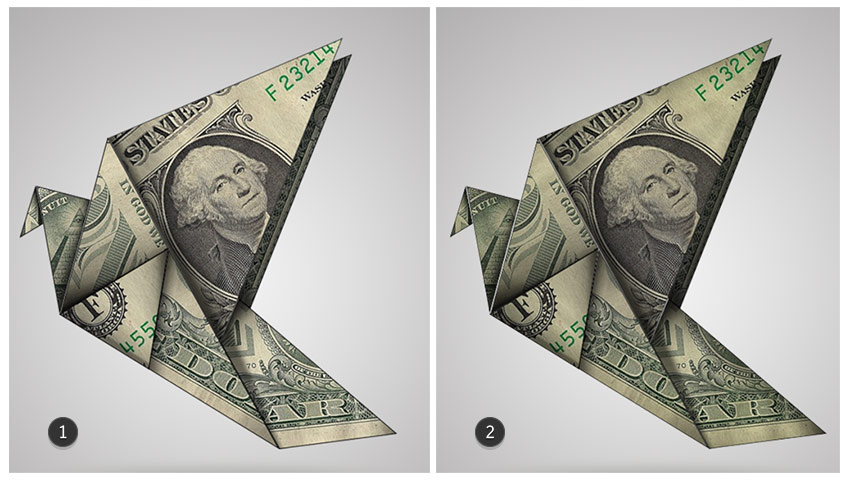
This is a contrast before and after polishing, is it more real!
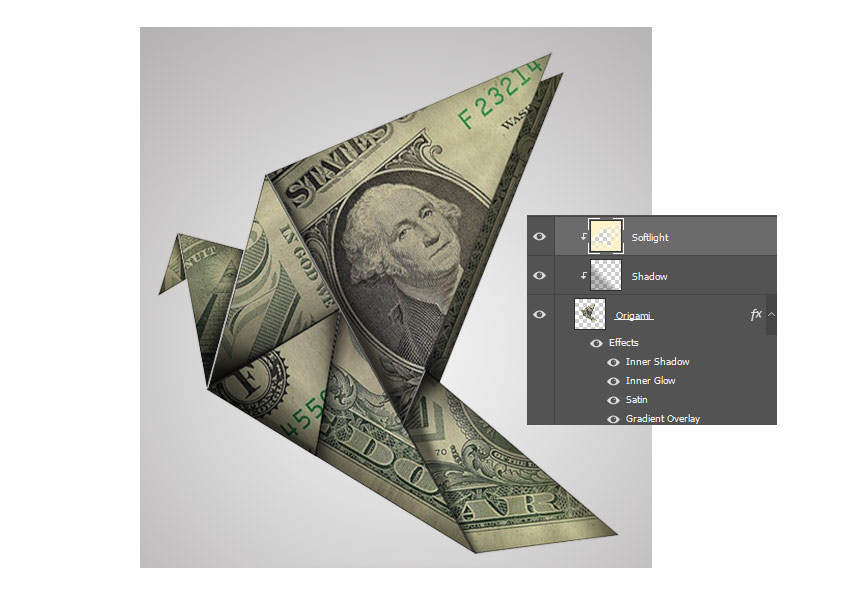
Step 9: Create two new layers on the origami layer and right-click to set the cut mask. Use the gradient tool in the first layer to create a black to transparent linear gradient on the right side of the paper. Use the brush tool to add soft yellow on the second layer.
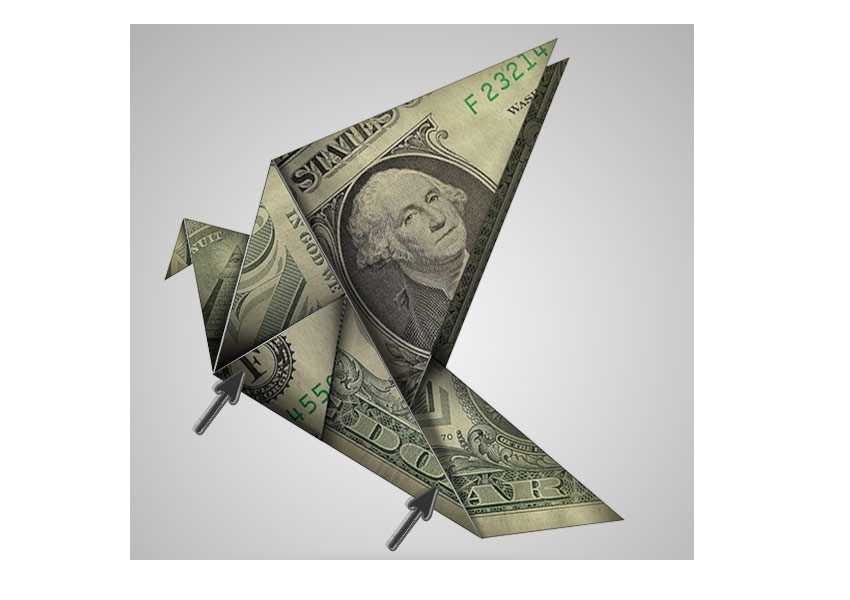
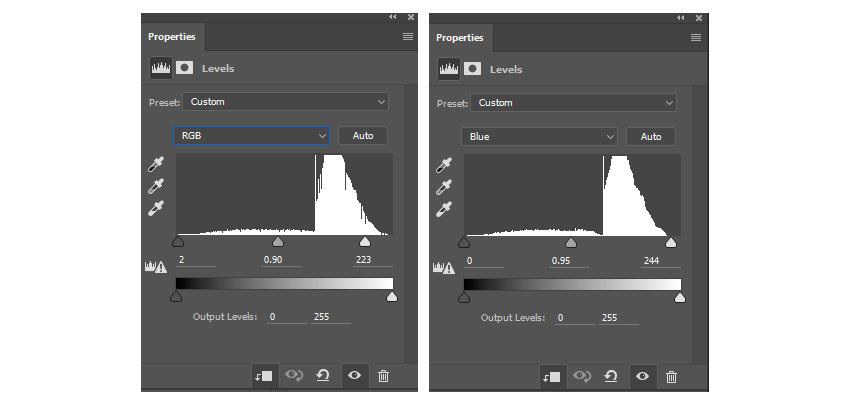
Finally, let's increase the intensity and create a new adjustment layer, set it to cut mask, as shown in the figure to adjust RGB and blue channels

This is the final product!
The copyright of this work belongs to 小鹿斑比. No use is allowed without explicit permission from owner.

New user?Create an account
Log In Reset your password.
Account existed?Log In
Read and agree to the User Agreement Terms of Use.

Please enter your email to reset your password
Not bad
The real p seems
It's very nice
By analogy, you can do other origami in the future.
The horse has lost his horse.