Break down the four sets of lens parameters: Camera, Lens, Focal Length, and Aperture.
Many people working on AI-generated images repeatedly add “cinematic feel, blockbuster vibe, movie-quality lighting” to their prompts, yet the results are often inconsistent: one image looks like a still from a movie, while the next resembles a game screenshot. The problem often isn’t that there aren’t enough adjectives, but rather that we only describe “what’s happening in the scene” without going further to specify “from where and through what lens the audience is viewing it.”
A very practical approach. First, use prompts and reference materials to define the characters, objects, actions, and environment, then treat Camera, Lens, Focal Length, and Aperture as four independent knobs. The content is handled by the prompt, while the camera parameters control how it’s viewed; keeping these two aspects separate makes the image converge more easily.
Don’t rush to choose a lens yet; first, solidify the core structure of your prompt.
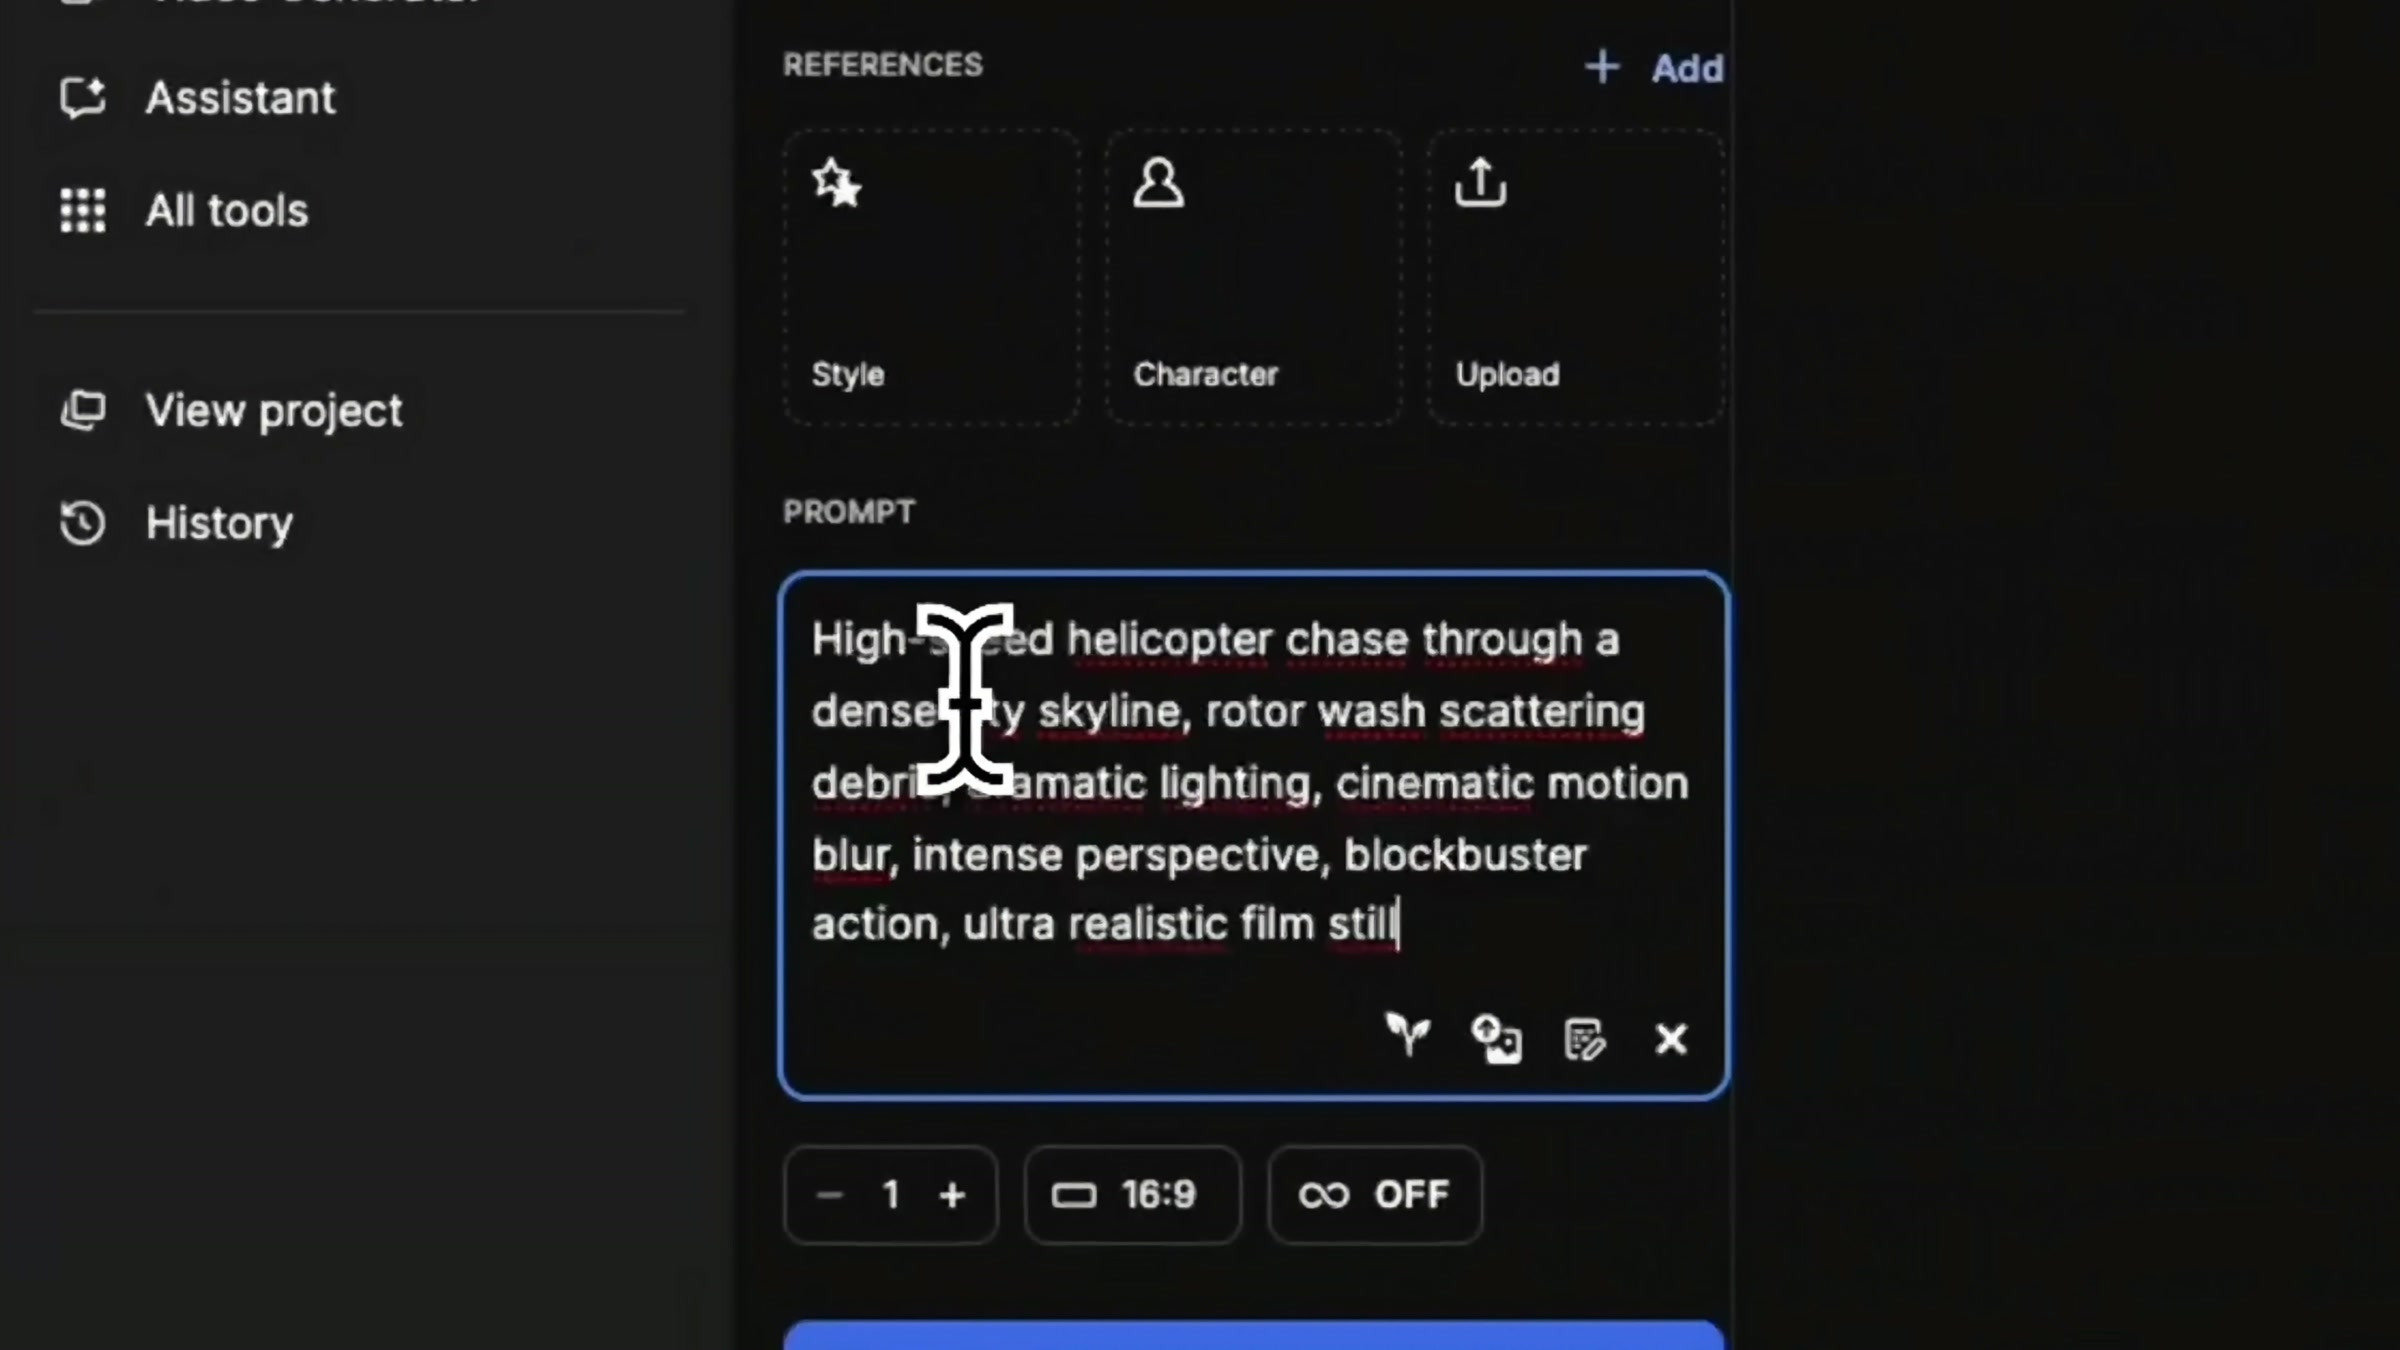
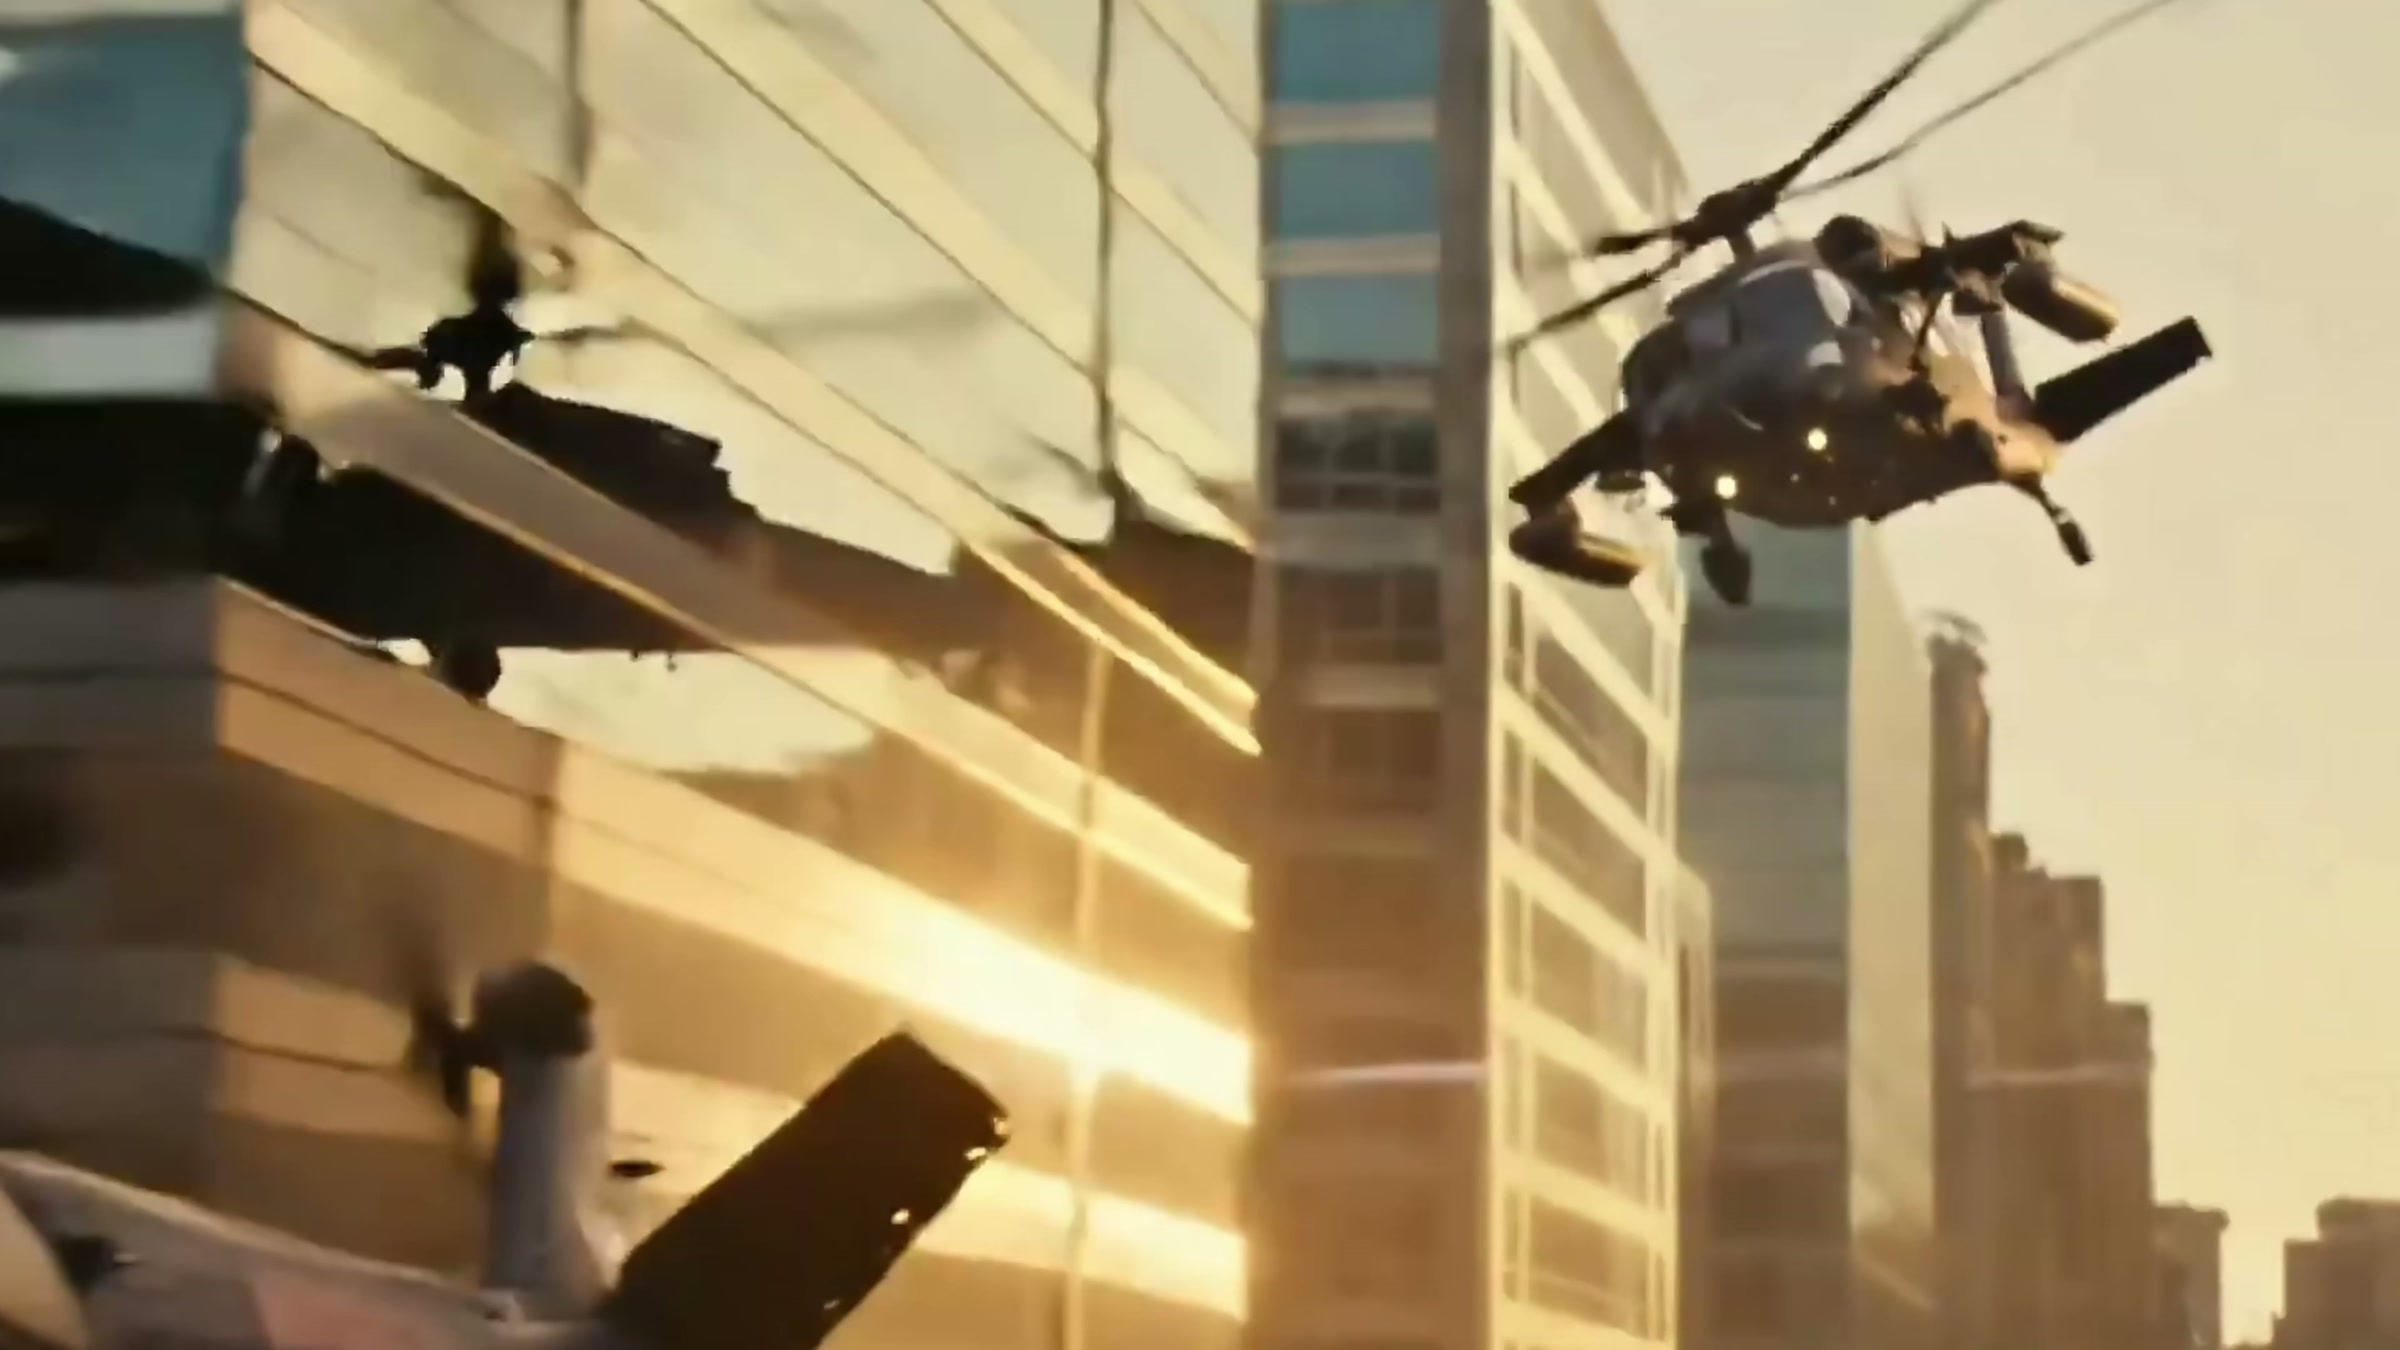
The first set of tests in the video is a city helicopter chase. The prompt doesn’t just pile on a long list of vague stylistic terms; instead, it clearly specifies a high-speed chase, a dense urban skyline, rotor wash whipping up debris, dramatic lighting, motion blur, strong perspective, and a realistic cinematic still.
This type of action scene can be directly structured using a simple framework:
Subject, Action, Environment, Physical Feedback, Lighting, Motion Performance, Type and Temperament
For example, "helicopter" is only the main body, and "passing through buildings at high speed" is the action. "Debris is rolled up by airflow" to supplement physical feedback to the model; "Motion blur, strong perspective" is telling it that the lens should have speed. First, clearly write down all this information; then we can discuss the camera and lenses, and things will be much easier to manage.
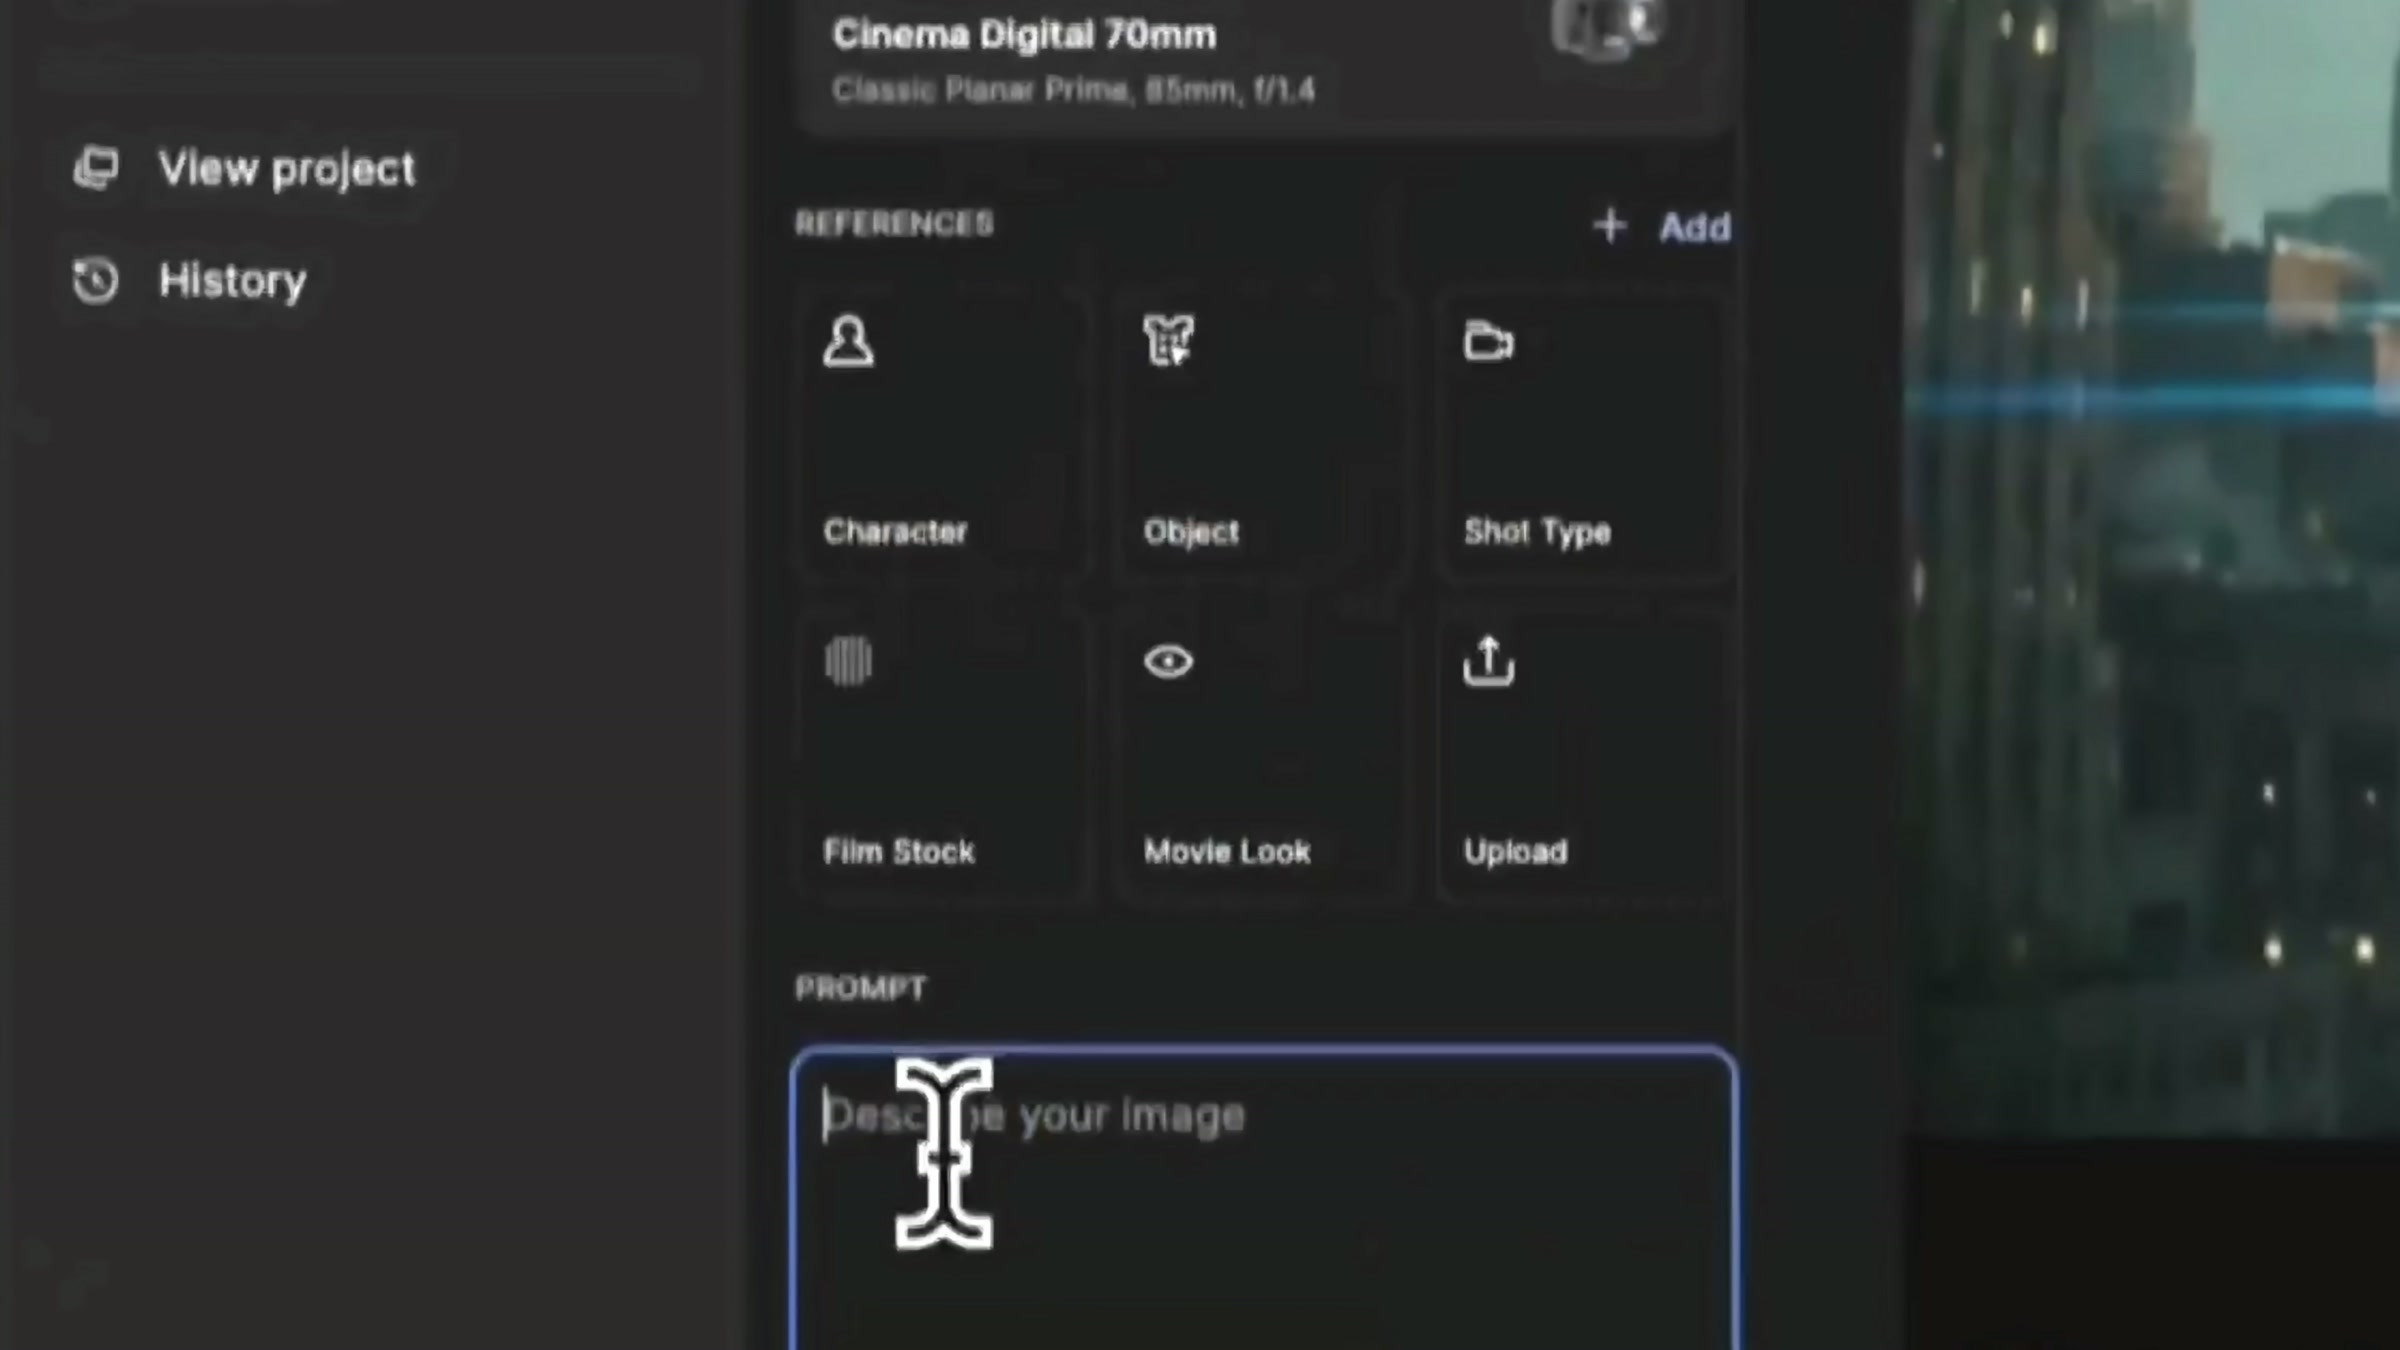
Don’t just cram all the reference materials in without thinking. If a character’s identity is unstable, prioritize adding “Character”; if a vehicle or prop is prone to deformation, add “Object”; and if you want to replicate the camera setup, then consider “Shot Type.” Towards the end of the video, you can also see Film Stock and Movie Look; they’re best applied after the composition has been finalized.
Camera: First, decide on the "foundation" of the shot.
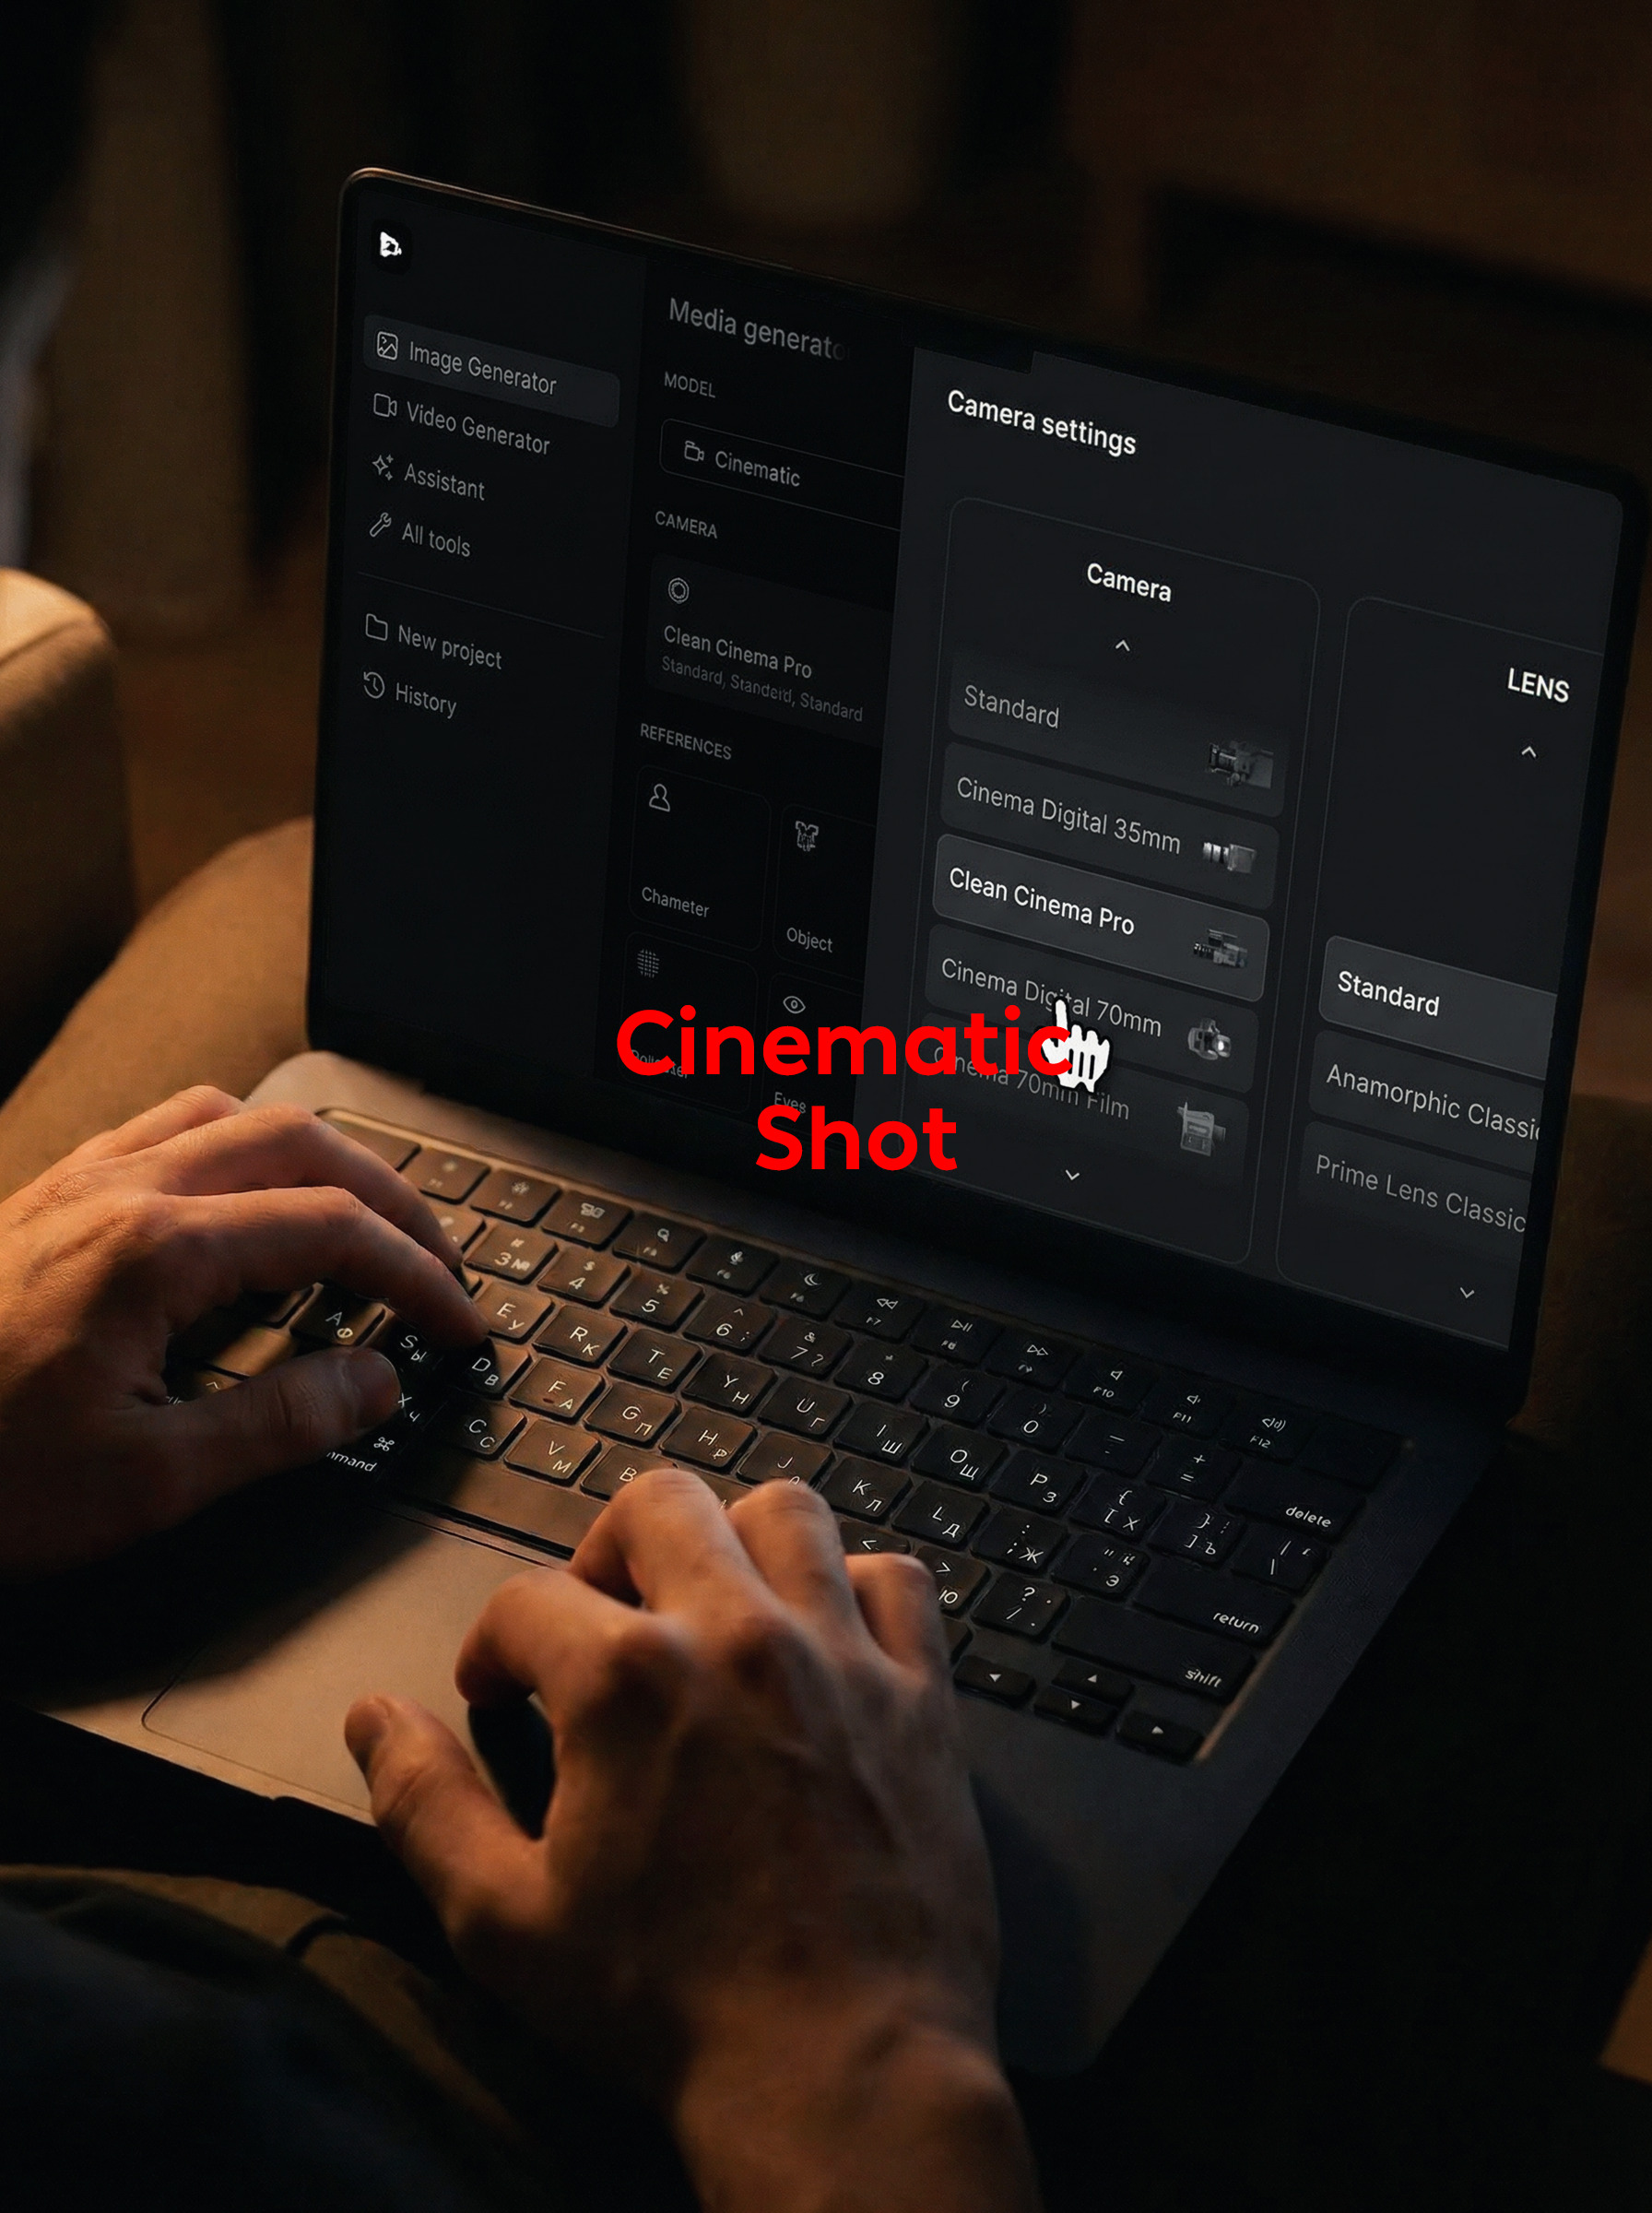
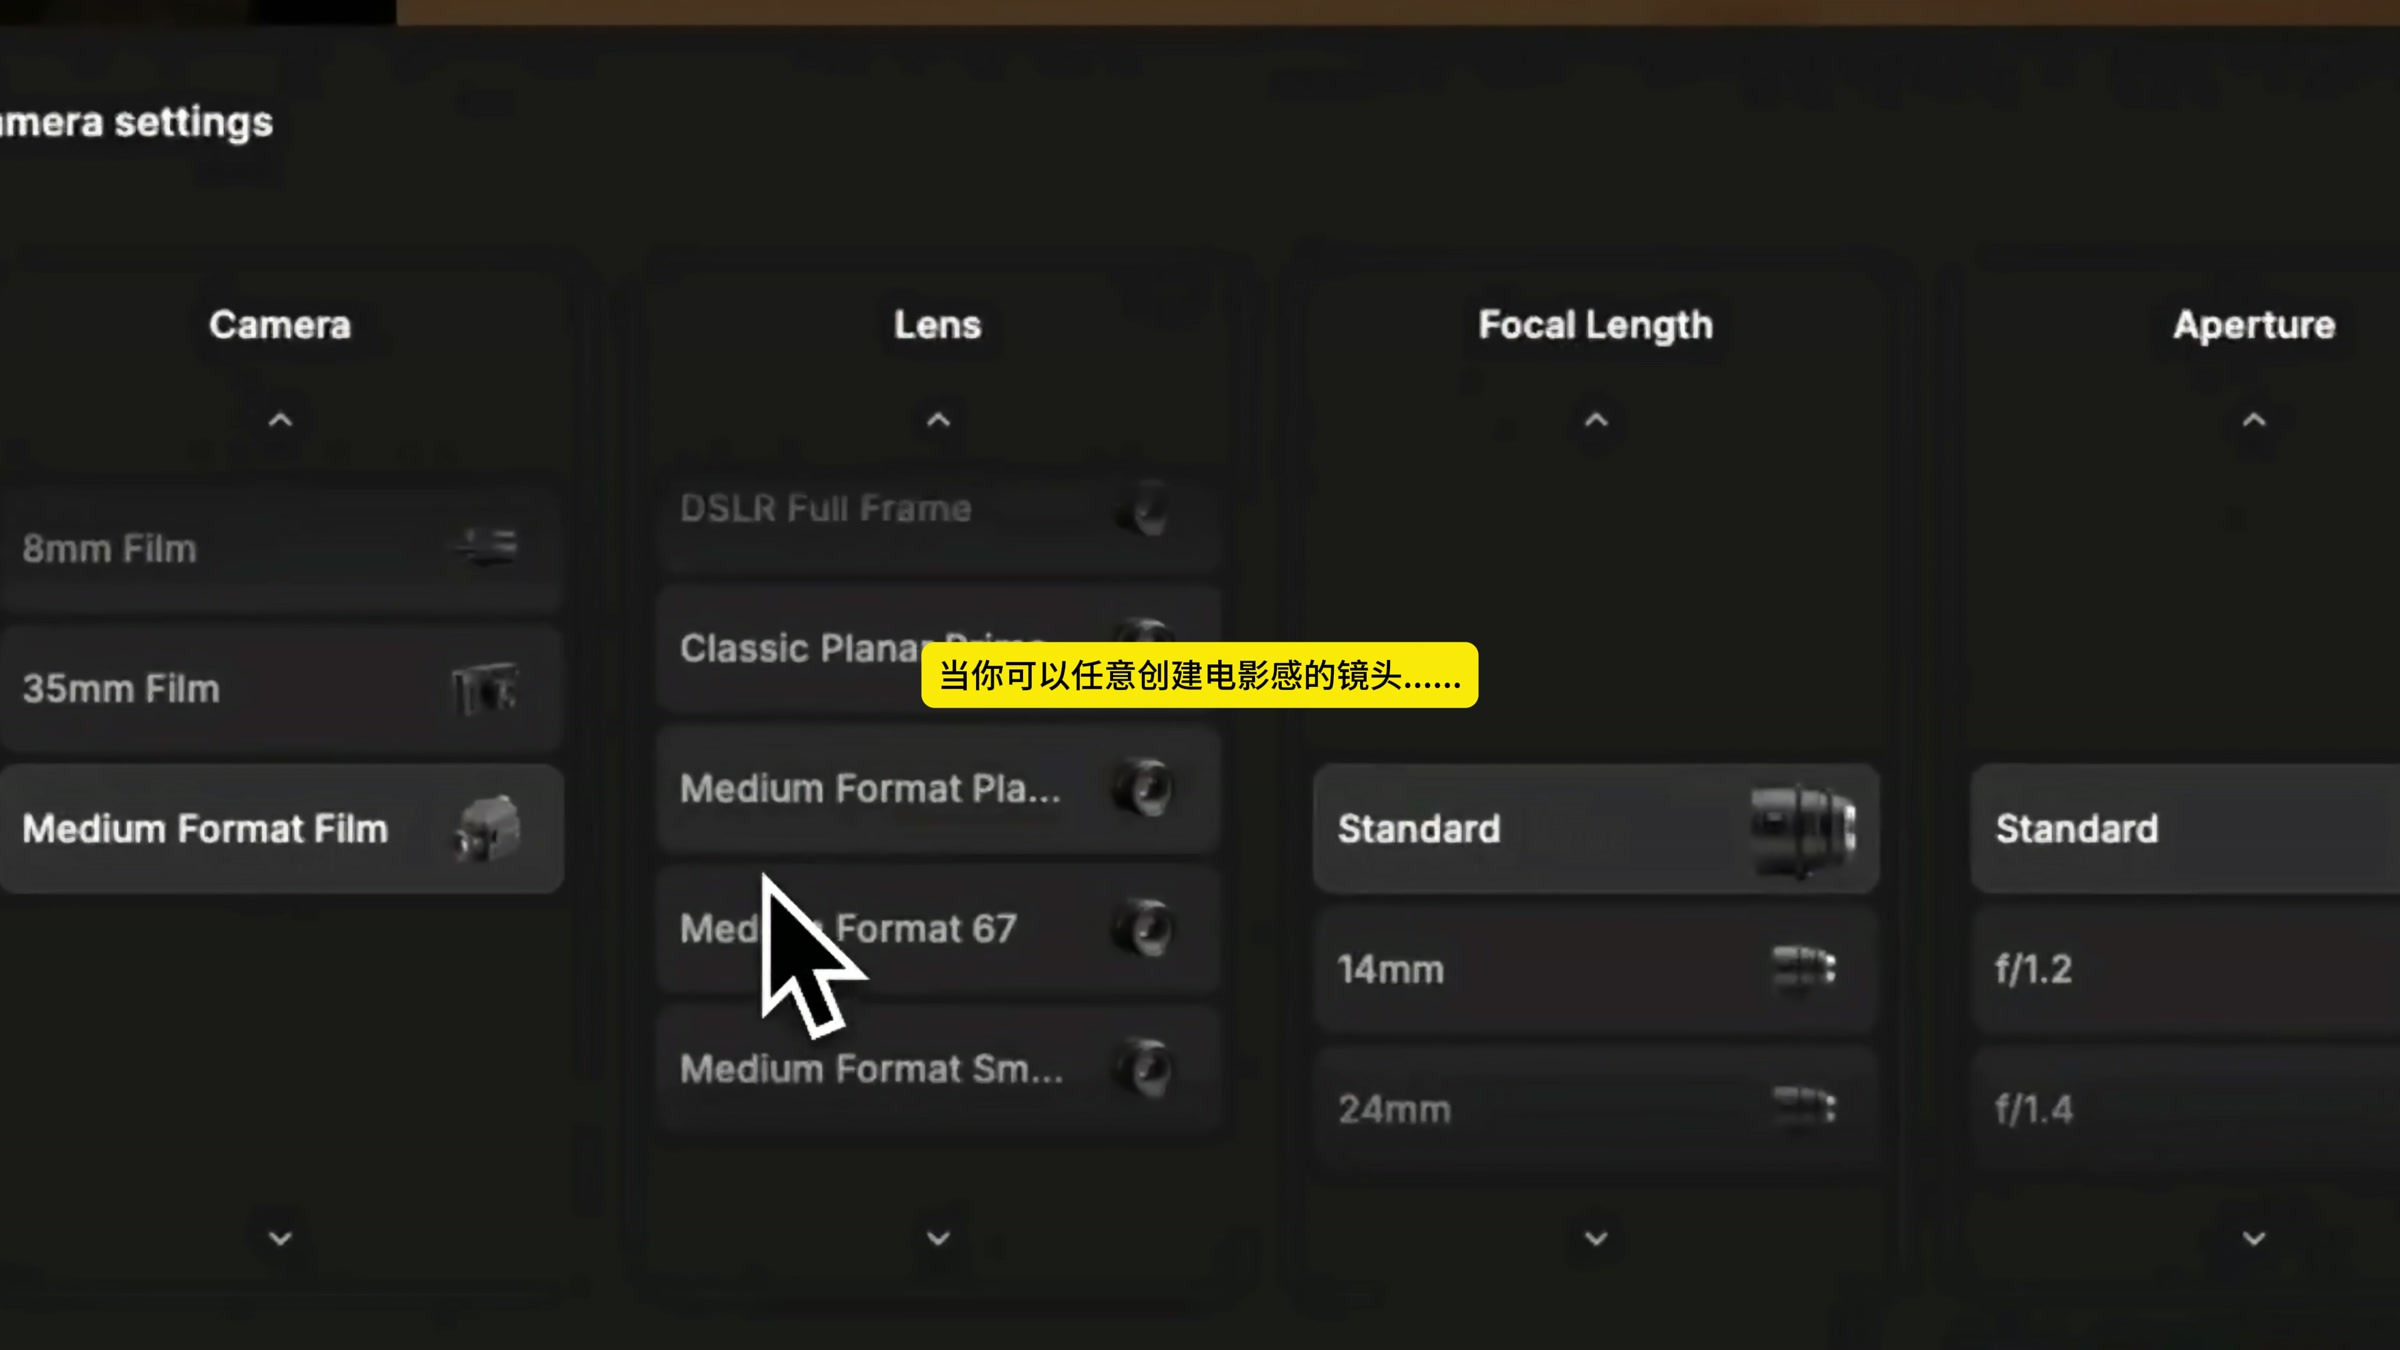
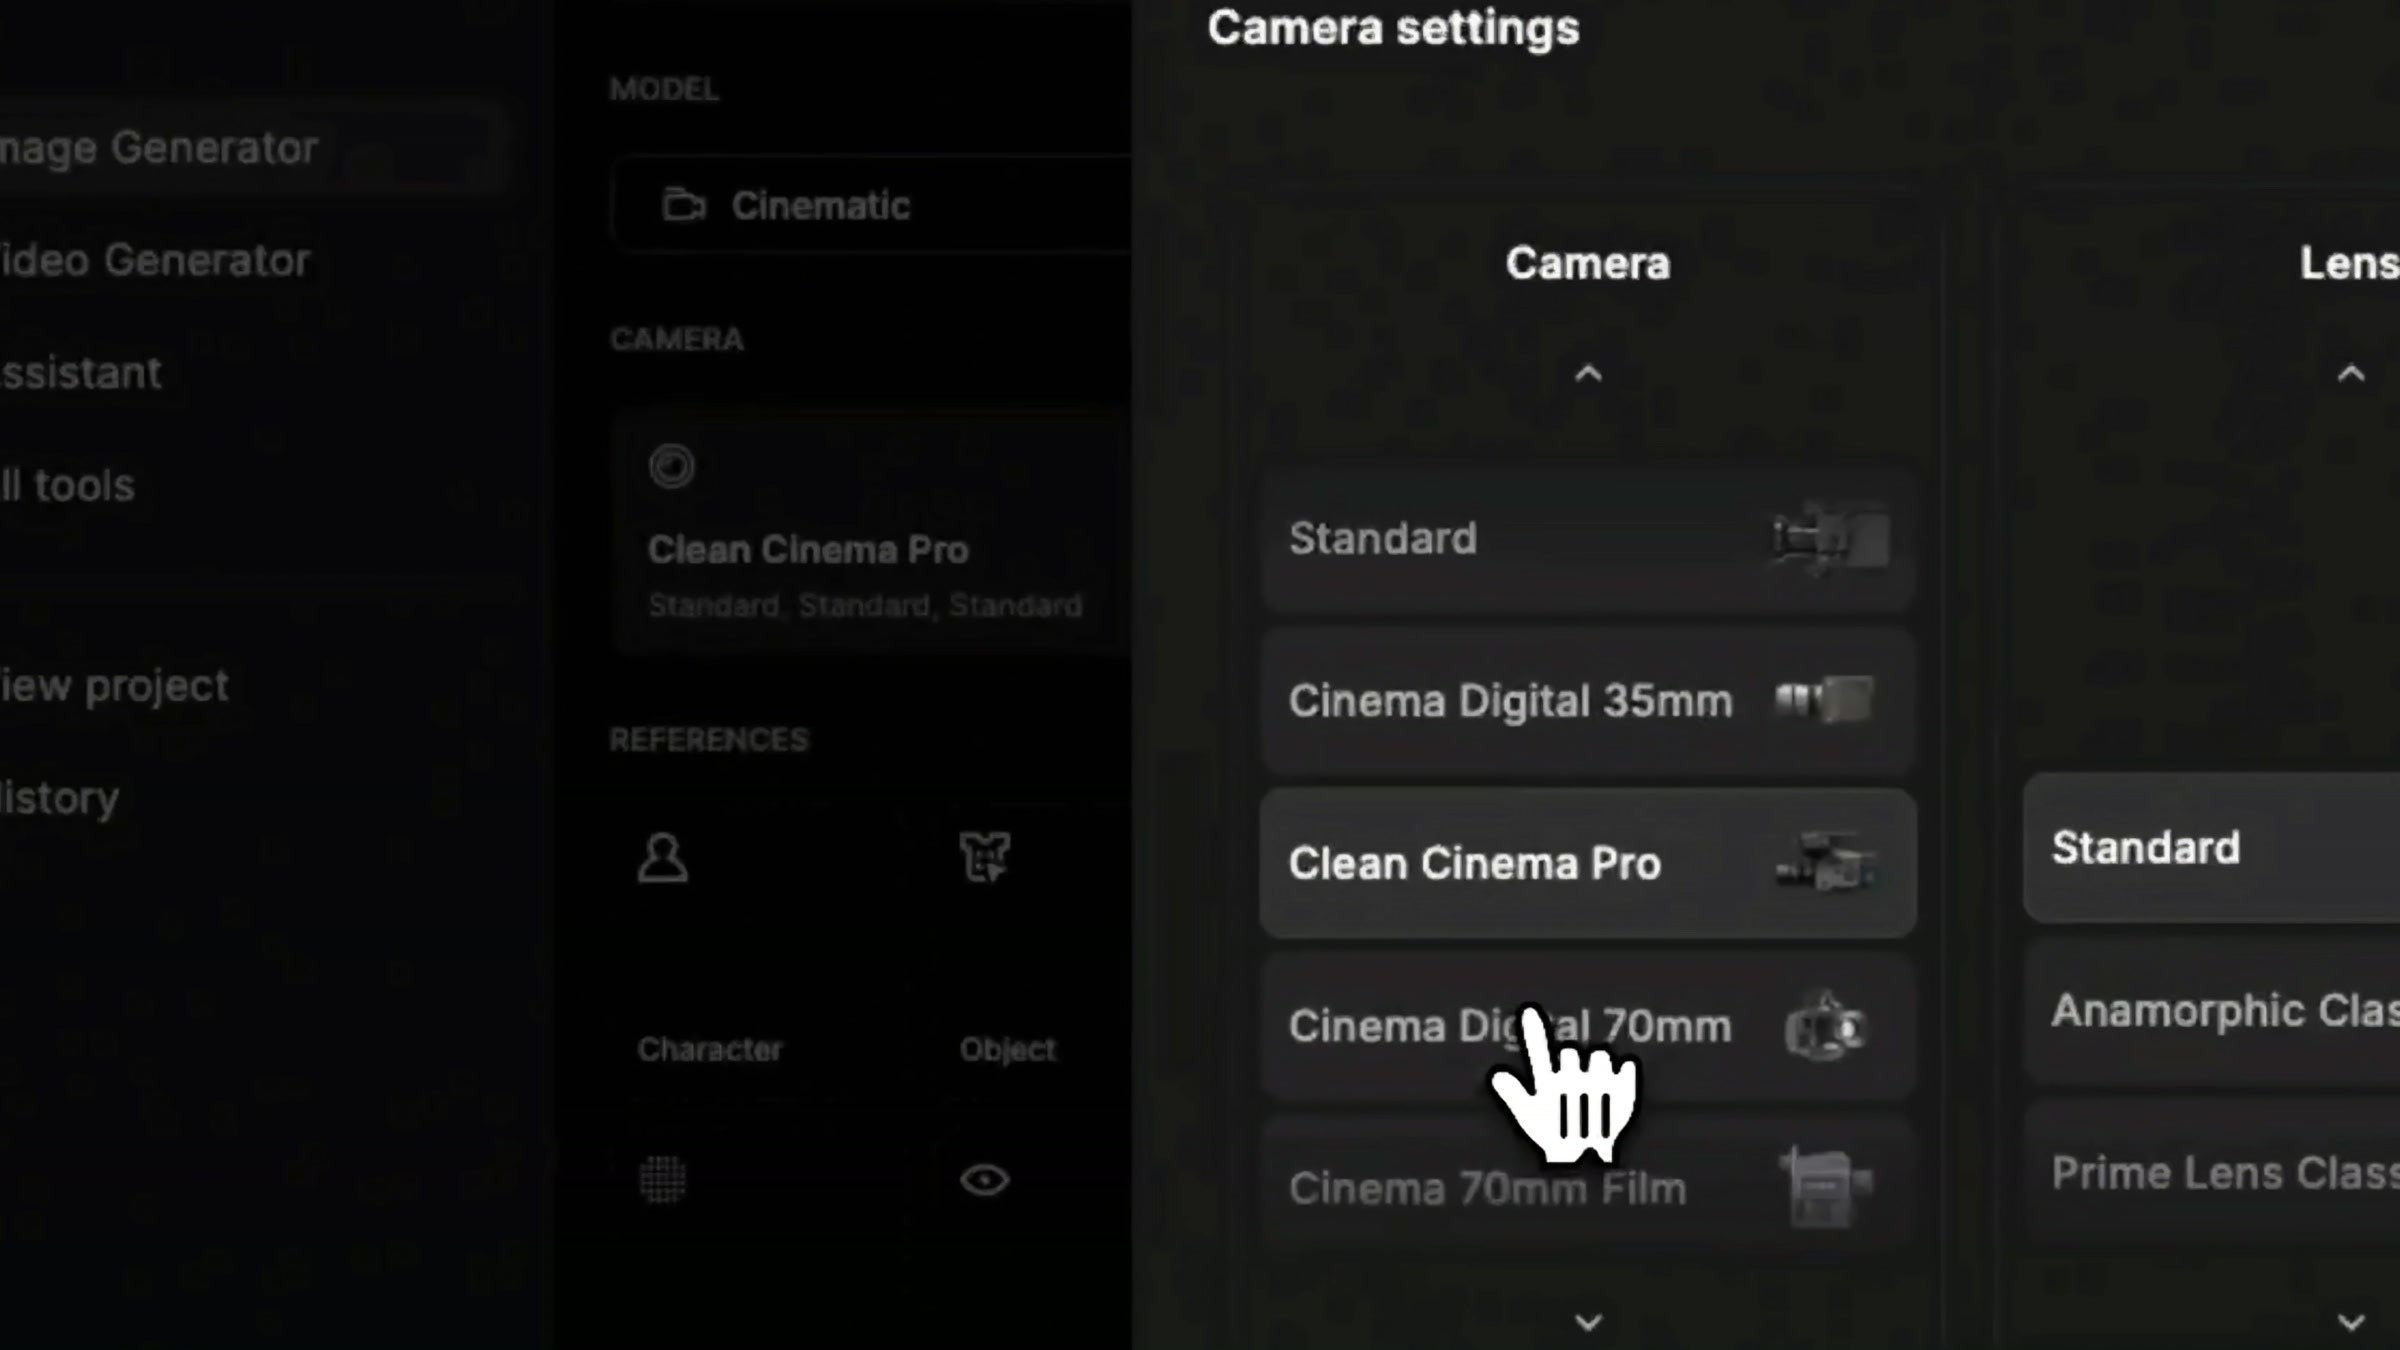
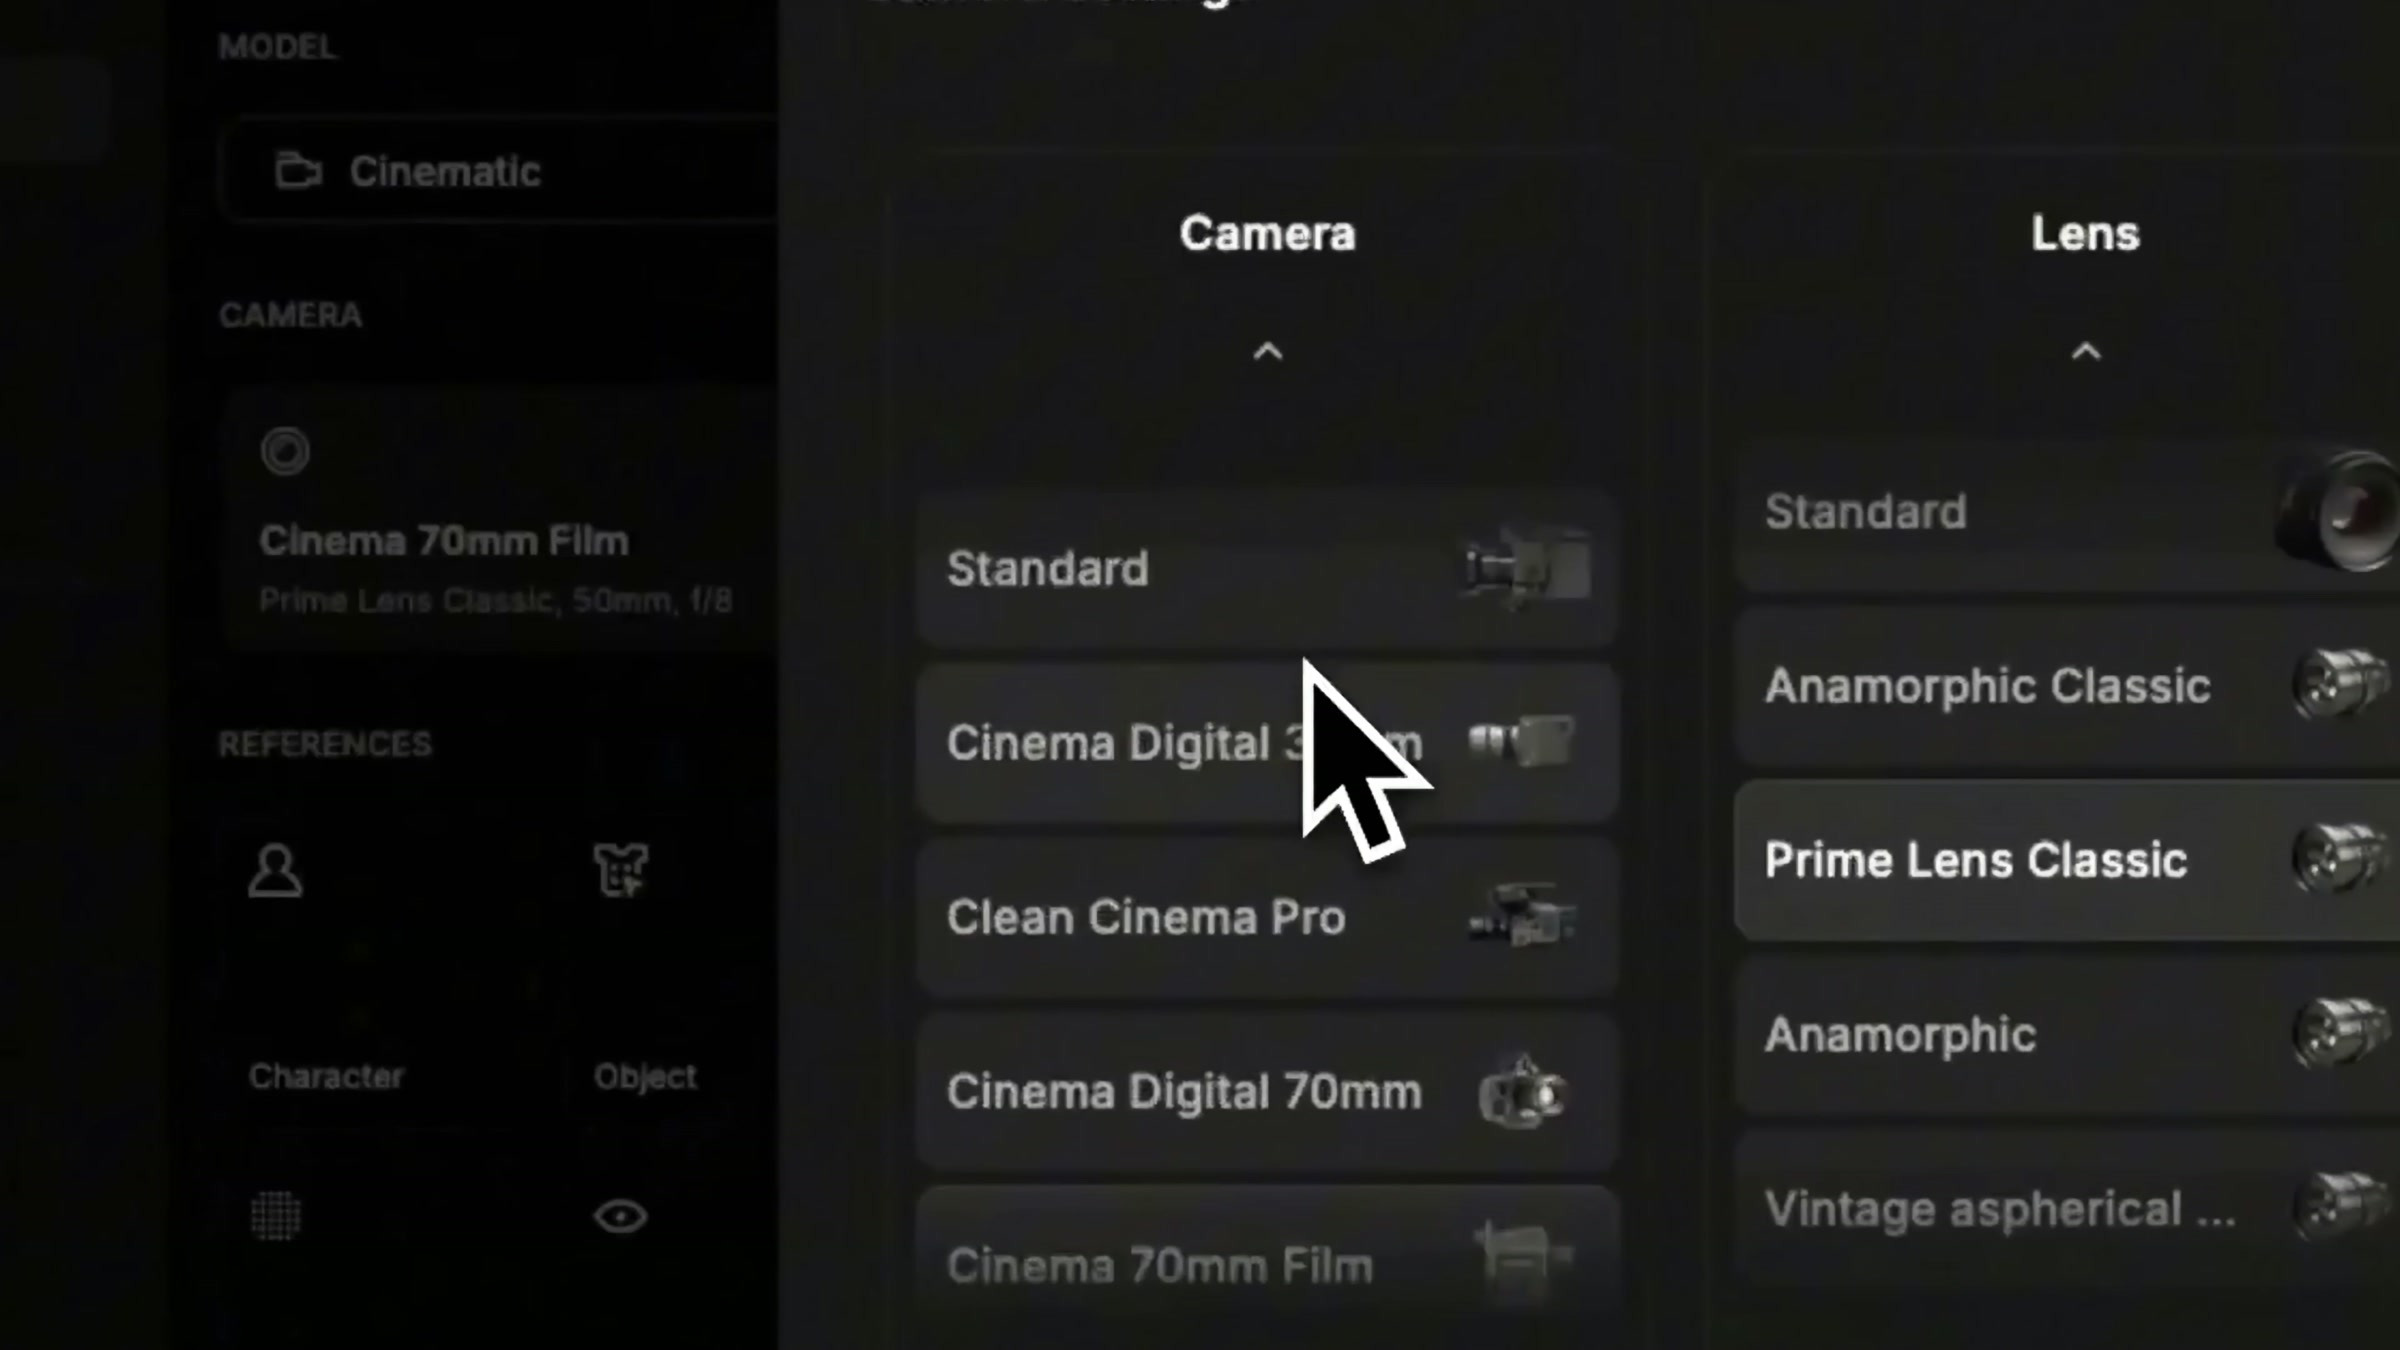
The Camera column can be understood as the overall imaging tone of the entire frame. In the demo, you can see options such as Cinema Digital 35mm, Clean Cinema Pro, Cinema Digital 70mm, Cinema 70mm Film, as well as 8mm Film, 35mm Film, and Medium Format Film.
If you just want to start with a clean, stable baseline image that’s easy to continue debugging, you can begin with Clean Cinema Pro or Standard. If you want to give the space the grand scale of a commercial film, try Cinema Digital 70mm; for a more pronounced filmic aesthetic, you can experiment with Cinema 70mm Film. There’s no need to guess which one is “best” in advance; run each prompt once, and the differences will be more obvious than judging by the names alone.
Lens: Determines the character of edges, lens flares, and the overall image.
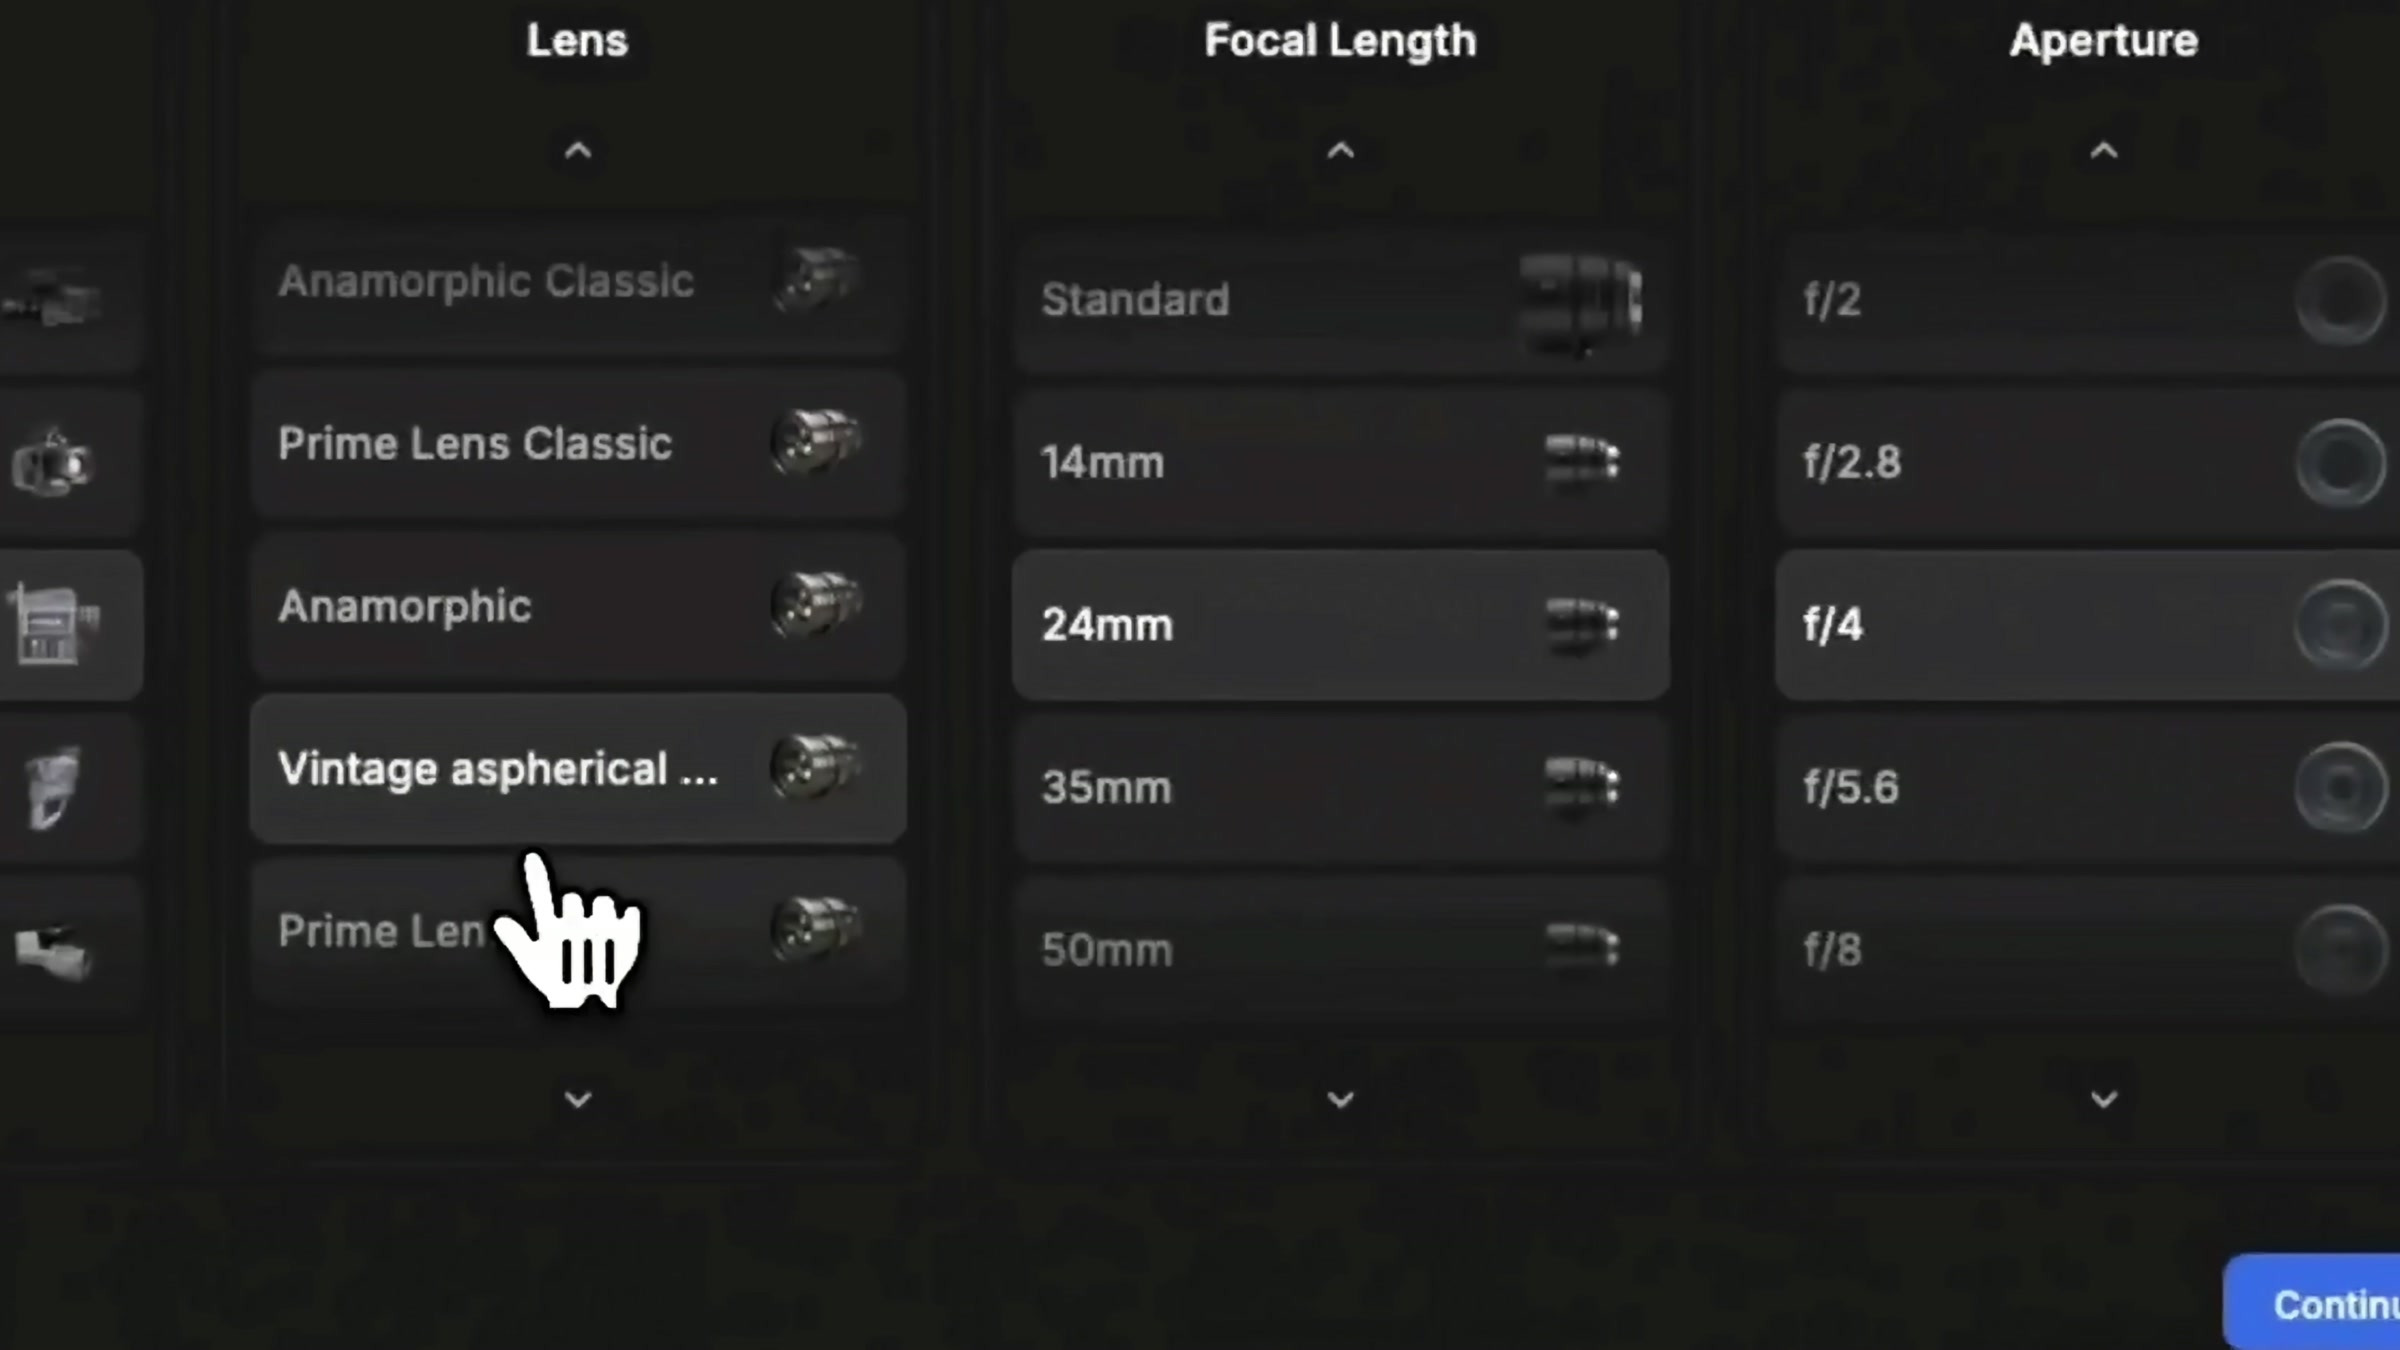
In the Lens section, options such as Standard, Anamorphic Classic, Prime Lens Classic, Anamorphic, Vintage Aspherical, Medium Format, DSLR Full Frame, and Classic Planar Prime appear.
They can be used as visual tendencies: Anamorphic series are more suitable for horizontal space, science fiction and action scenes; Prime Lens is more restrained in Classic and suitable for general narrative. Vintage aspherical will add more obvious flavor to the picture. Classic Planar Prime is very suitable for close-up of characters and relatively clean commercial texture.
However, it’s worth noting that these options provide “cinematic‑style tags” for the generative model and do not constitute a physical simulation of an actual camera. When evaluating the results, focus on whether edge distortion, figure proportions, light halos, and depth of field have genuinely improved, rather than just looking at the parameter names.
Focal Length: What it truly changes is the spatial relationships.
Focal length is more than just “zooming in or zooming out.” In the video, you can see options such as 14mm, 24mm, 35mm, 50mm, 85mm, and 135mm. The smaller the value, the more open the space appears, and nearby objects tend to be exaggerated; the larger the value, the stronger the background compression typically is, and the subject stands out more clearly from the surroundings.
When shooting action sequences or disaster scenes, I usually start with either a 24mm or a 35mm lens. They can preserve the environment while also easily creating a sense of immersion in the scene. A 50mm lens is fairly neutral, making it well-suited for narrative shots and most product and portrait scenes. 85mm to 135mm lenses are better suited for portraits, close-ups, and compressing the background, but if the action takes place in a large space, they can also make the scene look too “flat.”
Aperture: Controls whether the subject and background are both in focus.
In the aperture column, you can see settings such as f/1.2, f/1.4, f/2, f/2.8, f/4, f/5.6, and f/8. Smaller f‑numbers typically produce a shallower depth of field, making them ideal for highlighting subjects like people or products; f/4 to f/5.6 strikes a good balance; and f/8 is better suited for wide‑angle shots where the surroundings need to be included.
If the background of a portrait is too robbed, you can try it from f/1.4 to f/2.8. If it is a motorcade, city or mother ship, the front and back scenes are very important, so don't paste the background in a hurry. A wider aperture doesn’t automatically make a shot look more cinematic; it must serve the narrative purpose of the frame.
Film Stock and Movie Look: Finally, add color.
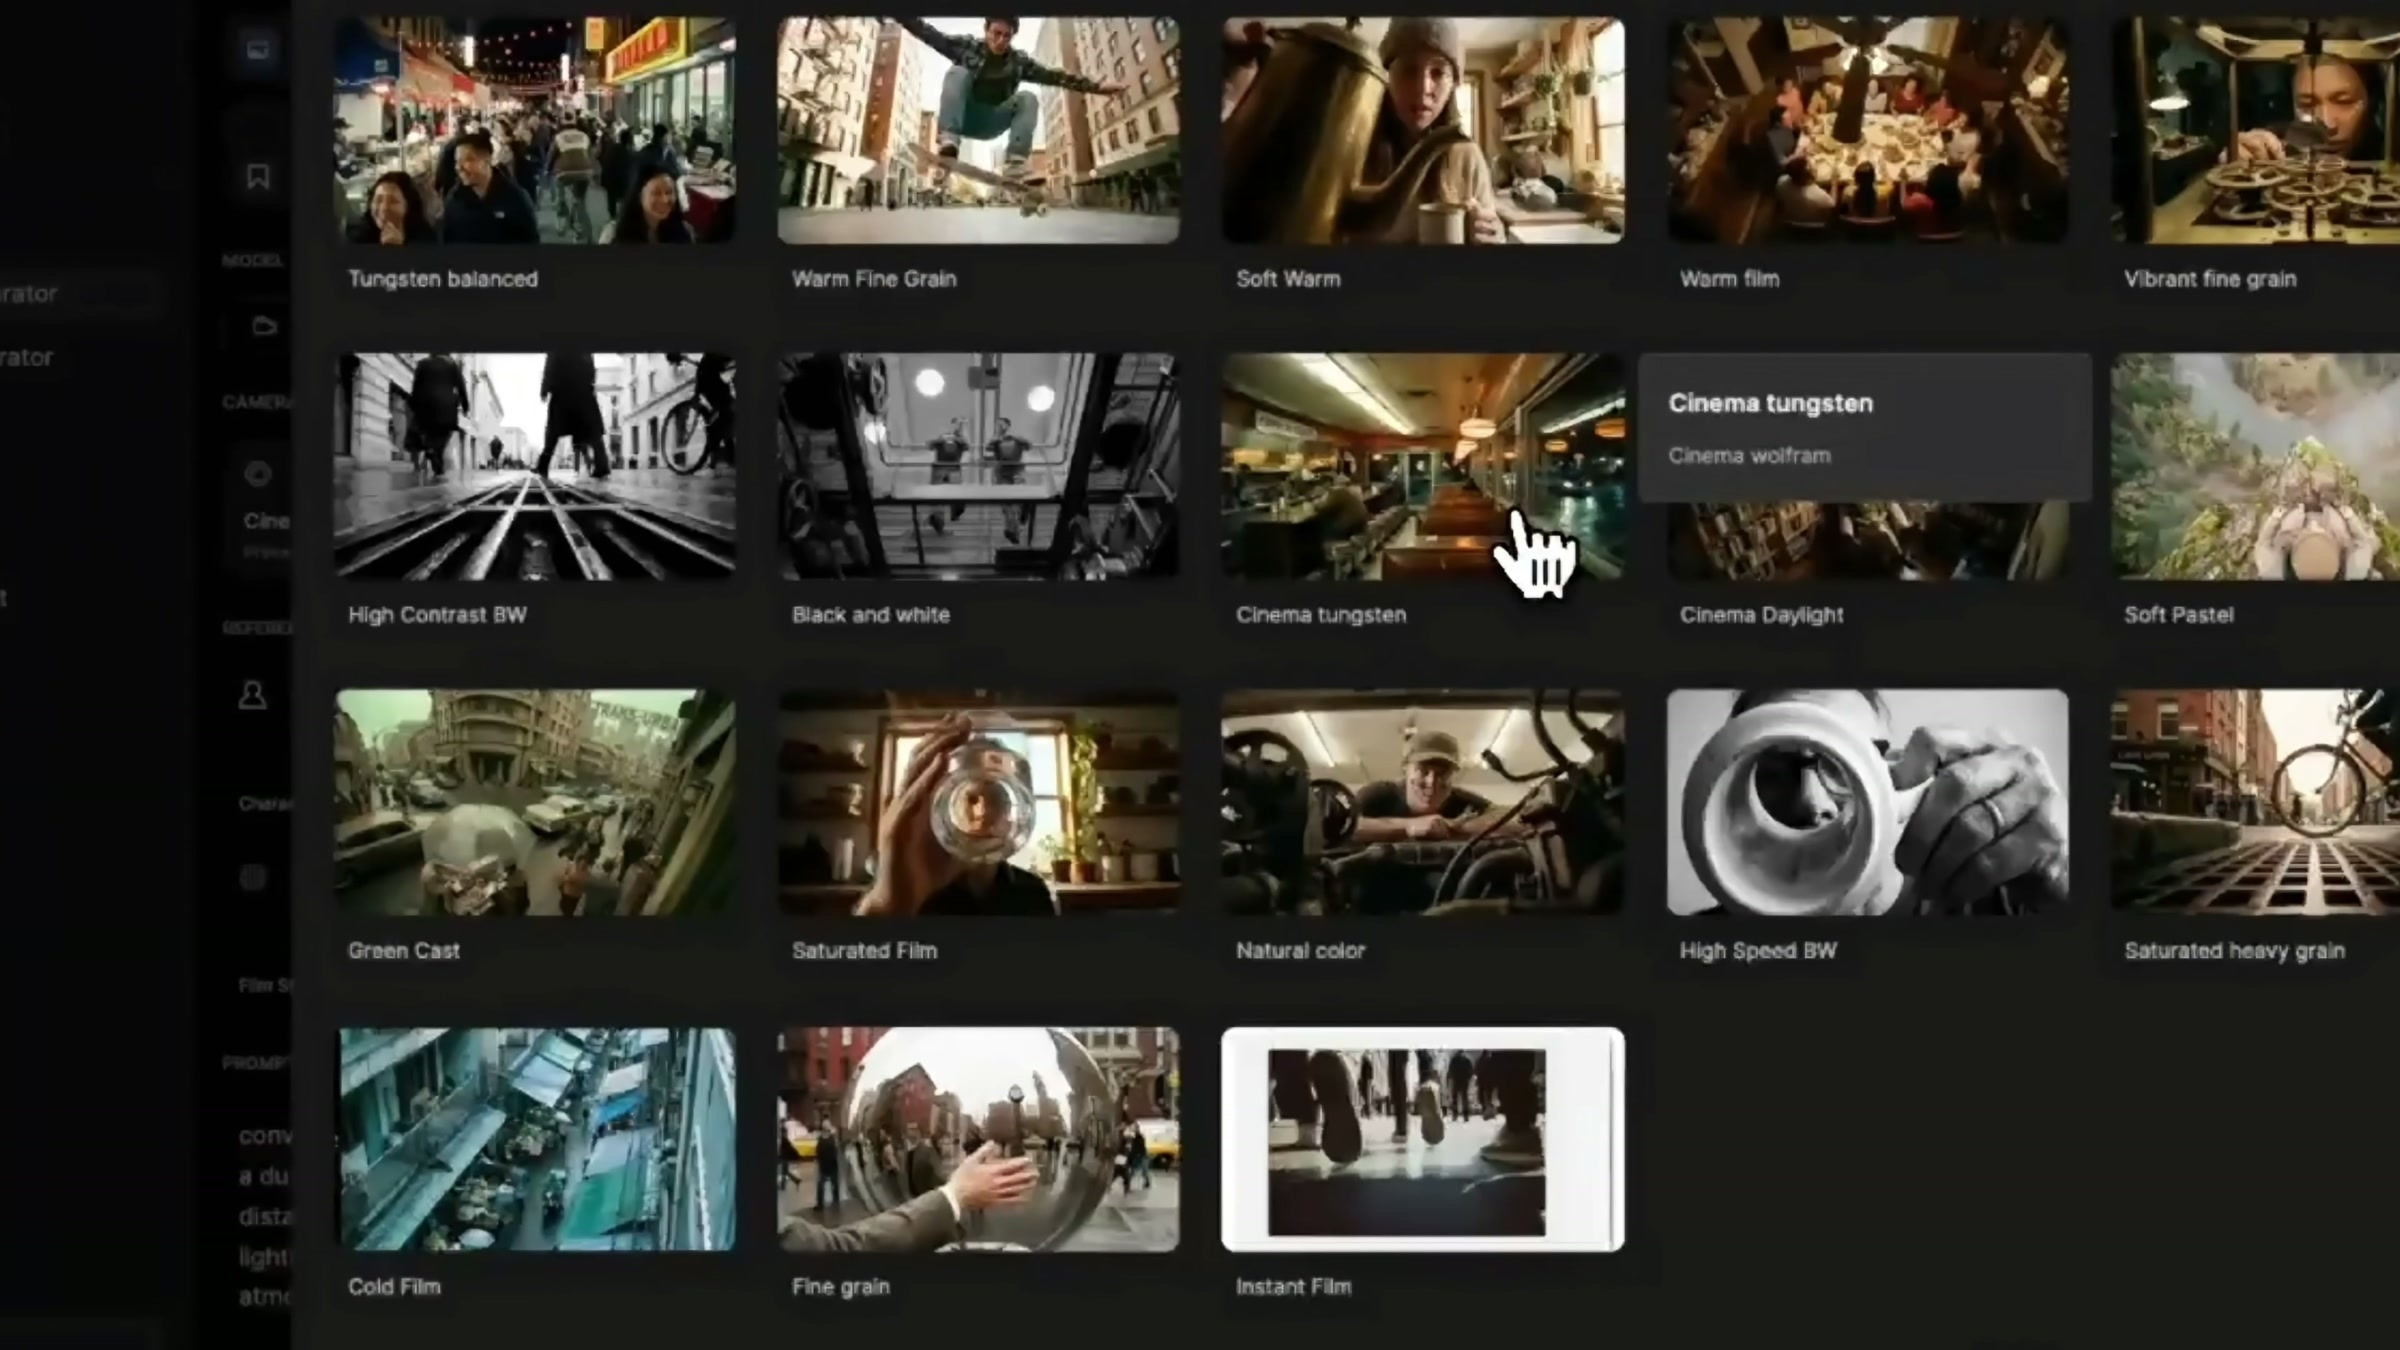
There are also Natural color, Cinema tungsten, Cinema Daylight, High Contrast BW, Fine grain, as well as Saturated Apocalyptic Desert, Futuristic Neon Blue, Contemplative sci-fi and other style references.
This step is the easiest to overdo. My recommendation is to first get the composition, figures, and objects right using Natural Color or a more neutral preset, and then switch to Film Stock or Movie Look. Otherwise, if the lens, focal length, depth of field, and color all change at once, it will be very difficult to determine which setting ultimately made the difference.
Put the parameters back into the real-world scenario to observe.
The key to the helicopter chase sequence is its sense of speed and distance. Tall buildings create a narrow passageway, the helicopter hovers close to the camera, and backlighting combines with motion blur. What truly matters here is not the term “cinematic” taken alone, but rather the coordinated interplay of motion, environment, physical feedback, and camera perspective.
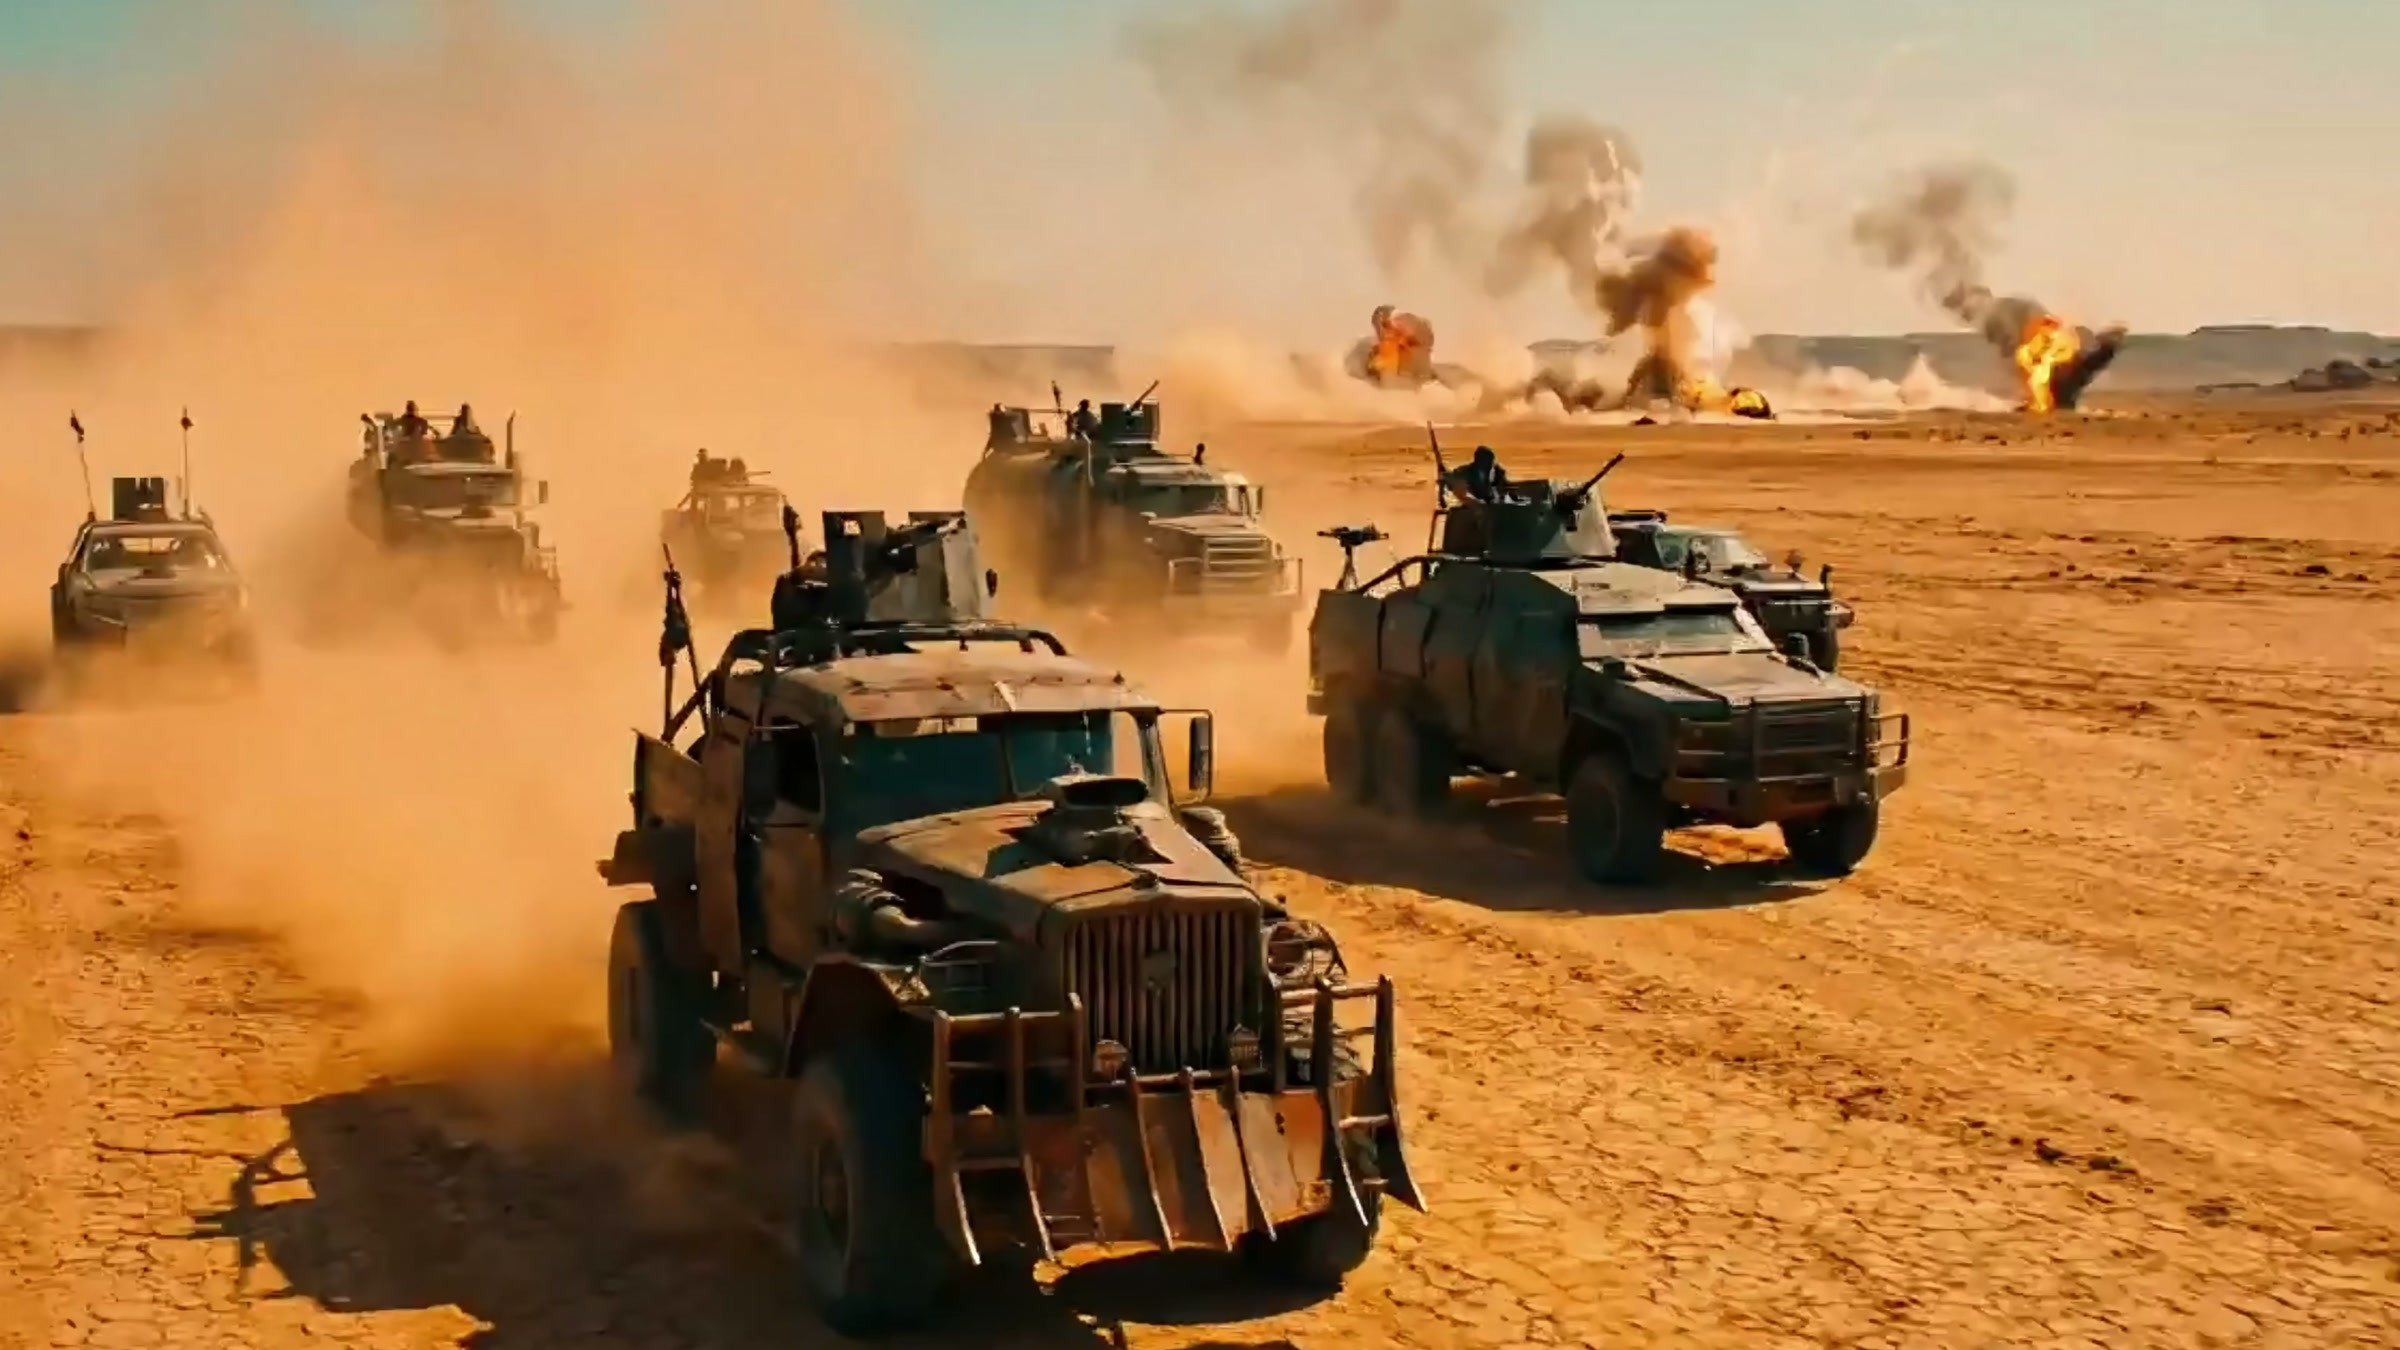
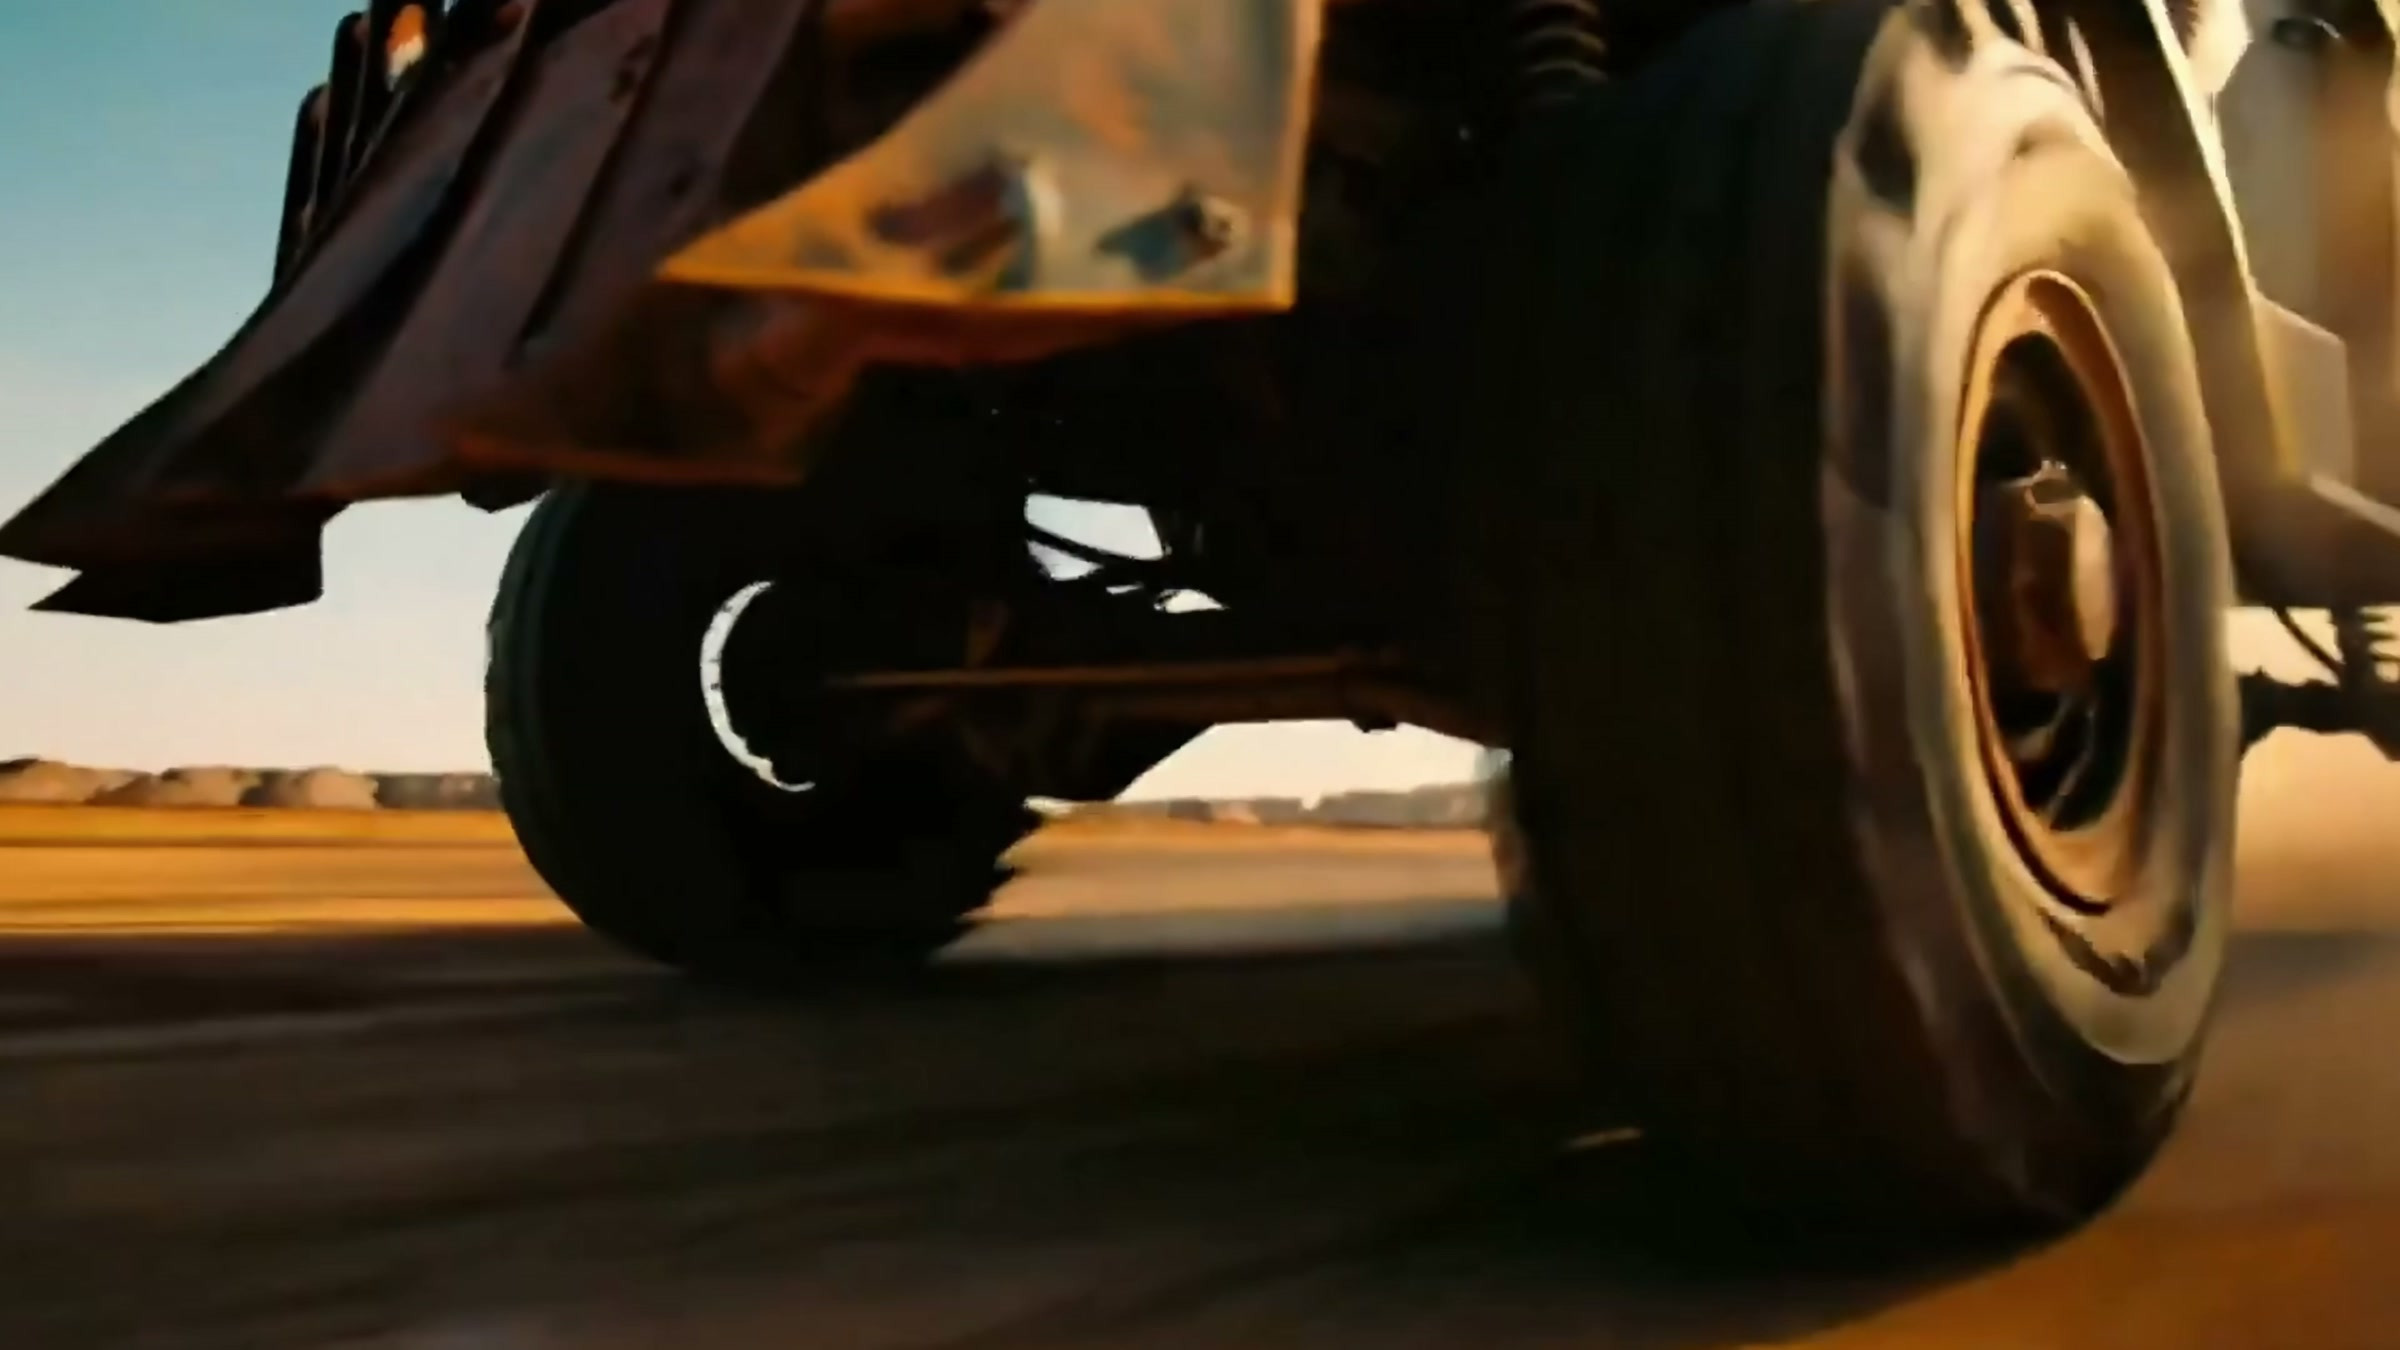
Wasteland vehicle teams are better suited to medium-wide-angle observation. The shot needs to clearly show the vehicles in the foreground while also capturing the convoy behind, along with the smoke and explosions. Focusing solely on close-ups of the vehicles diminishes the sense of scale; shooting only ultra-long shots, however, fails to convey enough speed. First, use a full‑shot of the entire车队 to establish the space, then add close‑ups of the low‑angle tires, the car’s front end, or dust. This sequence of shots will have more rhythm than a single frame.
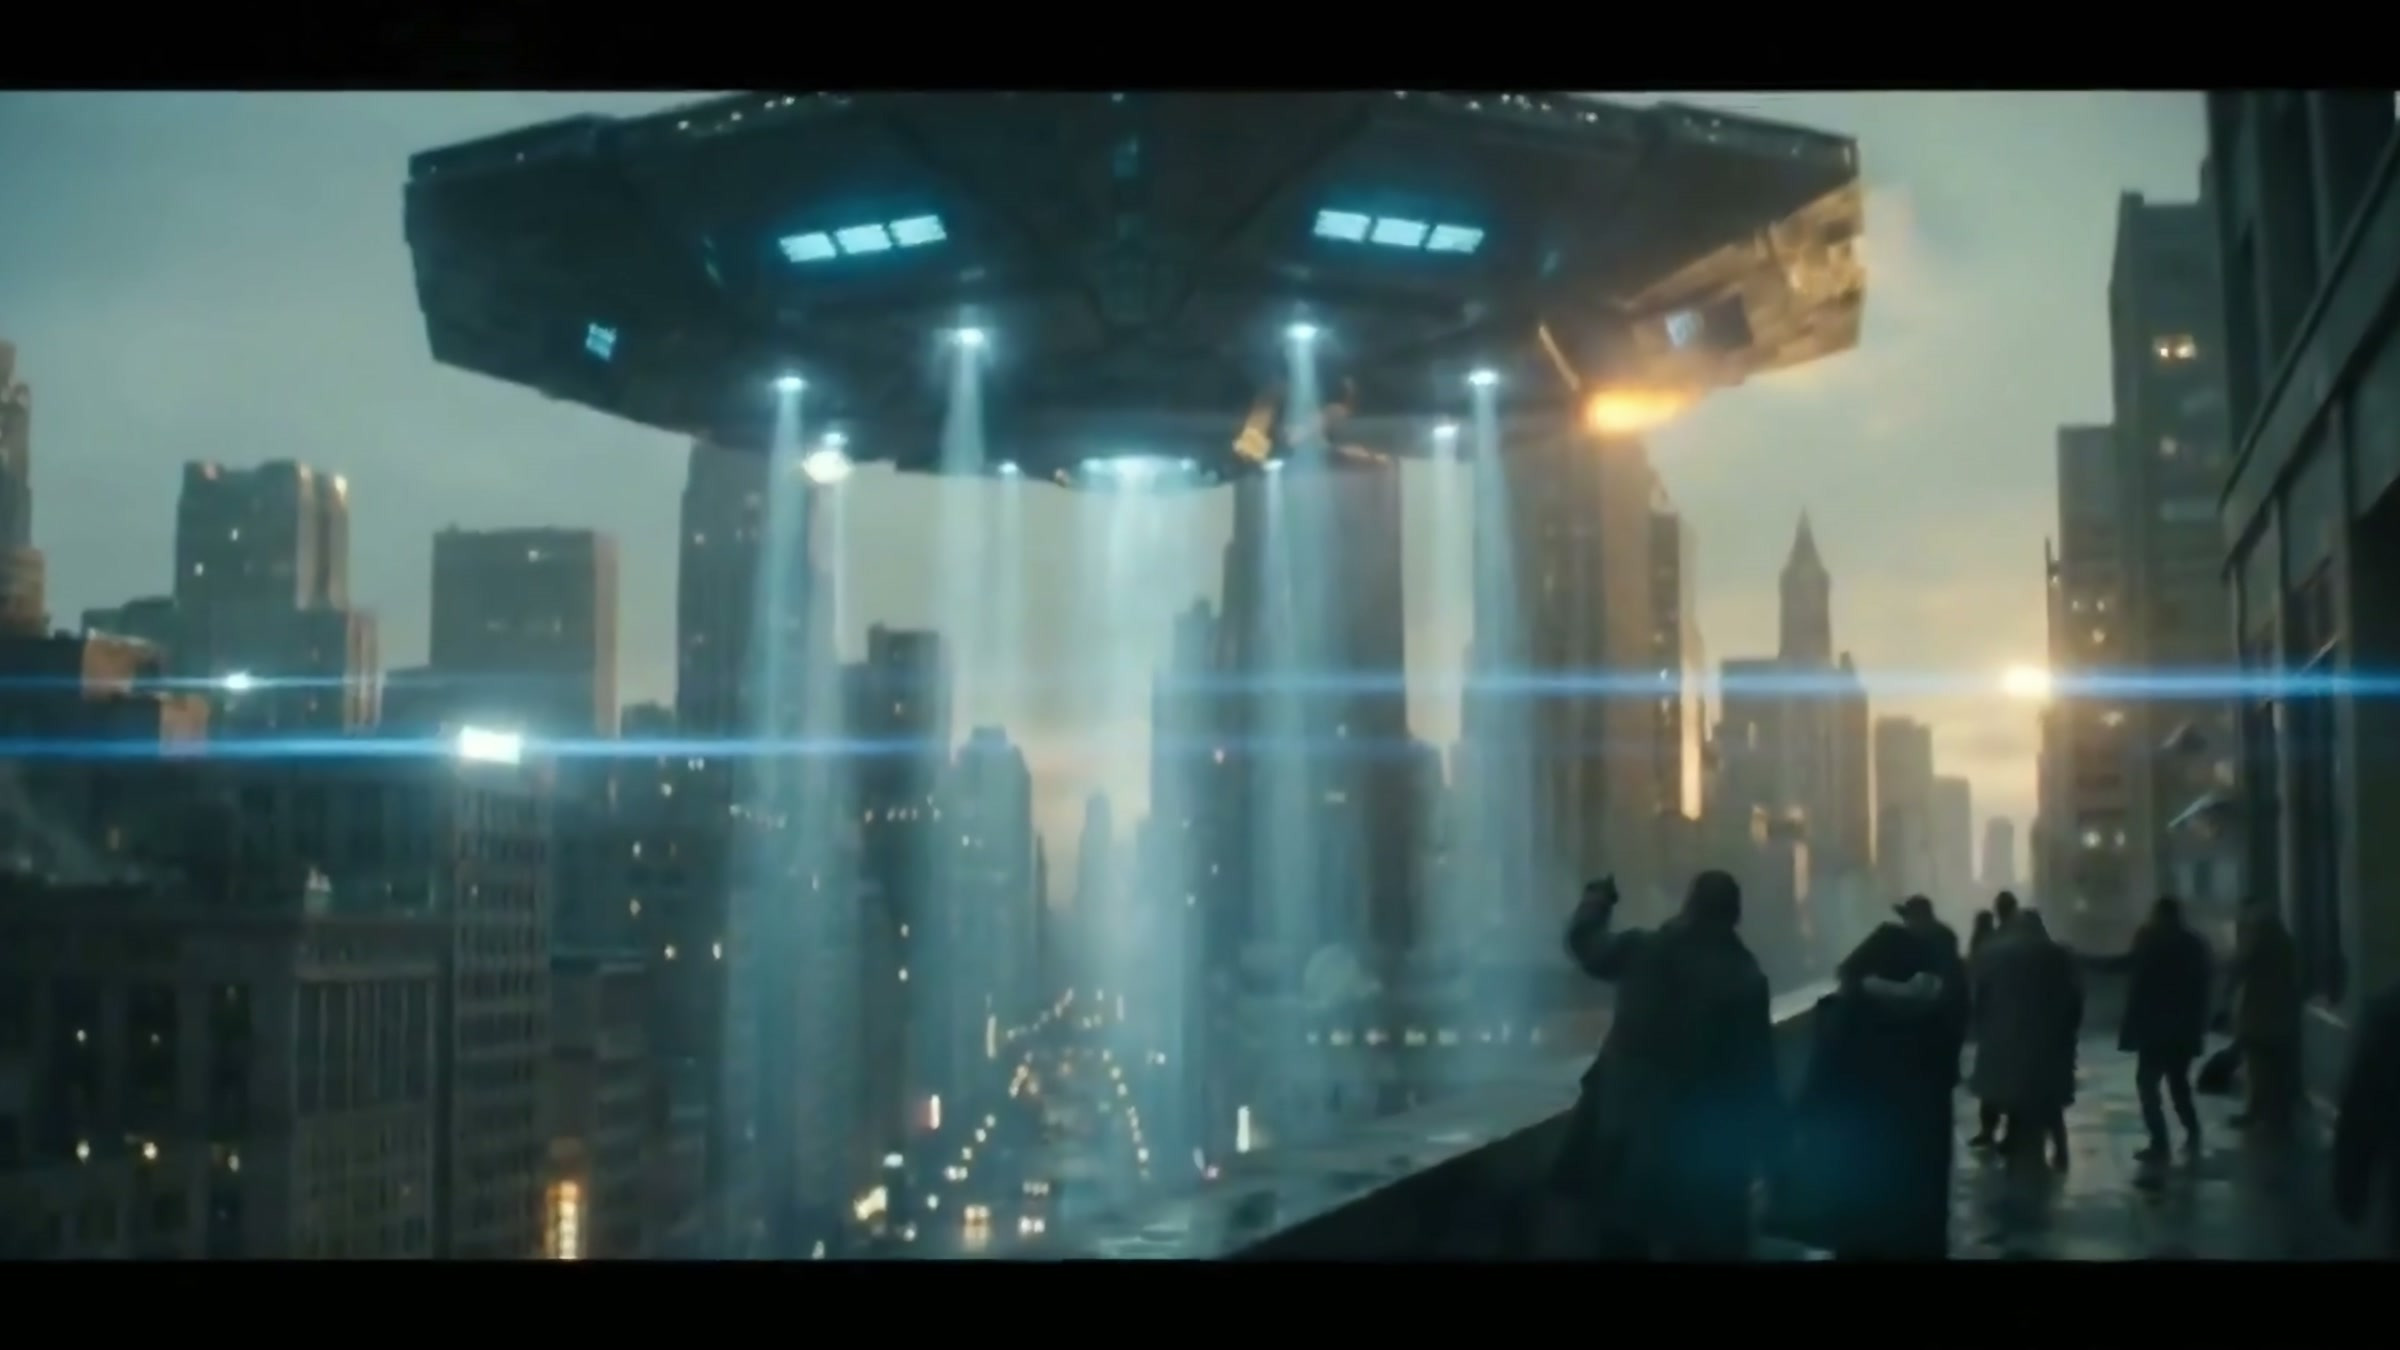
The mothership scene aims to convey “immensity.” In front of the corresponding paragraph, the interface summary displays “Cinema 70mm Film,” “Prime Lens Classic,” “50mm,” and “f/8.” Subsequently, the results place the mothership above the city, while retaining the buildings, pedestrians, and beams as scale references. The main subject does not fill the entire frame, yet viewers can immediately sense its immense size.
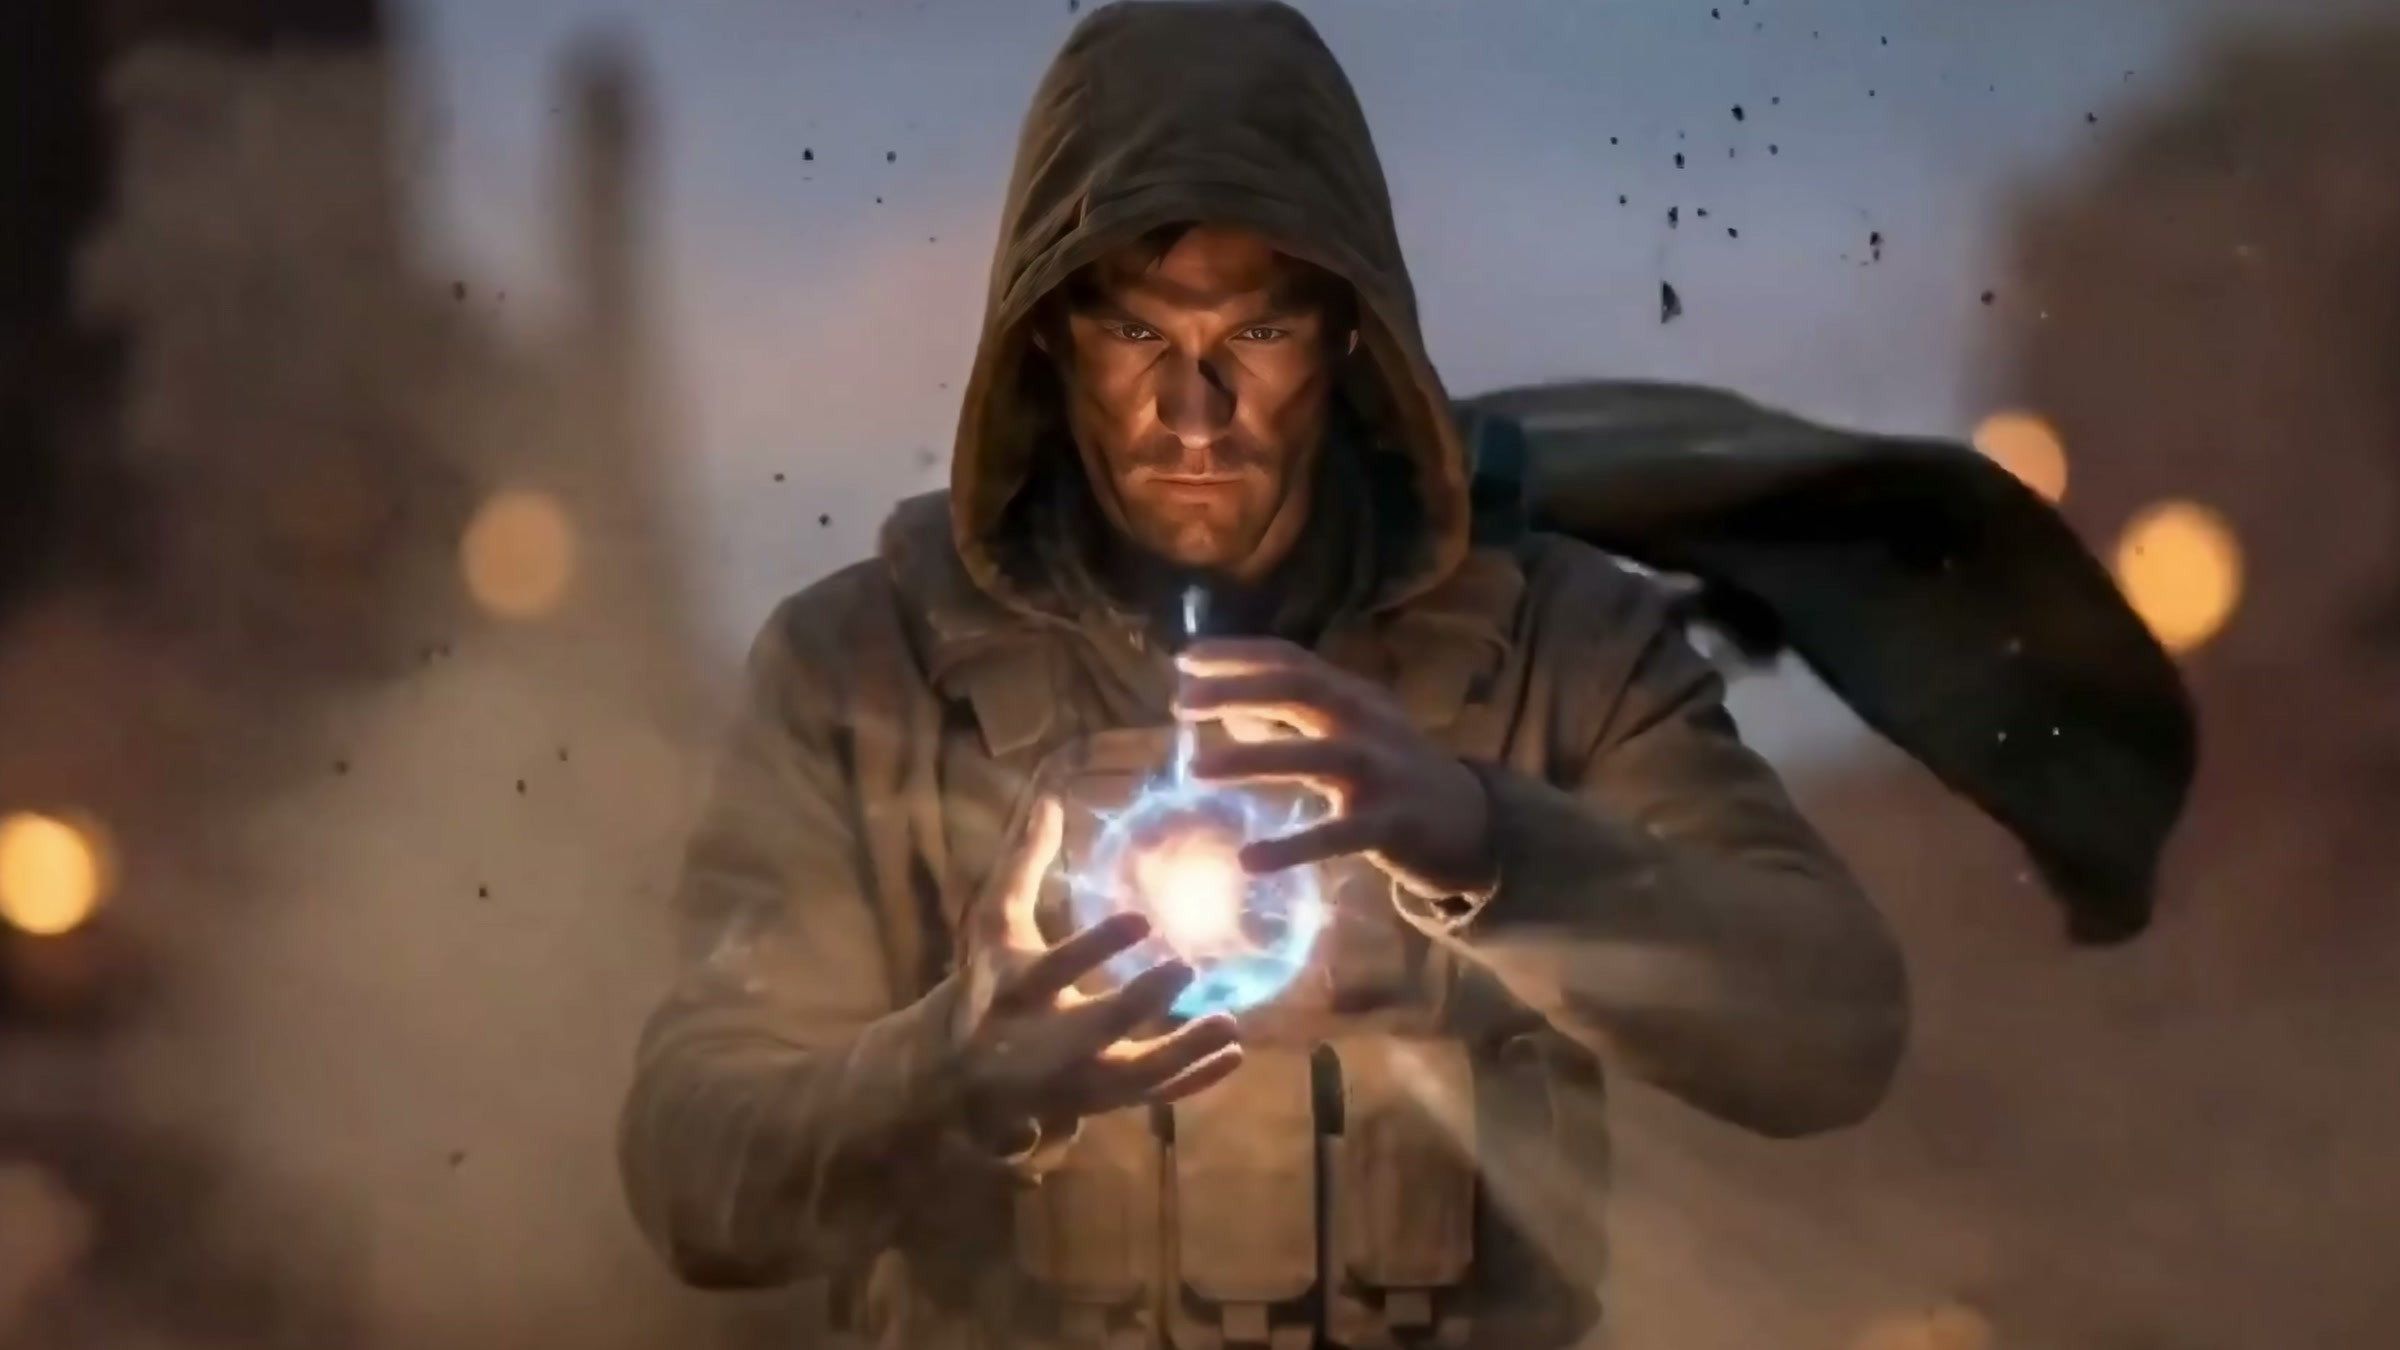
Character shots, on the other hand, require a different set of principles. For this energy-themed shot, the close-up focuses the face, hands, and glowing element in the center of the frame, with only a hint of firelight and grainy texture left in the background. The audience first perceives the characters’ intentions and then focuses on the special effects, making the flow of information clear.
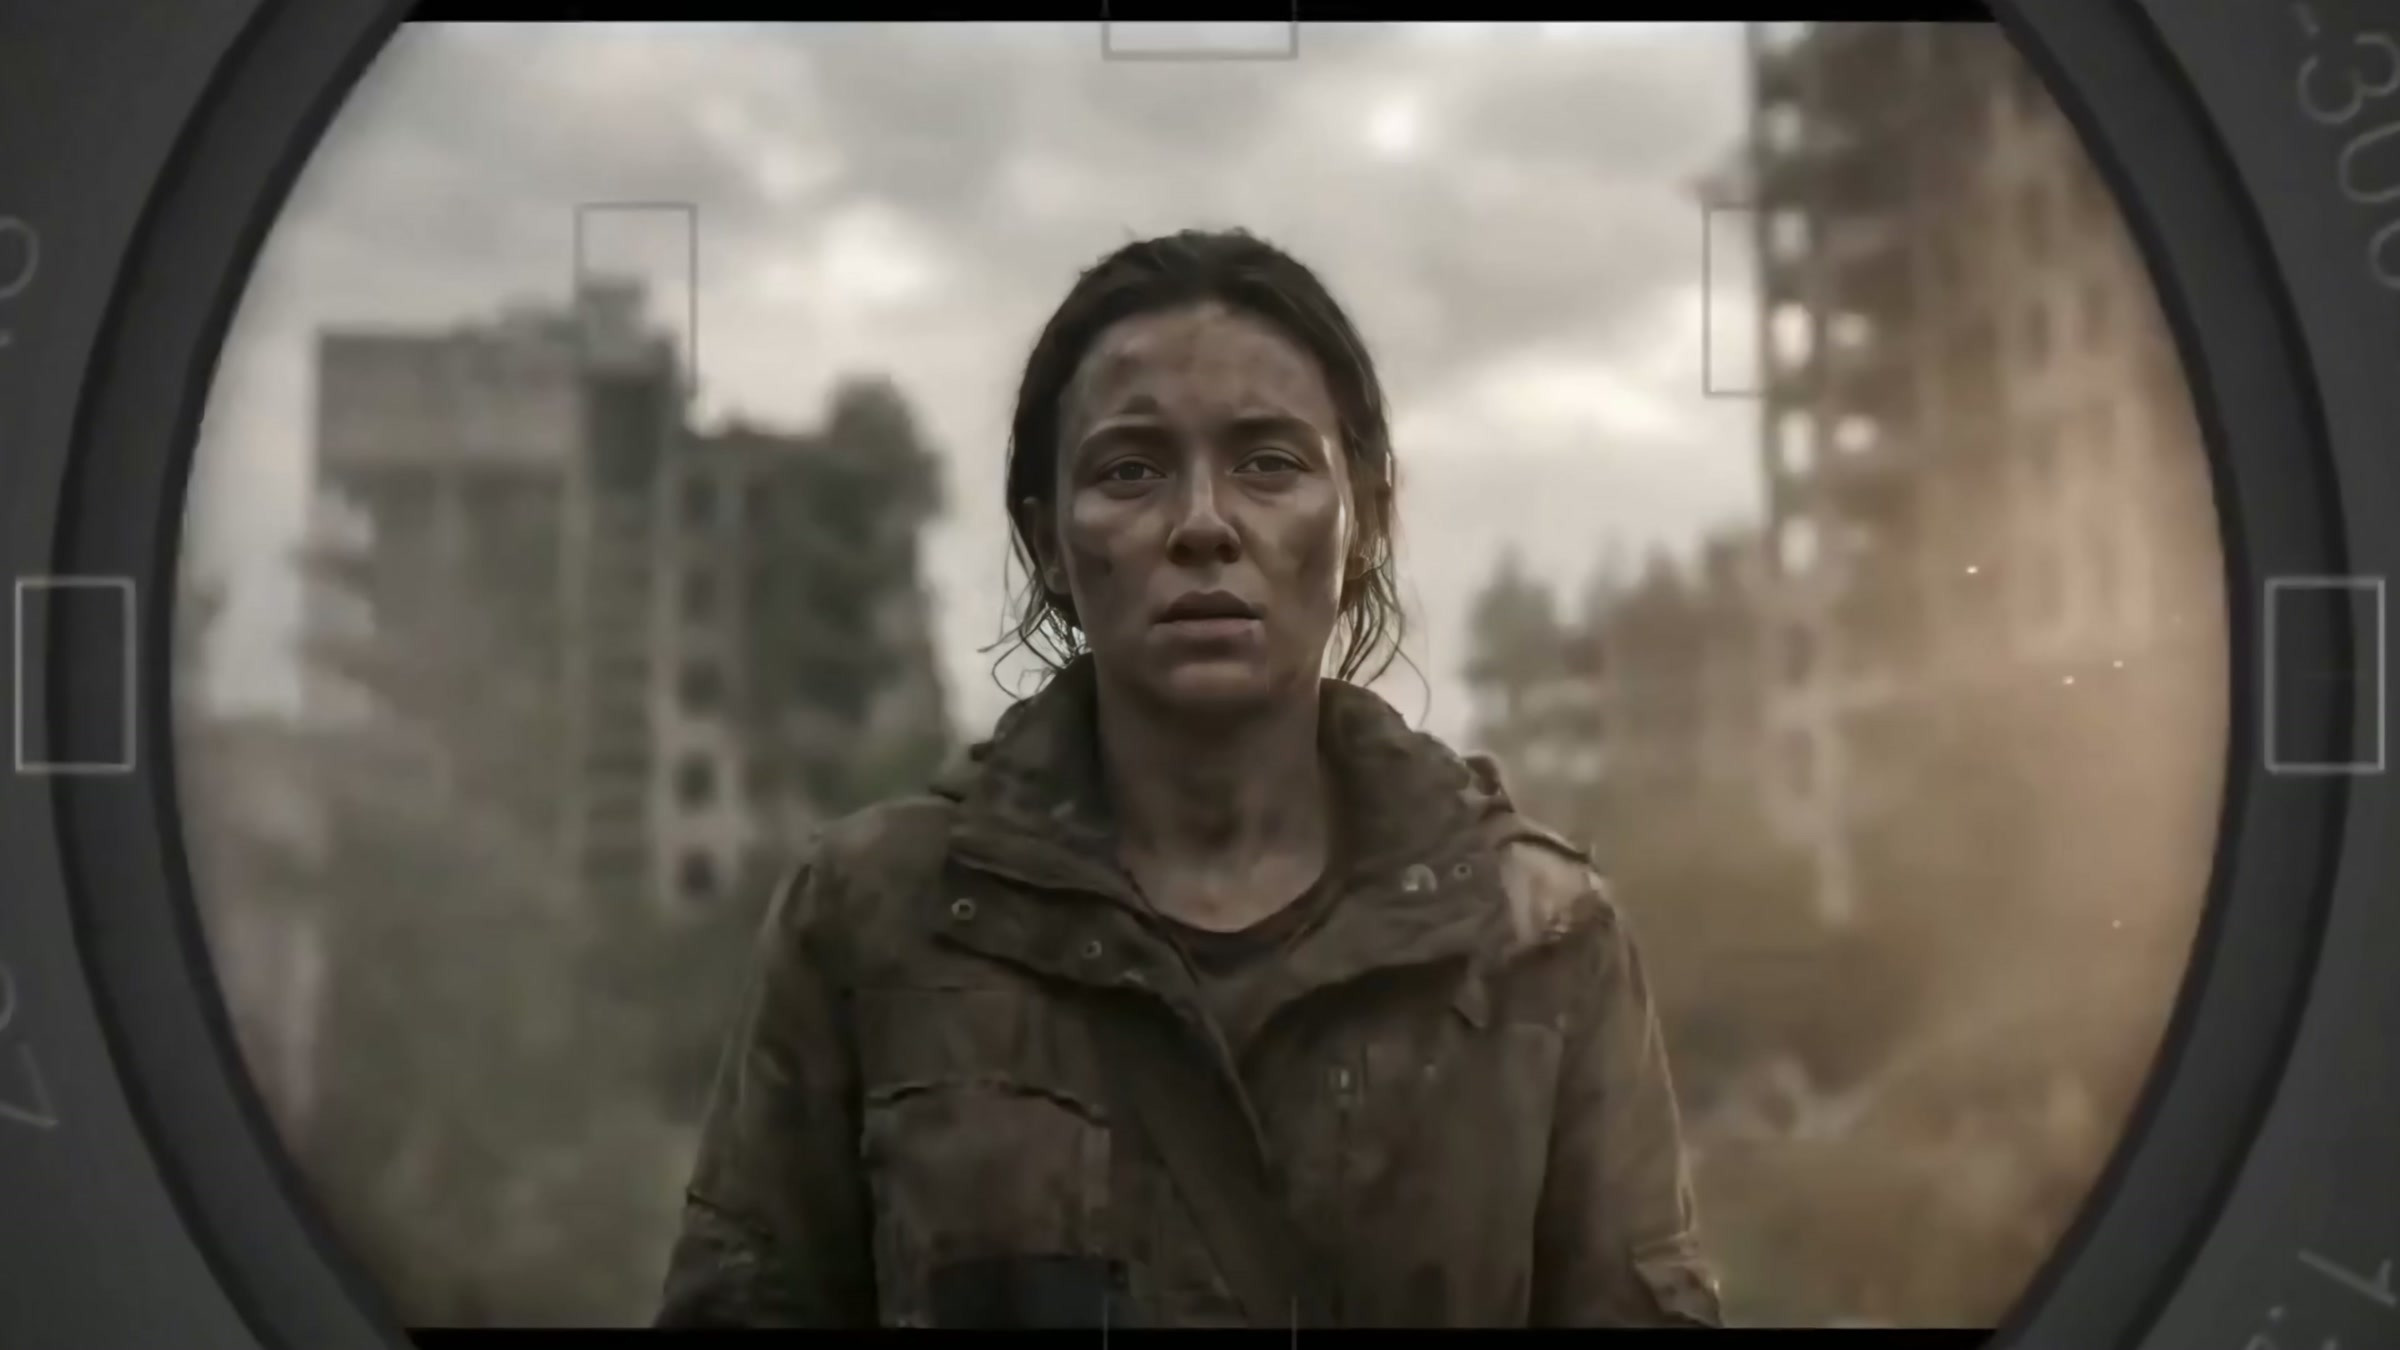
In front of the last group of ruins, the interface summary shows Cinema Digital 70mm, Classic Planar Prime, 85mm, f/1.4. The subsequent shot employs a longer focal length and a wide aperture to isolate the subject from the rubble-filled background while still preserving ample environmental context.
A stable sequence
Step one: First, clearly describe the subject, the action, the setting, and the physical feedback—don’t rush to pile on stylistic words.
Step 2: Add only the references that are truly necessary. Characters, objects, and camera positions are handled separately; whatever is lacking is supplemented.
Step 3: Use Standard or a neutral set of poses to generate the base image, and first check the composition, proportions, and movements.
Step four: Change only one variable at a time. First, switch the camera; then, change the lens; next, test the focal lengths; finally, adjust the aperture. In each round, retain two to four results and compare them together.
Step 5: Once the composition is stable, then apply a film stock or movie look to prevent the style from masking any structural issues.
Step six: Don’t just pick the photo that “blows you away” at first glance. Zoom in to examine the characters’ facial features and fingers, the structure of vehicles, architectural perspective, light direction, depth-of-field edges, and motion blur. In action sequences, pay particular attention to wheels, rotors, firearms, and distant characters—they are the most prone to errors.
If you only remember one sentence, remember this: the prompt determines what happens, while the camera settings determine how we see it. Debugging the content and the viewing mode separately is far more reliable than repeatedly appending “cinematic” to the end of your prompts.








Too presentable
Study study