Separate product fixes and environmental variables from the breakfast table to the city window.
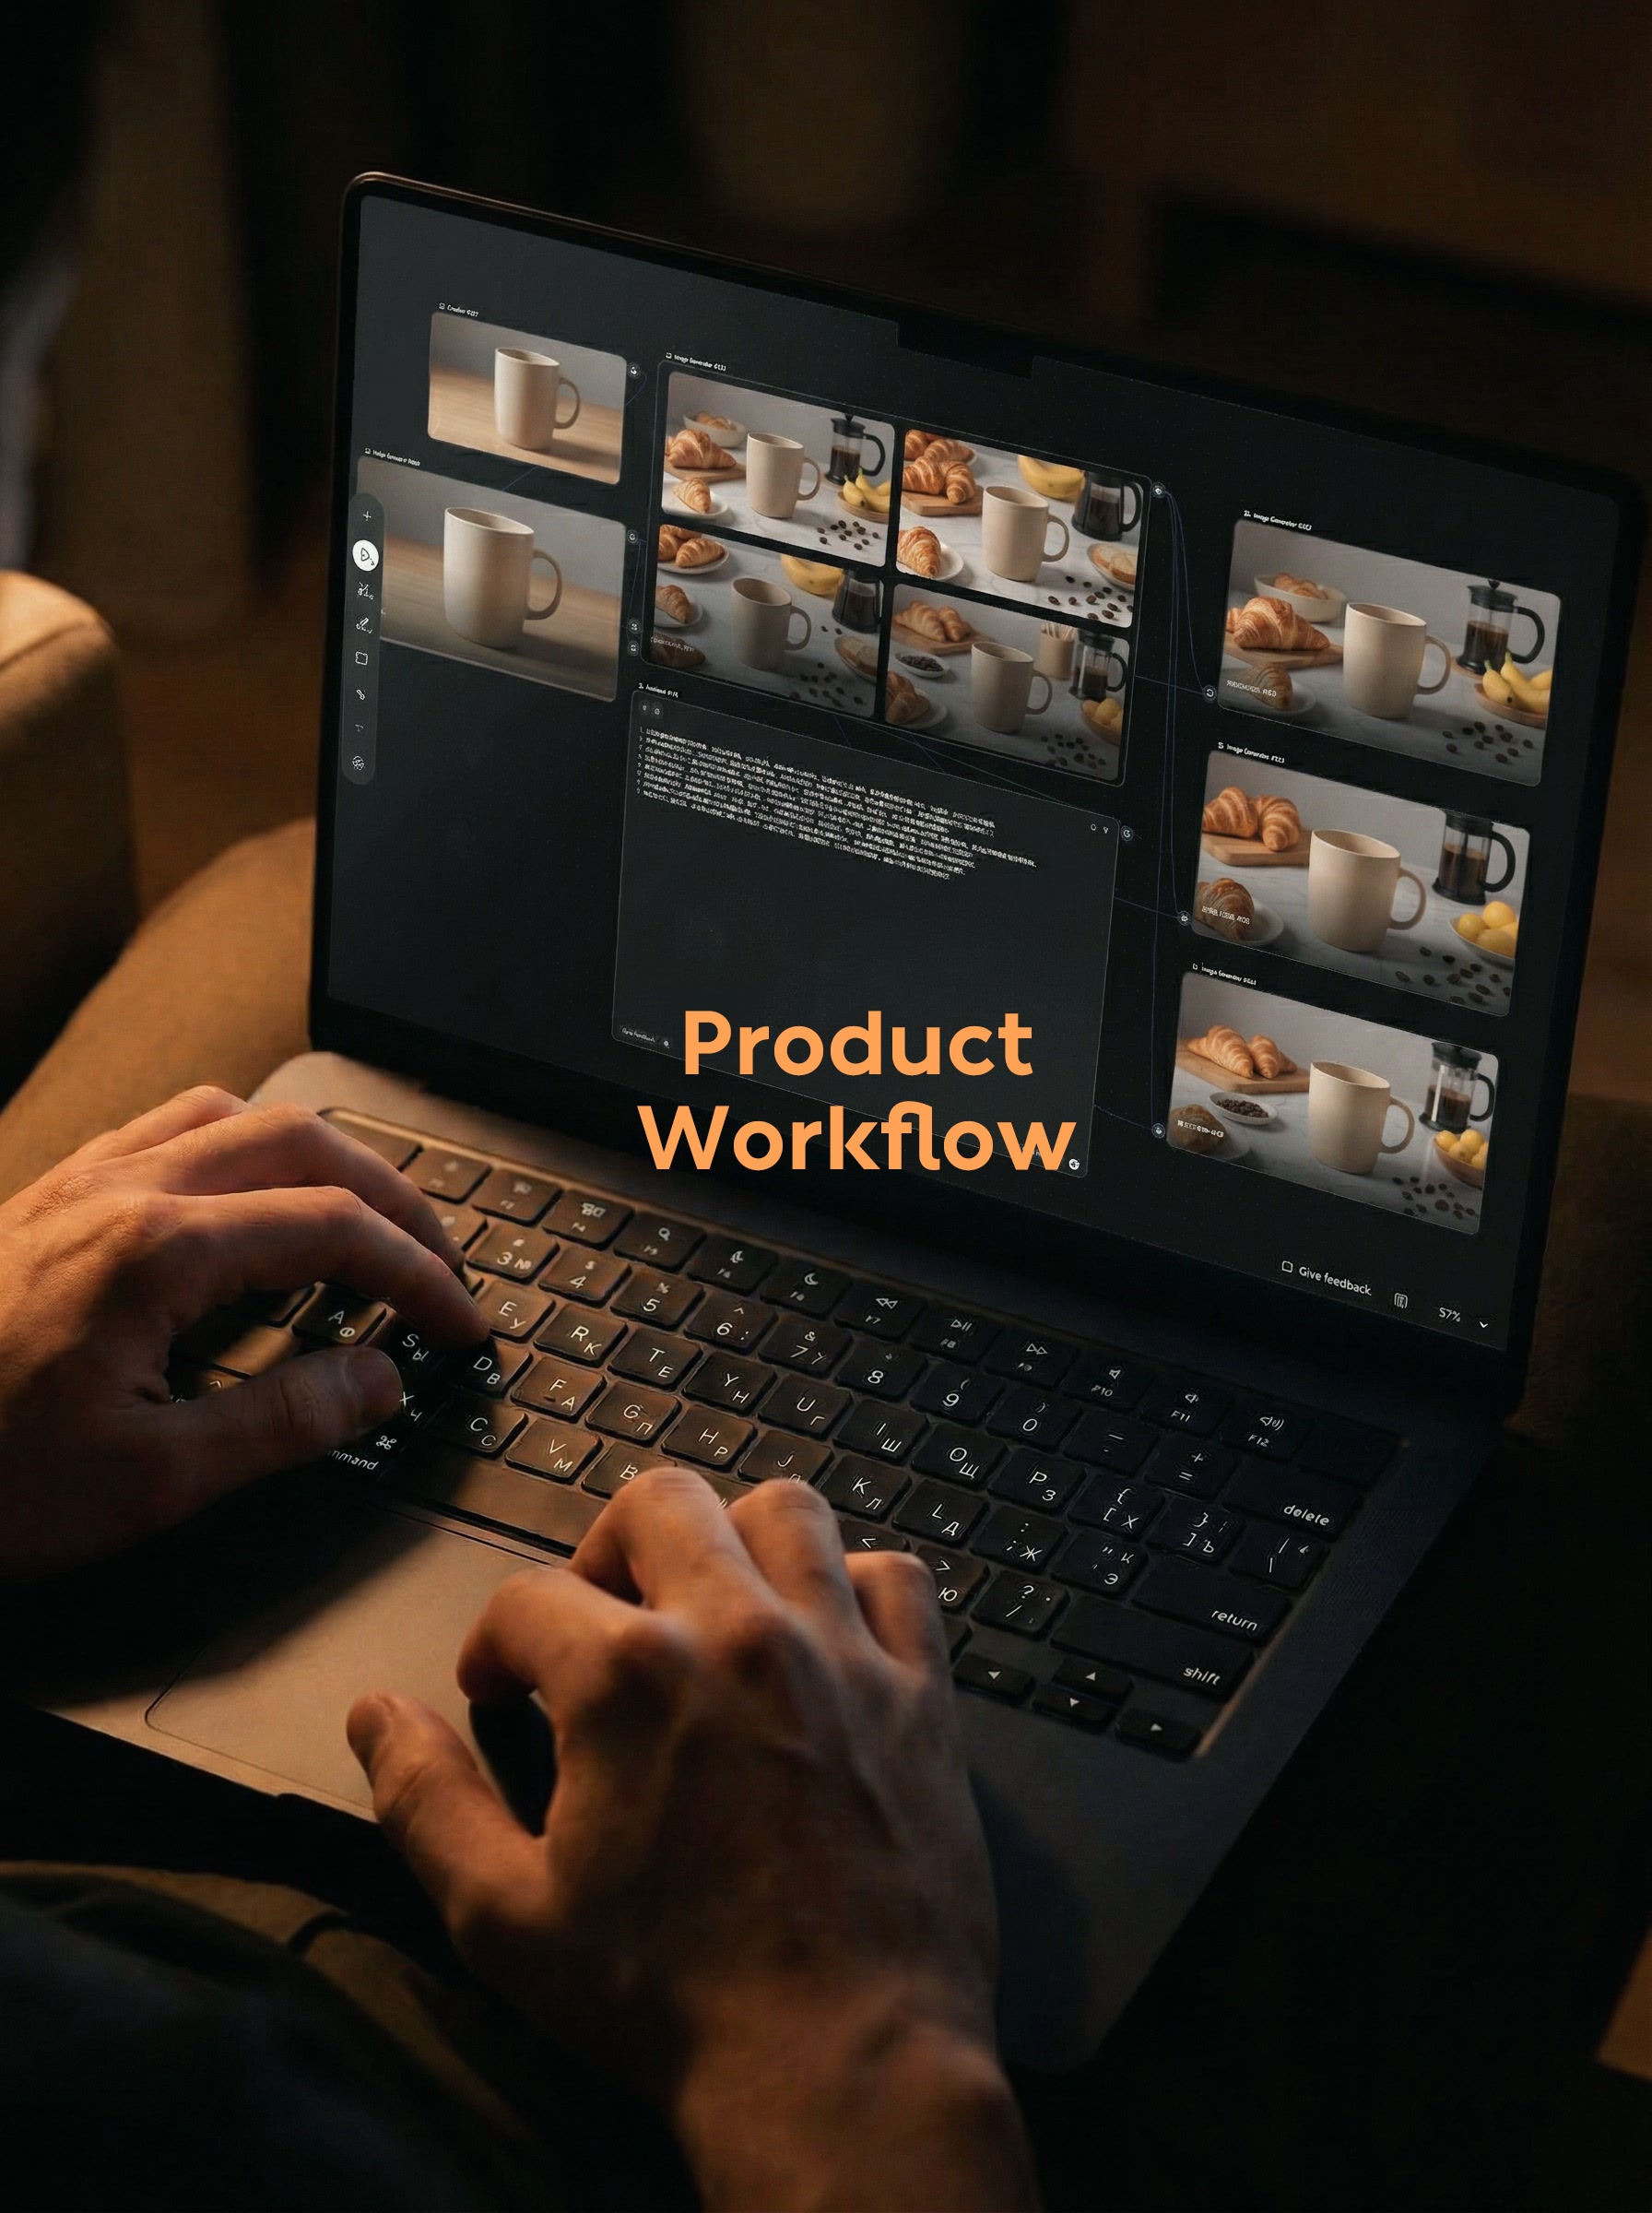
This test is very simple: I only have a product picture of a beige ceramic cup in my hand. I want to see if I can put it into several sets of reasonable use scenes without re-setting the scene, but only relying on Assistant Workflow.
The structure of the cup is not complicated, but it is suitable to observe whether the model has changed the product. The proportions of the cup body, the oval of the cup mouth, the right handle and the beige glaze should be maintained; the table top, surrounding objects and light can be changed. First, separate the two groups of information, and the following prompt words will be easier to write.
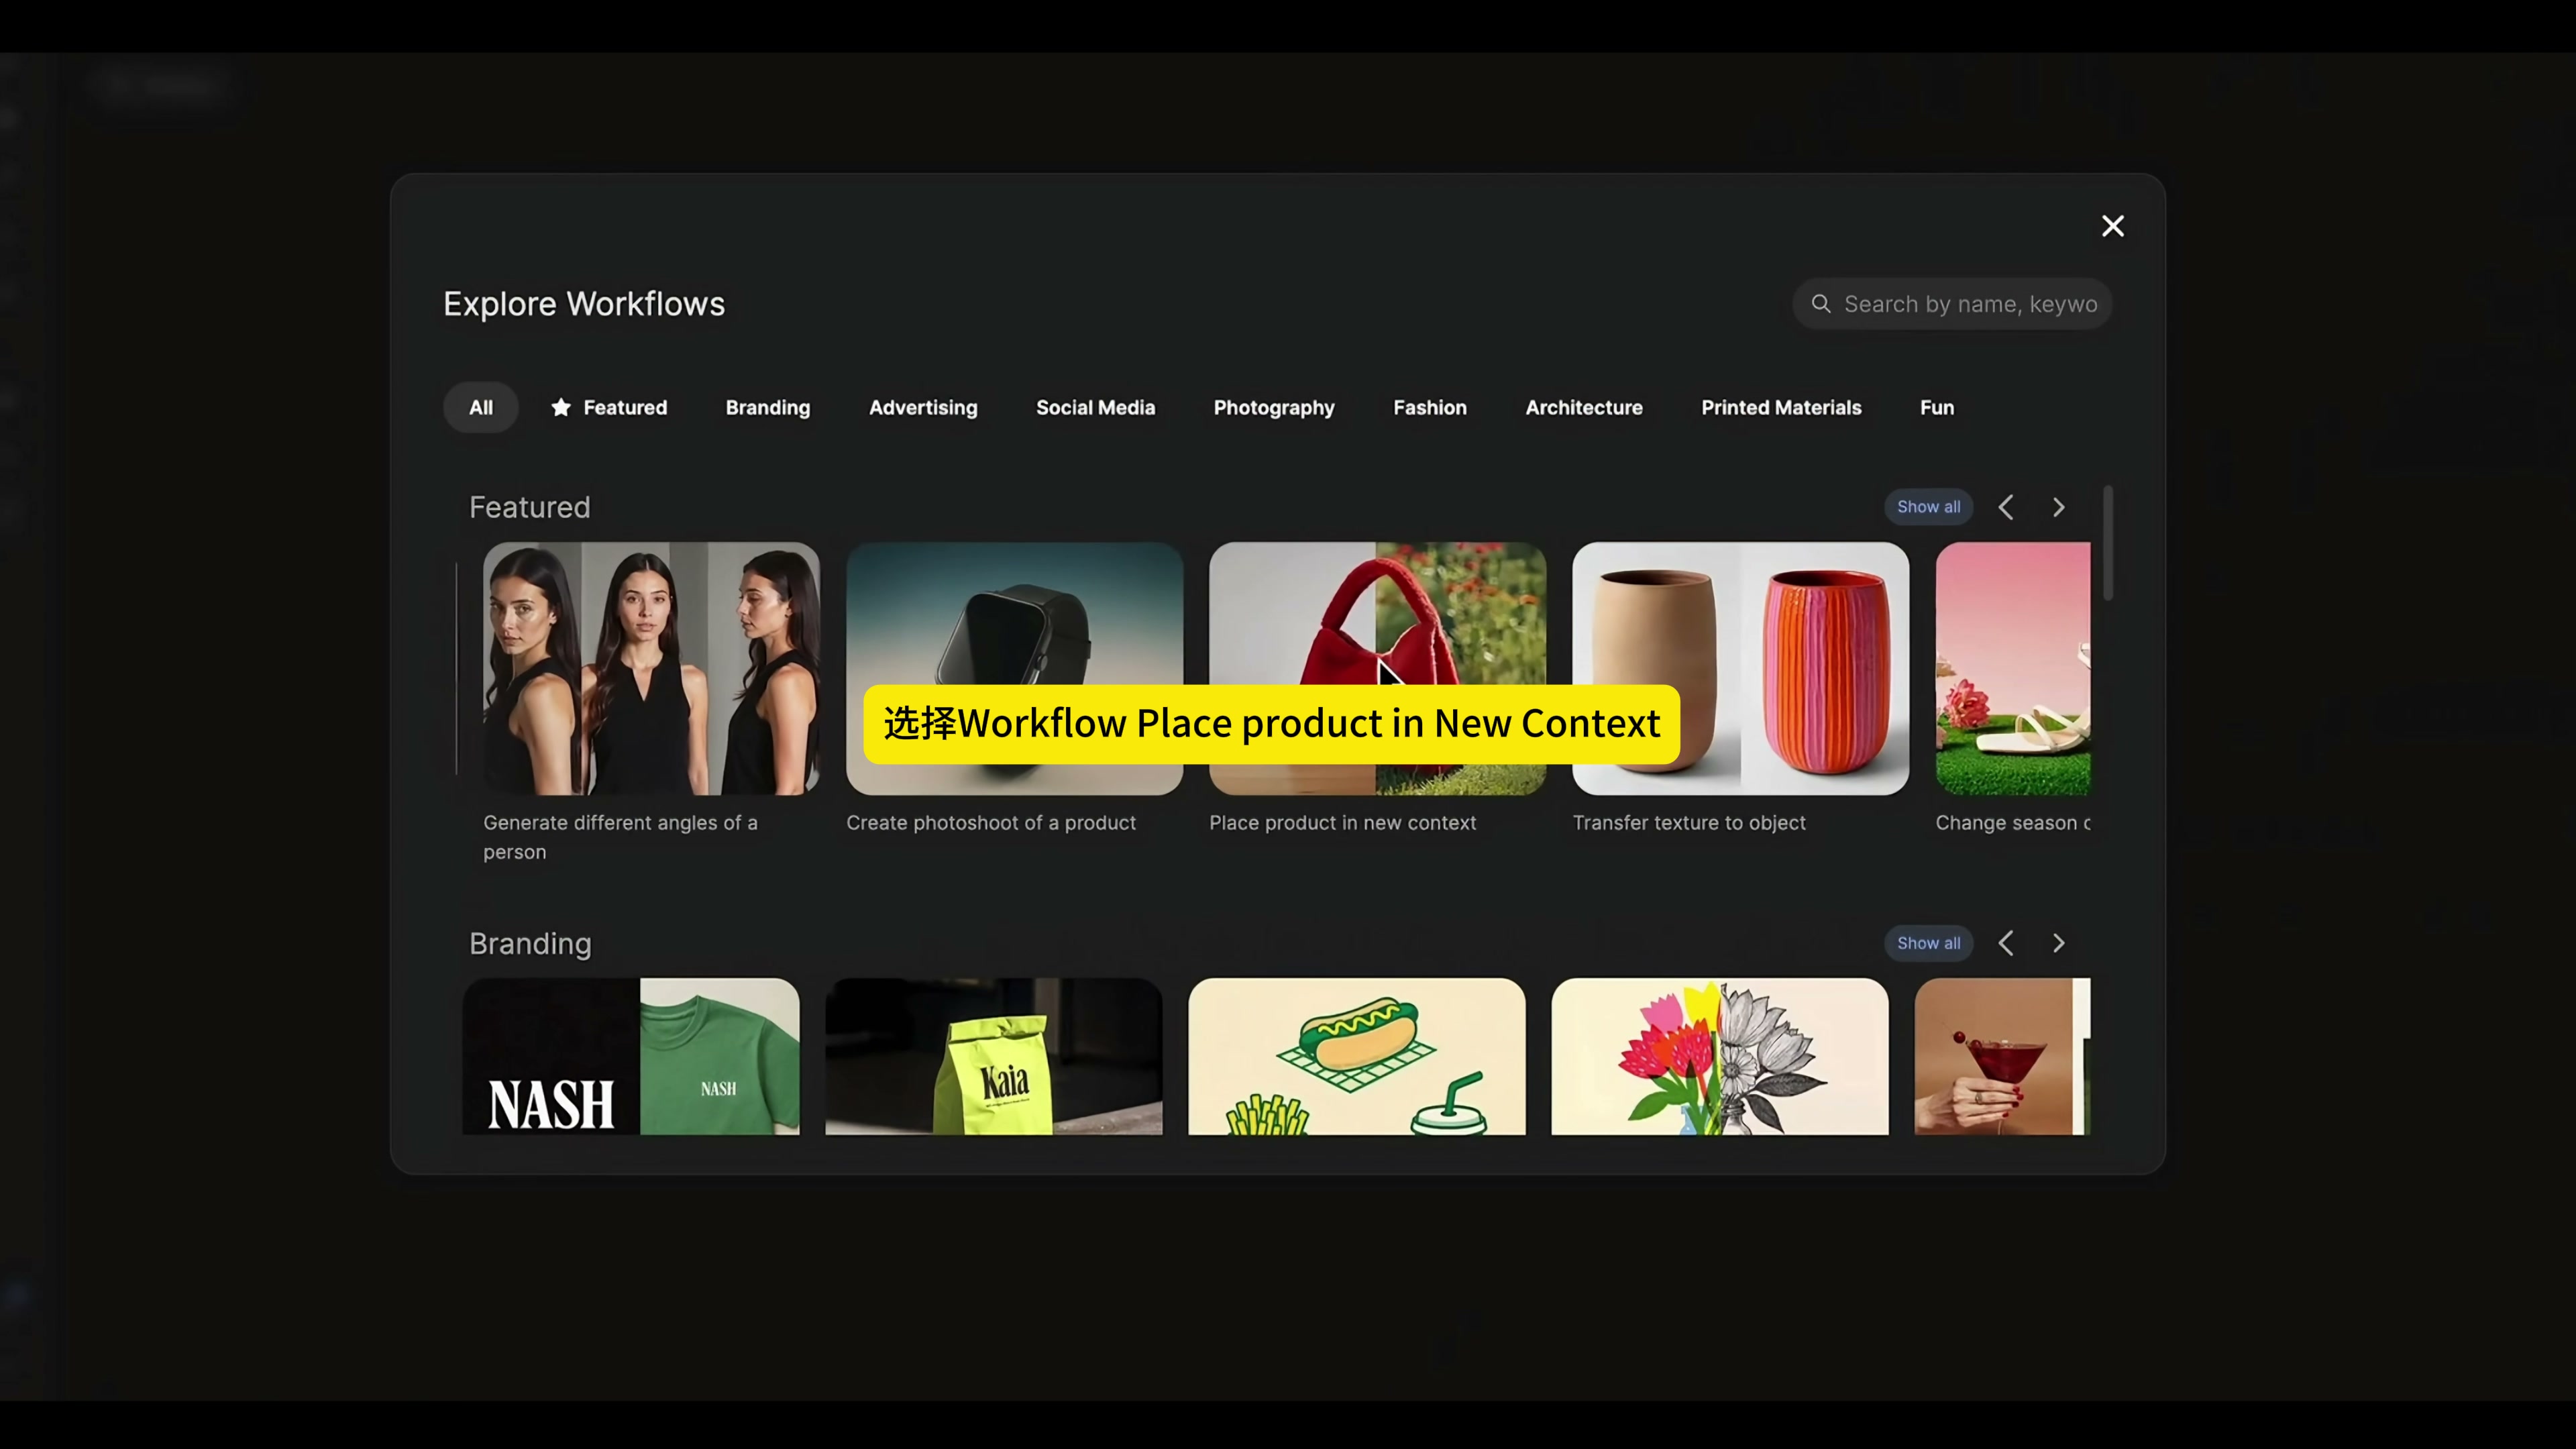
1. select the corresponding product scenario workflow
After entering the Workflows, I chose "Place product in new context". The task of this workflow is clear: upload a product map and describe the desired new environment. The video does not show additional masks or complex node settings, so this step is more like an already encapsulated product context map entry.
When choosing a workflow, I first make sure it deals with "changing scenes" and not redesigning the product. The two types of tasks appear to be close, with very different results. The former should try to keep the original product, the latter may take the initiative to change the material and shape.
2. upload the product and then specify the environment.
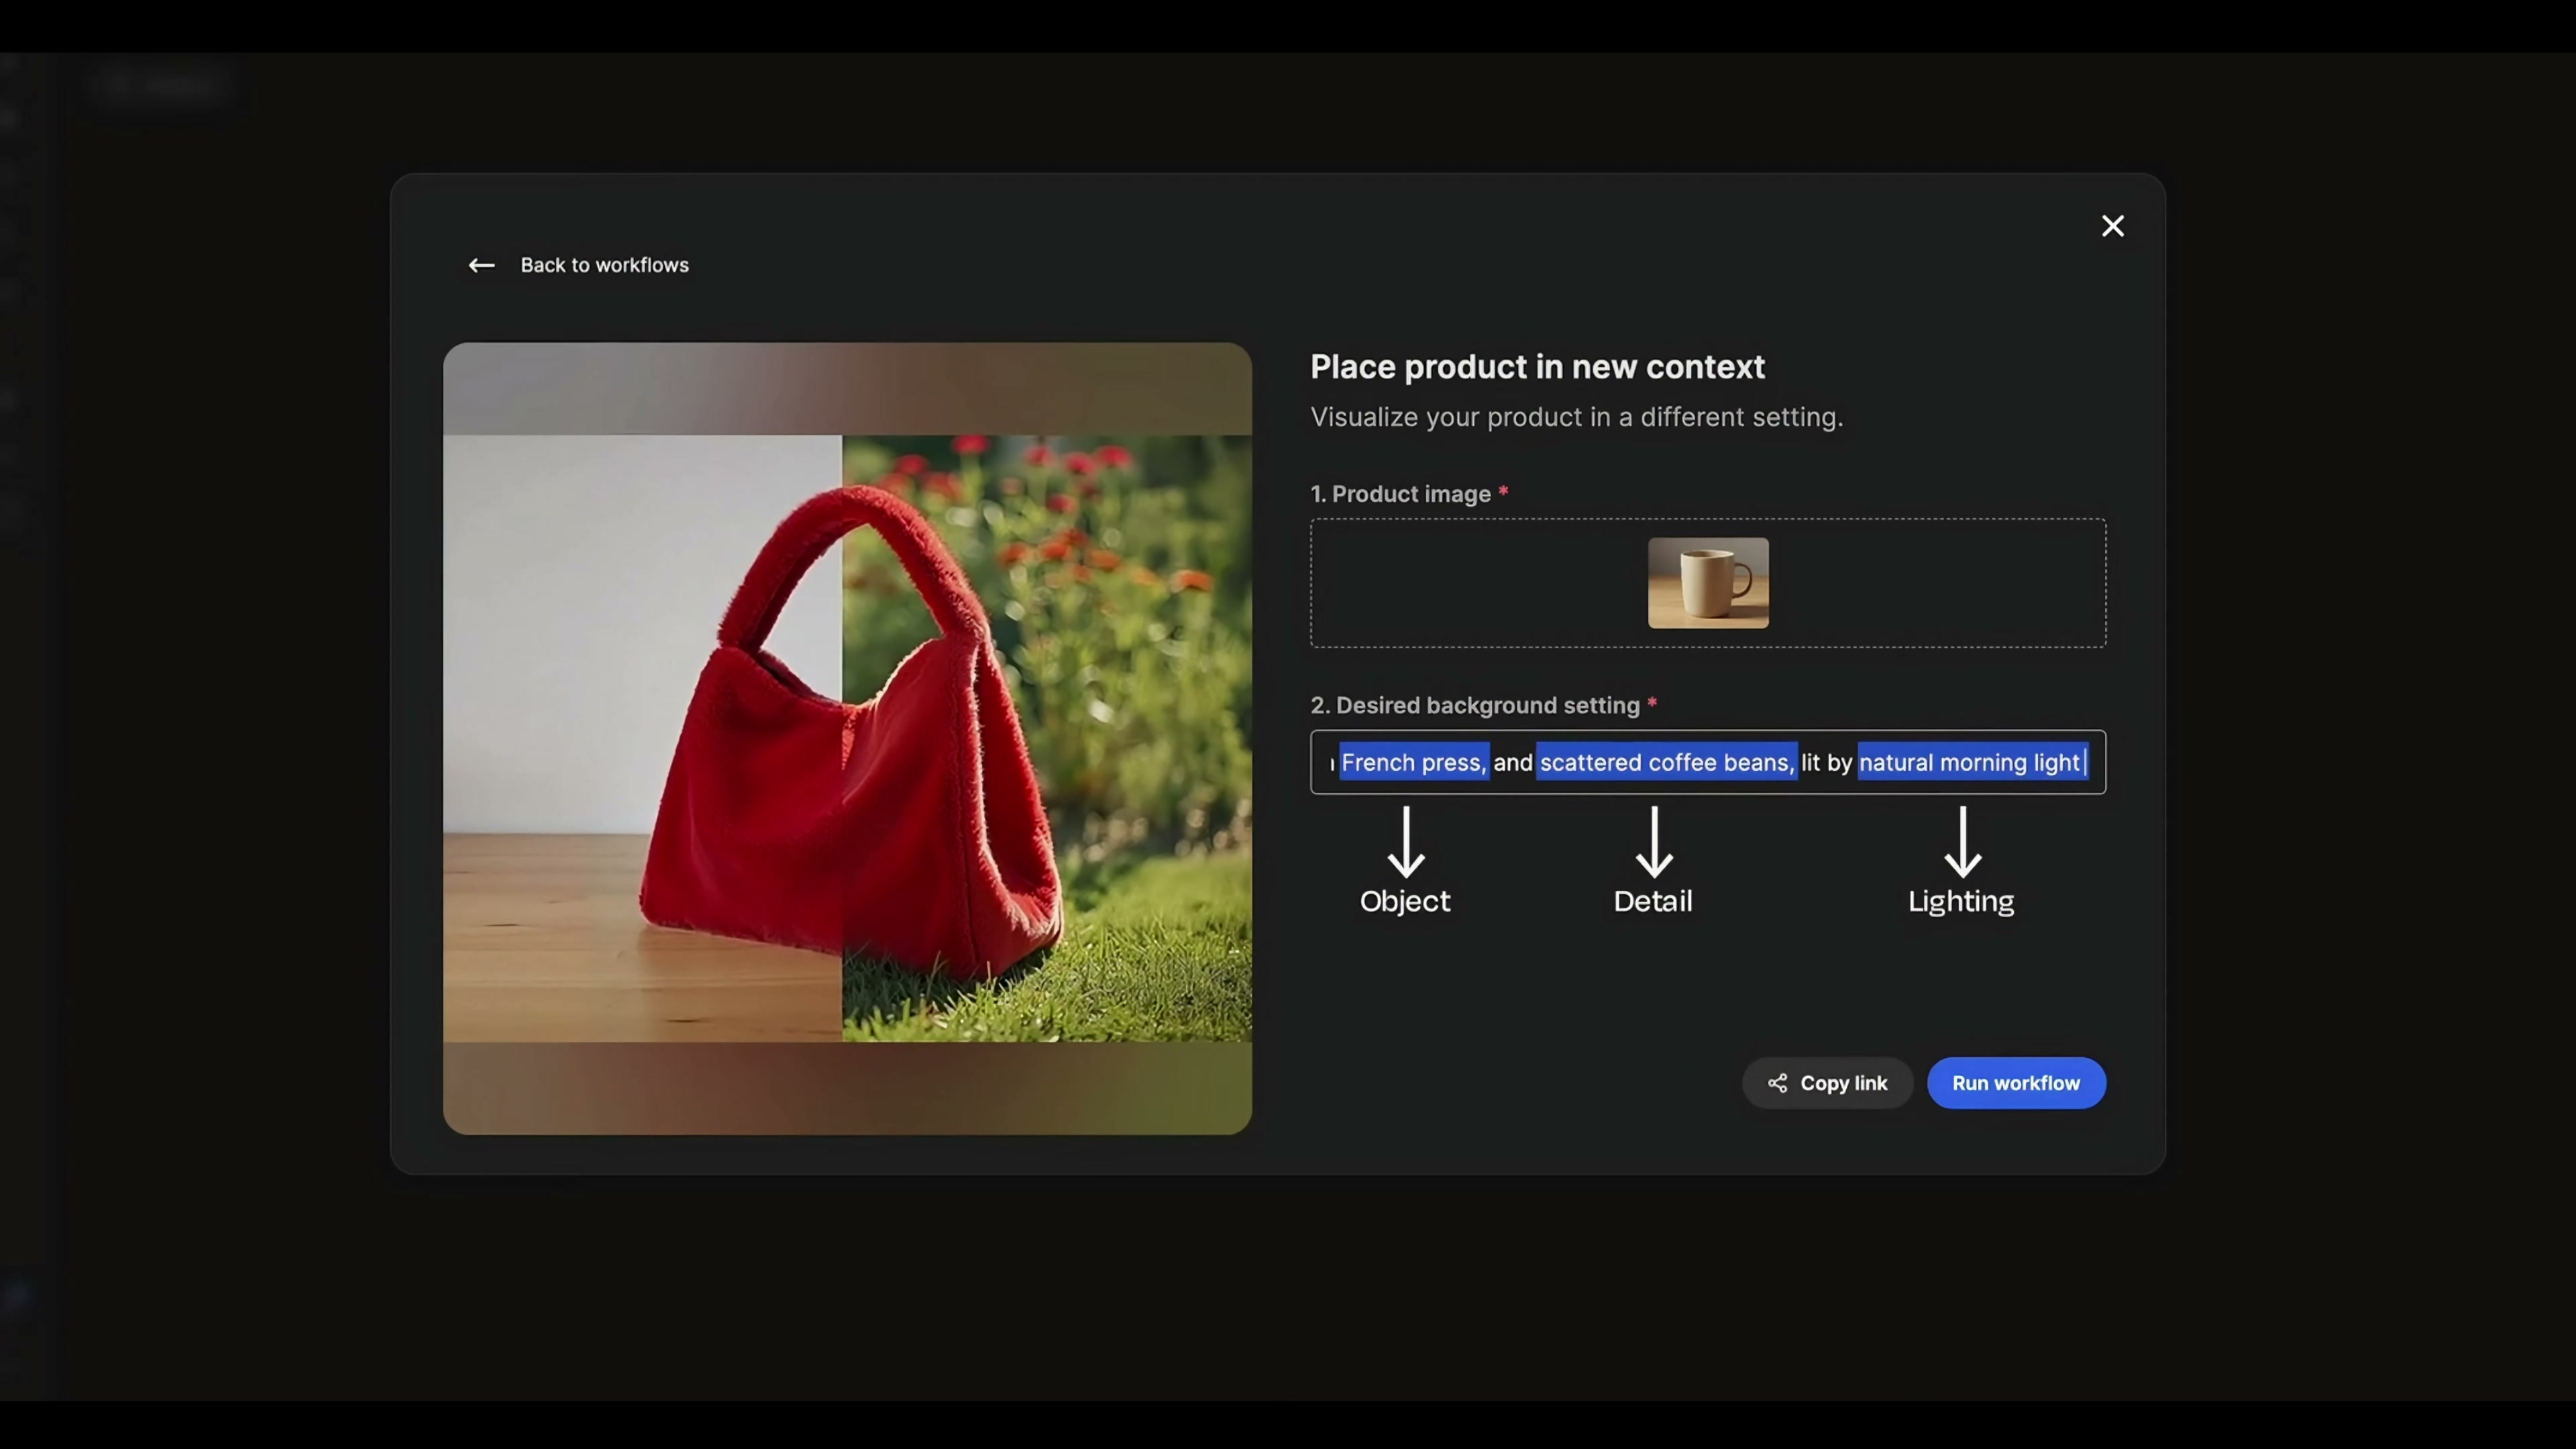
After uploading the cup picture, fill in the Desired background setting. The prompt words used in the video are:
Flat lay of a marble breakfast table with croissants, fresh fruit, a French press, and scattered coffee beans, lit by natural morning light for a warm, inviting feel.
This sentence can be divided into four layers: marble breakfast table determines the scene; Ode, fruit and French press pot provide the main objects; Scattered coffee beans make up for details; Natural morning light determines light and shade and color temperature. The final "warm, inviting feel" is only responsible for the overall atmosphere and does not need to bear the specific picture information.
I prefer to write the environmental description as a clear shot description rather than a pile of style words. In the product context diagram, the model first needs to know where the cup is placed, what is around it, and where the light comes from. There are too many style words, and the color and surface texture of the cup are easy to float.
3. generate four at a time, compare before selecting
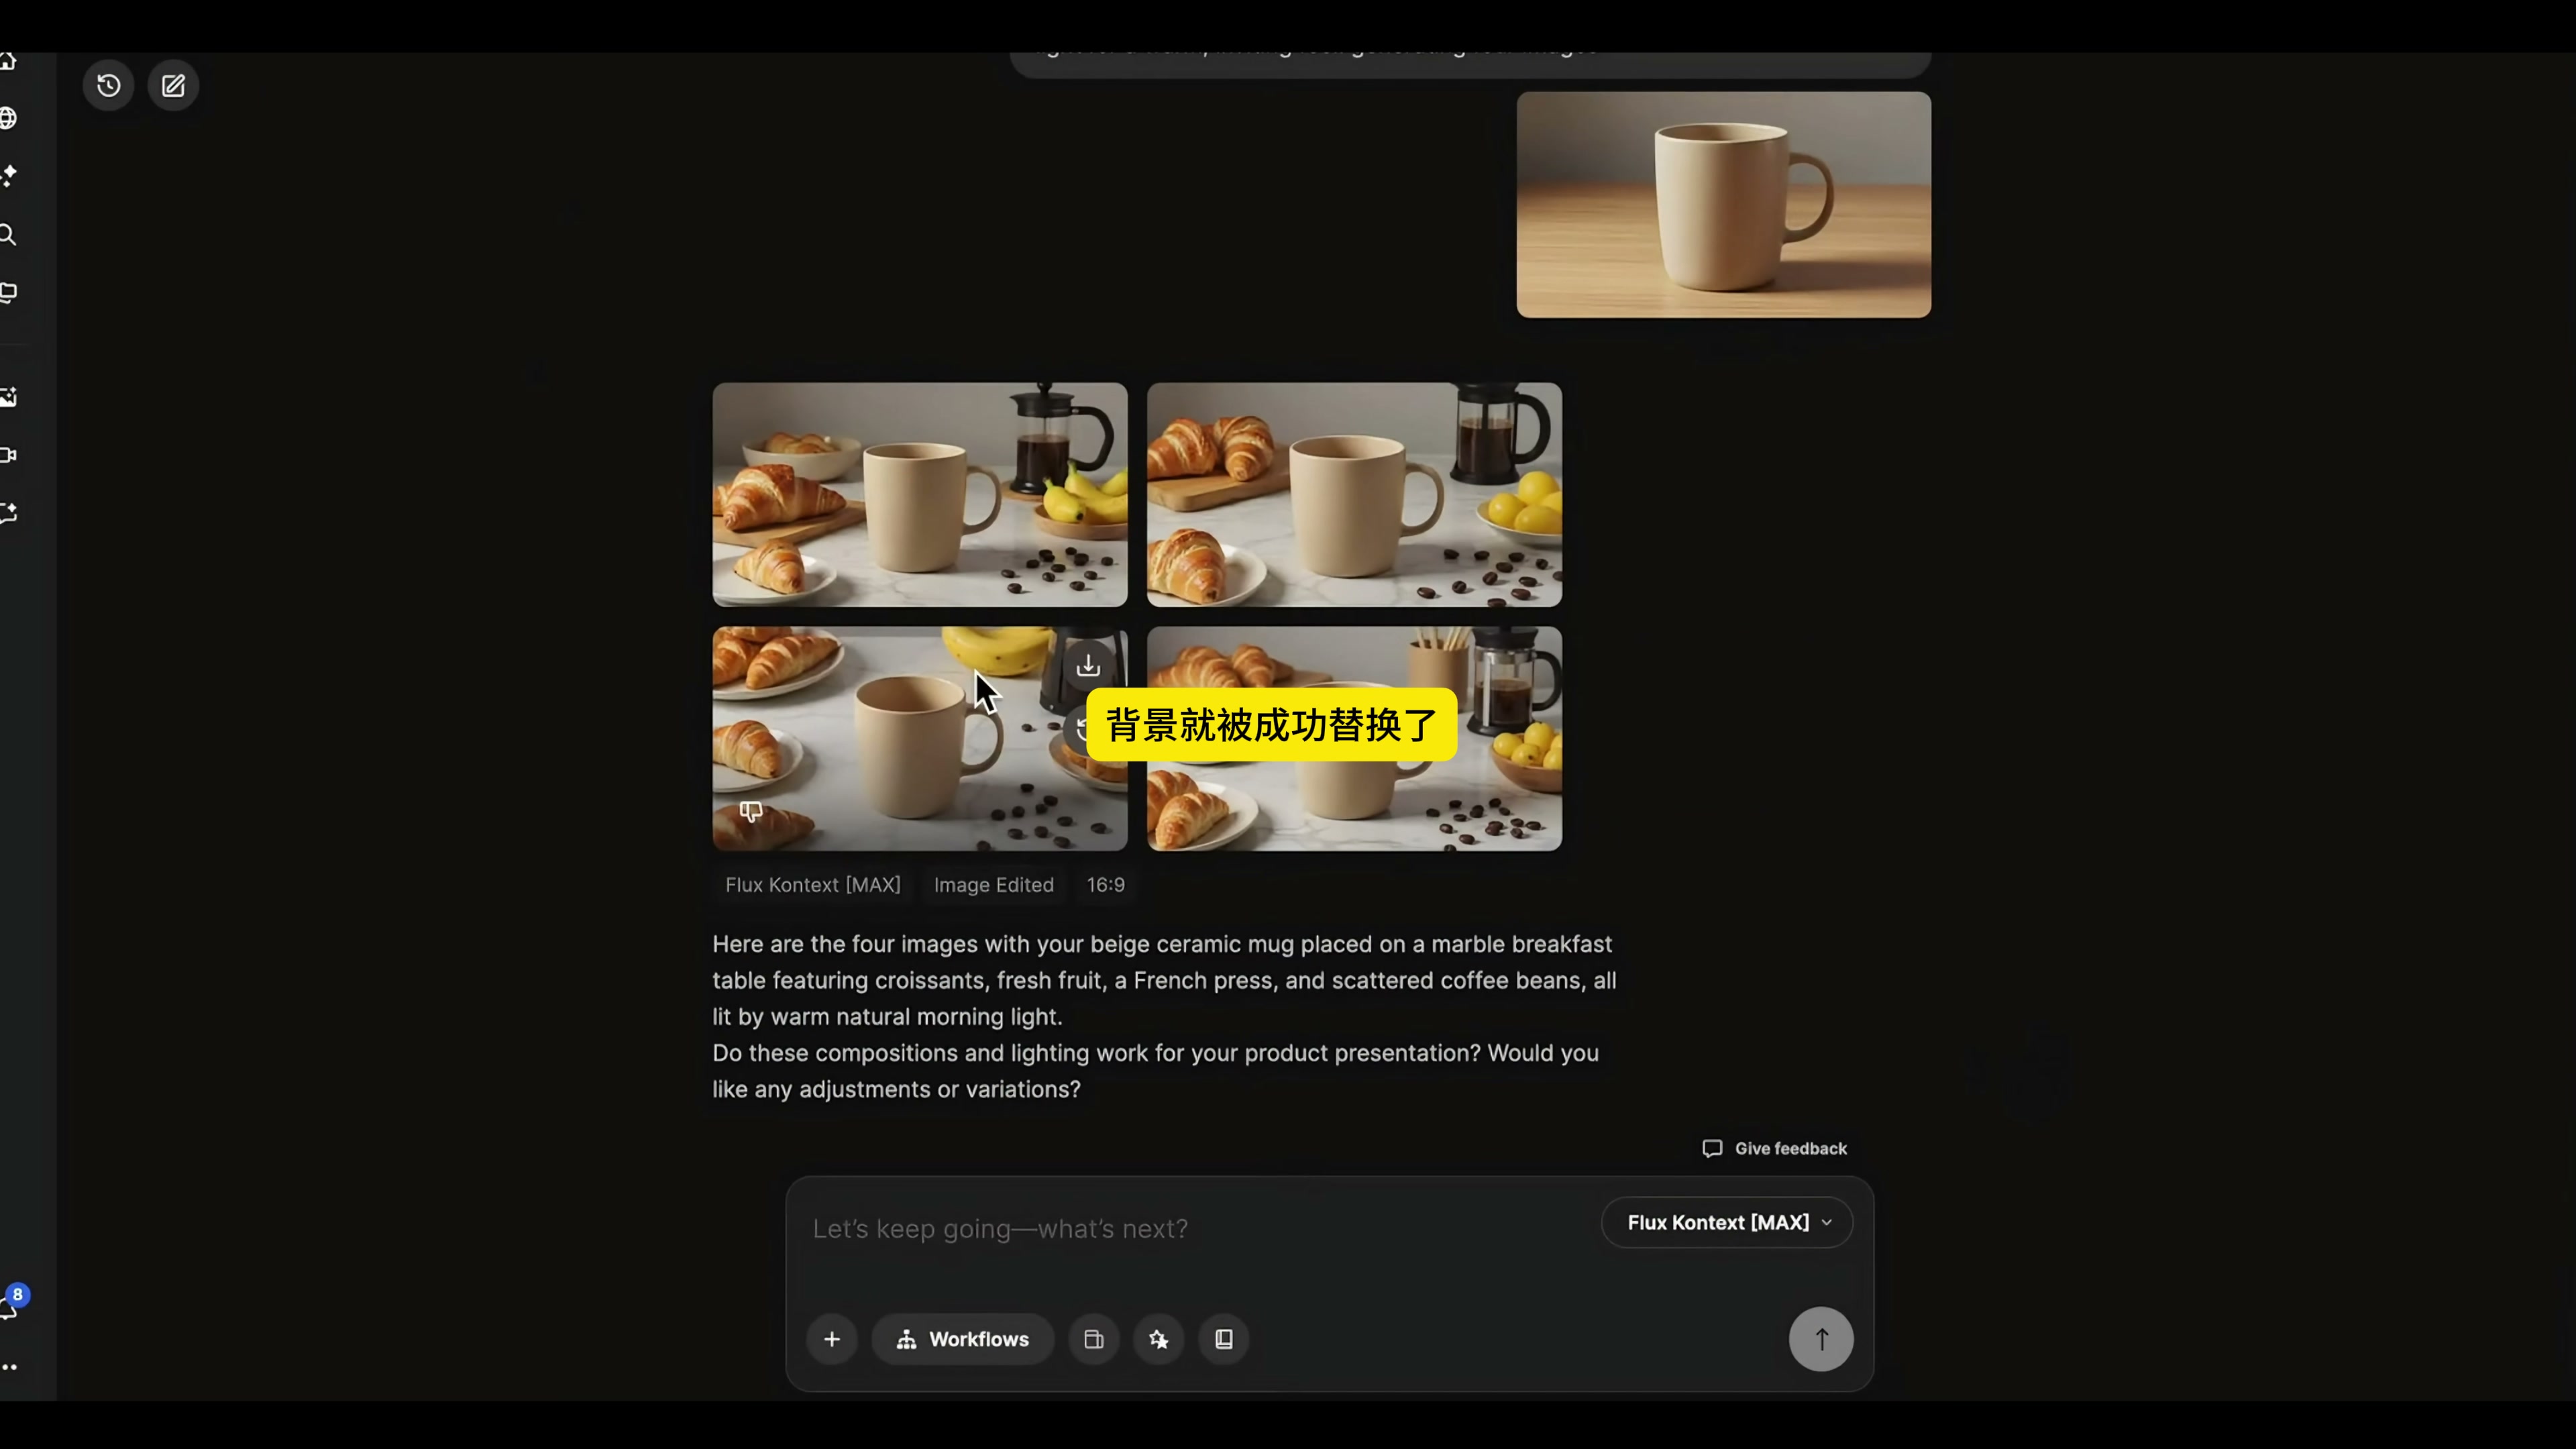
After running the workflow, the interface returns with four breakfast table scenes. Cups were placed on the marble countertop, and chanting, fruit, press and coffee beans were also present in different positions. The value of generating multiple sheets at once is intuitive here: instead of taking the first result as an answer, you can compare the composition and product consistency together.
I will first look at the shape of the cup and the joint of the handle, and then see if the cup body has been elongated or widened. Then check whether the beige is yellow and whether the reflection on the desktop is consistent with the light received by the cup. No matter how well the food around is placed, as long as the structure of the cup changes, this picture is not suitable for further use.
4. use Retouch to clean up unwanted small objects
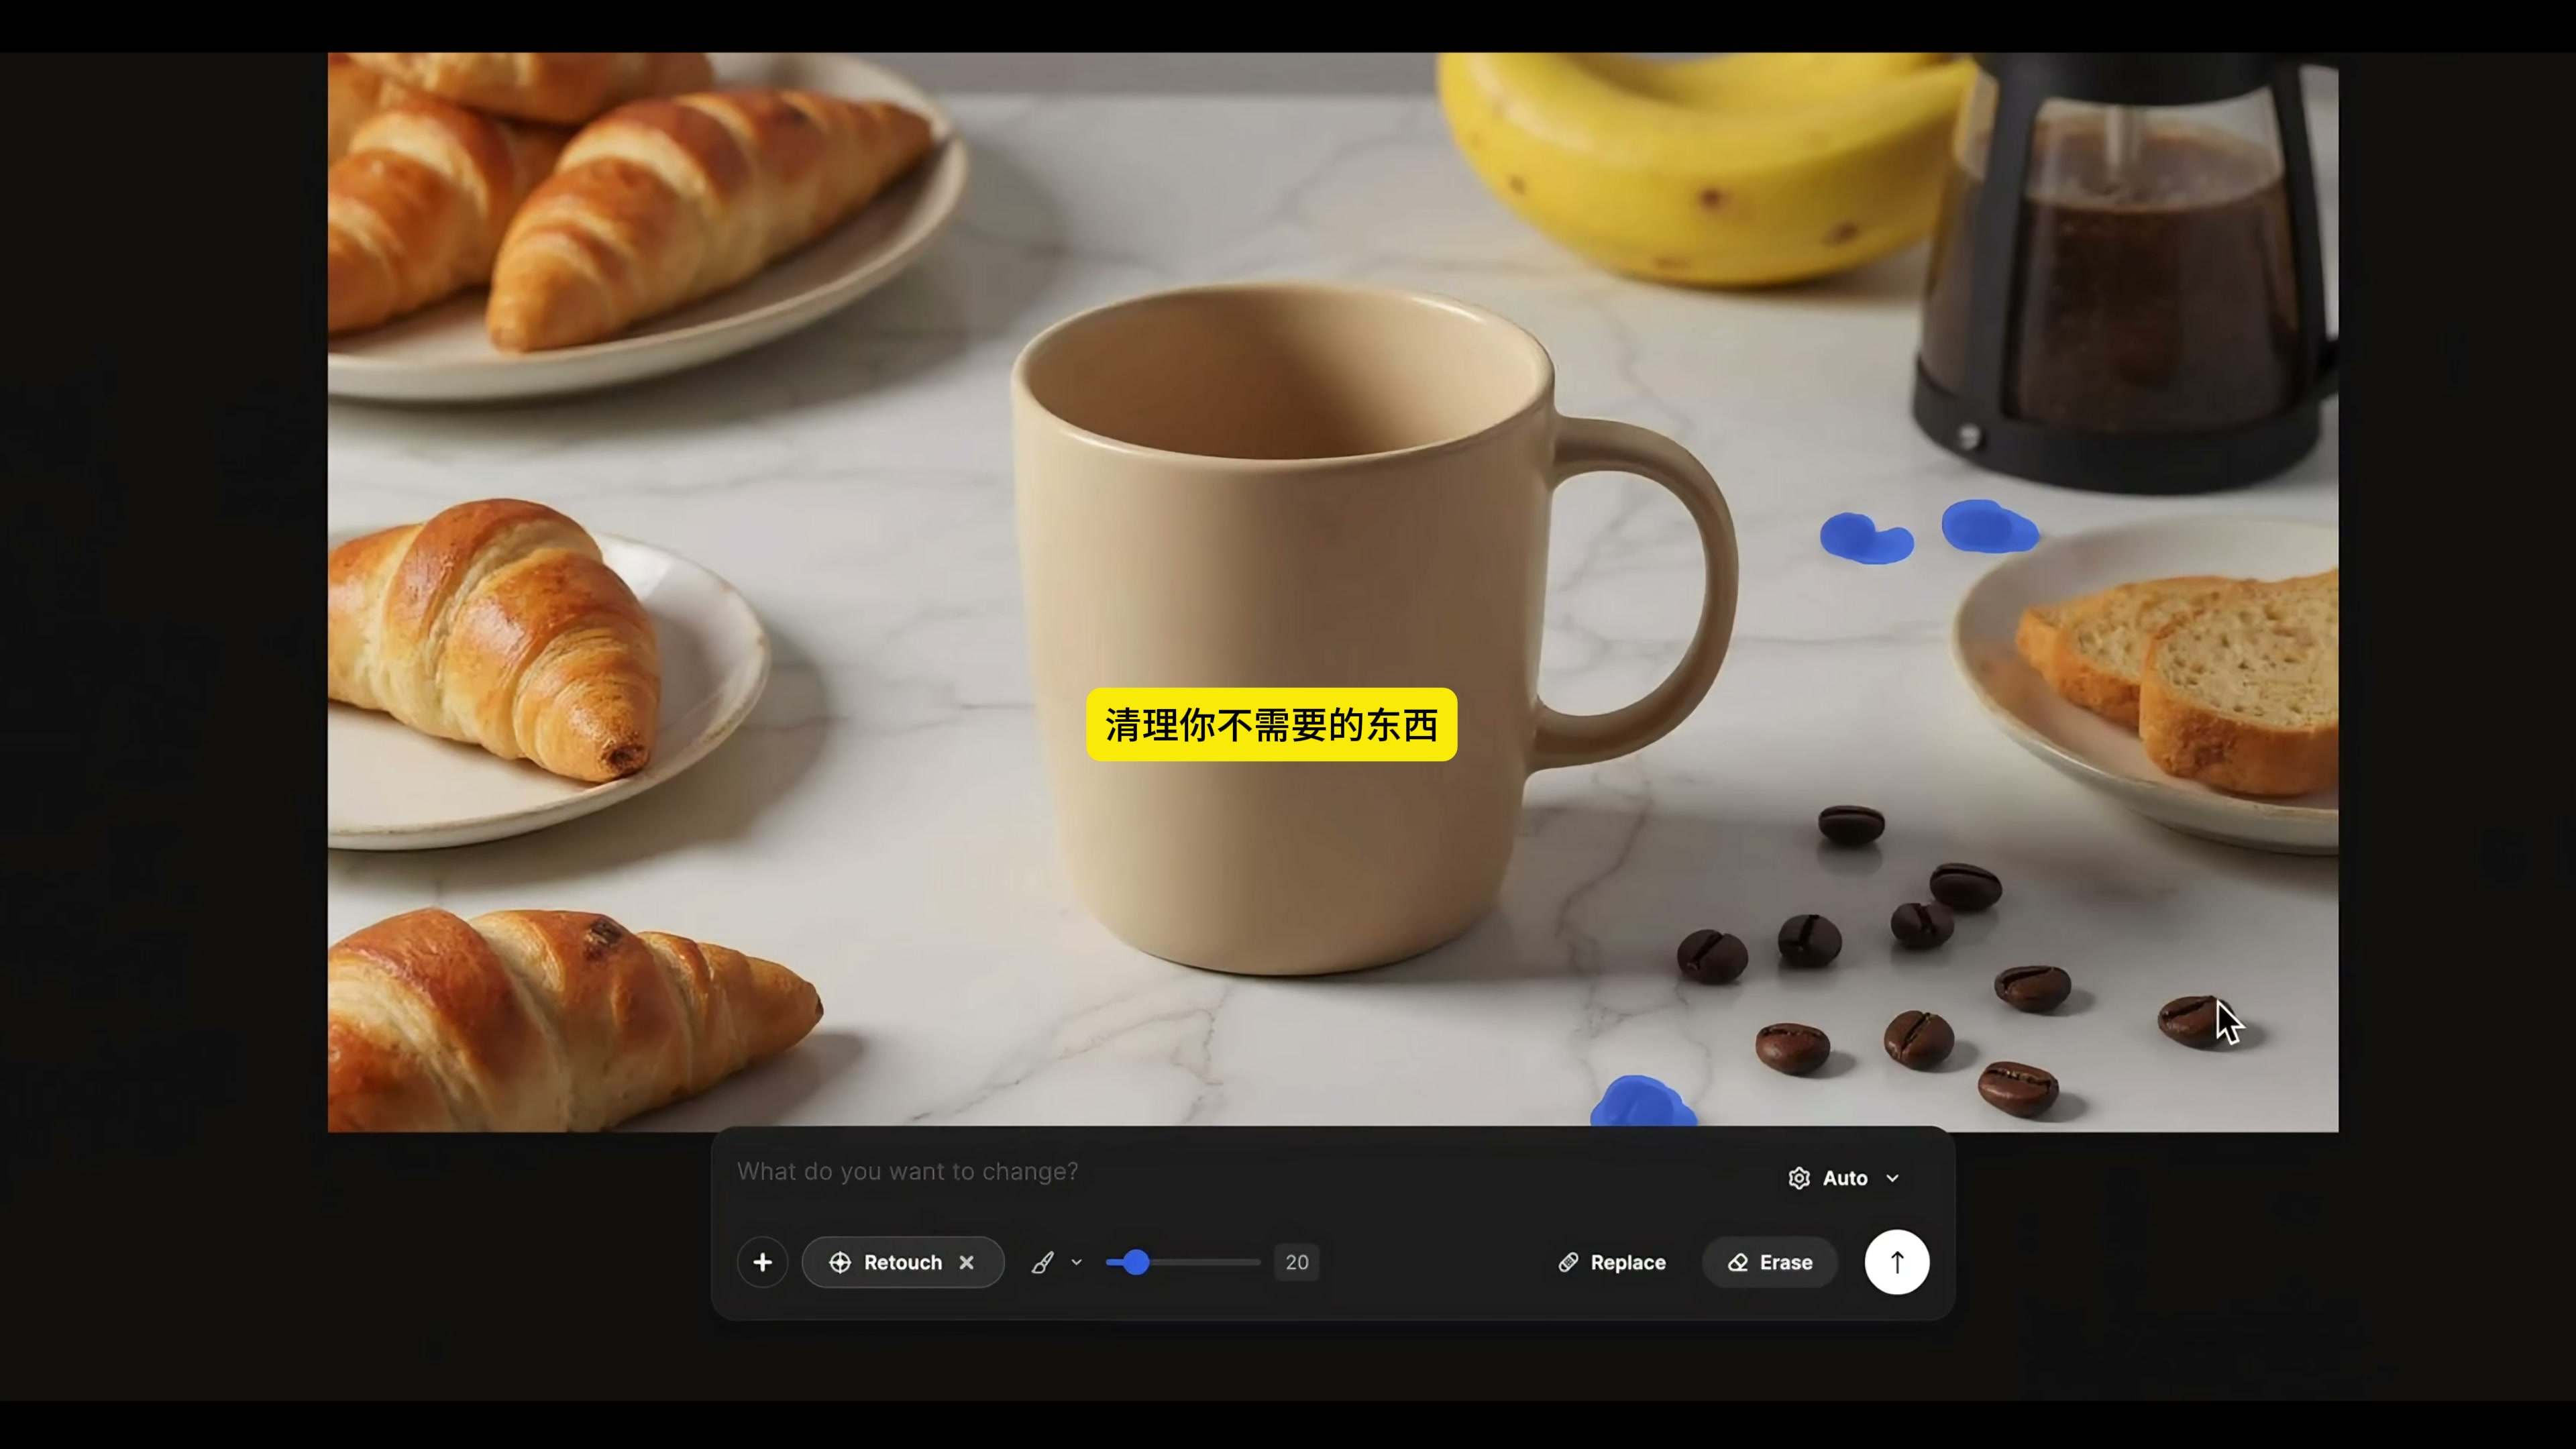
After selecting a result with a relatively stable composition, enter the editing interface. In the video, the Retouch Erase is used to smear a few unnecessary coffee beans on the right and bottom of the picture. This action is small, but it can make the picture more clear and avoid scattered objects close to the outline of the cup.
I don't apply a wide range at once when erasing. The coffee bean is close to the countertop texture, the brush range is too large, and the model may be redrawn with marbled roads and shadows. After cleaning up several times, it is easier to see if the repaired light and shadow are broken.
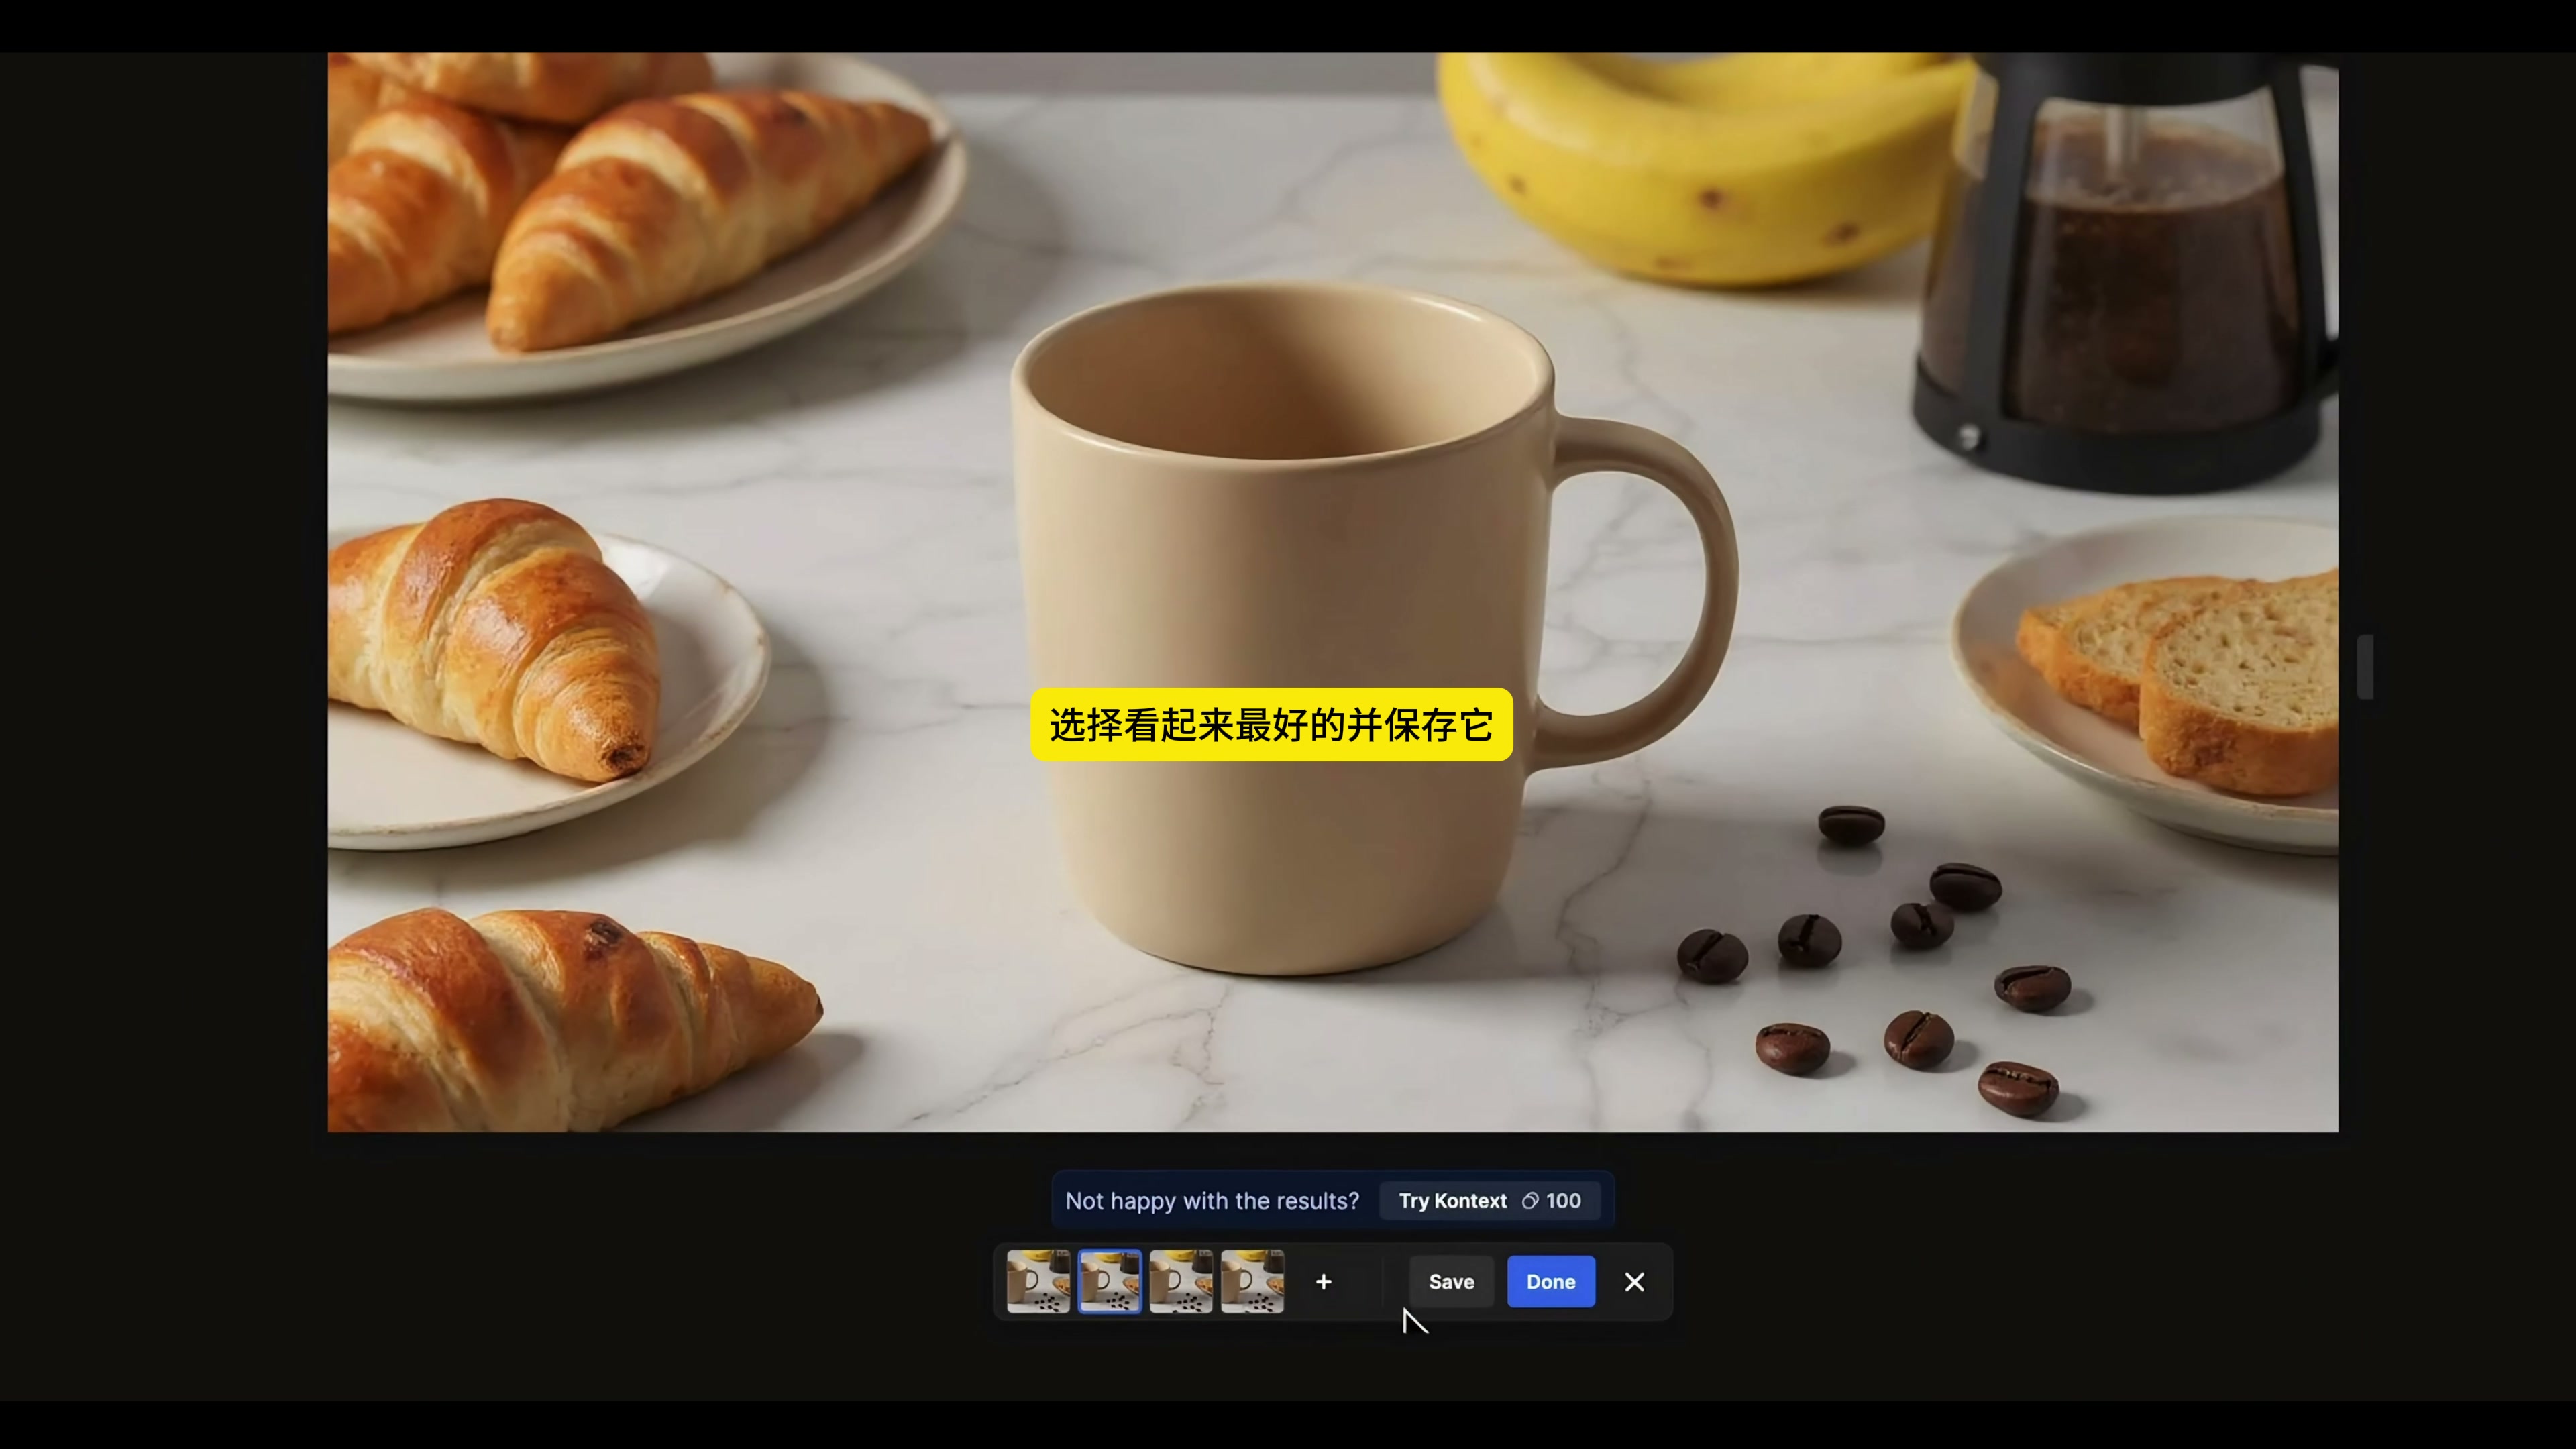
5. compare the modified version and save the most stable one.
When the Retouch is complete, different output thumbnails remain at the bottom. Don't just look at which one is "cleaner" here, but also make sure that the desktop texture of the repaired area is natural and the edge of the cup is not affected. Save the version after confirming it, so as to avoid spending the enlargement quota on the map with structural problems.
6. finally use Magnific to enlarge
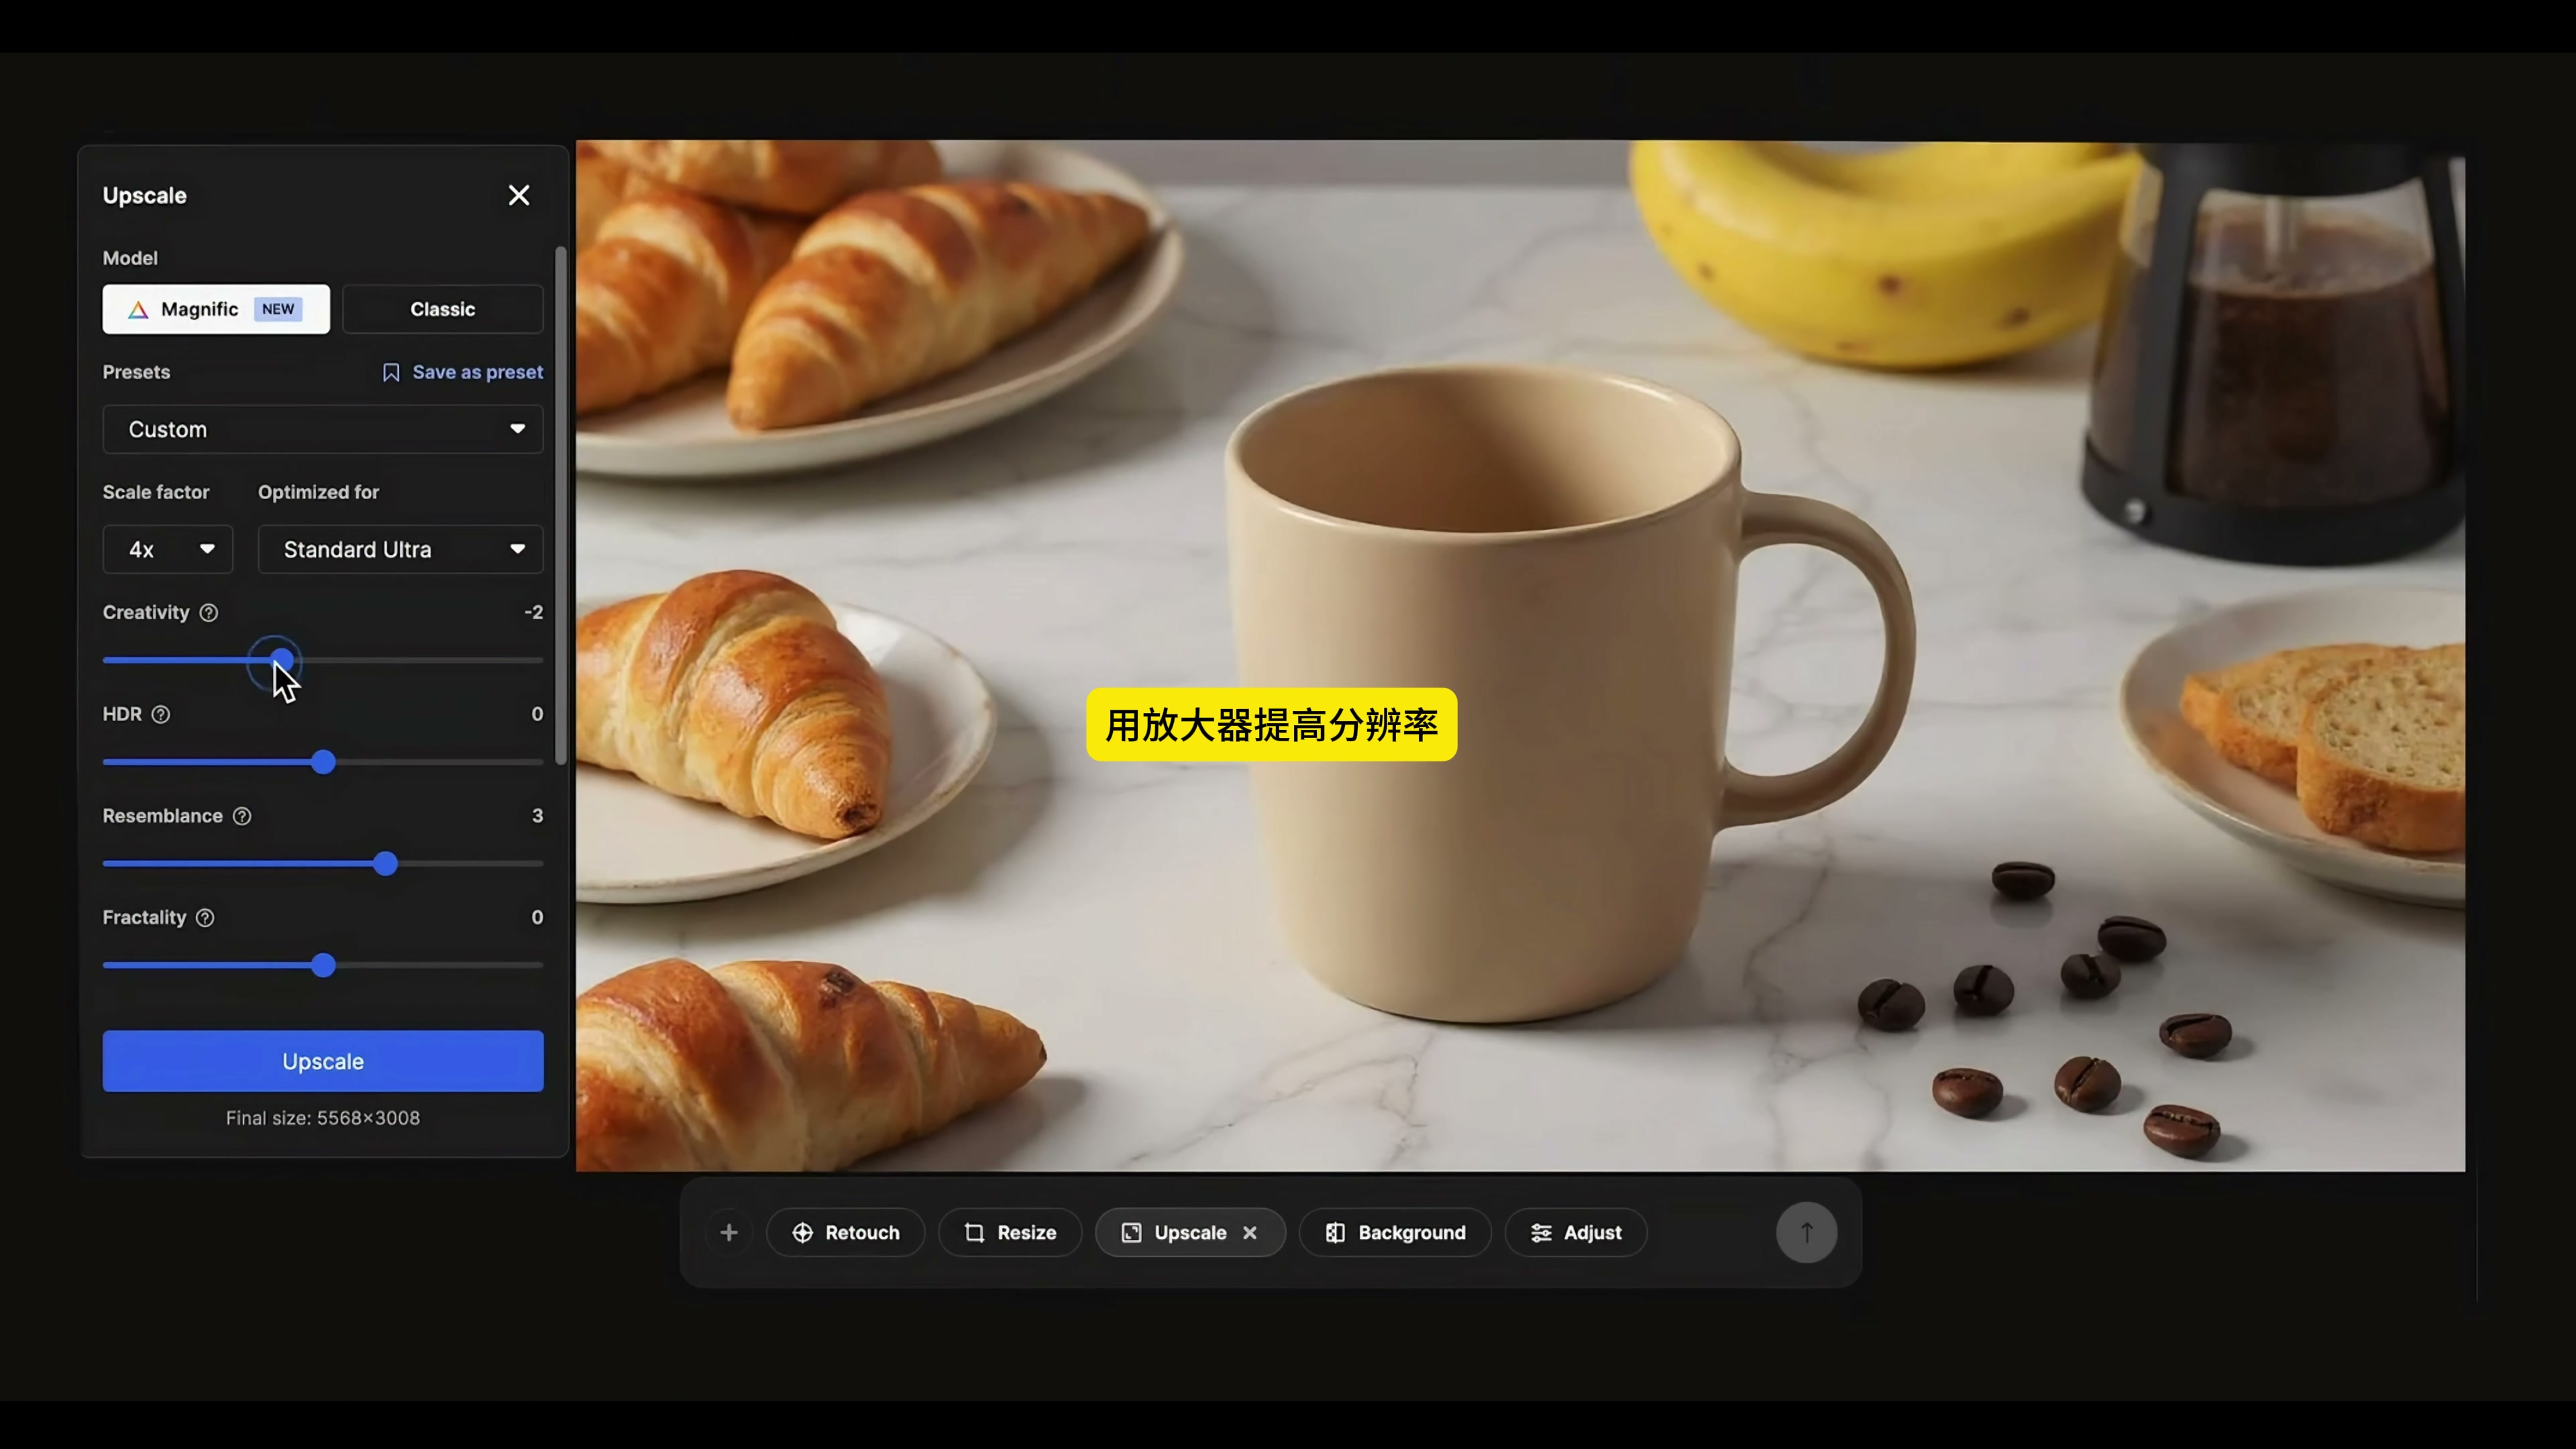
The magnifying panel in the video selects Magnific, the Scale factor is 4 ×, and the Optimized for selects Standard Ultra;
This set of parameters is more conservative amplification: the Creativity is lowered and the Resemblance is increased, with the aim of changing the product less. It only represents the settings in this cup test, not the general answer for all product diagrams. When I encounter products with more complicated Logo, fine lines or highlight boundaries, I will recheck the difference before and after magnification.
The enlarged picture of the breakfast table retains the proportions of the main body of the cup, and there are also relatively complete details of the surrounding chanting, coffee beans and French press. At this step, I will regard it as a candidate for typesetting or further revision.
7. keep the product, continue to change the environment
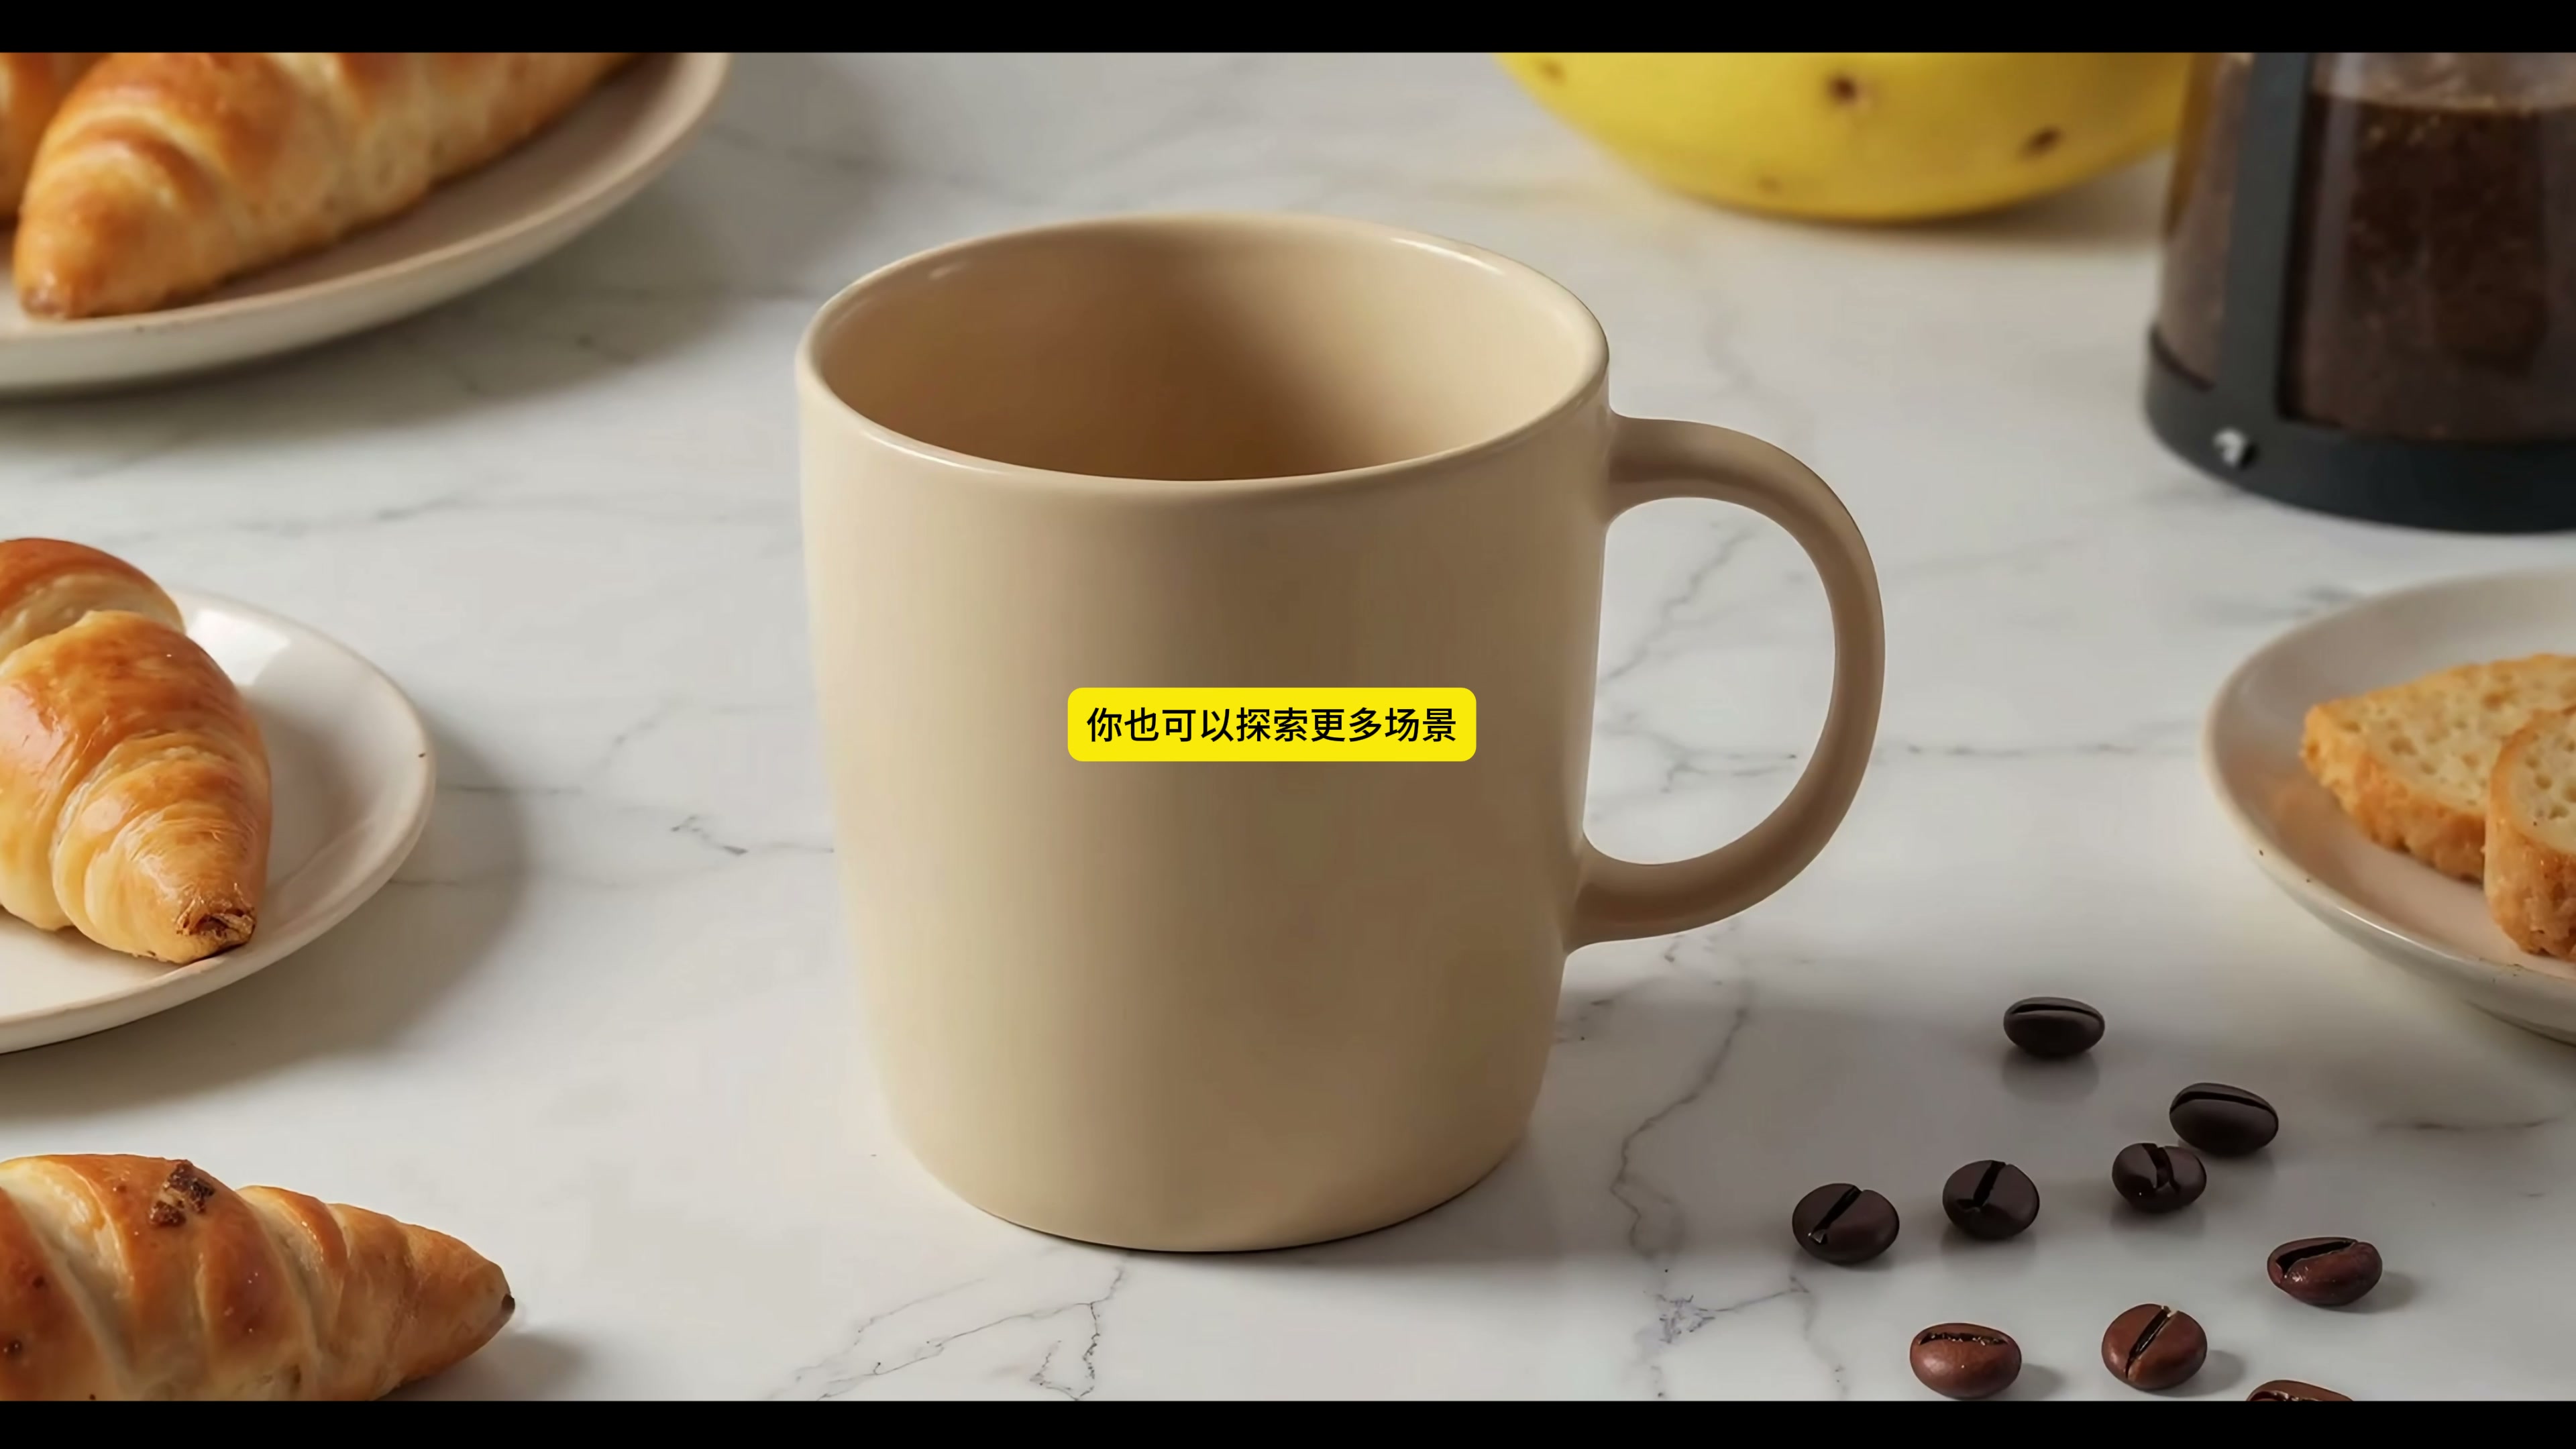
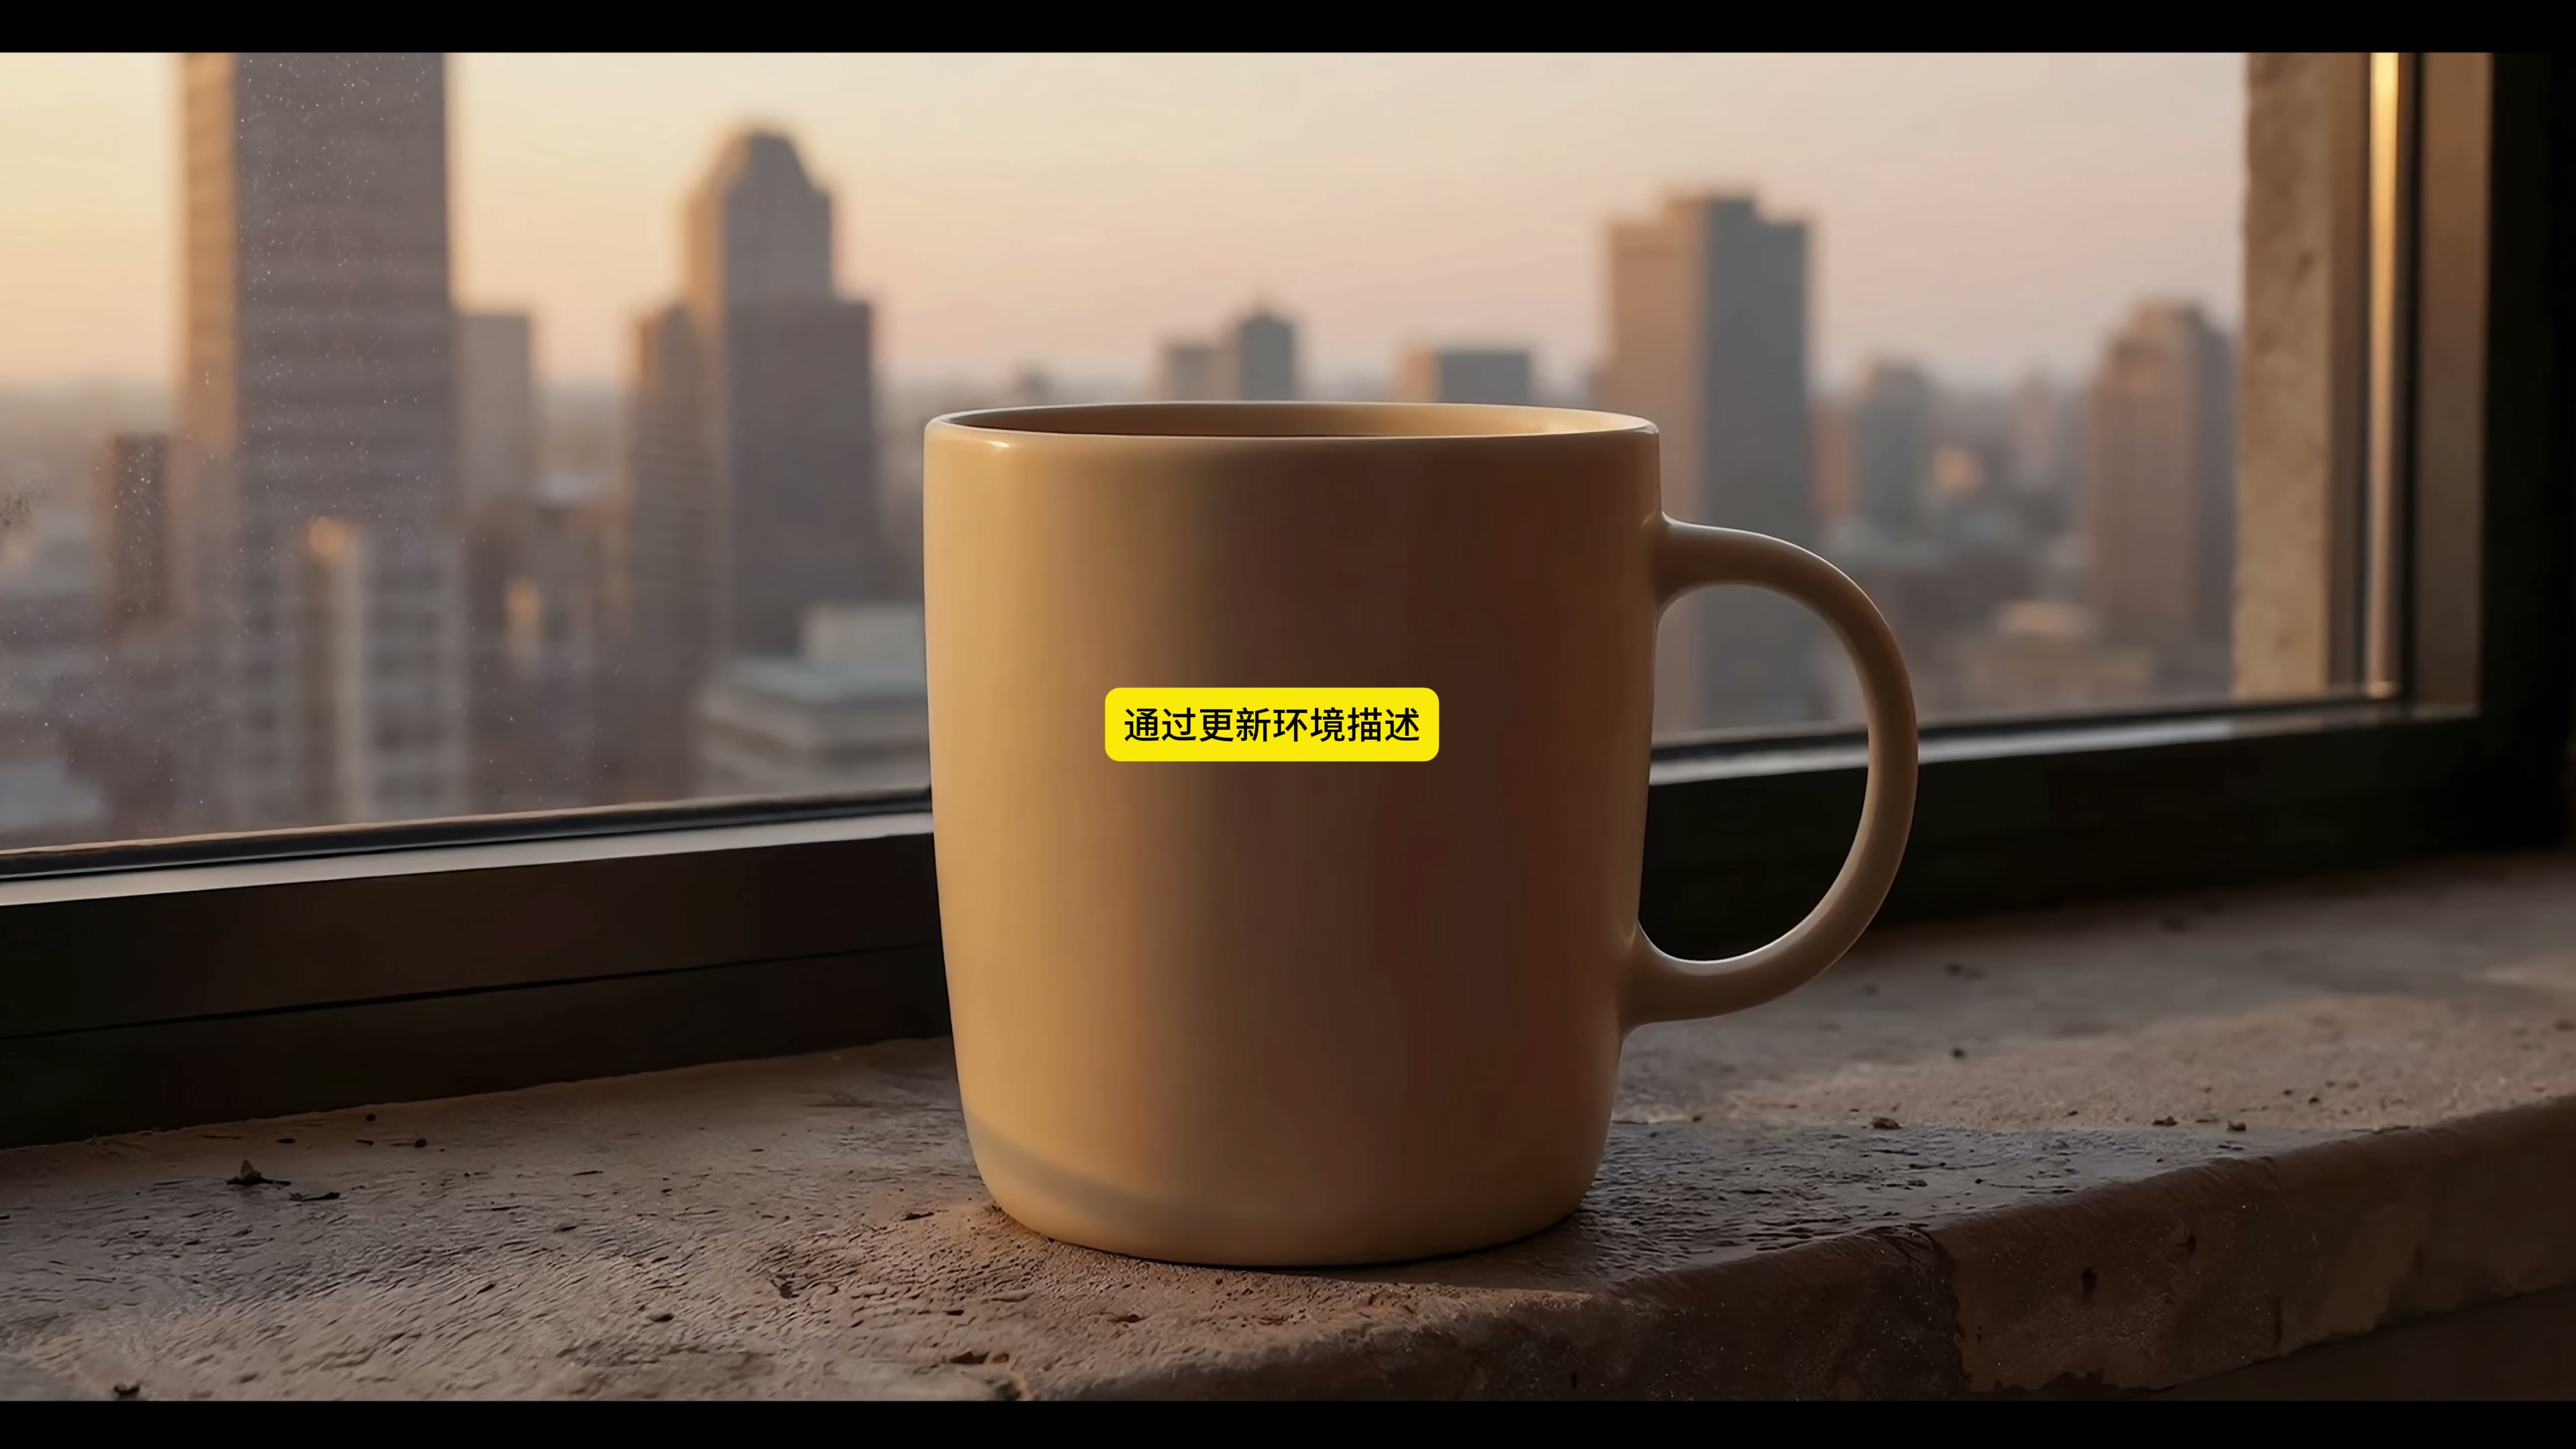
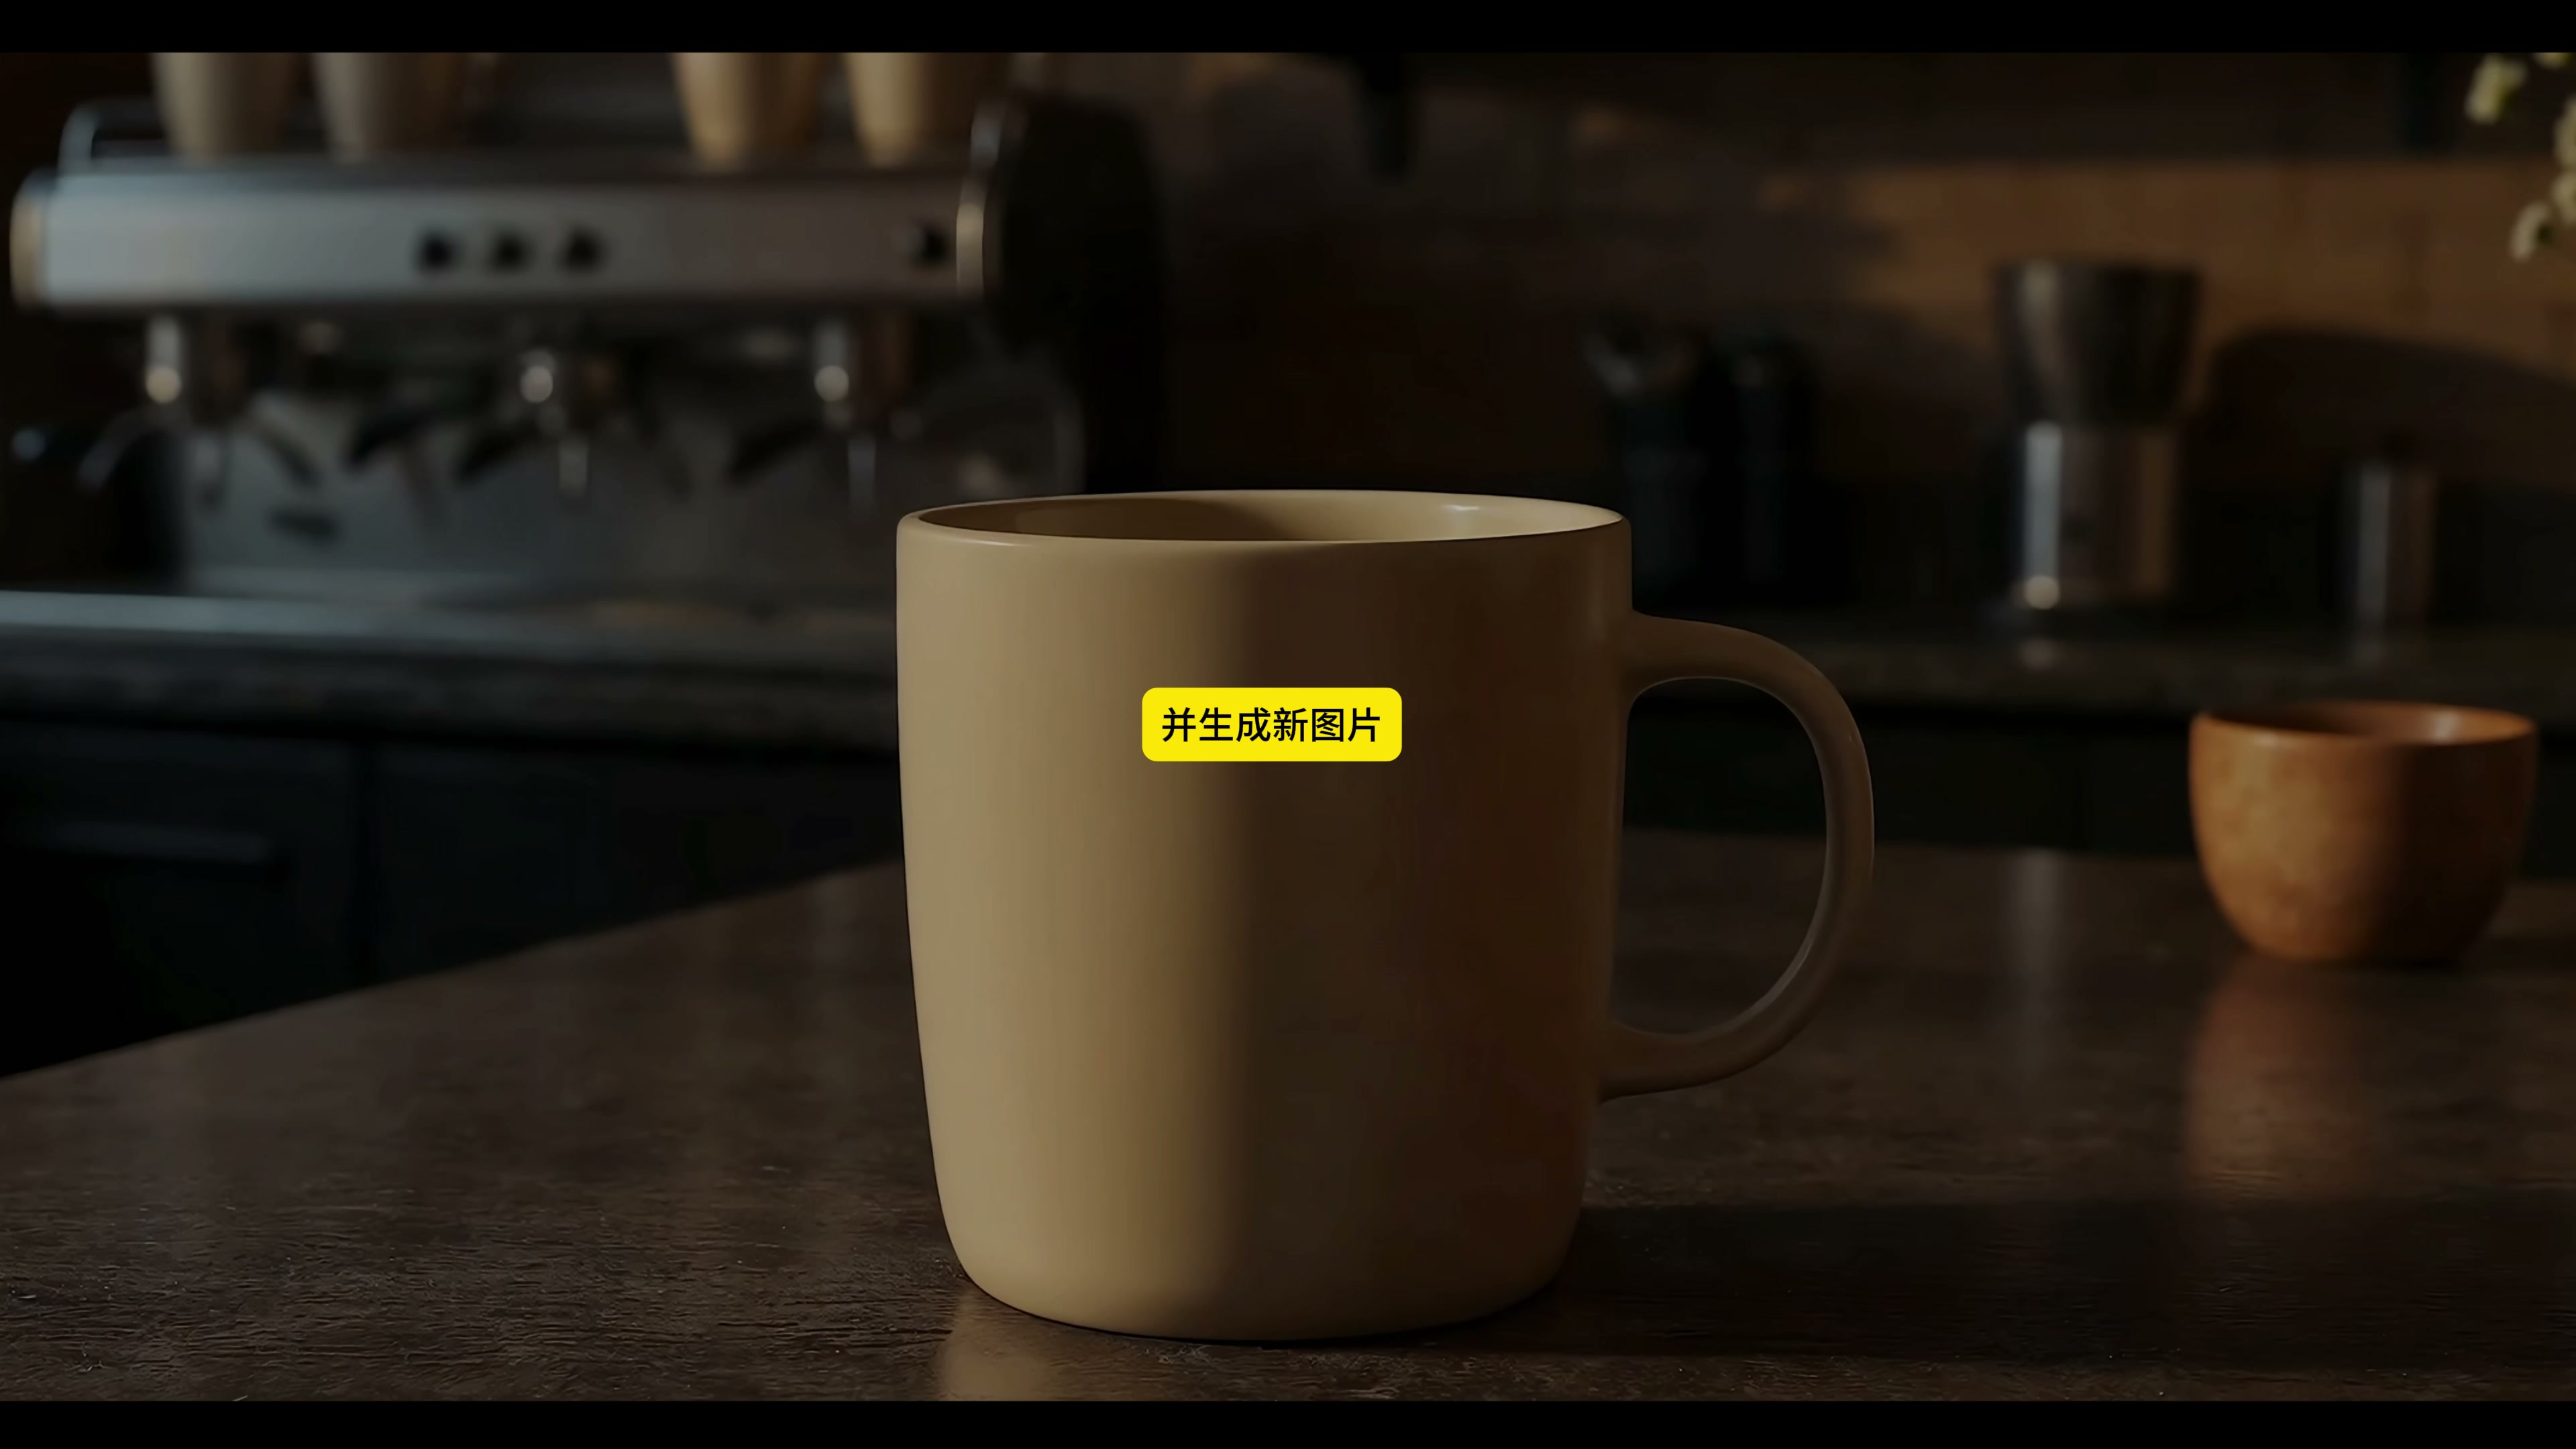
There are two more scenes at the end of the film: one is the city window under the sunset, and the other is the cafe table with darker light. They follow a similar cup shape, but the background, color temperature and mood are completely different. The video does not show the complete prompt words of these two pictures, so only the method can be confirmed here: update the environment description and generate a new situation picture.
When making a series of pictures, I will fix the color, proportion and handle direction of the cup, and only change the place, accompanying body and light. The picture thus made is still like the same product shooting project, rather than several unrelated AI pictures.
This workflow is best used for quick test scenarios. Whether it can really be used for the project depends on whether the product structure is kept and whether the ambient light makes sense. Surplus small objects can be cleaned up with Retouch, and then enlarged after the selected version, the whole sequence will be much more stable.


The copyright of this work belongs to Aqun. No use is allowed without explicit permission from owner.

New user?Create an account
Log In Reset your password.
Account existed?Log In
Read and agree to the User Agreement Terms of Use.
Please enter your email to reset your password



Interesting
Touching details
It’s really that way.
Passing by