Let's use fragment time to improve the rendering! This chapter of the tutorial mainly explains a small technique of how white products render transparent in a white background.
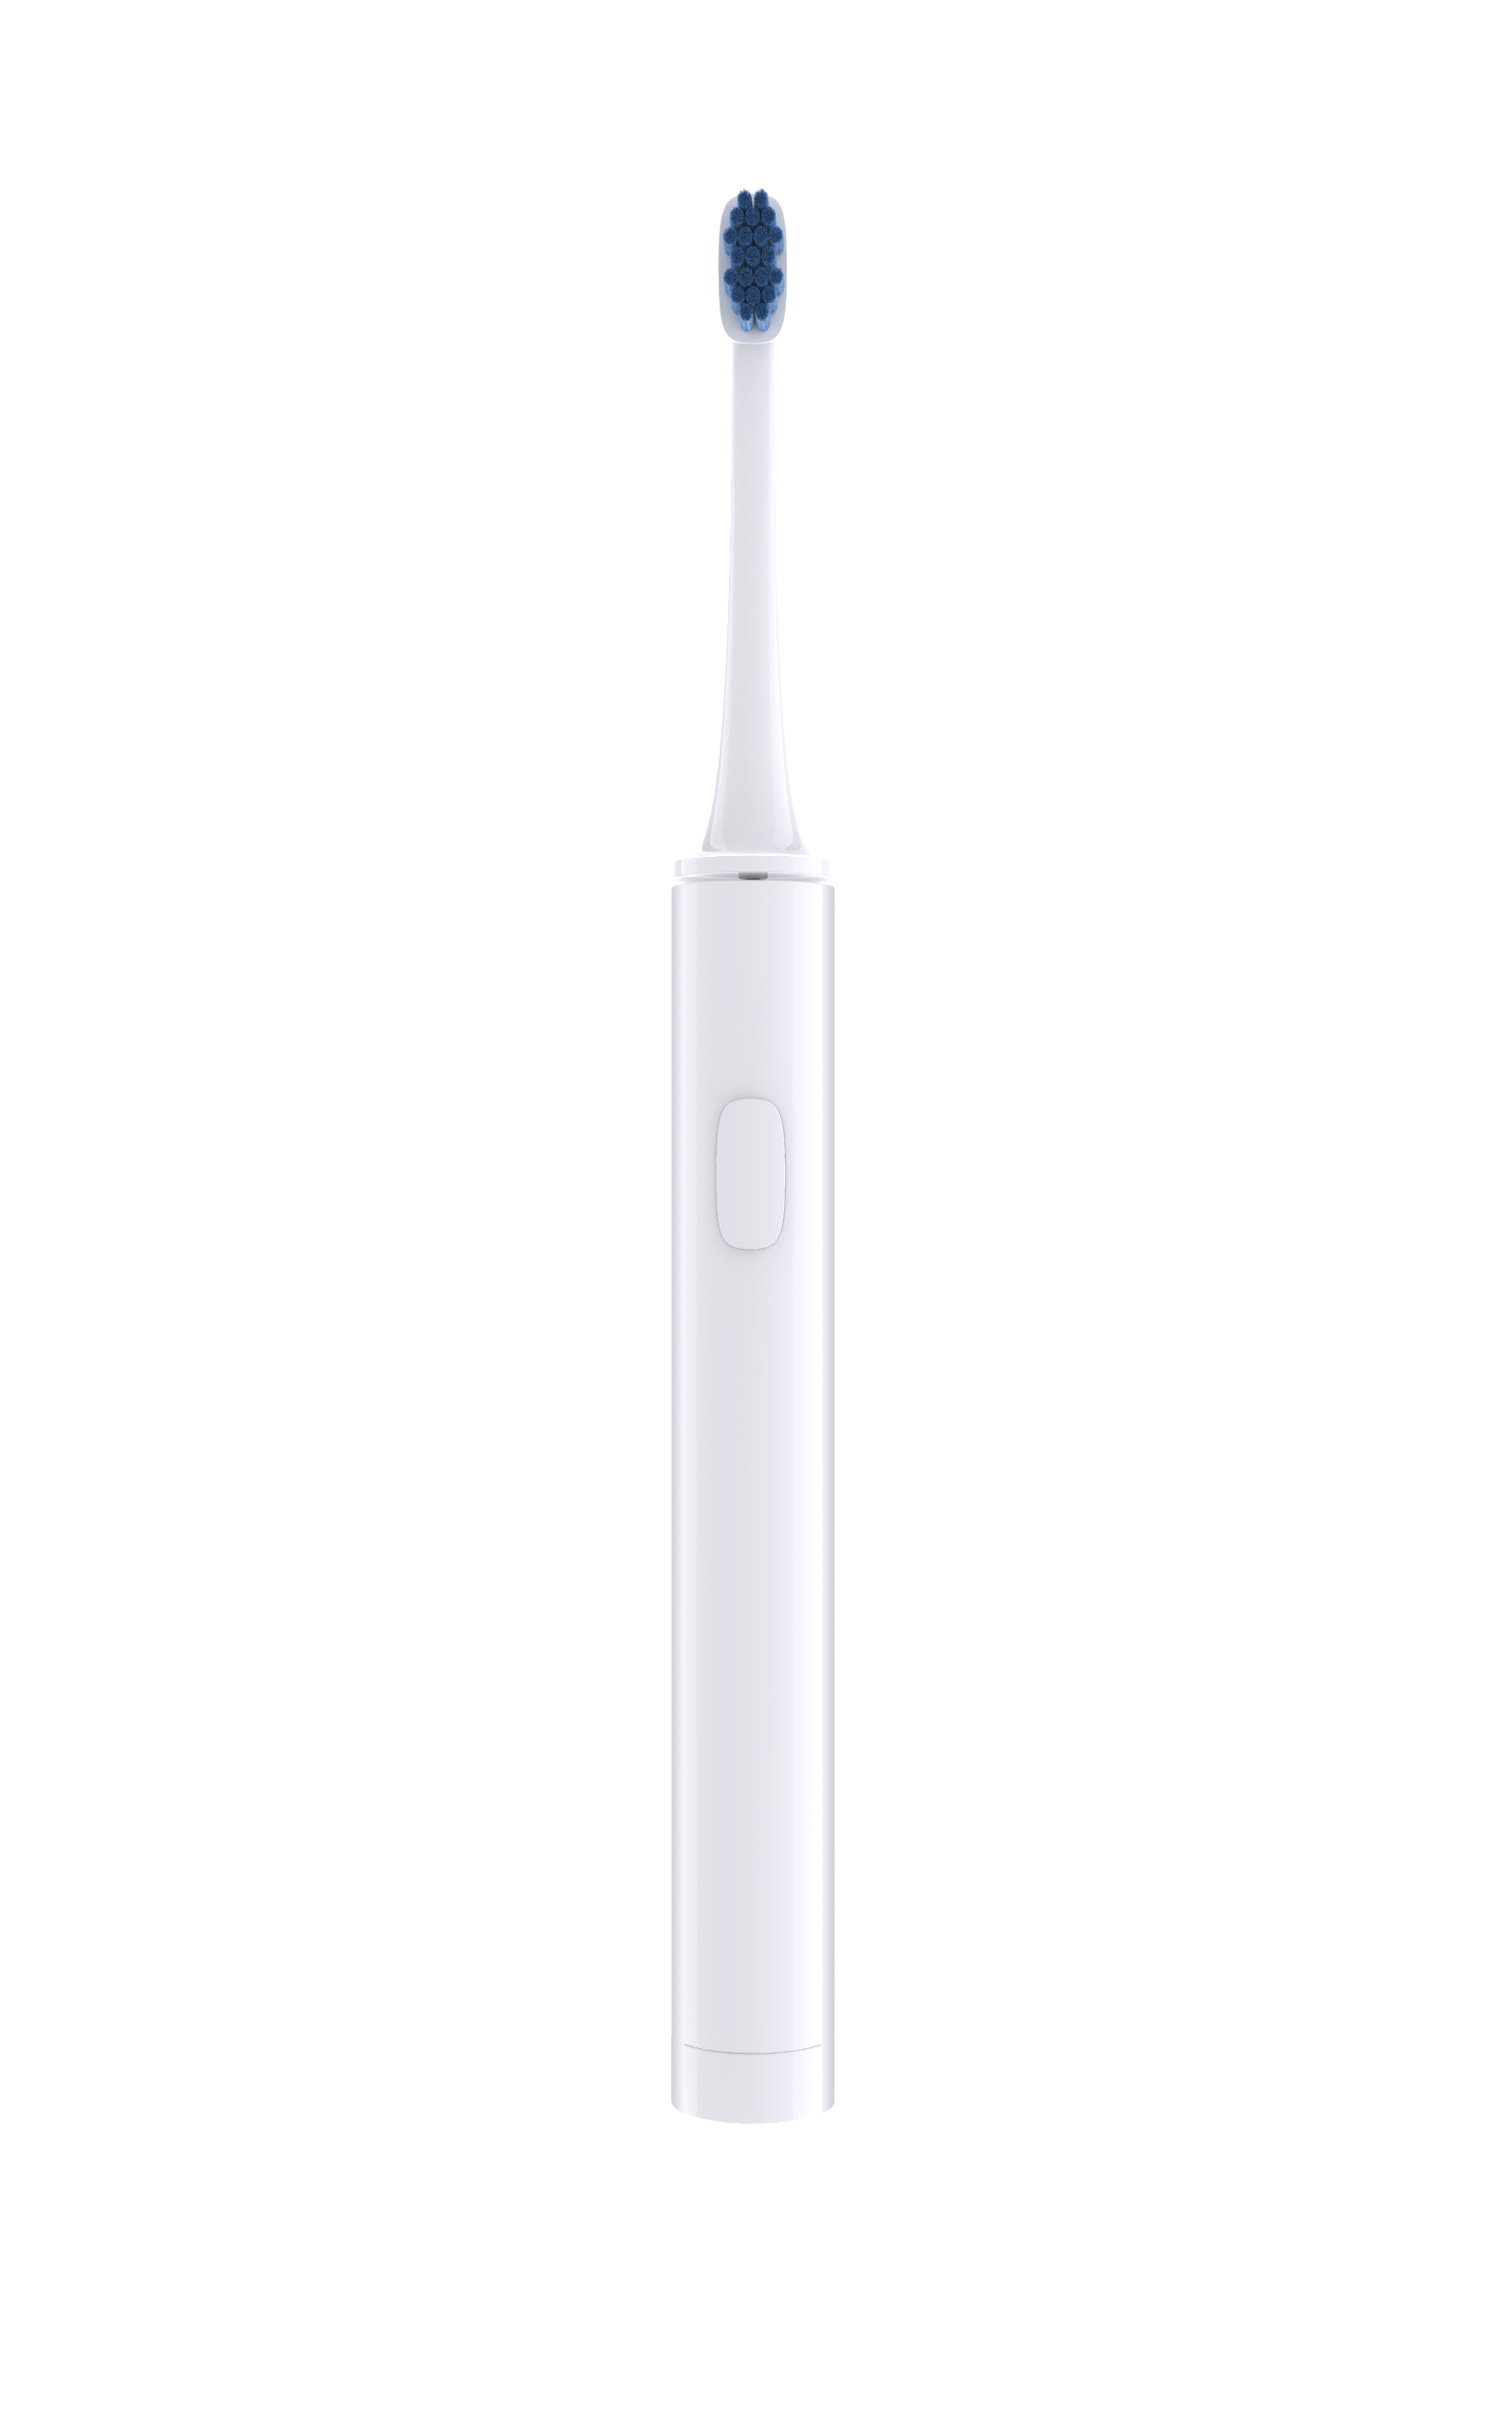
It is not easy to set up a dog for work. If there are any deficiencies, please let me know. If you feel good, I hope you can leave a compliment or comment, or pay attention to me. I will continue to cheer up and make some good and attentive tutorials. Thank you!
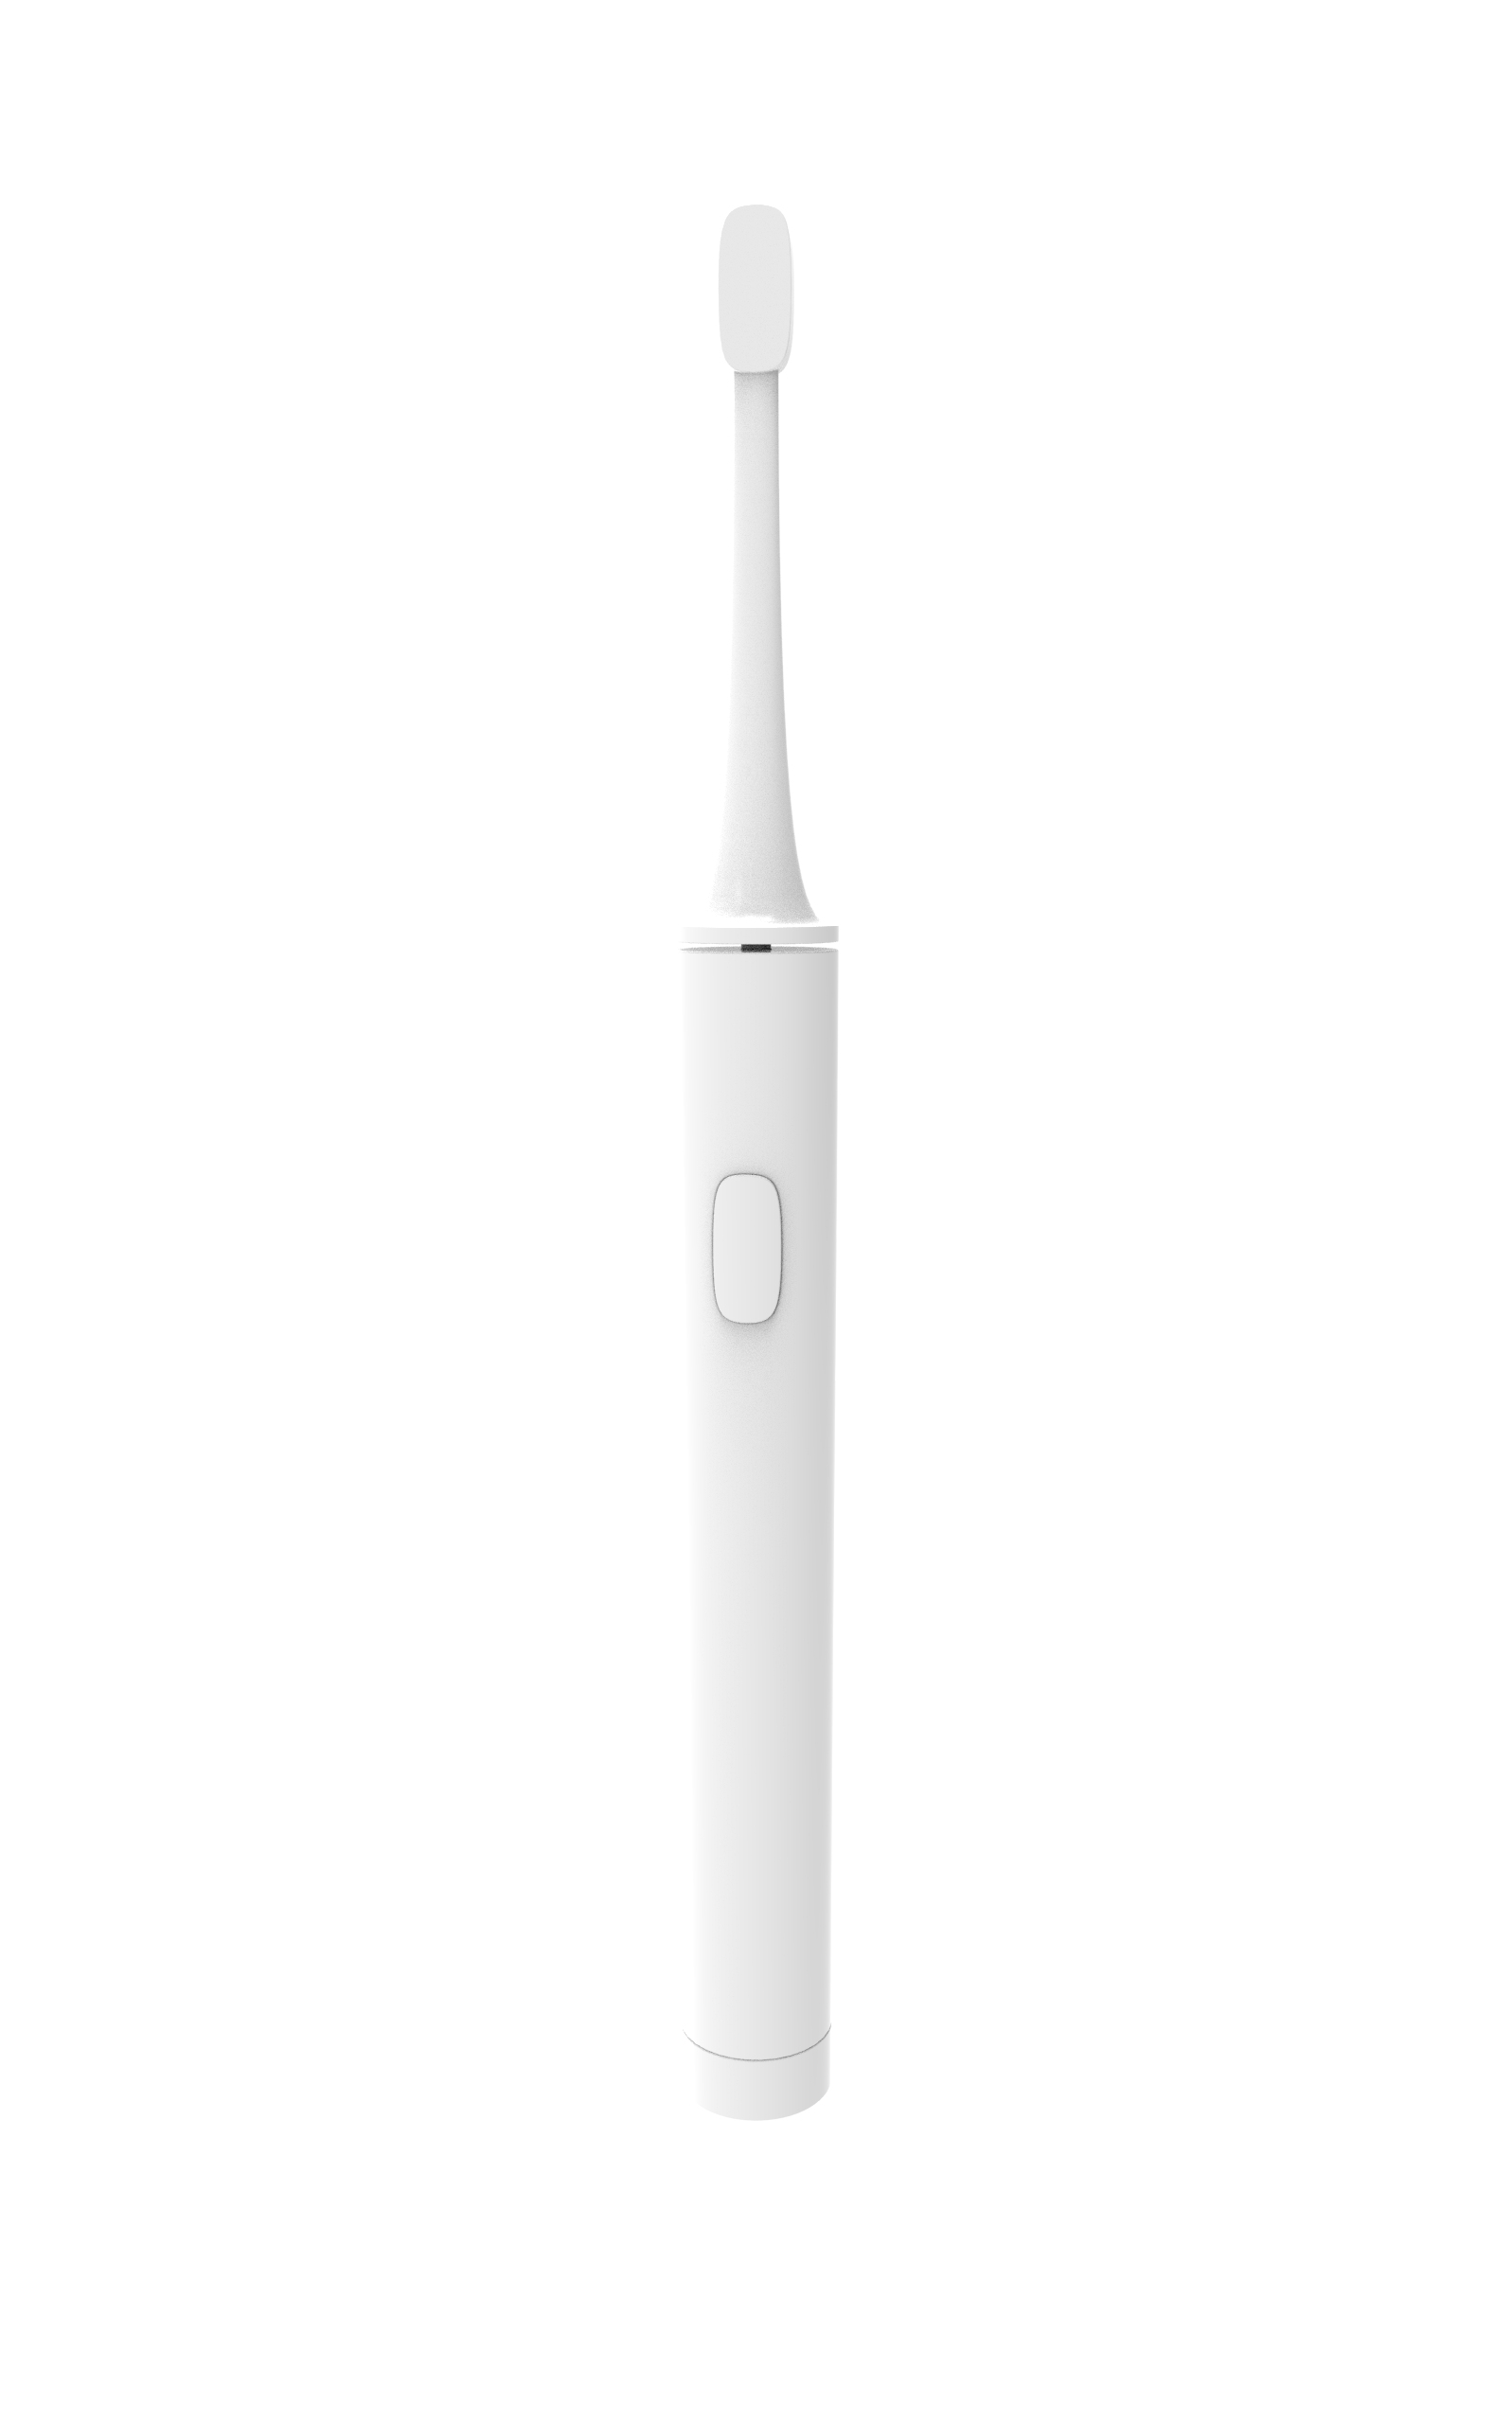
Do you often encounter this phenomenon of overexposure or gray in the white background rendering of our white products? There is no way to reflect the transparency and cleanliness of the white material itself?
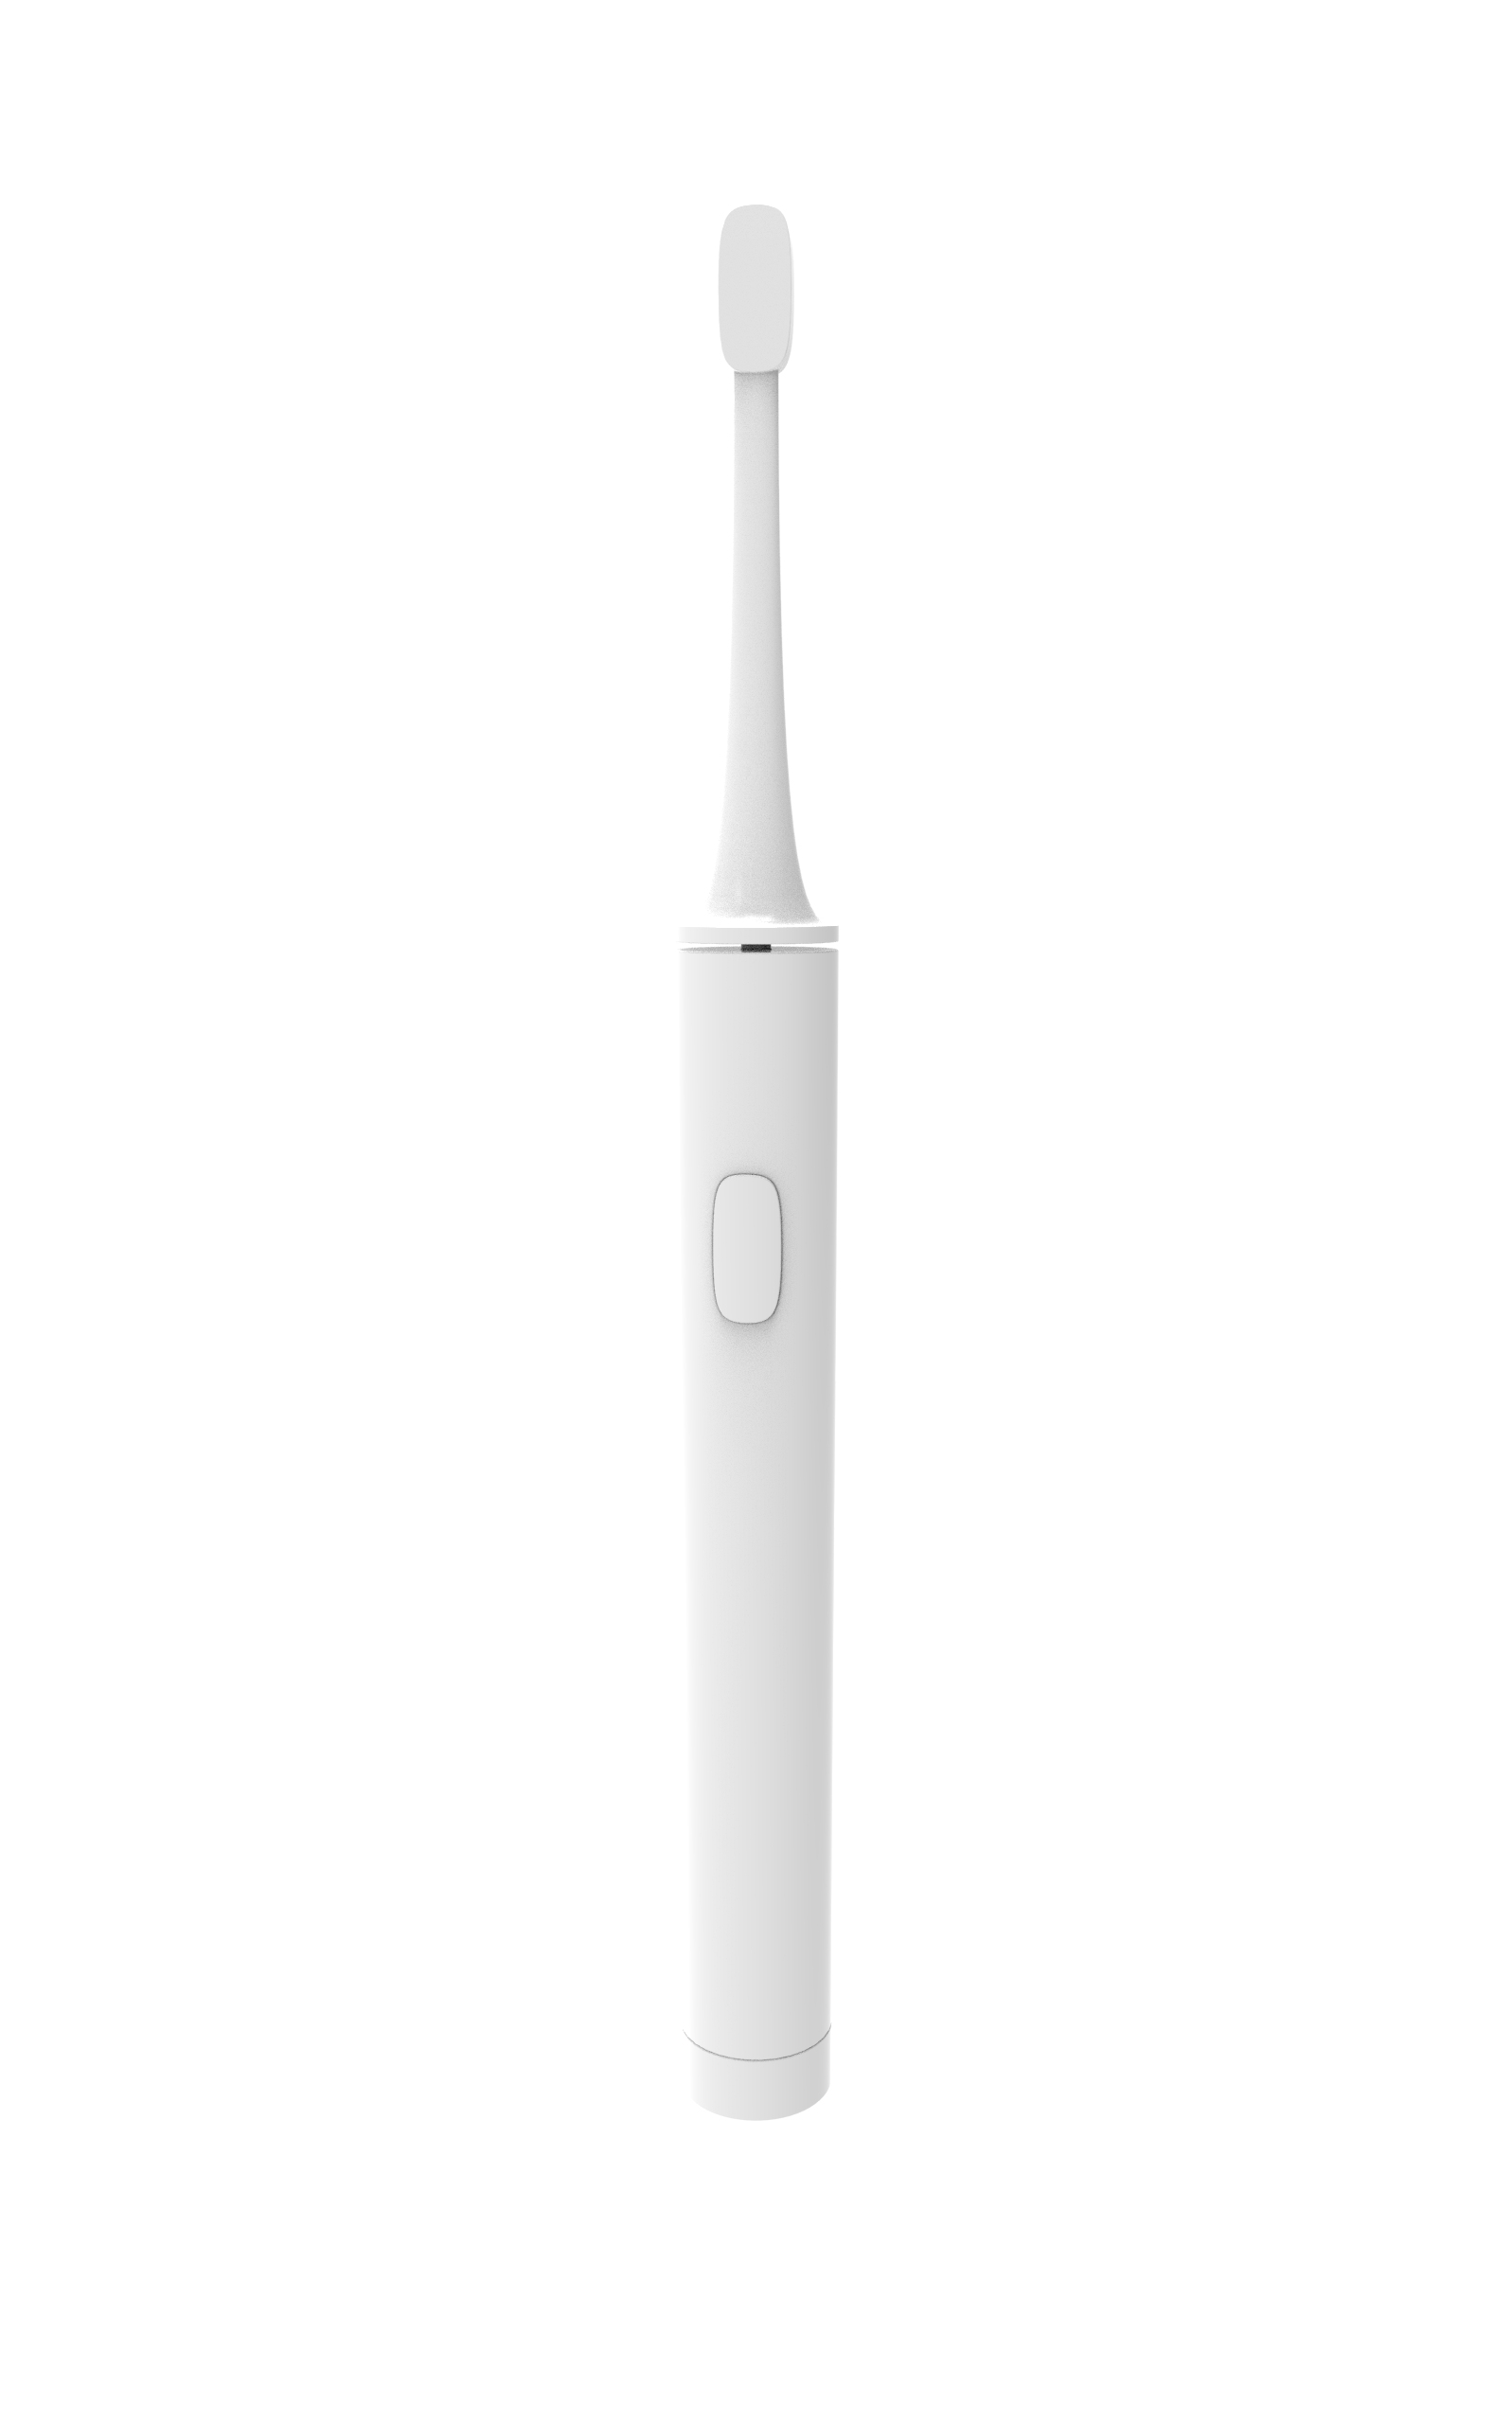
What should we do? Next, I will use a small technique to deal with the white background map of white products. I will explain the method here first, and then I only need to learn the steps and verify the theory with peace of mind!
First of all, there are many ways to control white. Light, color of the material itself, contrast, exposure, curve and so on can control the gray value of white. If the gray value is too high, the whole material will appear dirty and not good-looking. However, if it is too high, it will be integrated with the background and even produce overexposure. At this time, the contrast and exposure will be controlled, and the effect produced is not ideal.
Therefore, here we use the detection function of the straw tool to change the mode to HSV mode, measure the gray value and control it from the chromaticity. (Here comes the point)
In the highlight area, we keep his grayscale value at 100%, that is, pure white. On the gray surface, we control its grayscale value at about 90%. We must perform a gray treatment on the edge, otherwise it will be integrated with the white background. Therefore, we control the grayscale value of the edge line at 85%, confirm the contour, and make a distinction with the white background.
Everyone said that blue and white are more white. In order to verify this sentence, I used multiple layers of materials here to render an ordinary pure white toothbrush respectively, and compared it with a blue white with a saturation of 3% and a hue value of 240. At the end of the article, everyone can feel it intuitively.
Summary: 100% in highlight area, 90 in gray area, 85 in edge area, and blue in overall color.
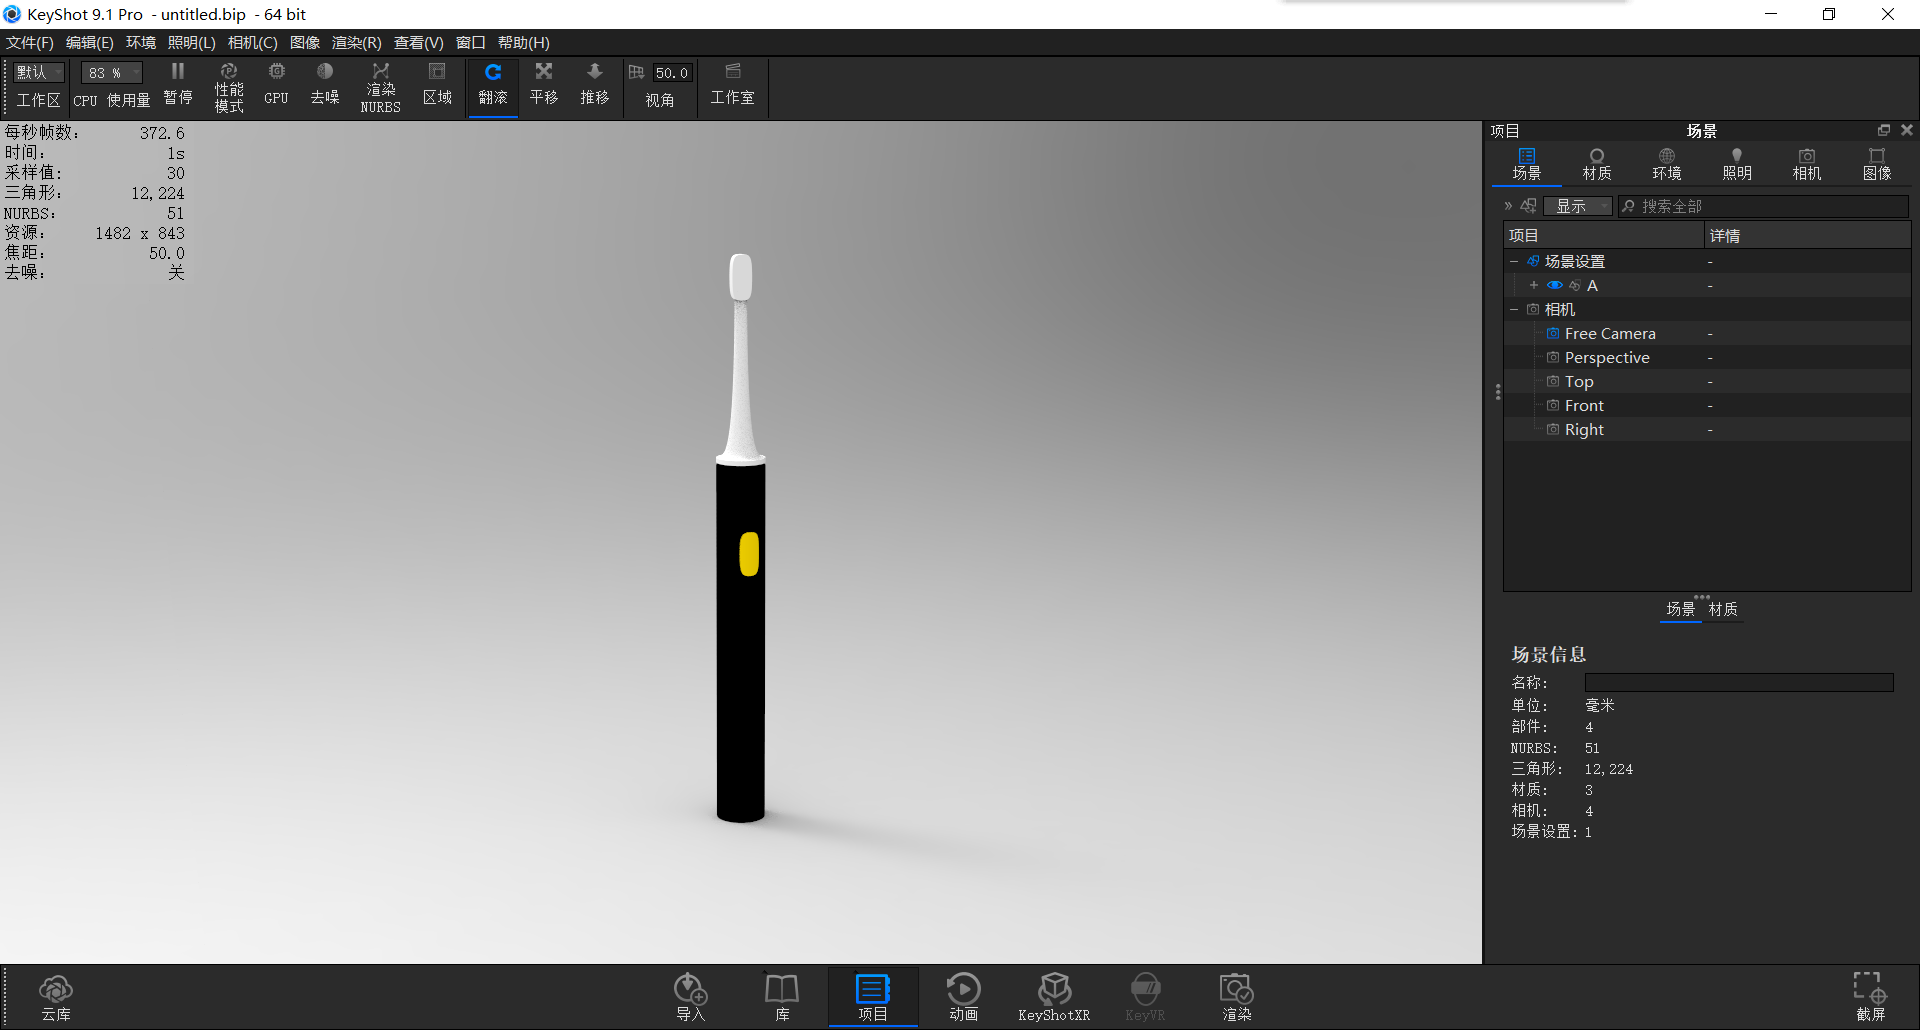
First import the model (or the toothbrush from the previous tutorial)
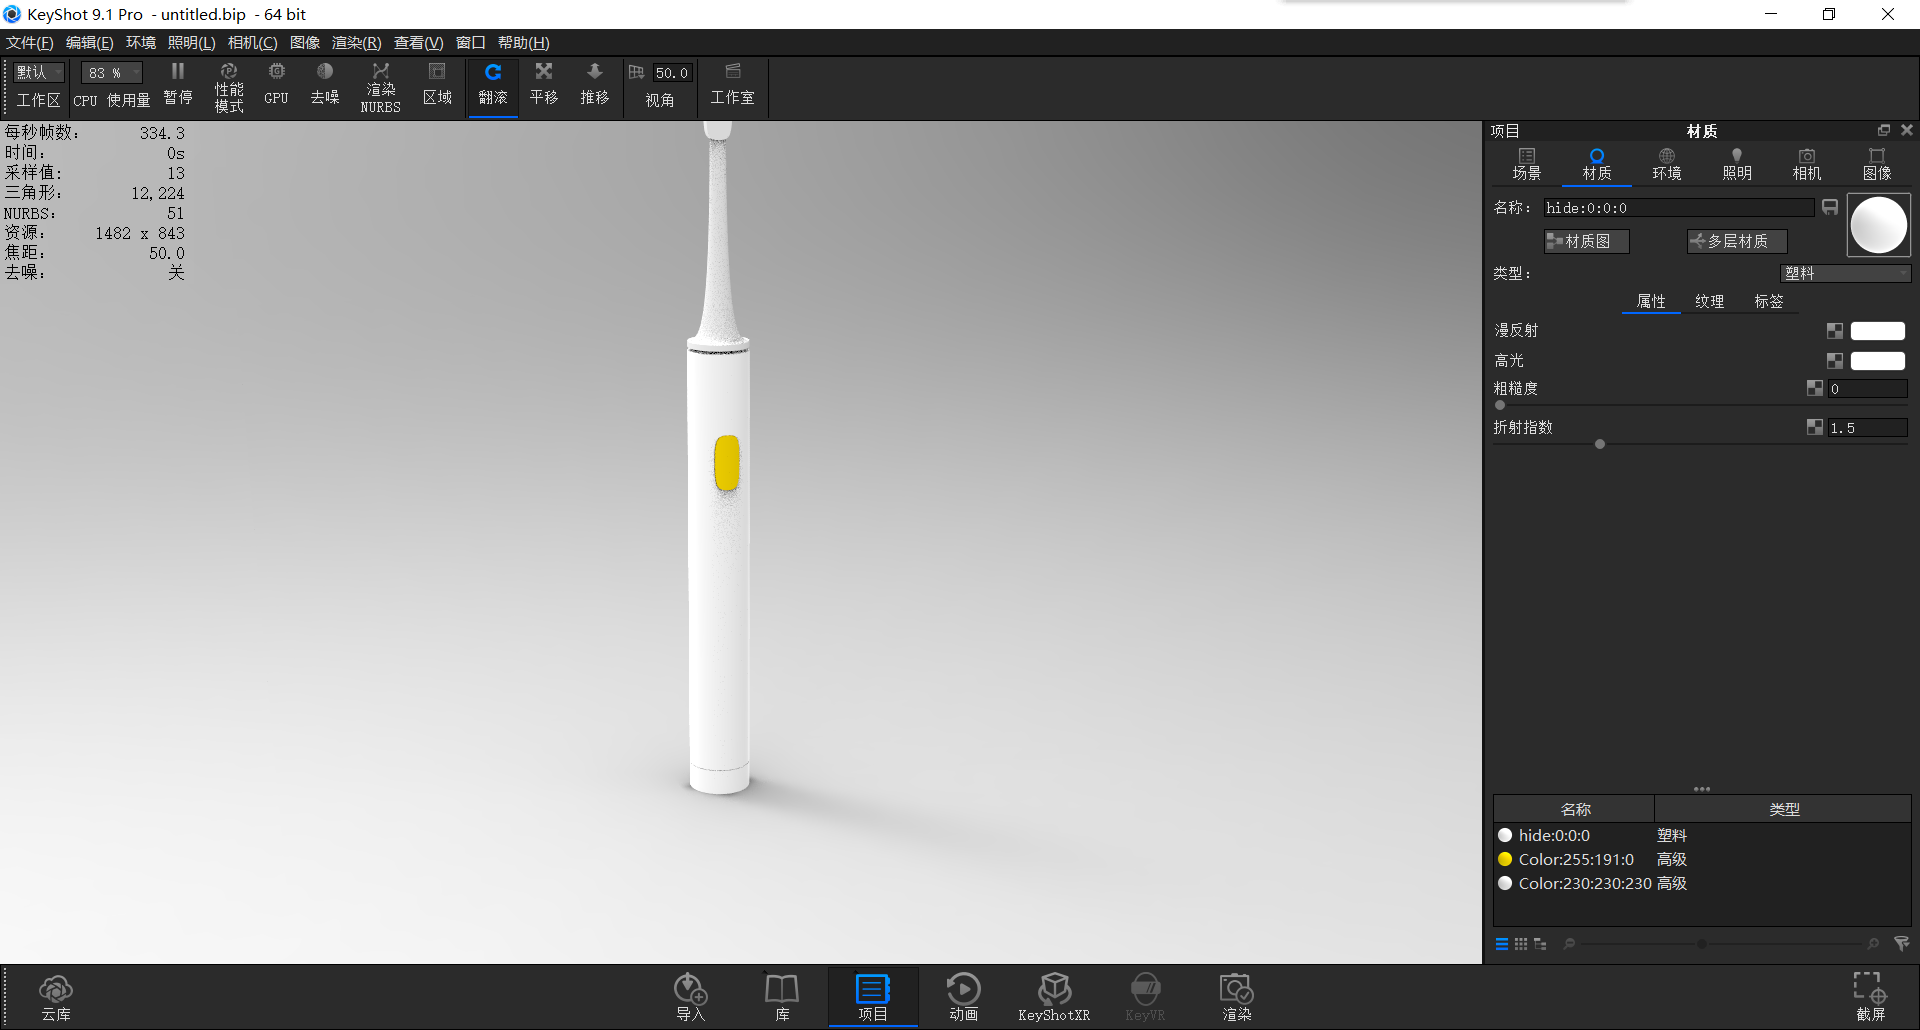
Give the body material, change to plastic, diffuse reflection and highlight are all changed to all white
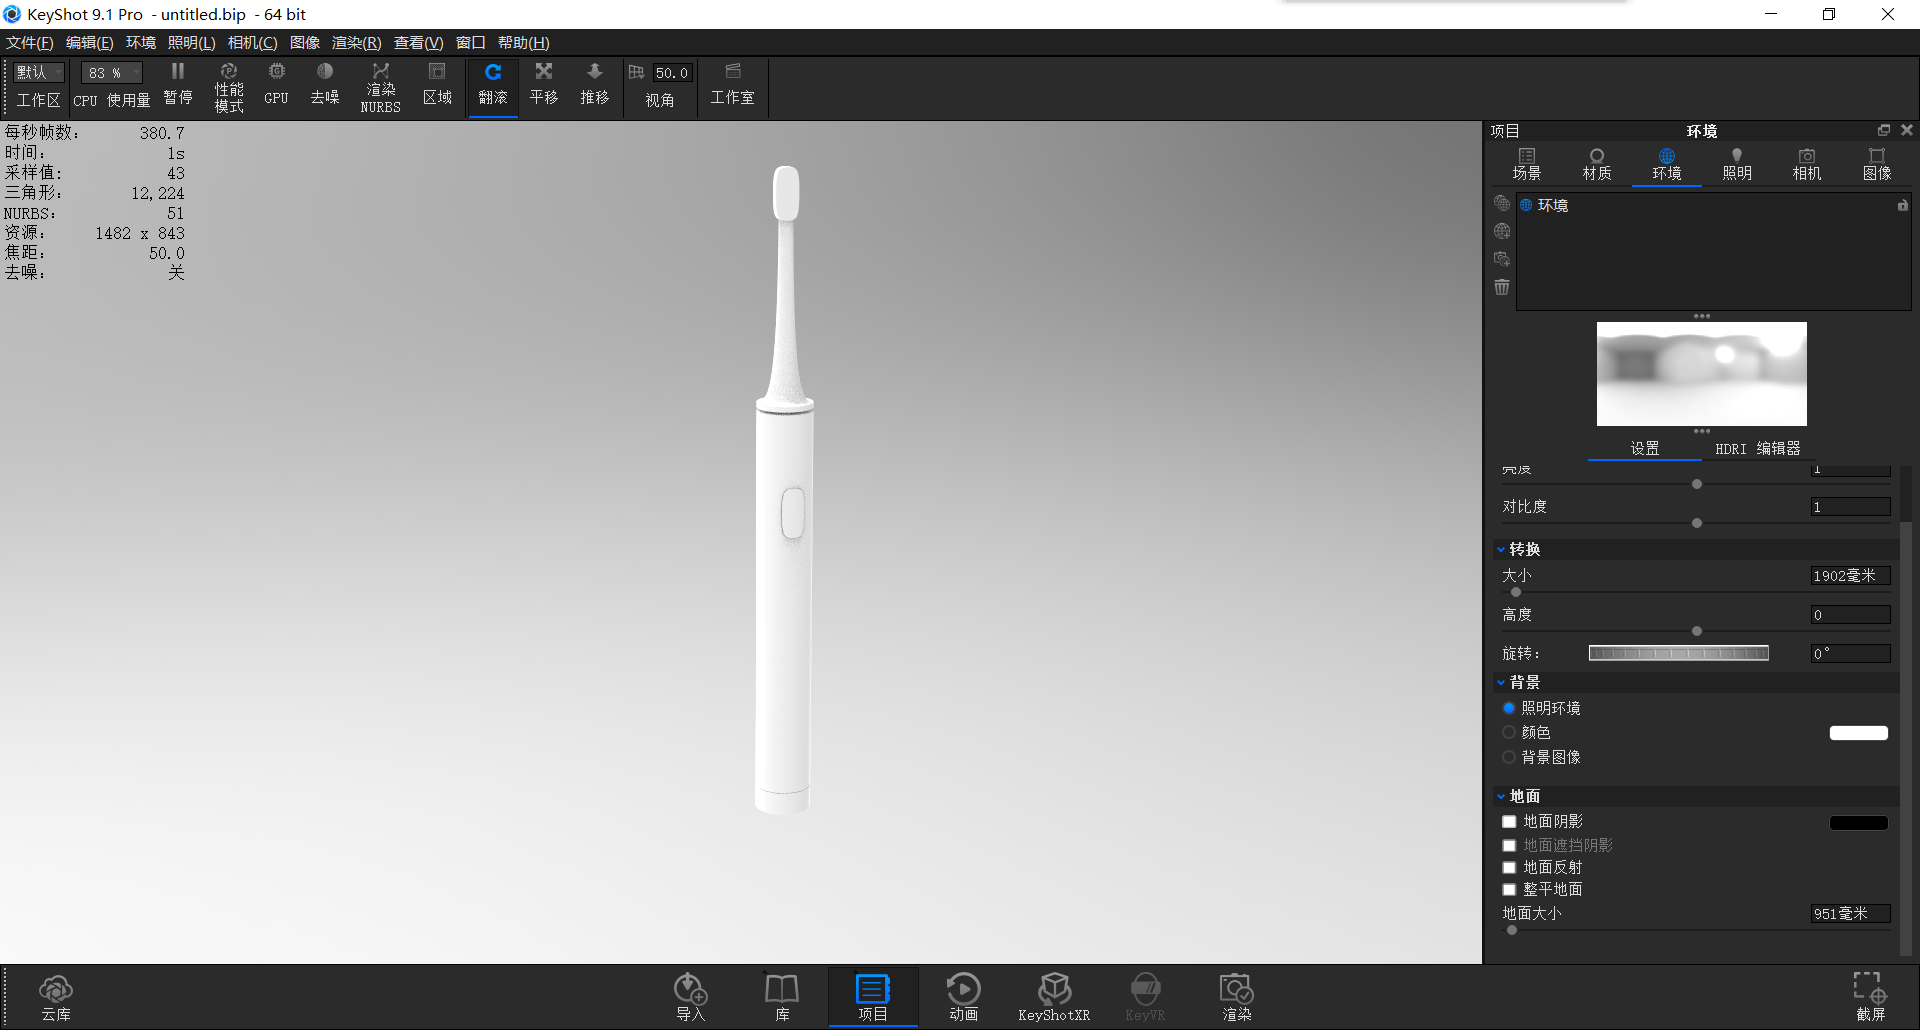
Hold down shift, left key to draw the material, right key to paste the material, and come to the environment to close the ground shadow
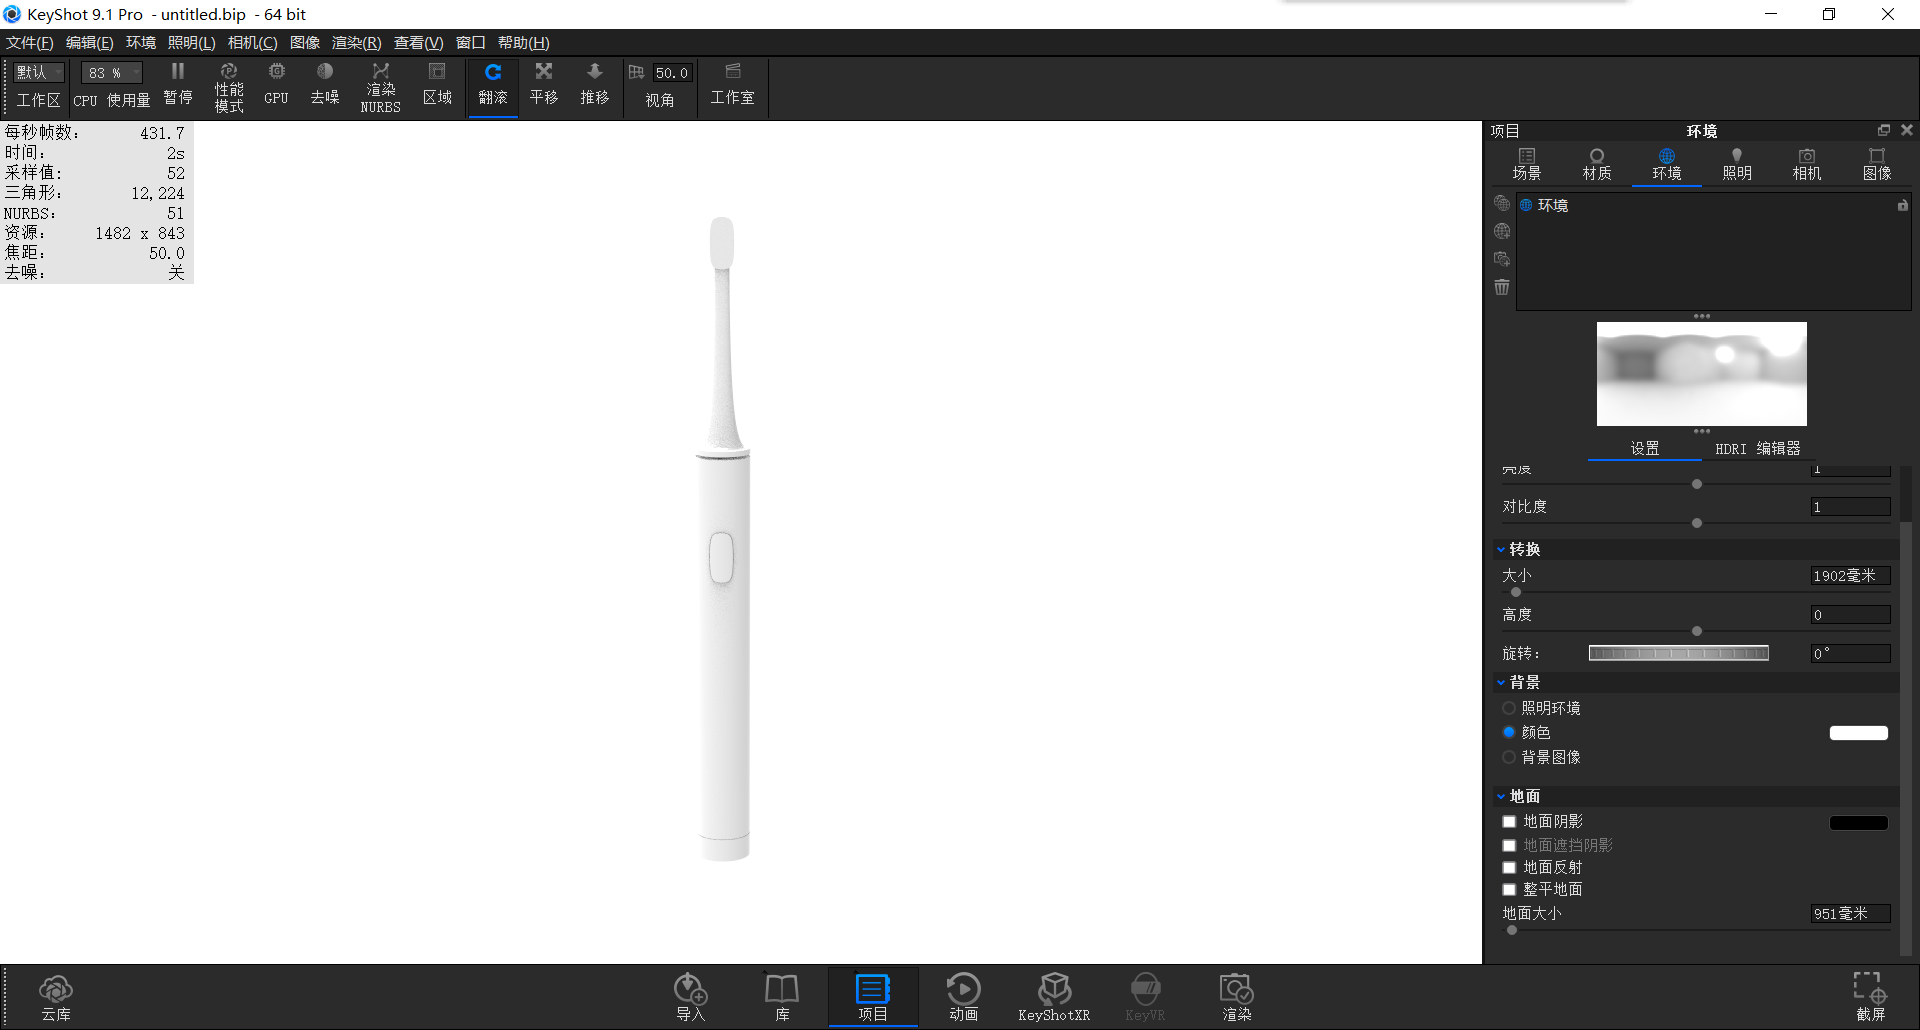
Click the color in the environment background to change to pure white.
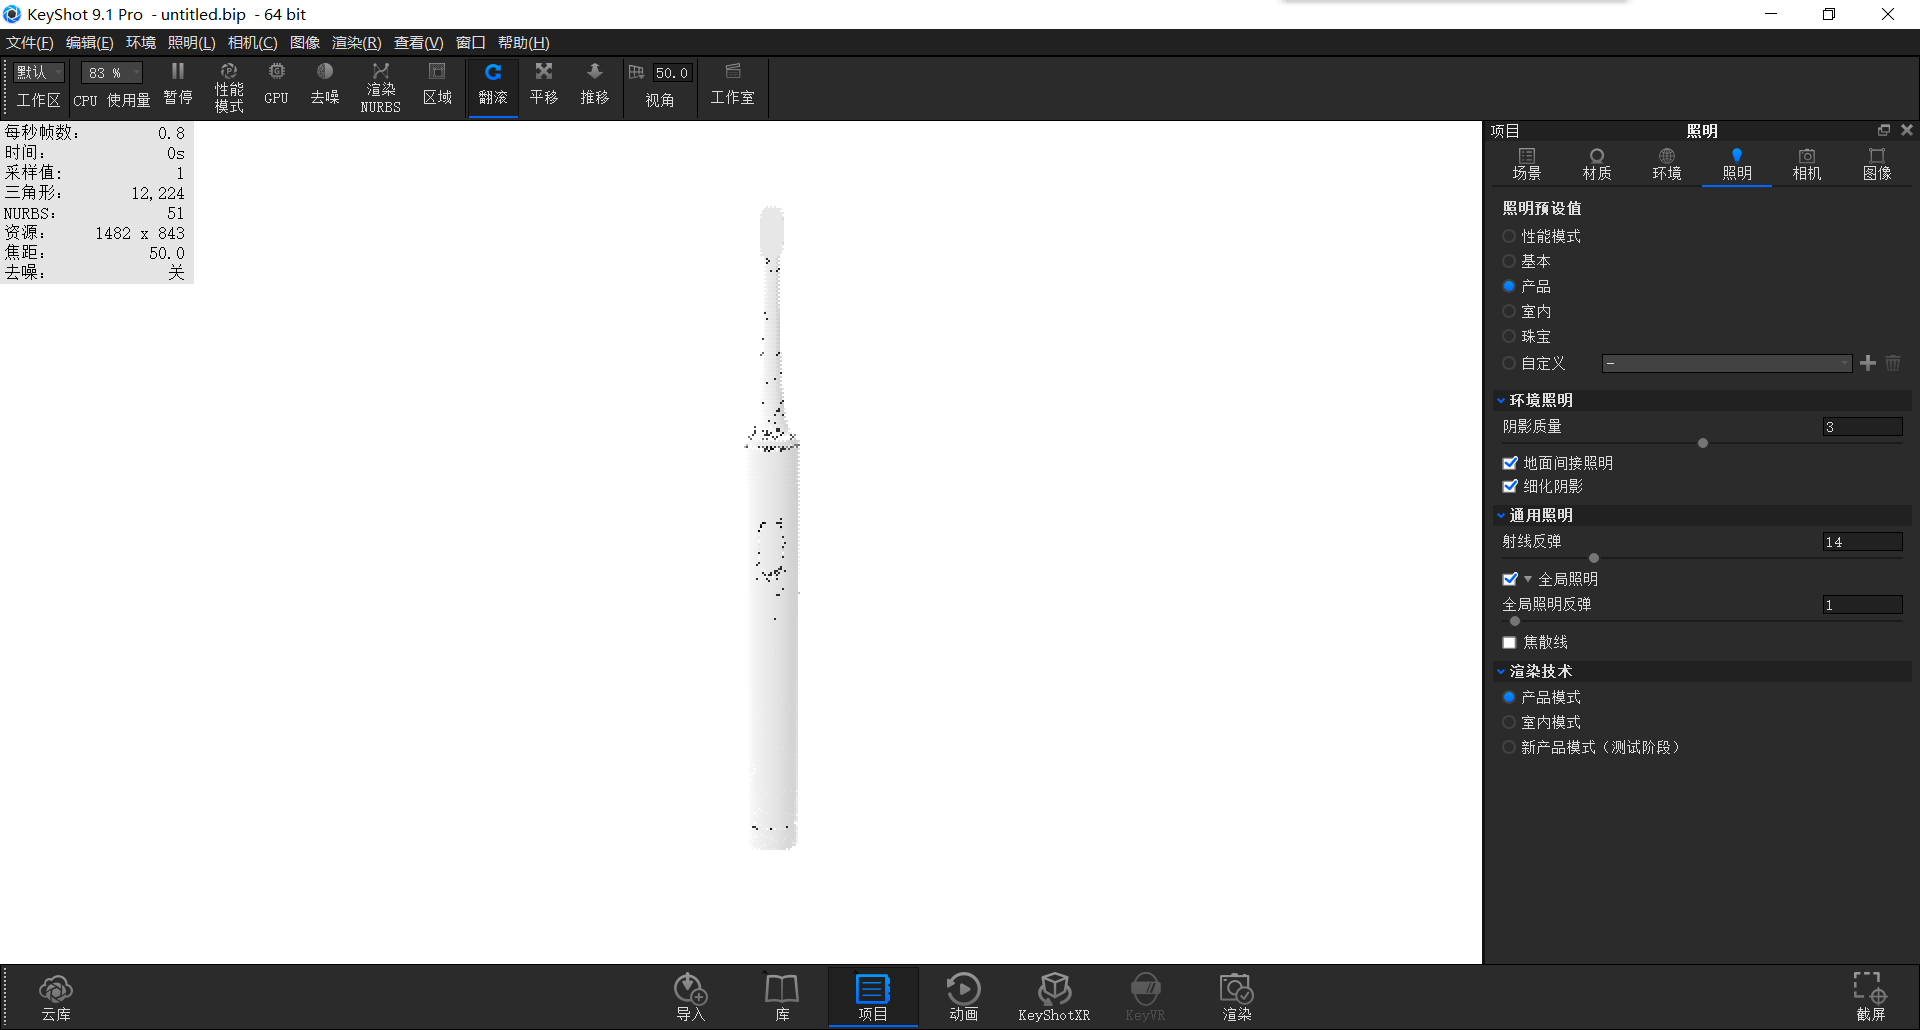
Come to the lighting and change the lighting mode to product
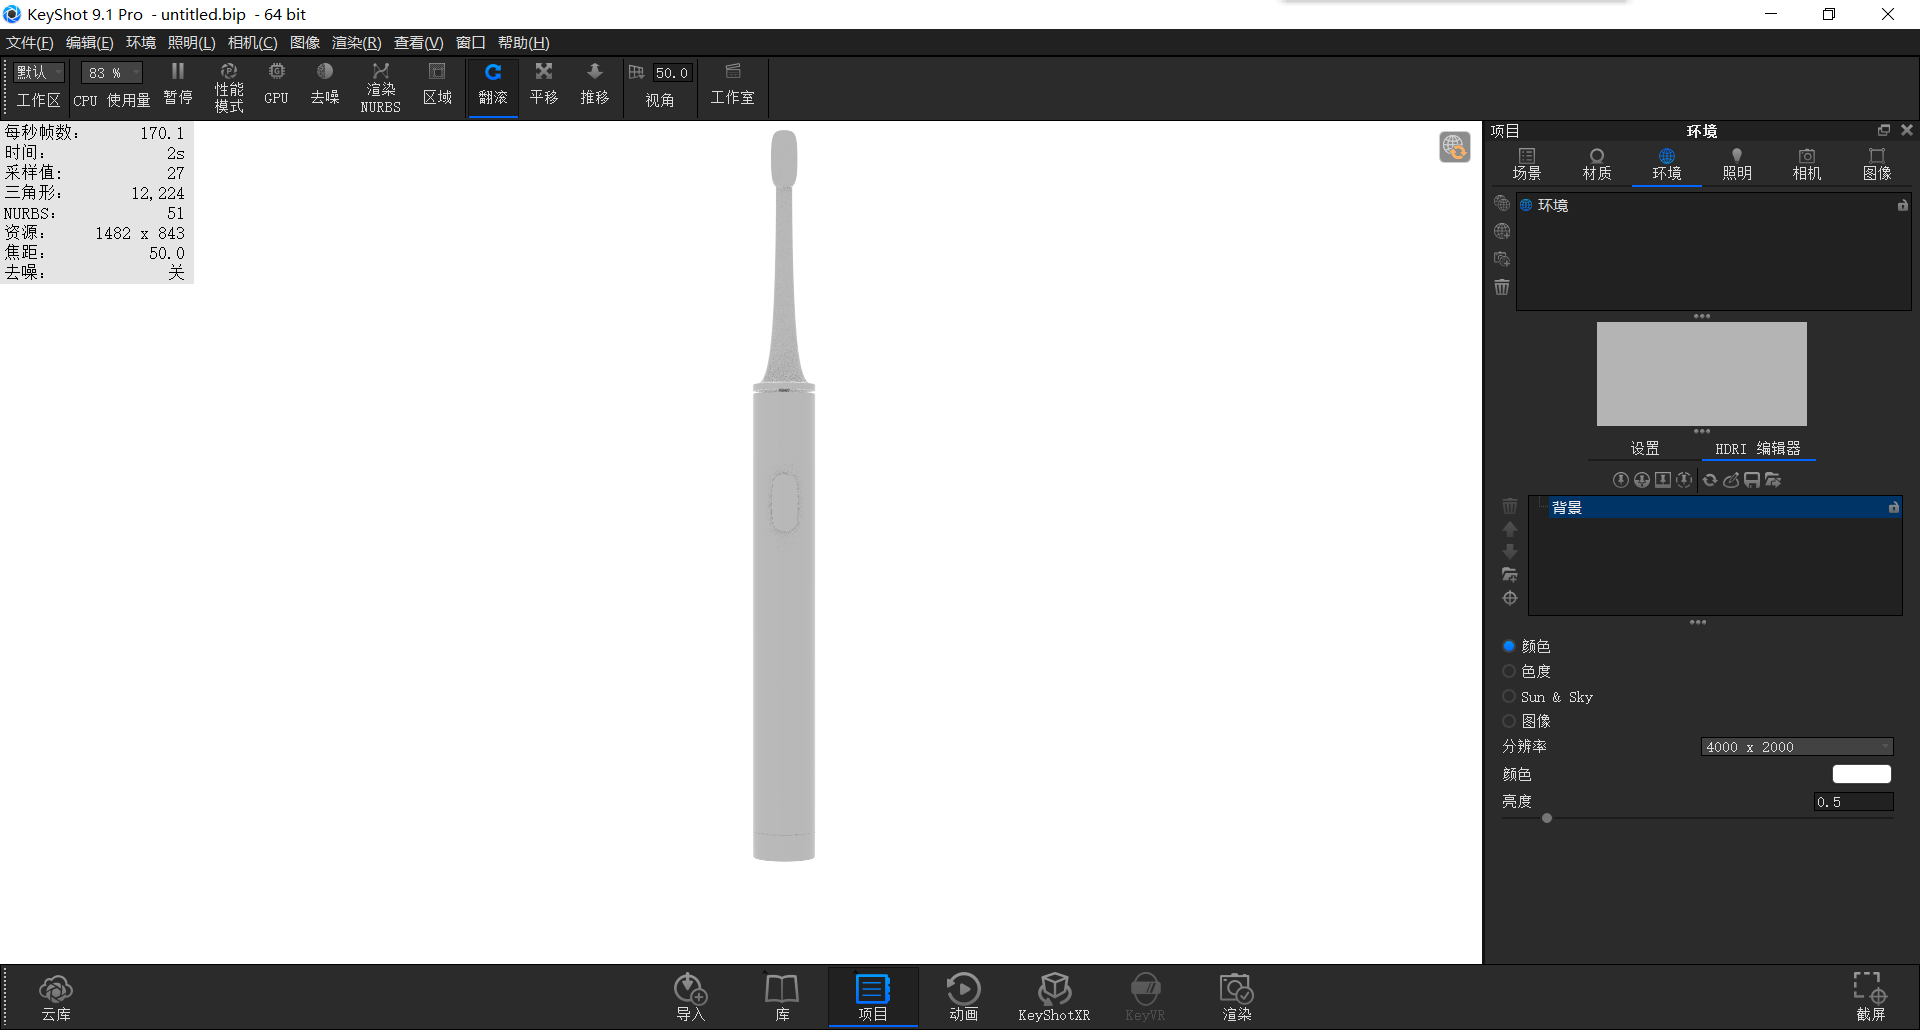
Back to the environment again, click the hdr editor, click the background, change the image to color, and change the color to pure white
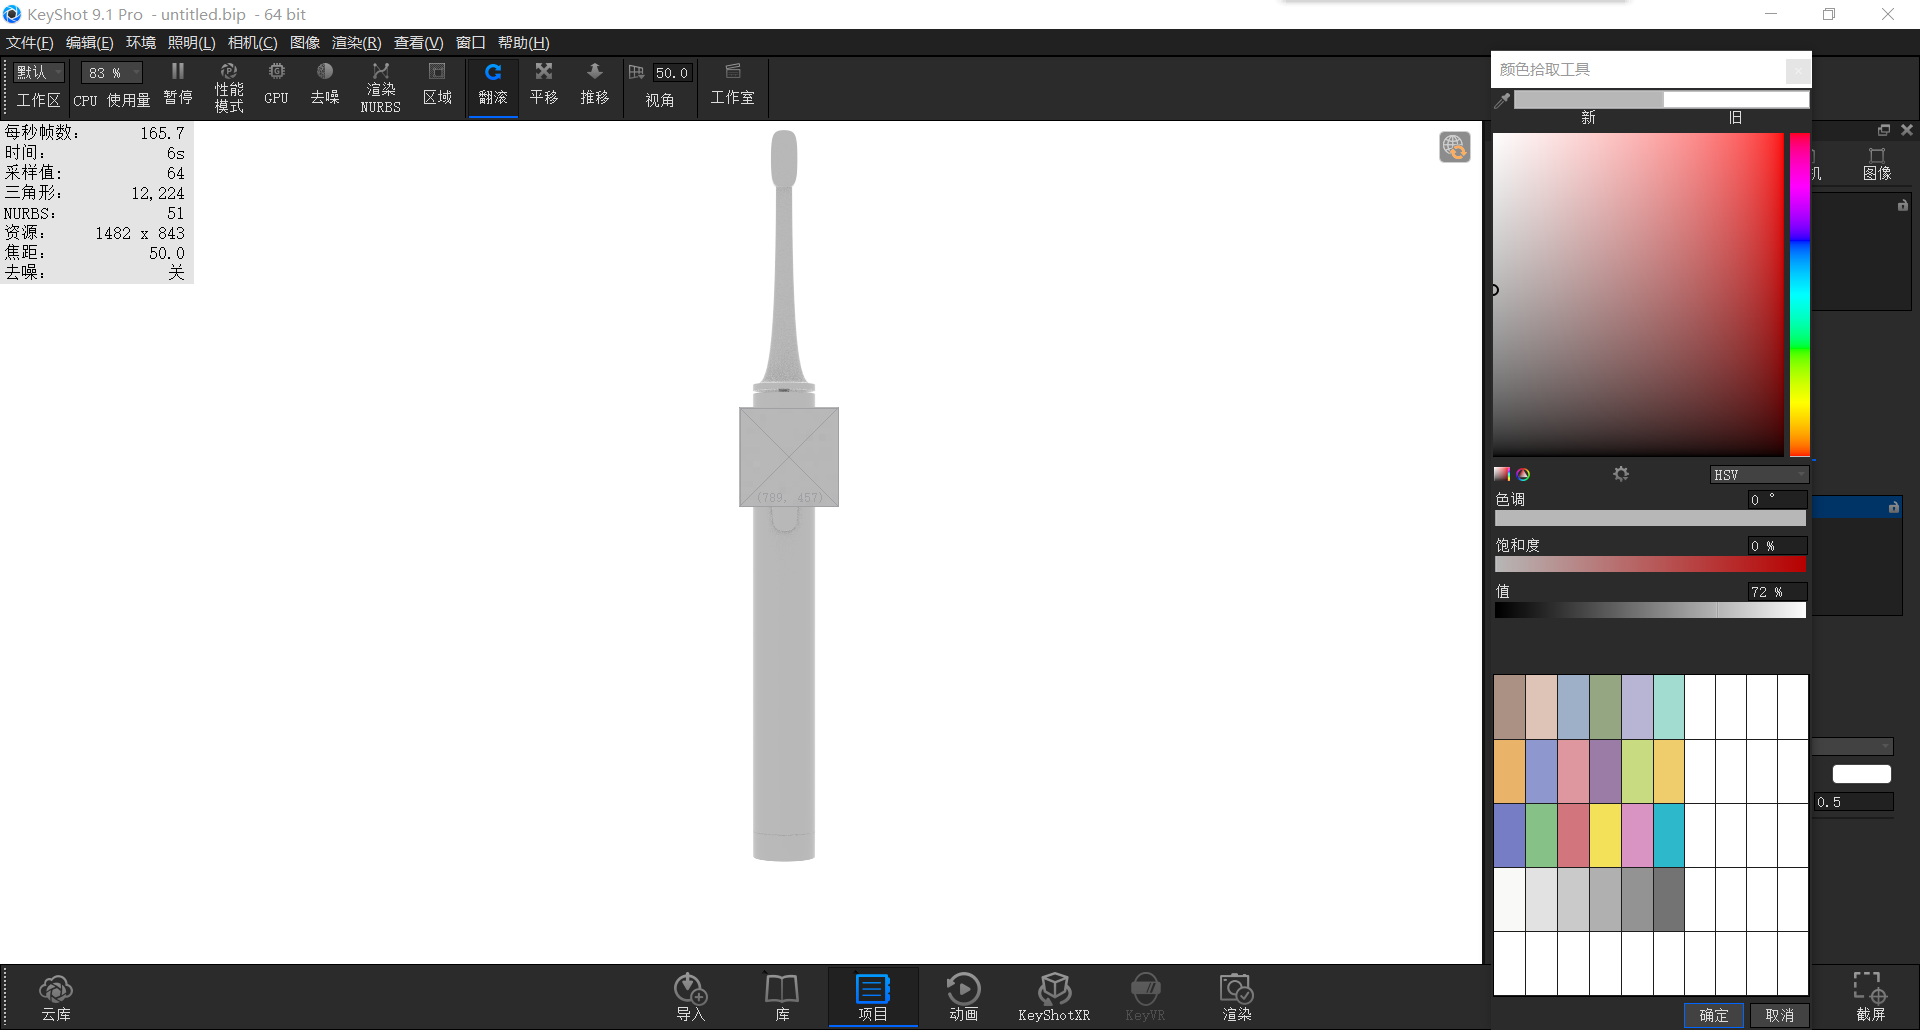
At this time, we open the small straw tool in the color, change the color mode to hsv mode, and check the gray scale value of the toothbrush at this time. we can see that the gray scale value of the toothbrush at this time is 72%
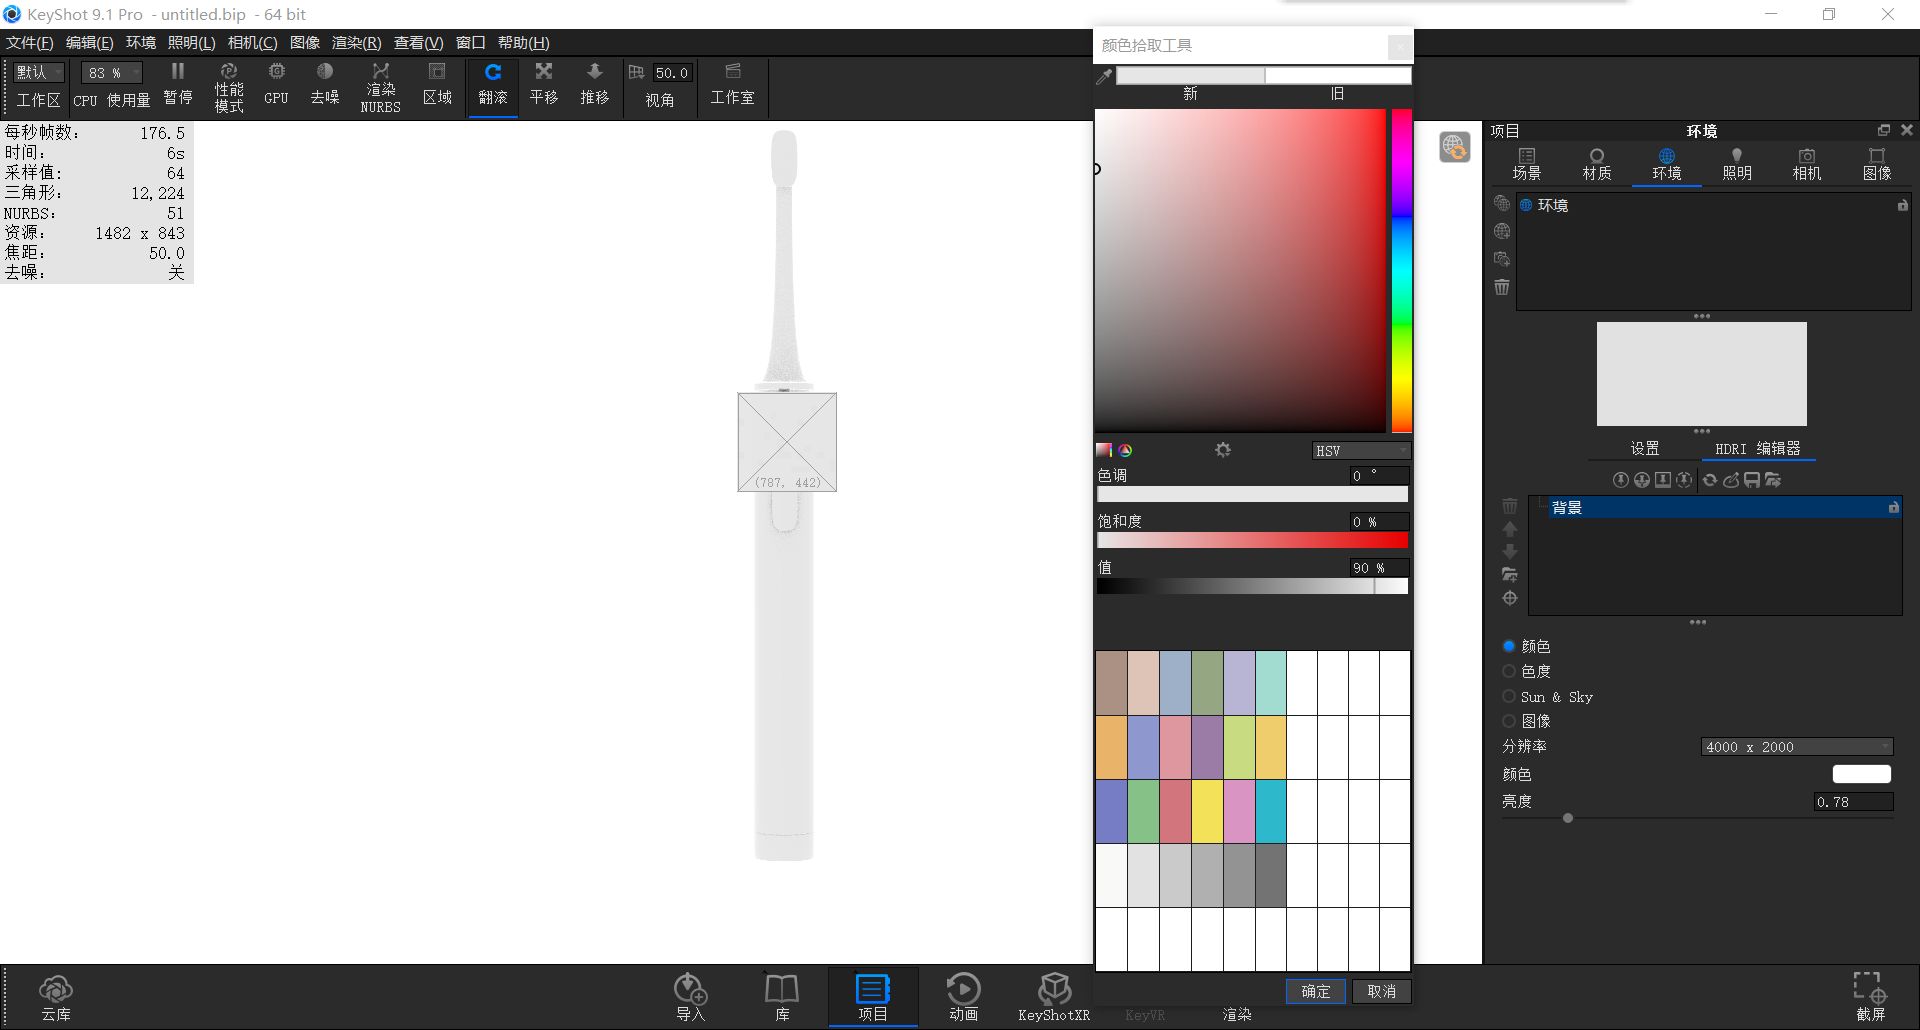
We appropriately increase the brightness until the grayscale value becomes 90%
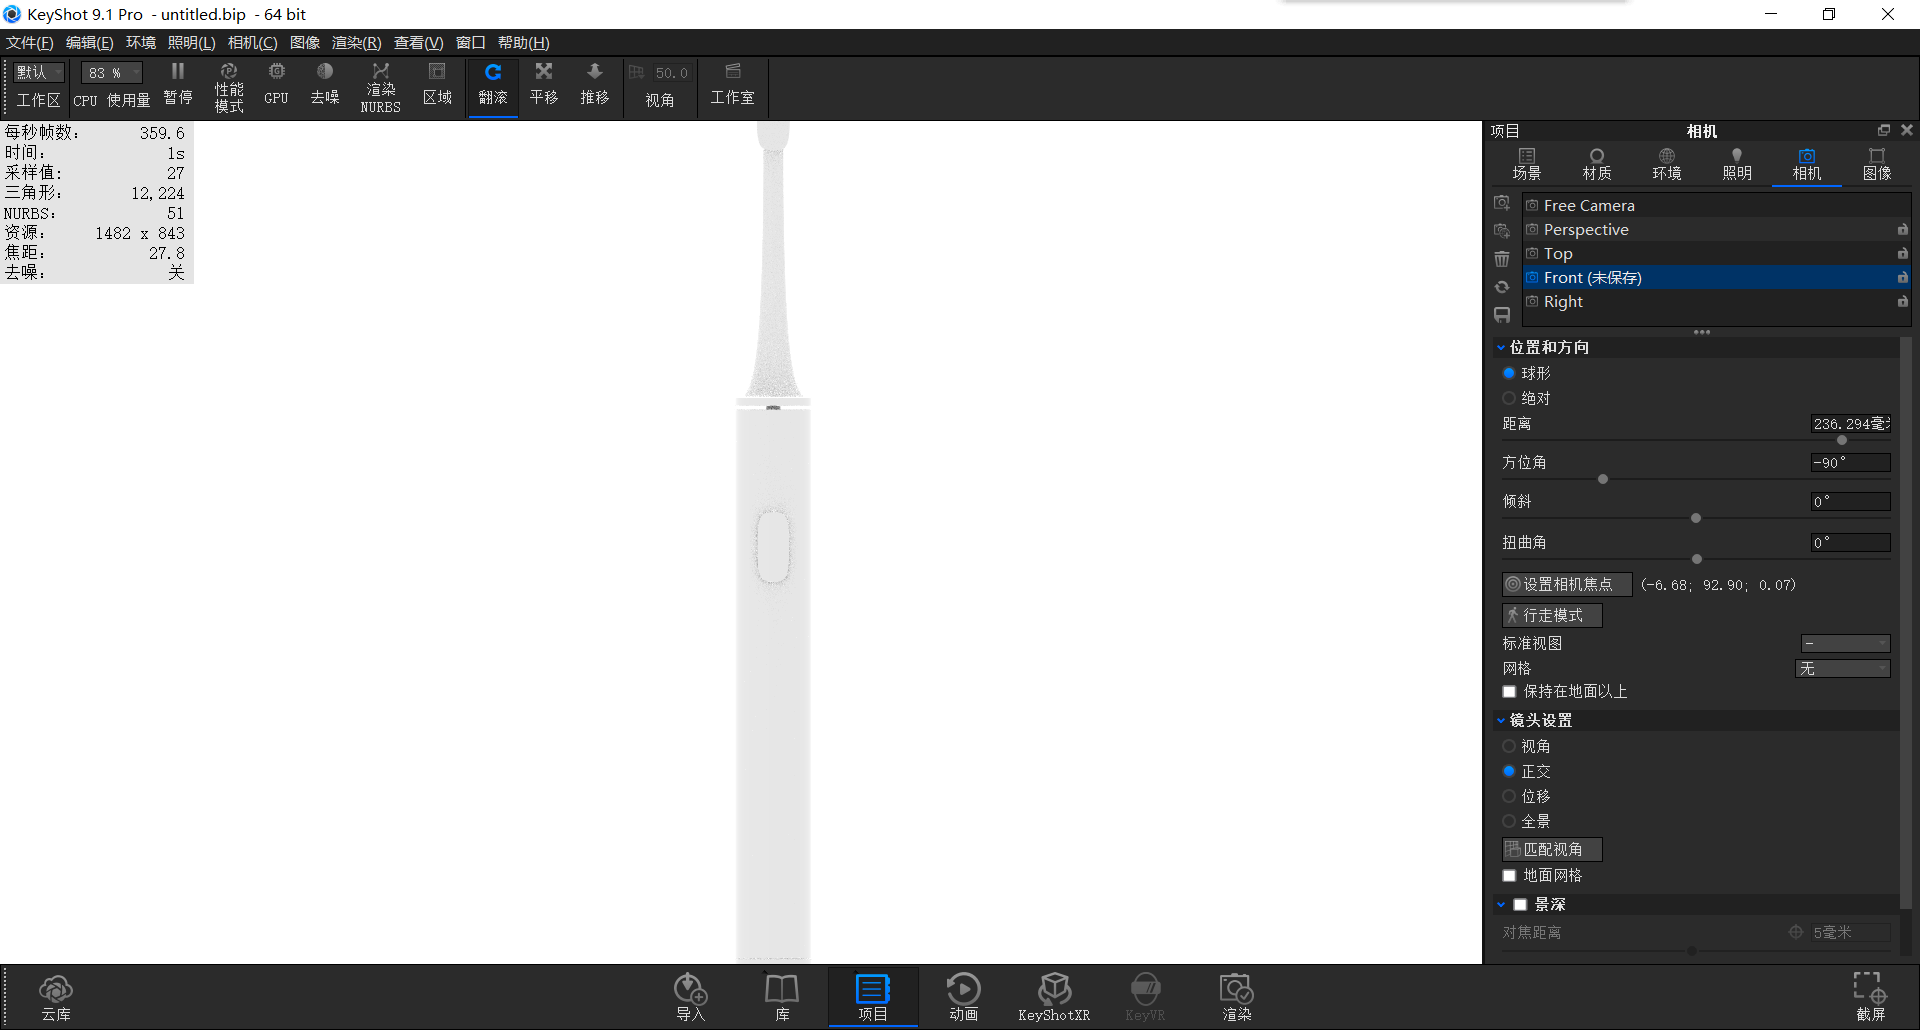
Then we came to the camera menu, first click front, change to the front view mode, then go back to the free camera, and change the orthogonal to the angle of view in the lens settings.
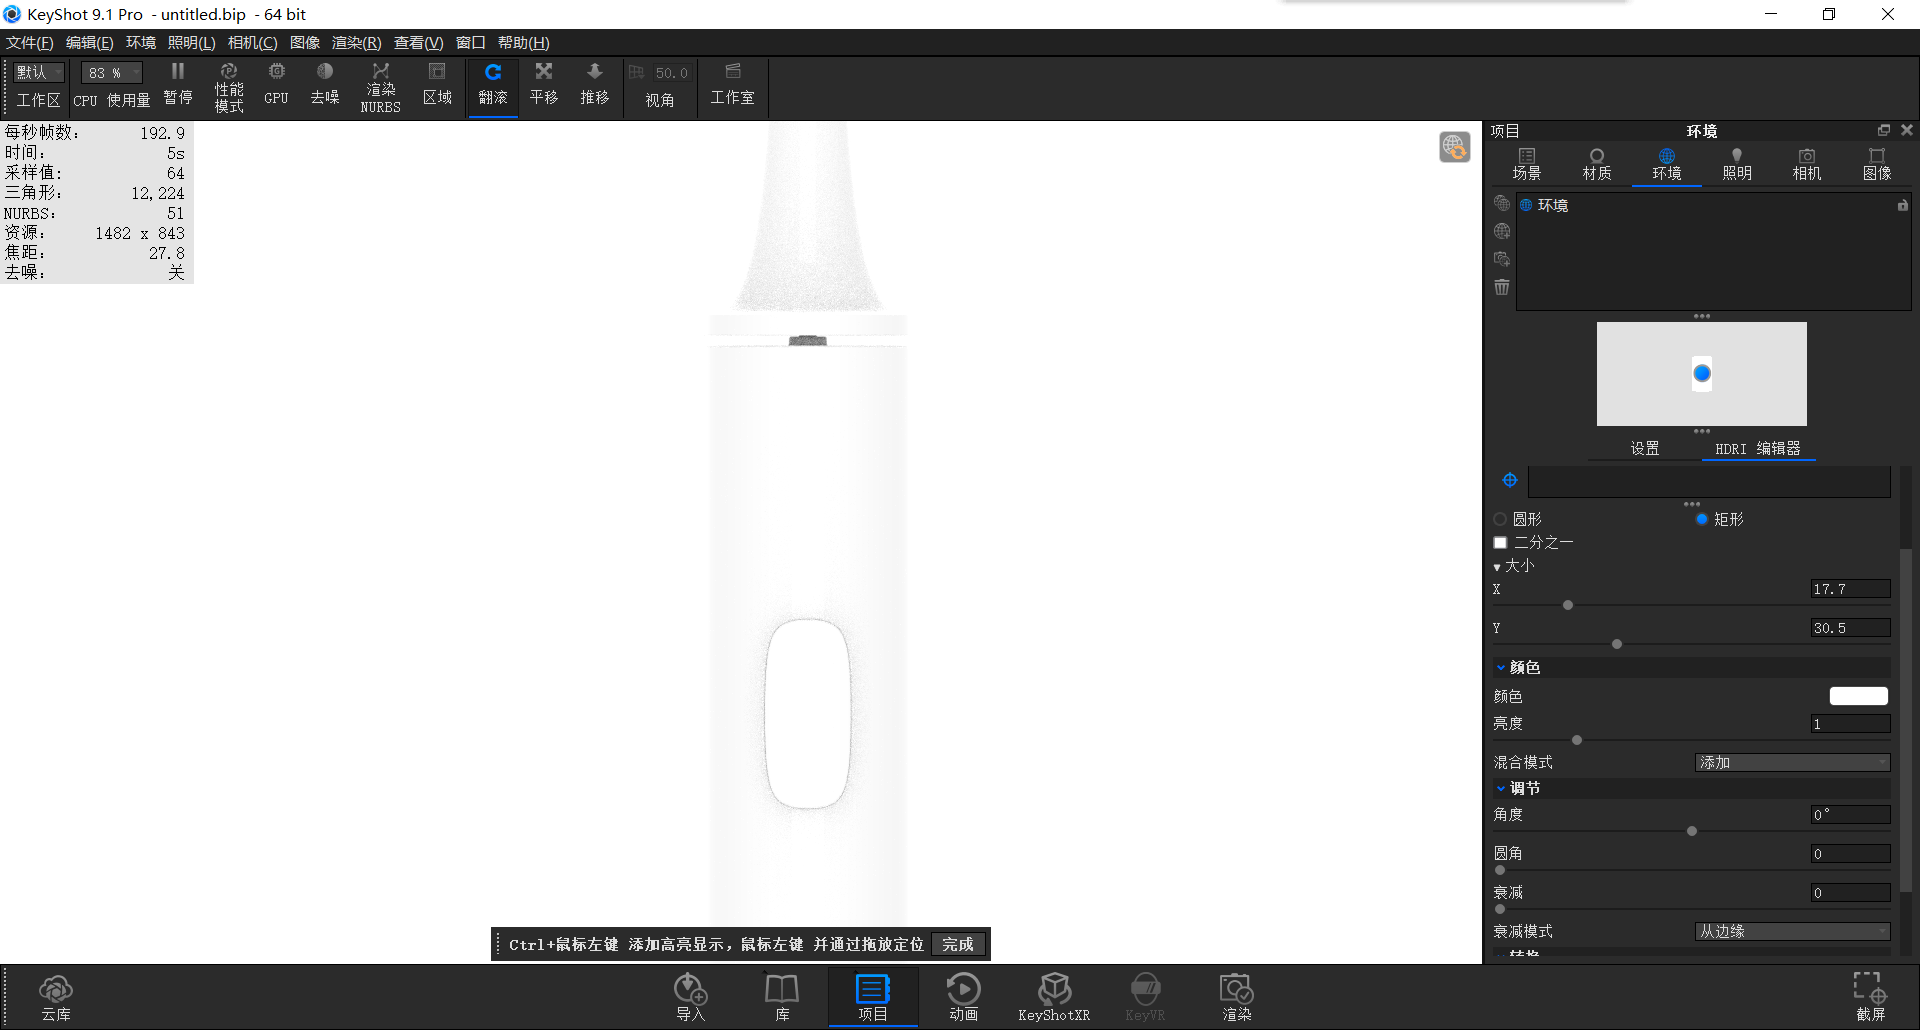
We add an hdr needle, change it to a rectangle, then change the size, and change the attenuation value to 0 (because the toothbrush we make is a smooth material, if the attenuation is given to produce a feathering effect, it will enhance the frosted texture)
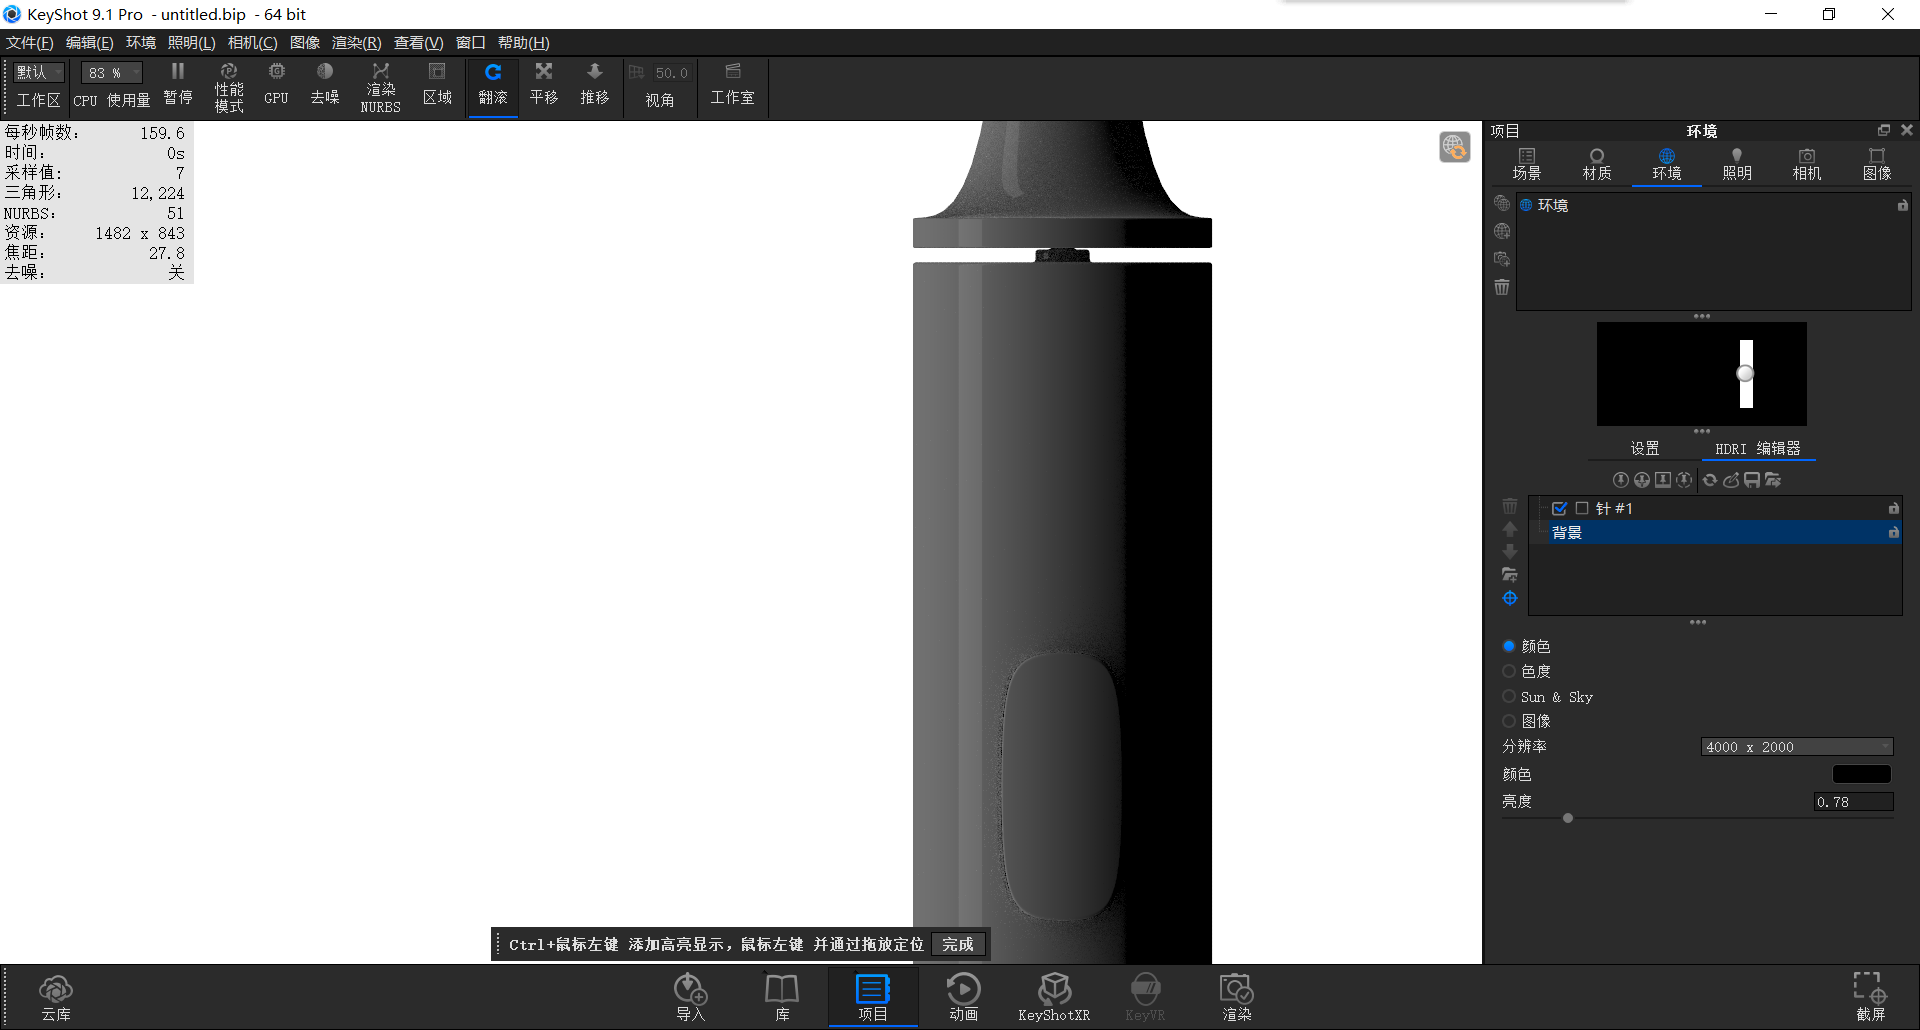
We went back to the background color and changed the color to black so that we could observe the light position.
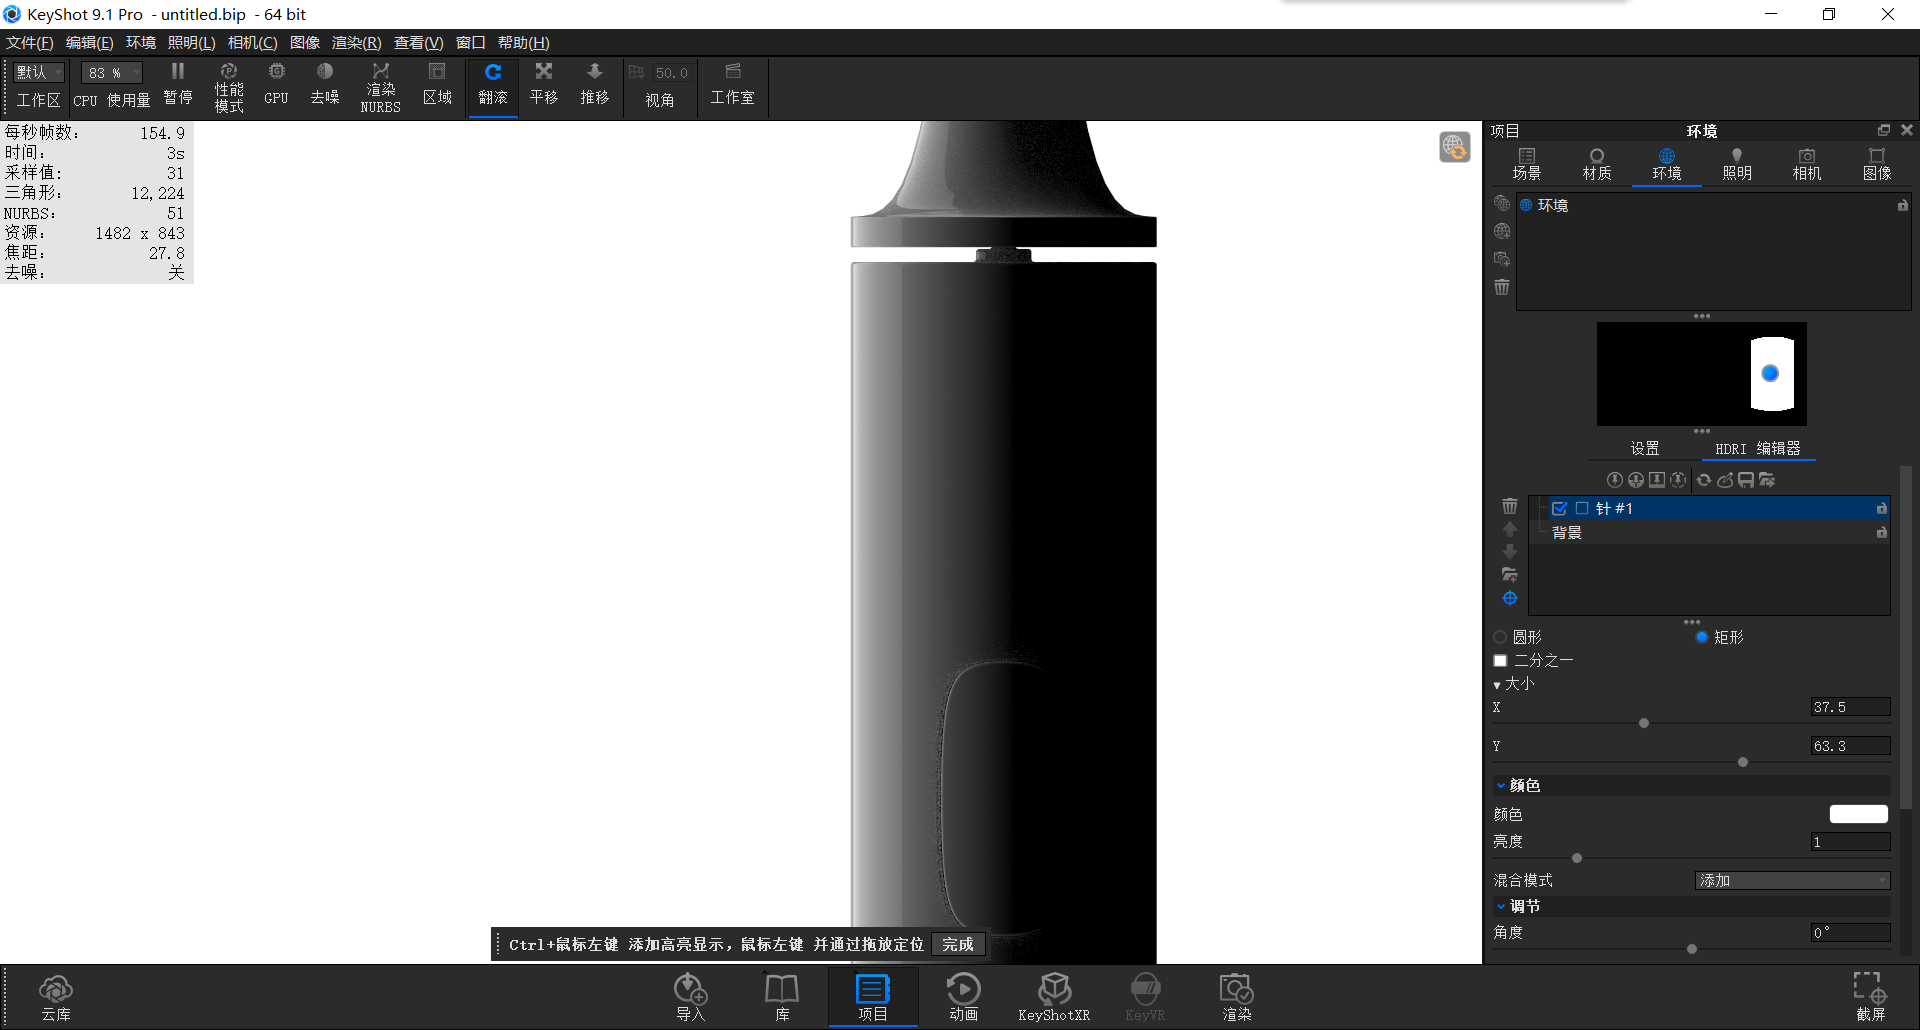
Adjust the position and size as shown in the figure.
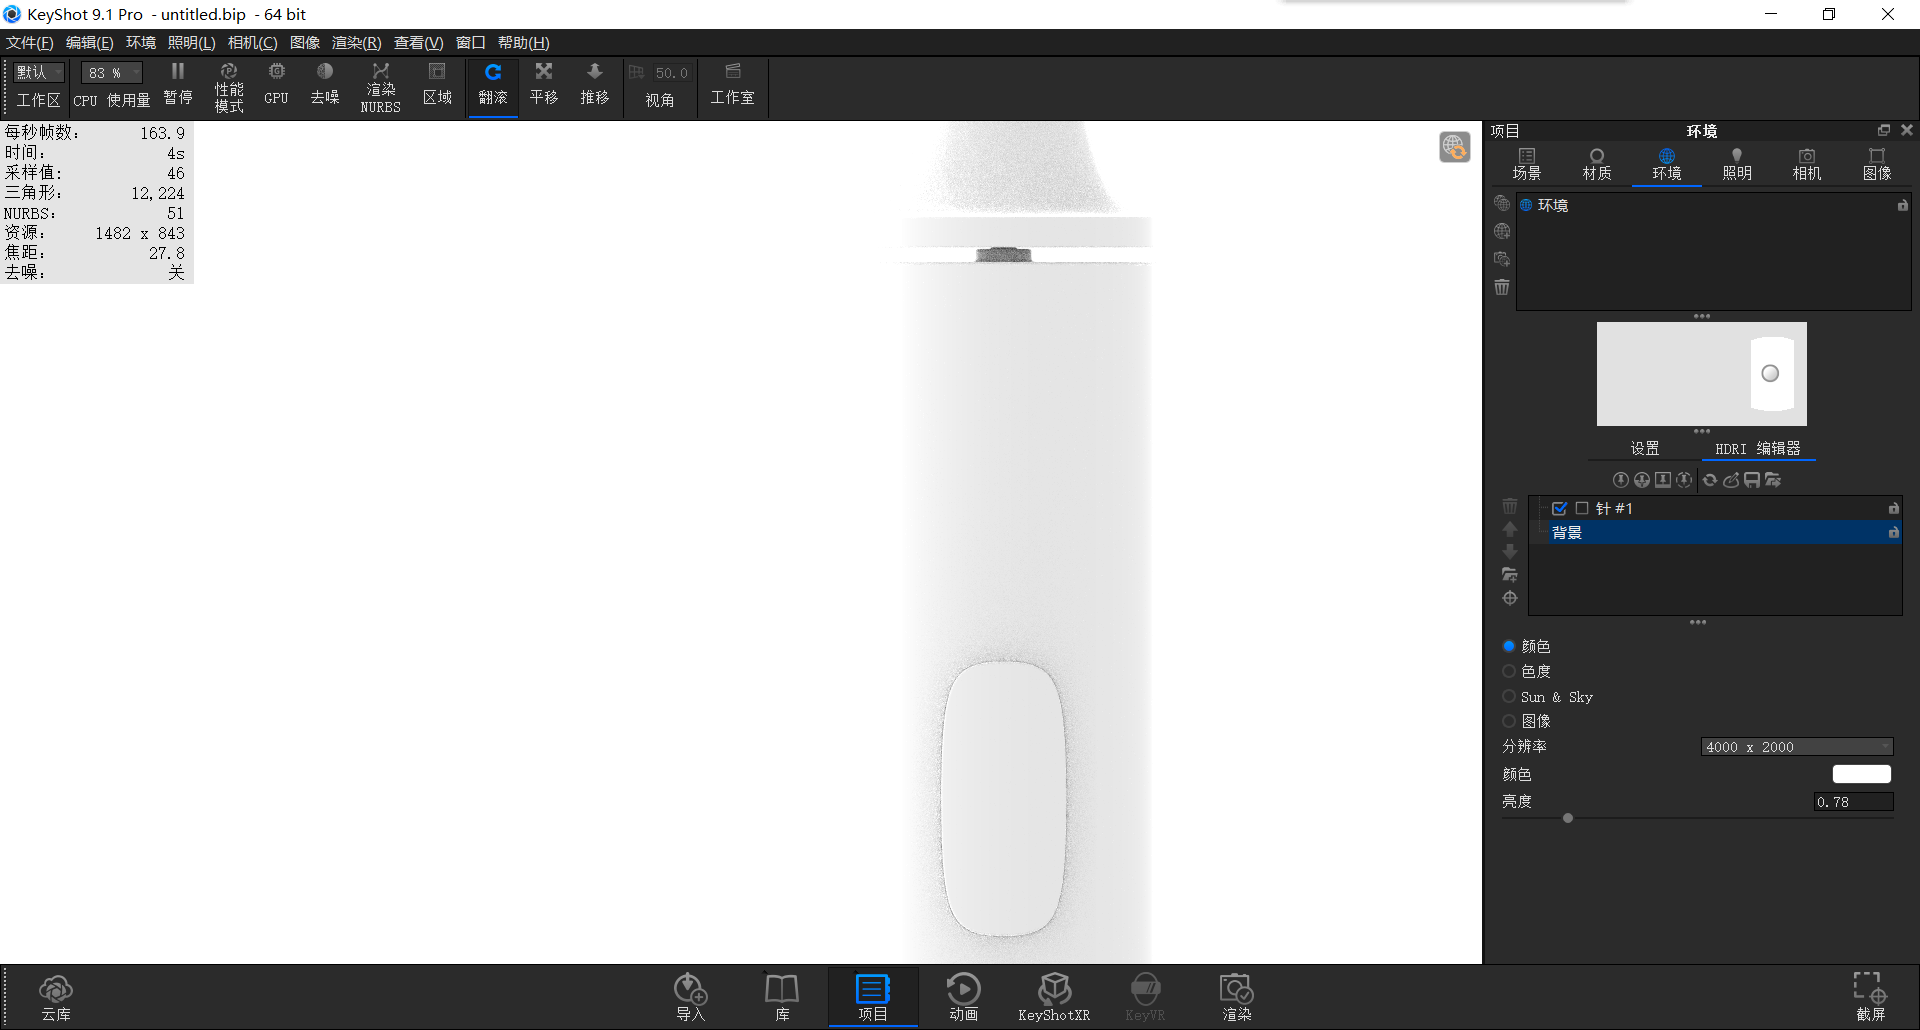
We changed the color to pure white again, but we found that there was overexposure at this time.
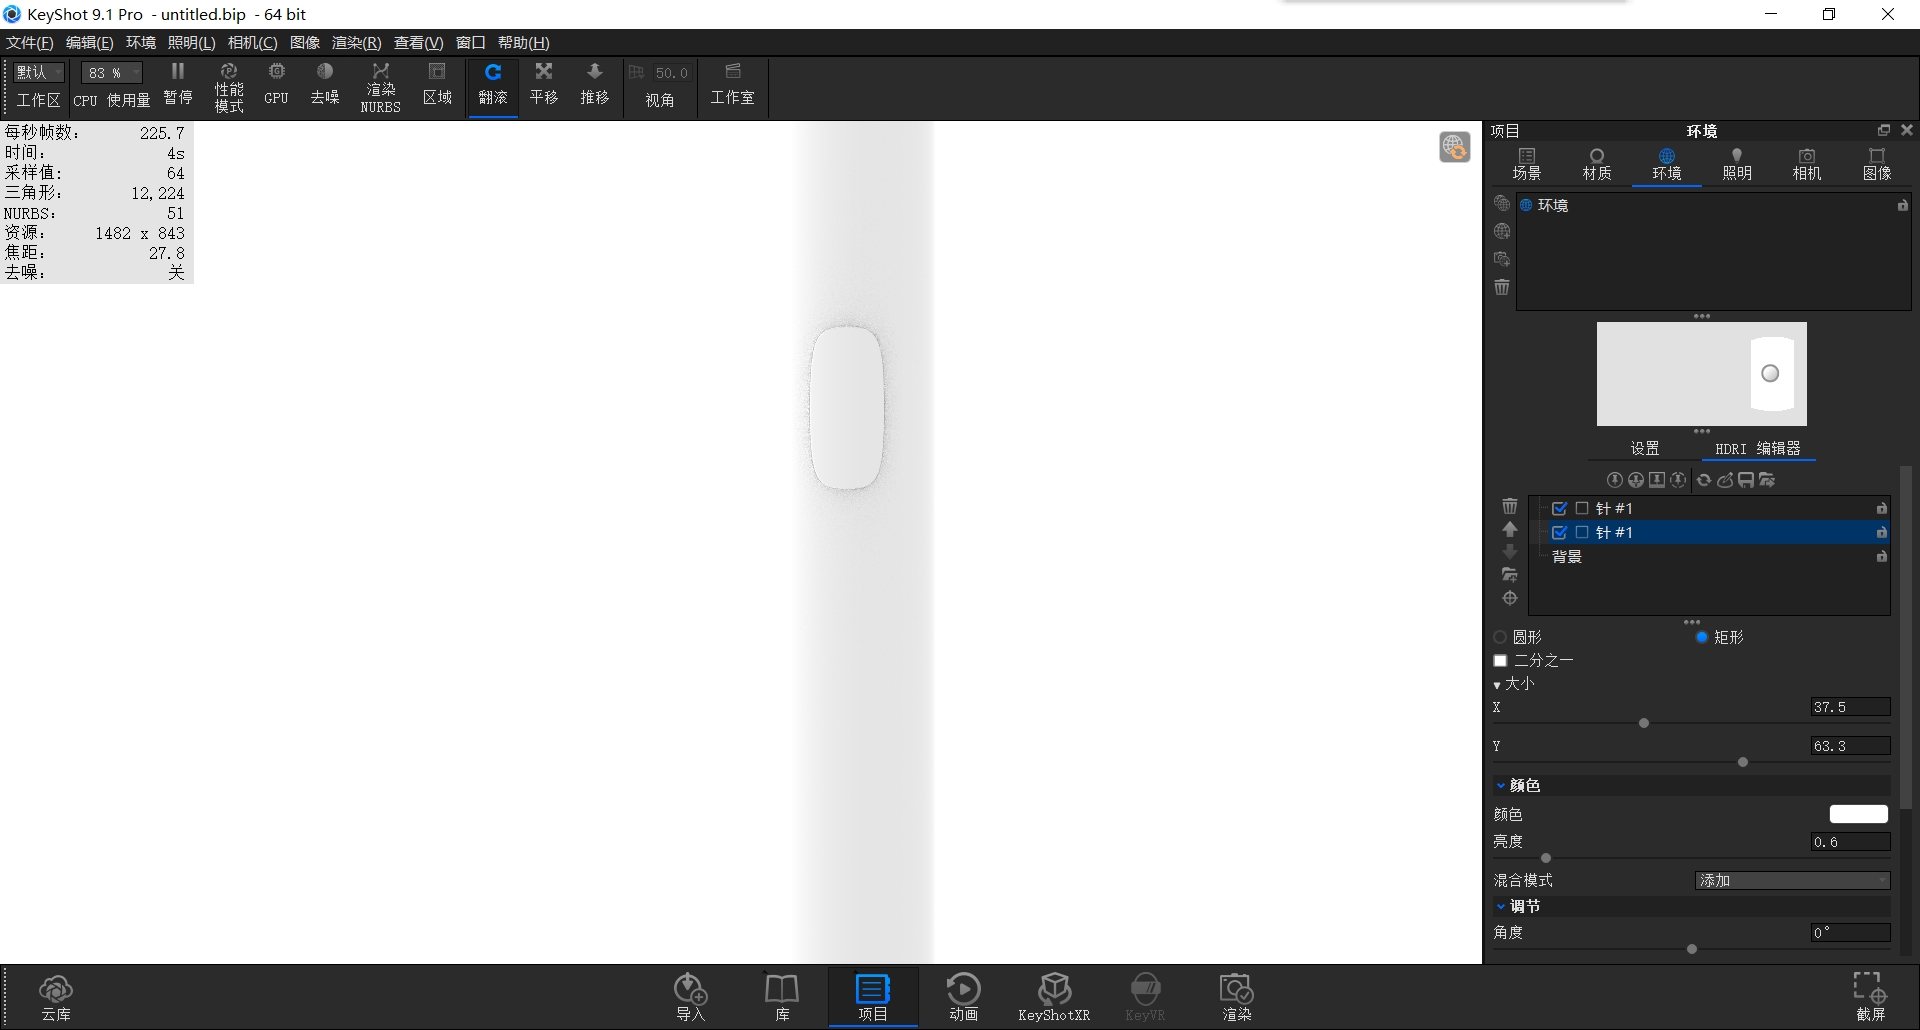
So we can reduce the brightness appropriately.
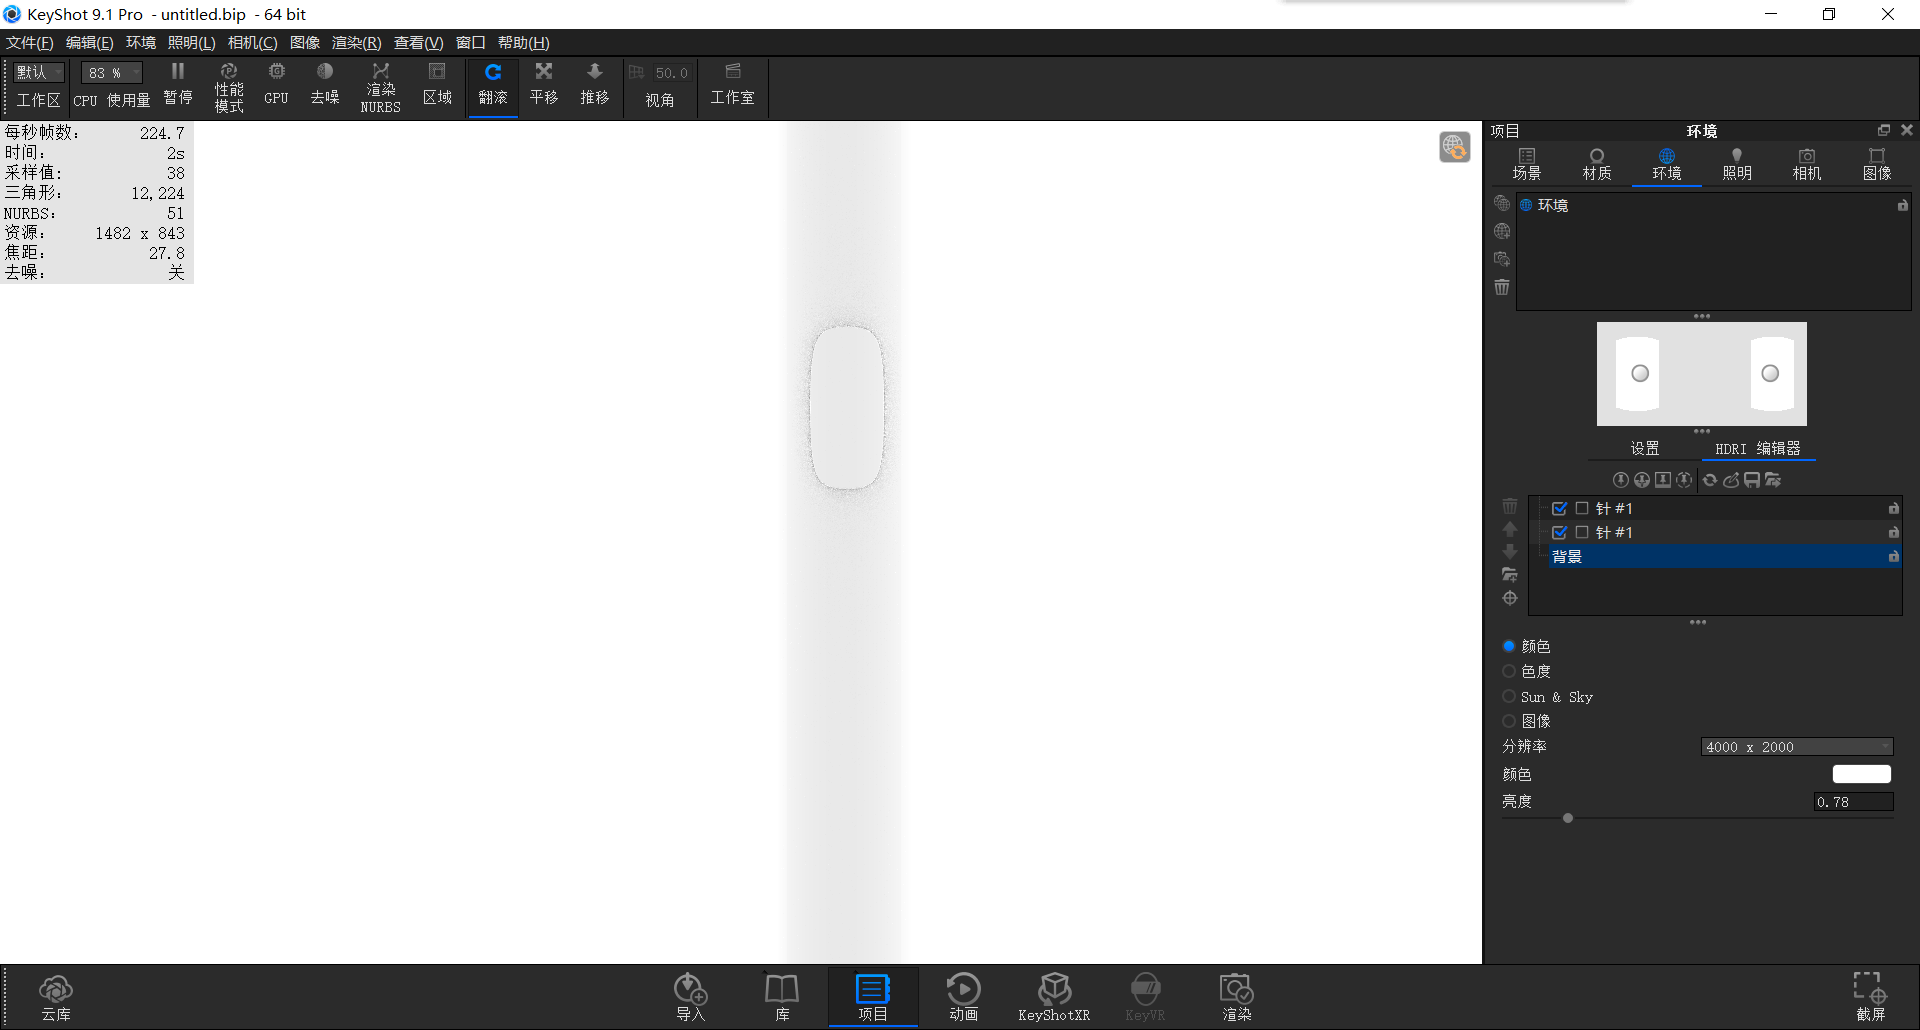
Copy an identical hdr light needle and place it on the other side
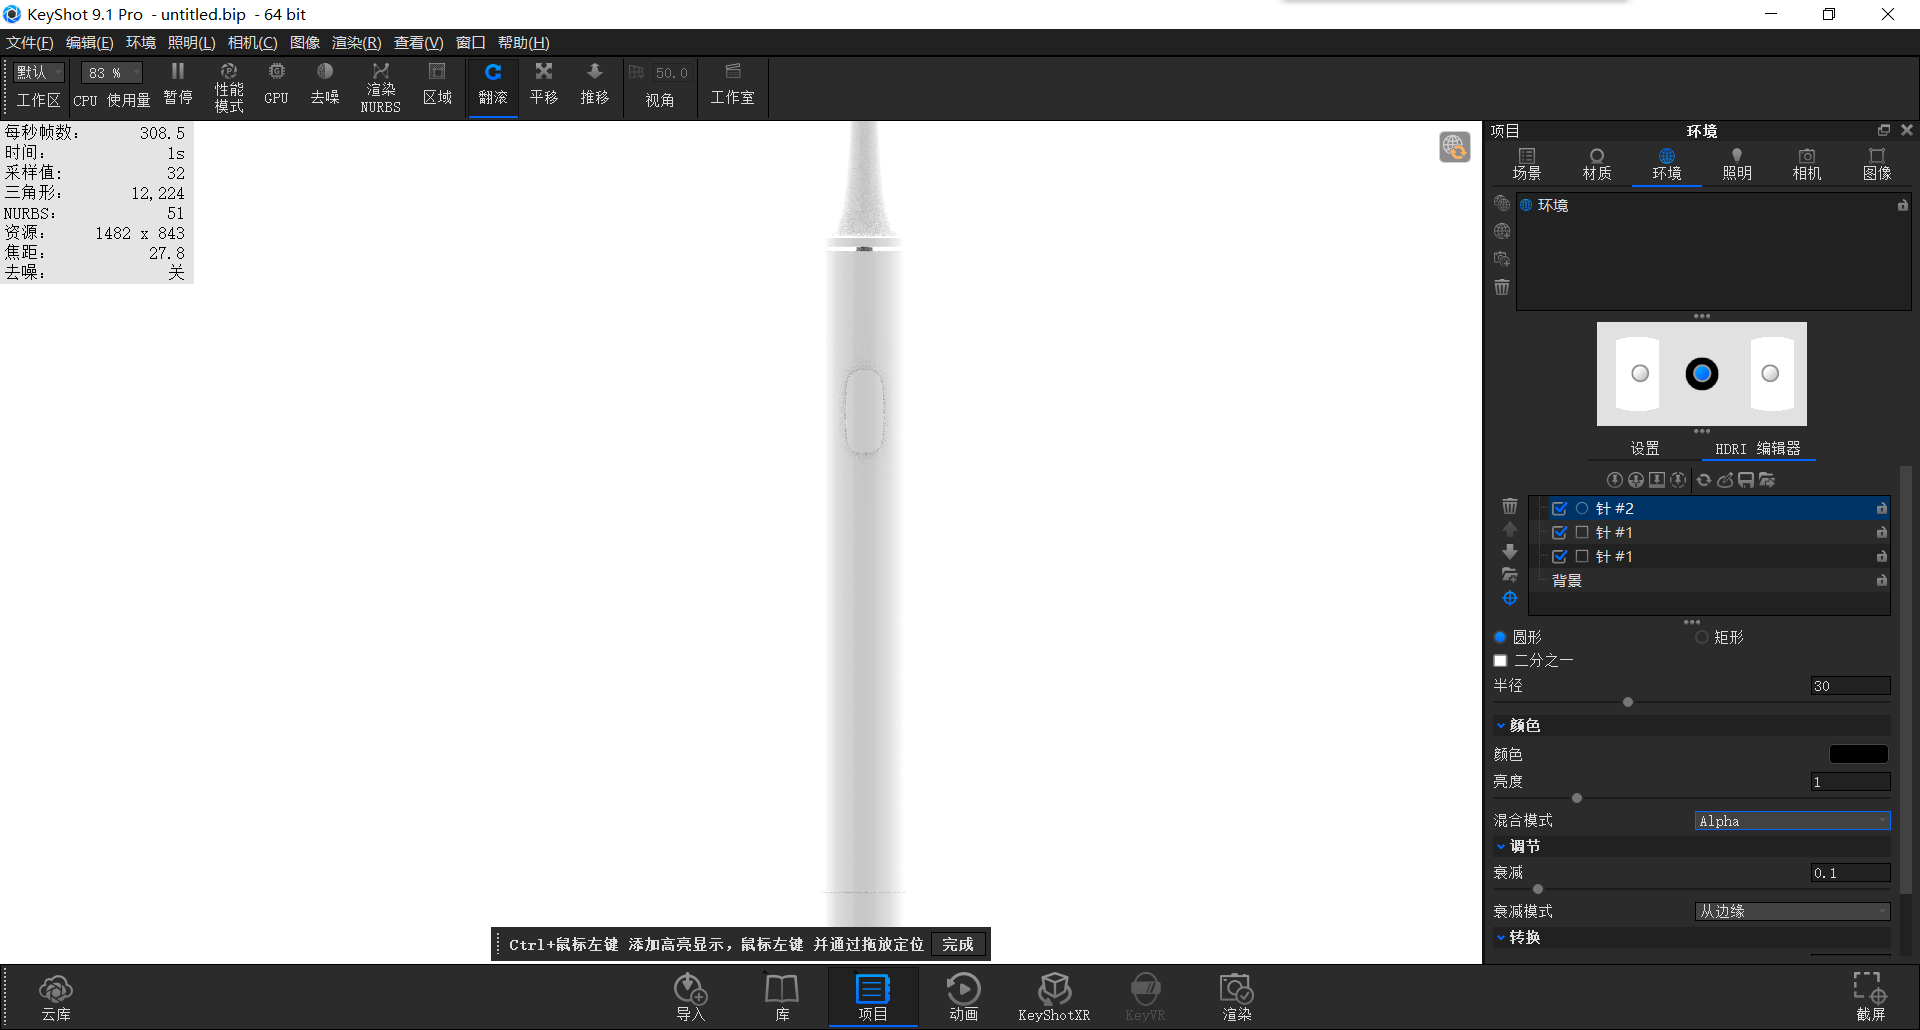
In order that the edge of the toothbrush does not blend with the white background, we need to block the white light to make it present the original color, which is convenient for us to modify and observe, and later ps. Therefore, we can add a needle to change the color to Black, the blending mode is changed to Alpha
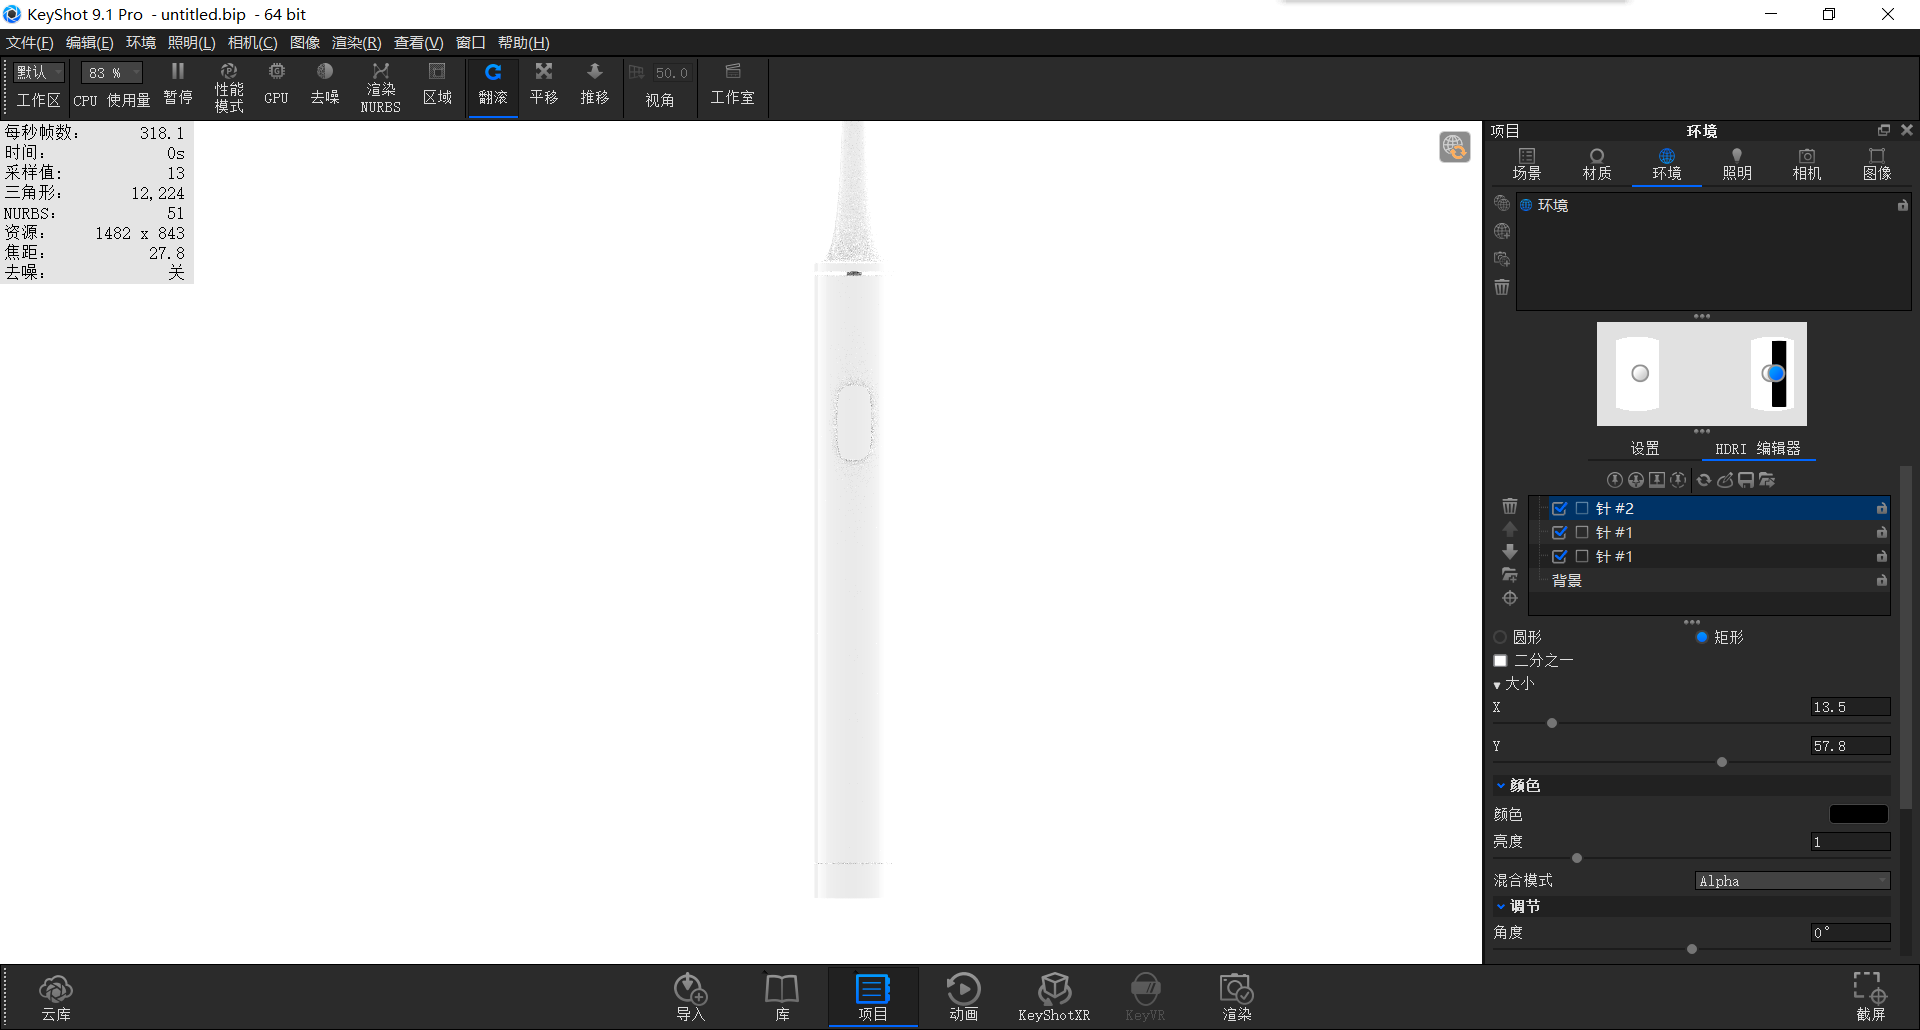
After adjusting the shape and size, move it to the edge of the cylinder to shield the white light
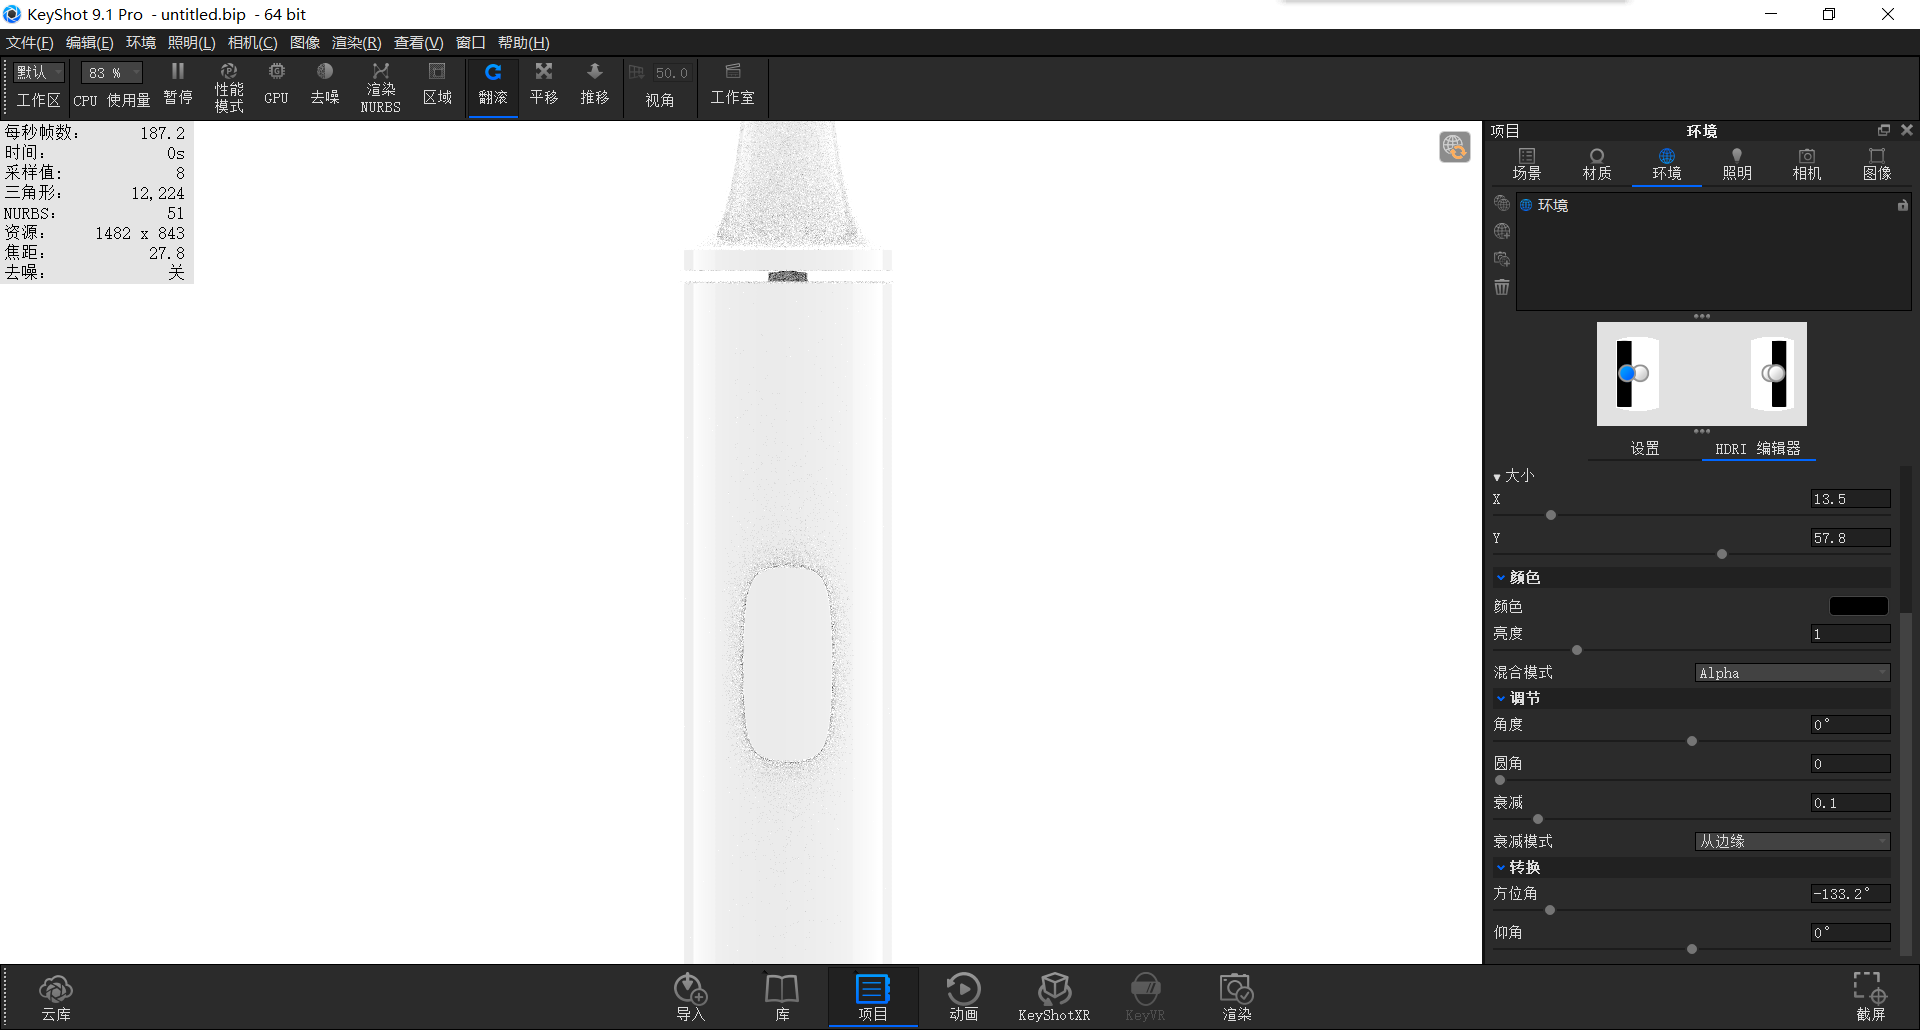
Similarly, copy one and cover the other half.
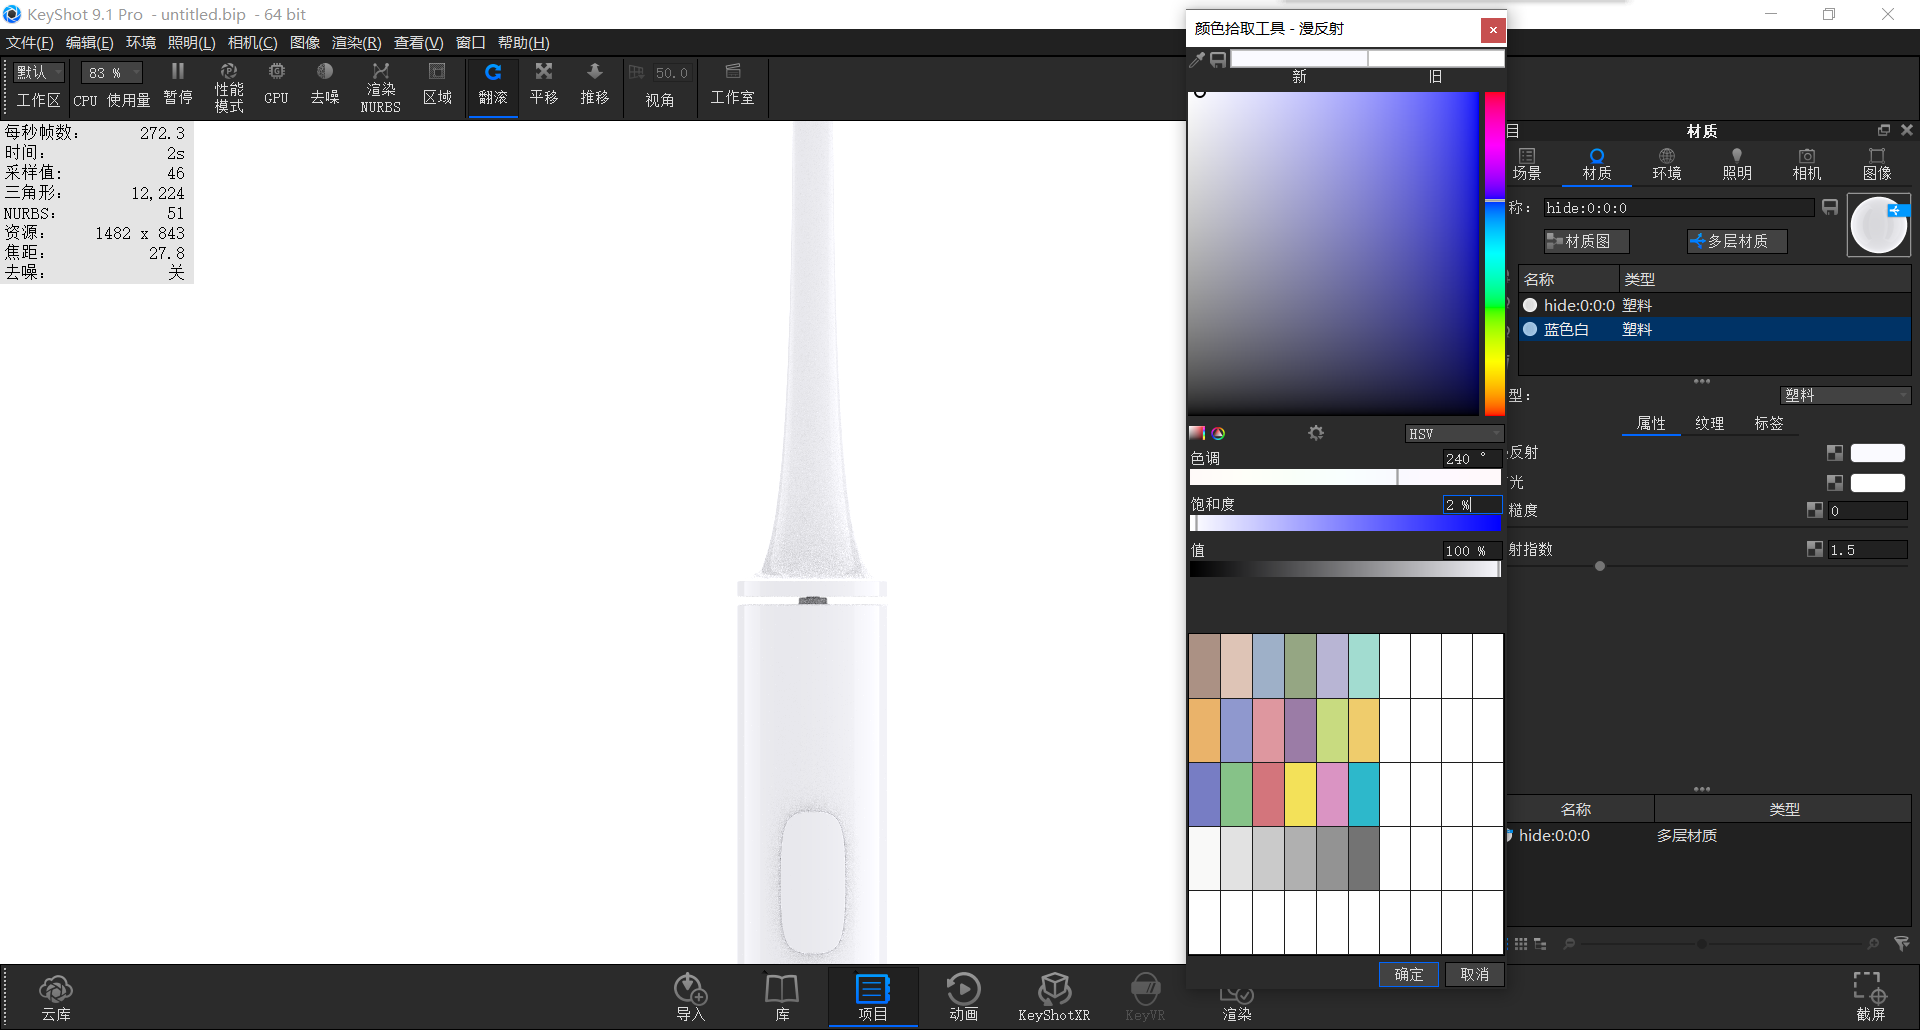
Let's go back to the material, add a multi-material, and change the hue to 240 degrees and the saturation to 3% (the picture is not well captured, mainly text) (the usage of multi-material can be opened by clicking on my personal homepage, in which "Keyshot Rendering Tutorial: Memphis Style Rendering, Elvis Speaker" explains this in detail)
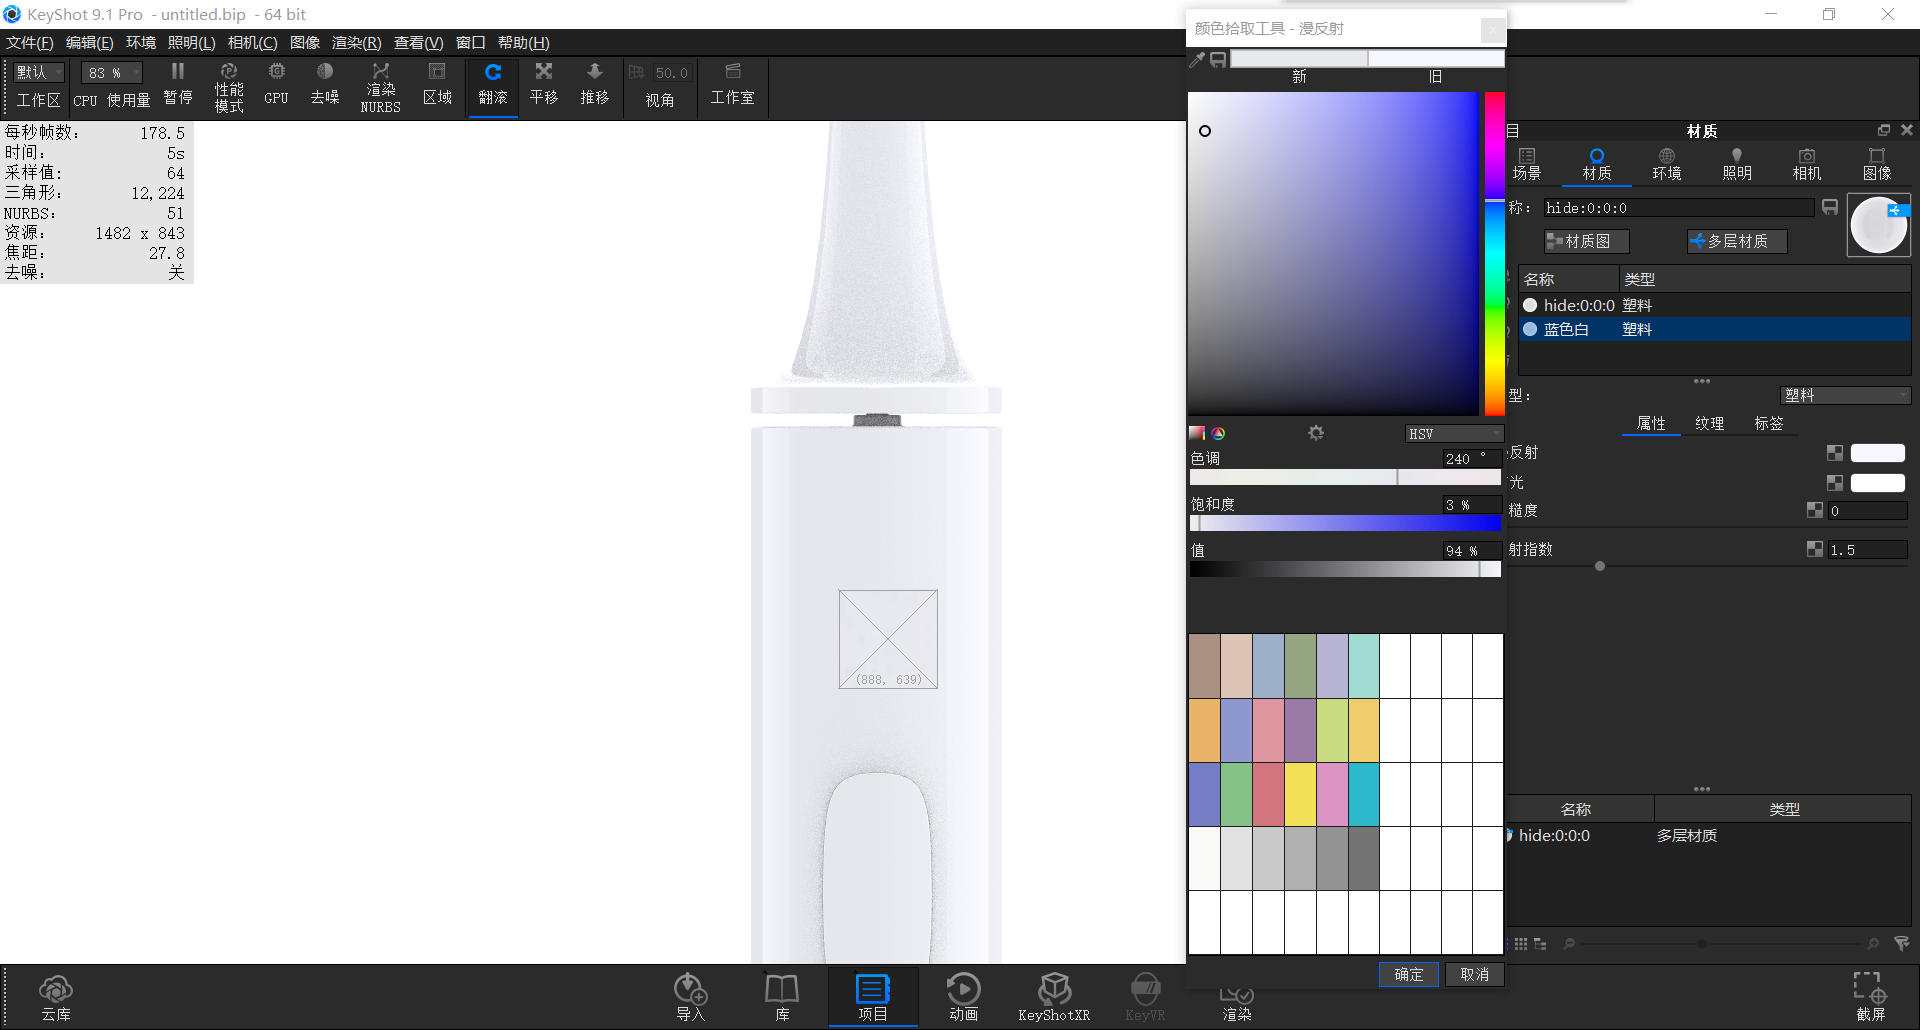
Then we opened the small straw tool and made a measurement of the non-highlight area in the middle that was not illuminated by the light needle, and found that his grayscale was 94% at this time.
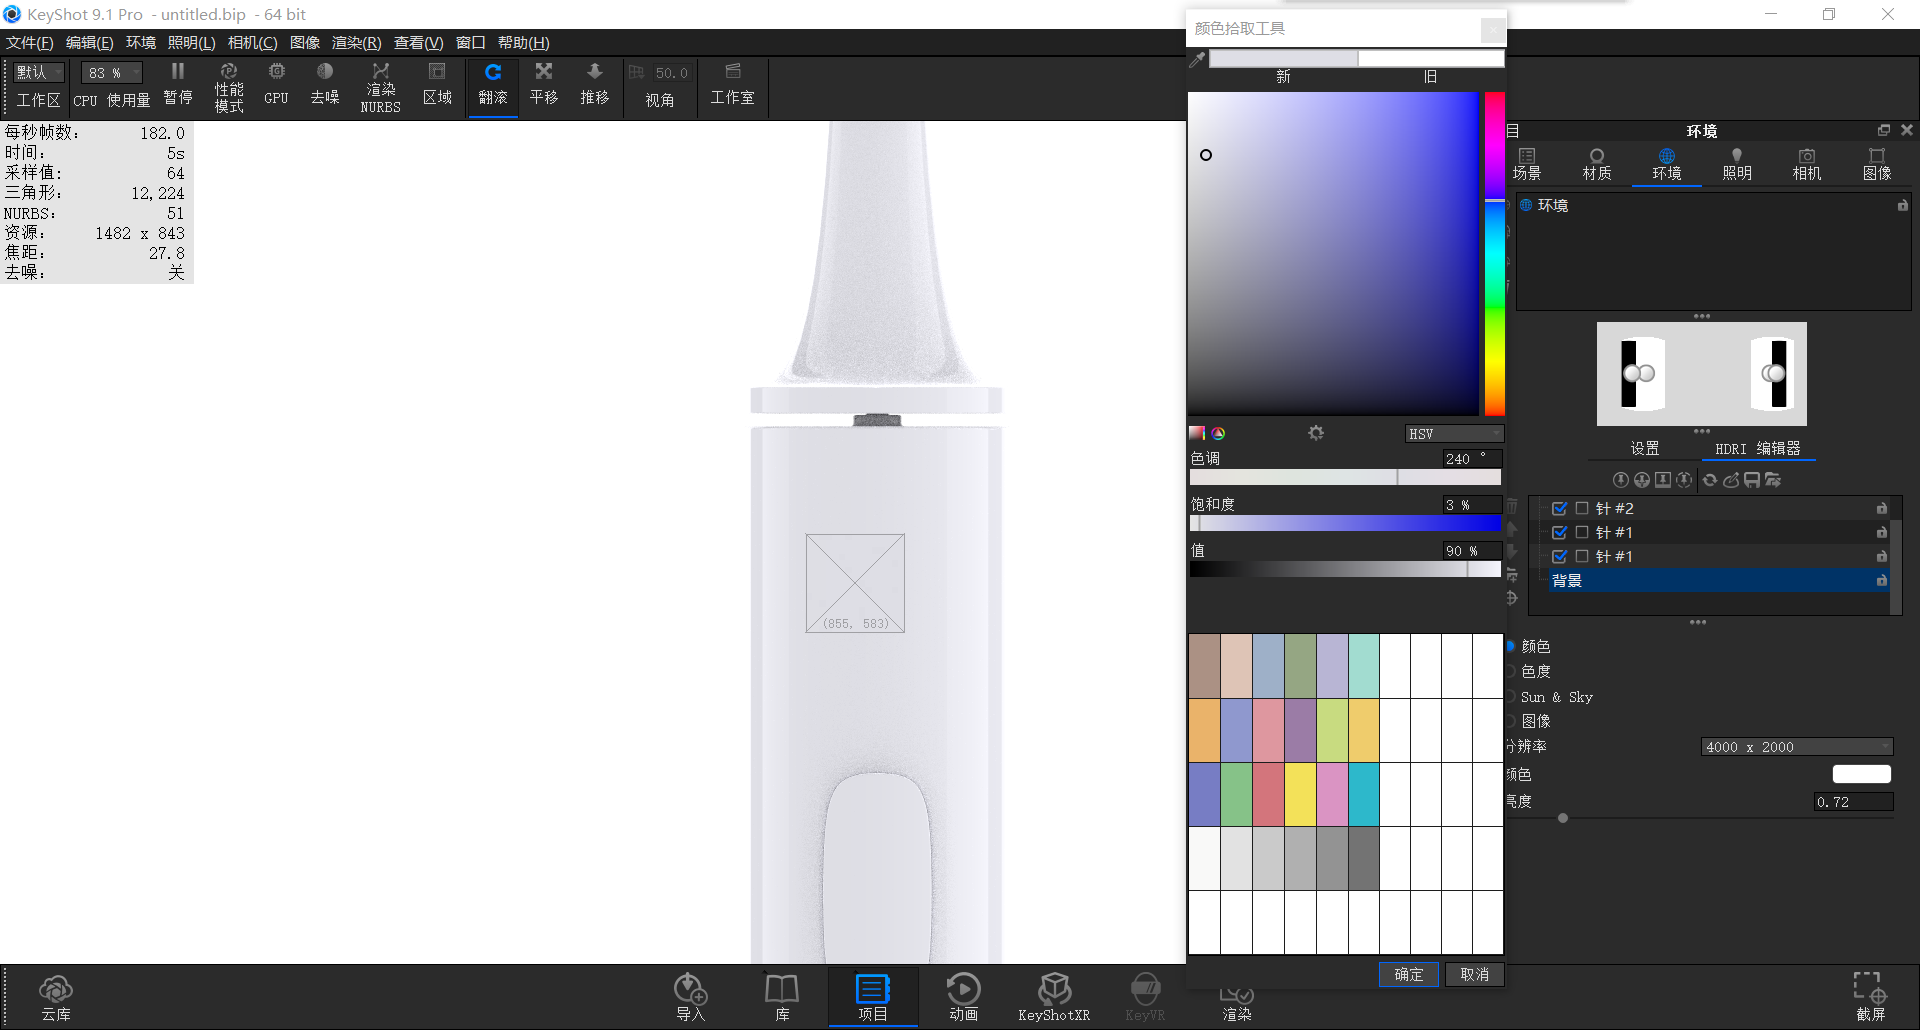
So we go back to the environment and reduce the brightness appropriately (we can also change the color of the material to make it grayed out slightly) until the middle part becomes the 90% grayscale value.
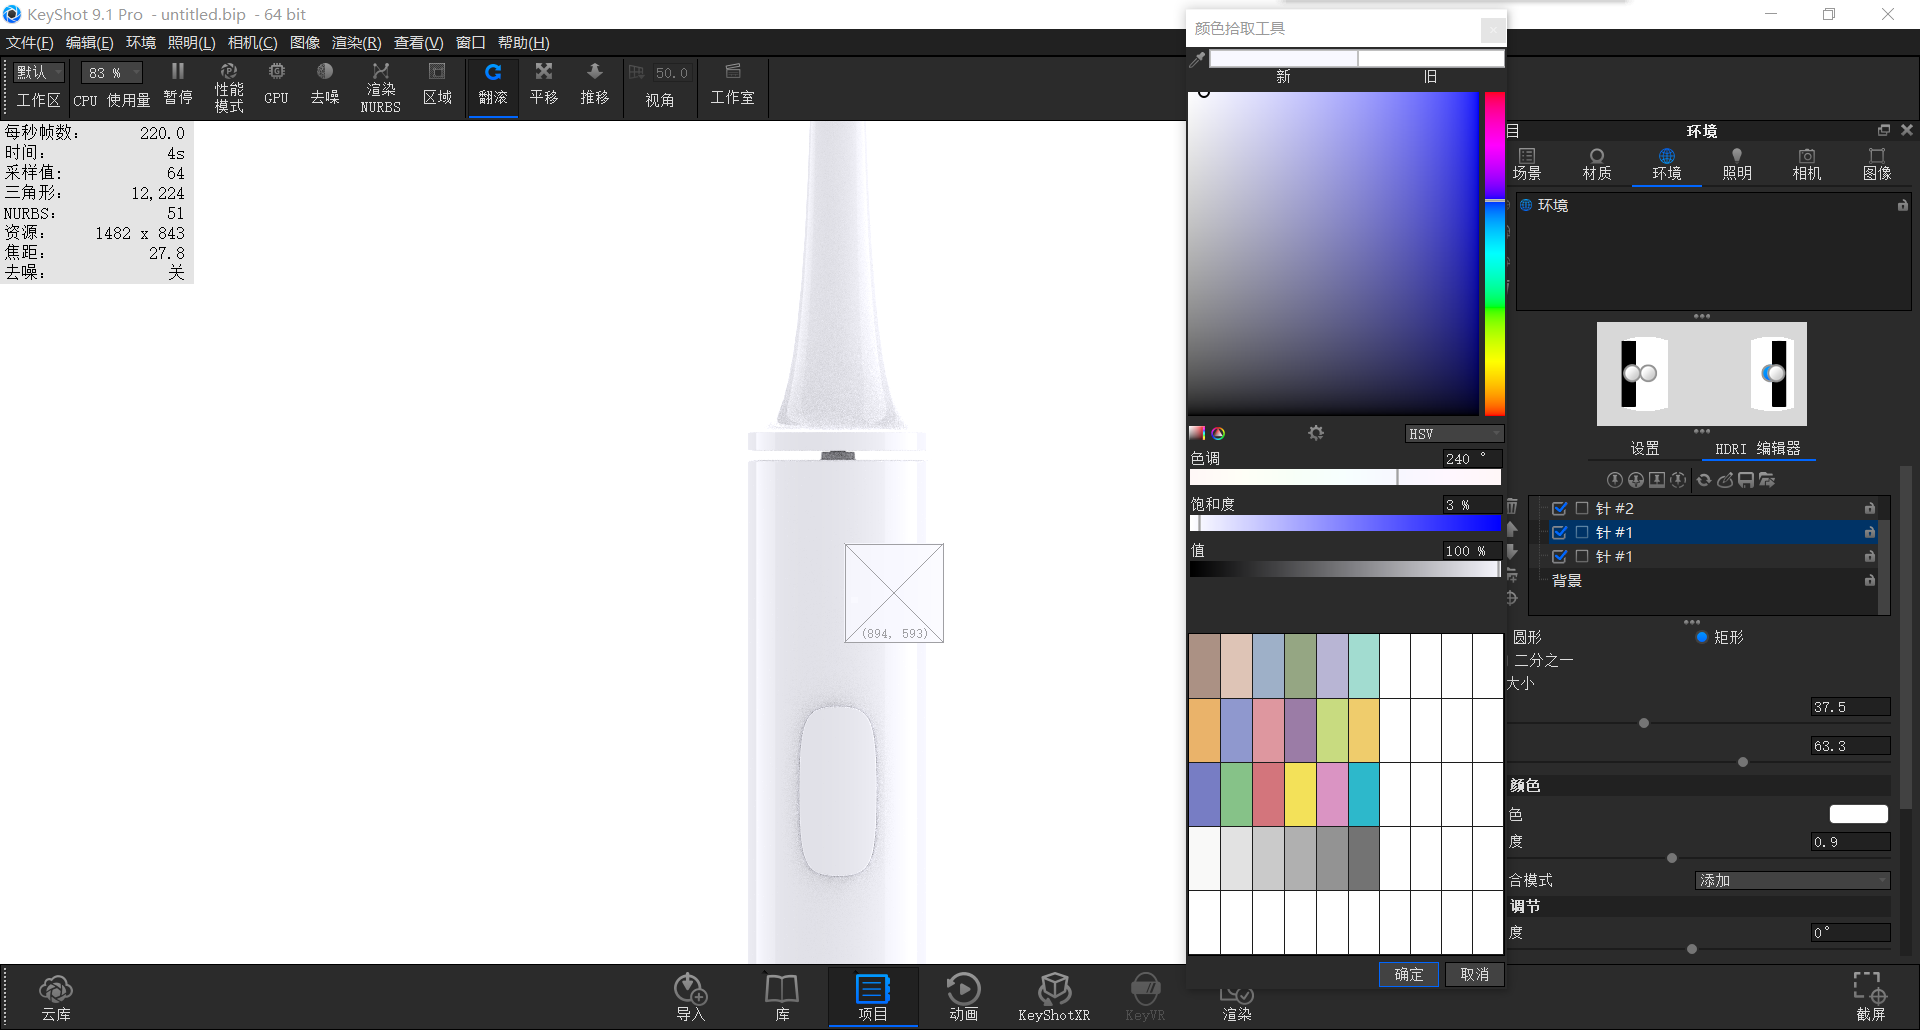
Then we measure the highlight area and change the brightness of the light needle so that the grayscale value of the highlight area becomes 100%
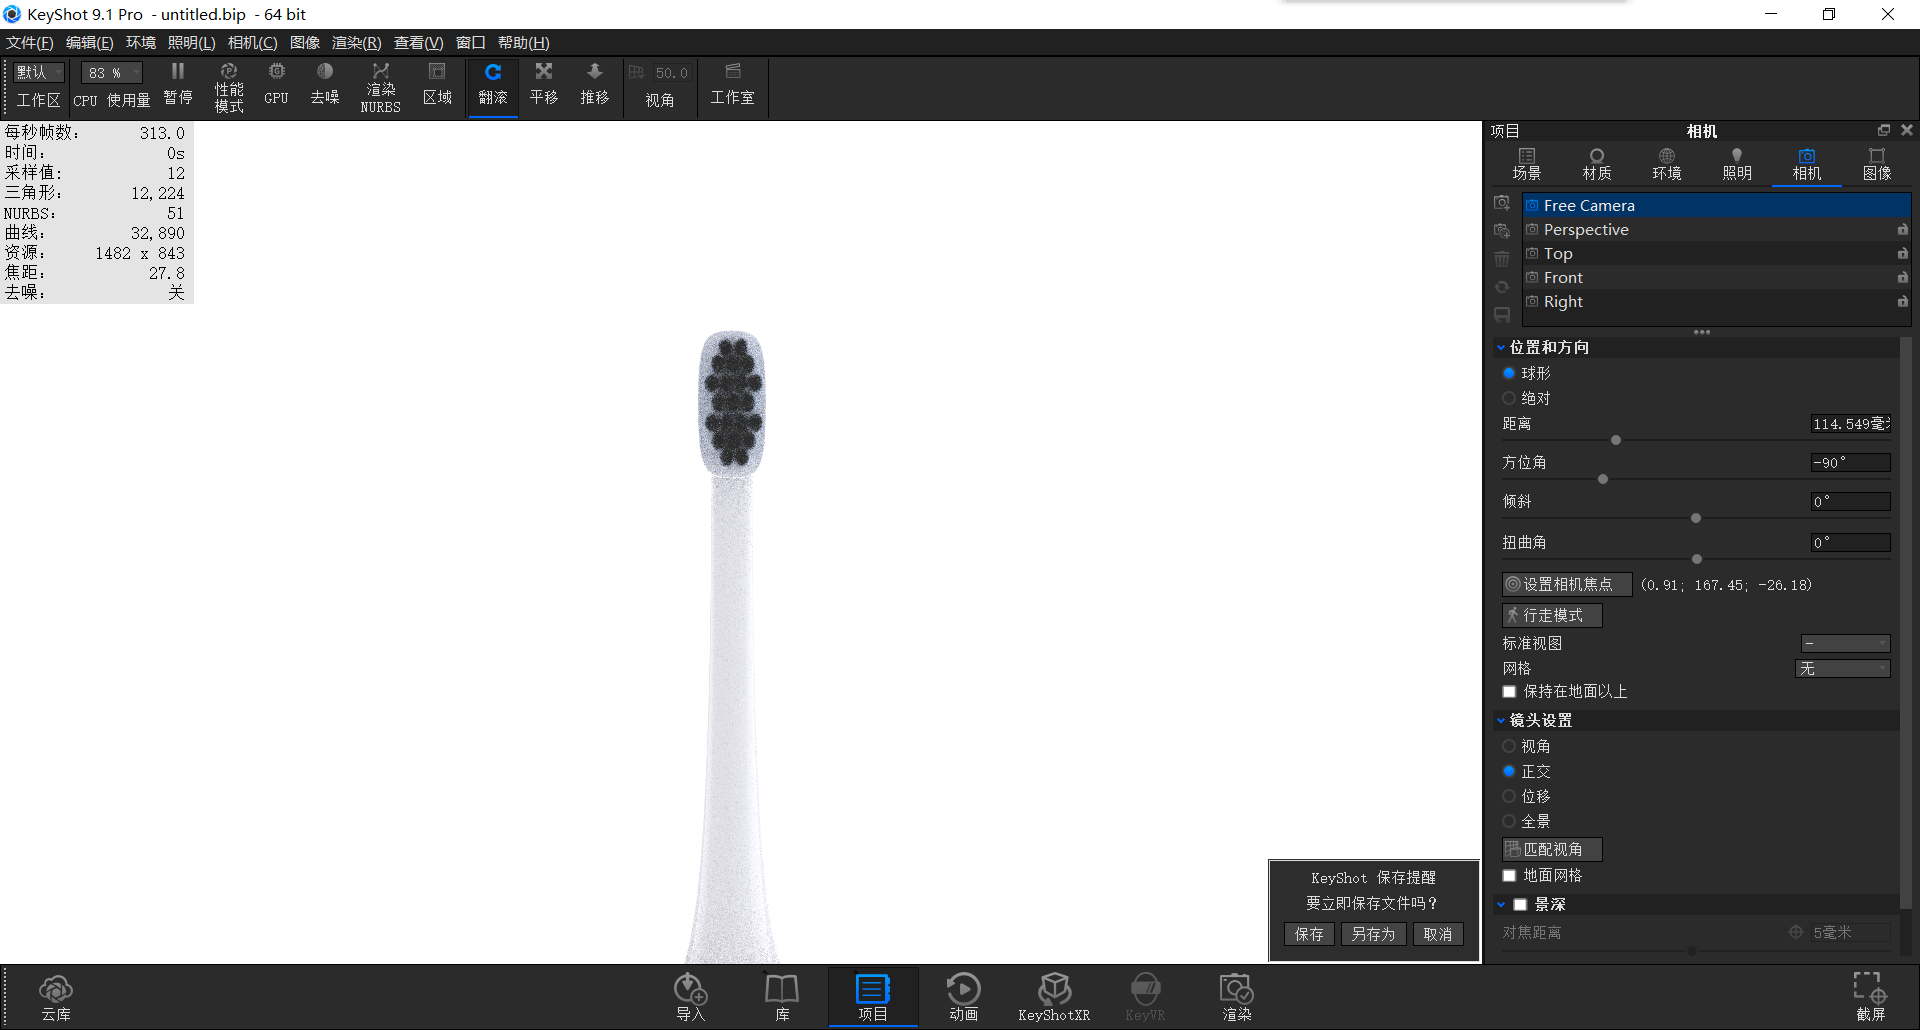
Then we let the toothbrush head grow bristles (the detailed bristle making tutorial can open my homepage, in which "Keyshot Rendering Tutorial: Toothbrush under Sunlight Silhouette" explains in detail the bristle making process and skills)
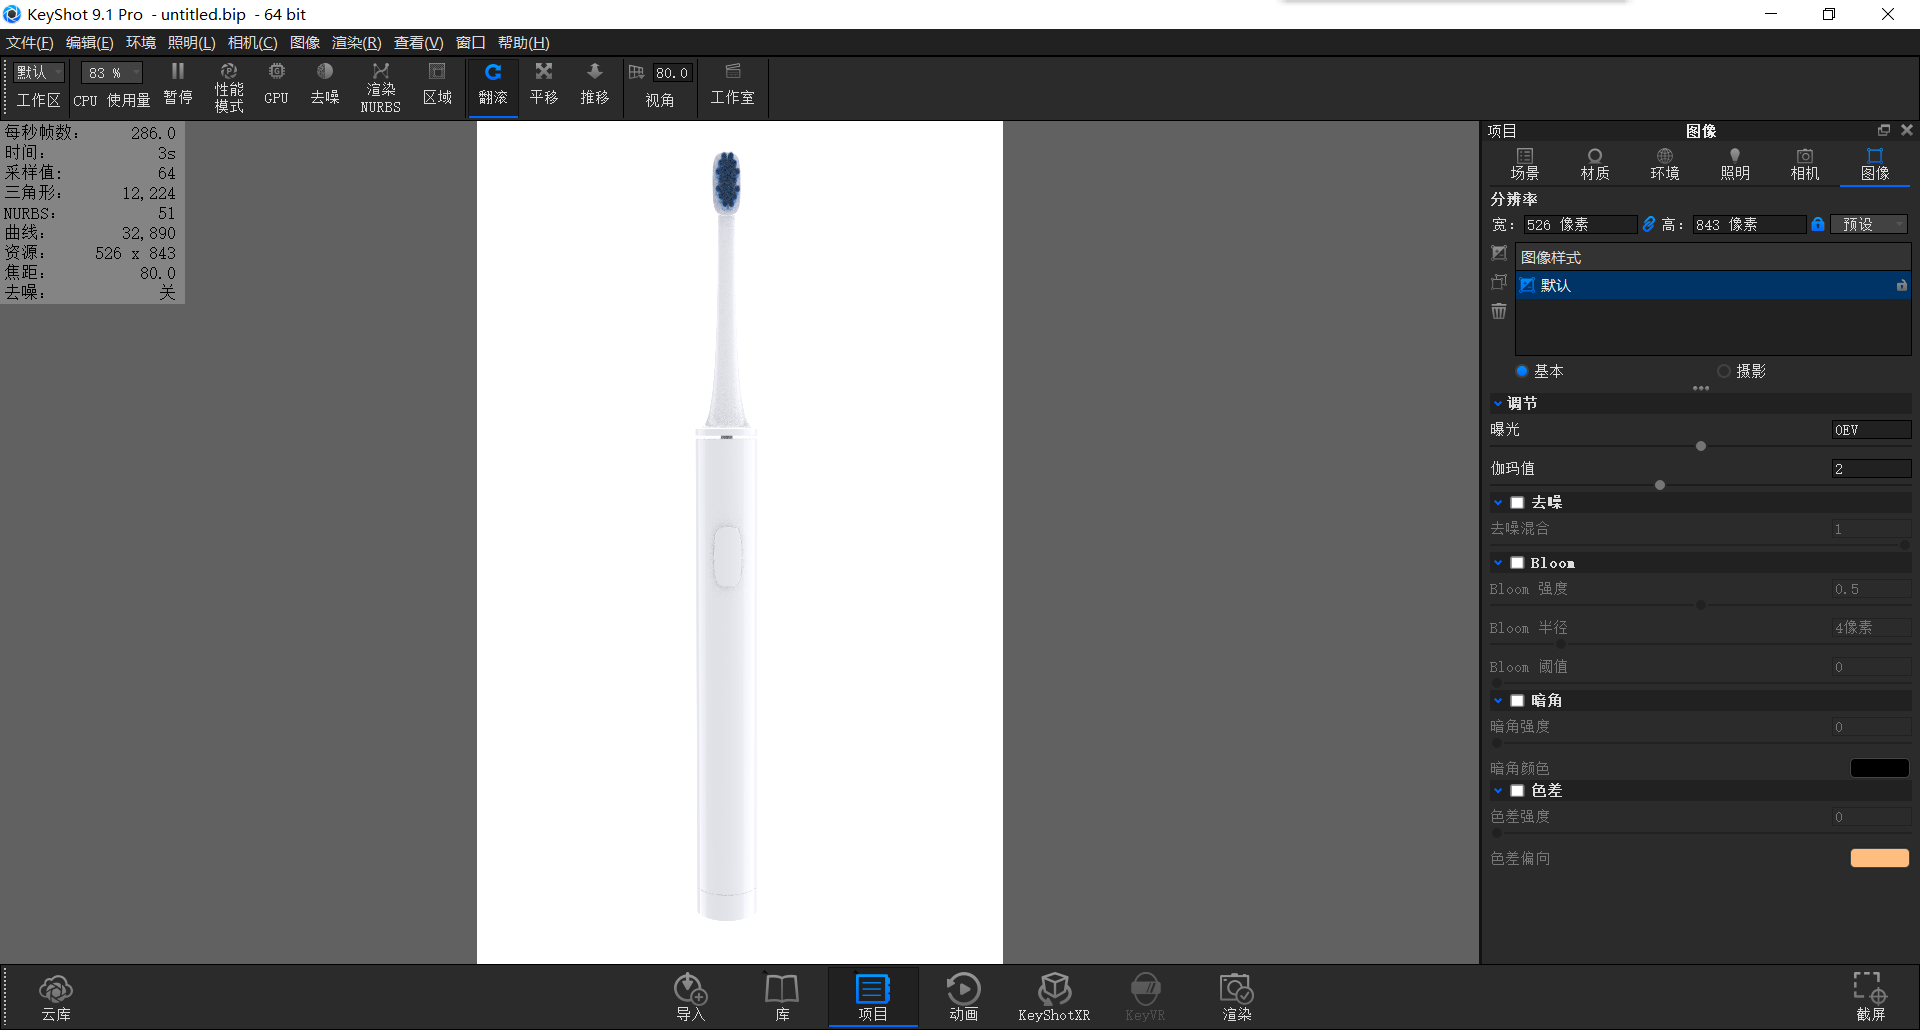
We came to the image and changed the image to a vertical version (for the specific change method, please refer to "Keyshot Rendering Tutorial: Witness of the Middle" on my personal homepage, which explains in detail the adjustment method and translation errors of the vertical version of the horizontal board), and then appropriately change the viewing angle value on the top of the software (which can be understood as the focal length of the camera) to reduce the distortion of the toothbrush
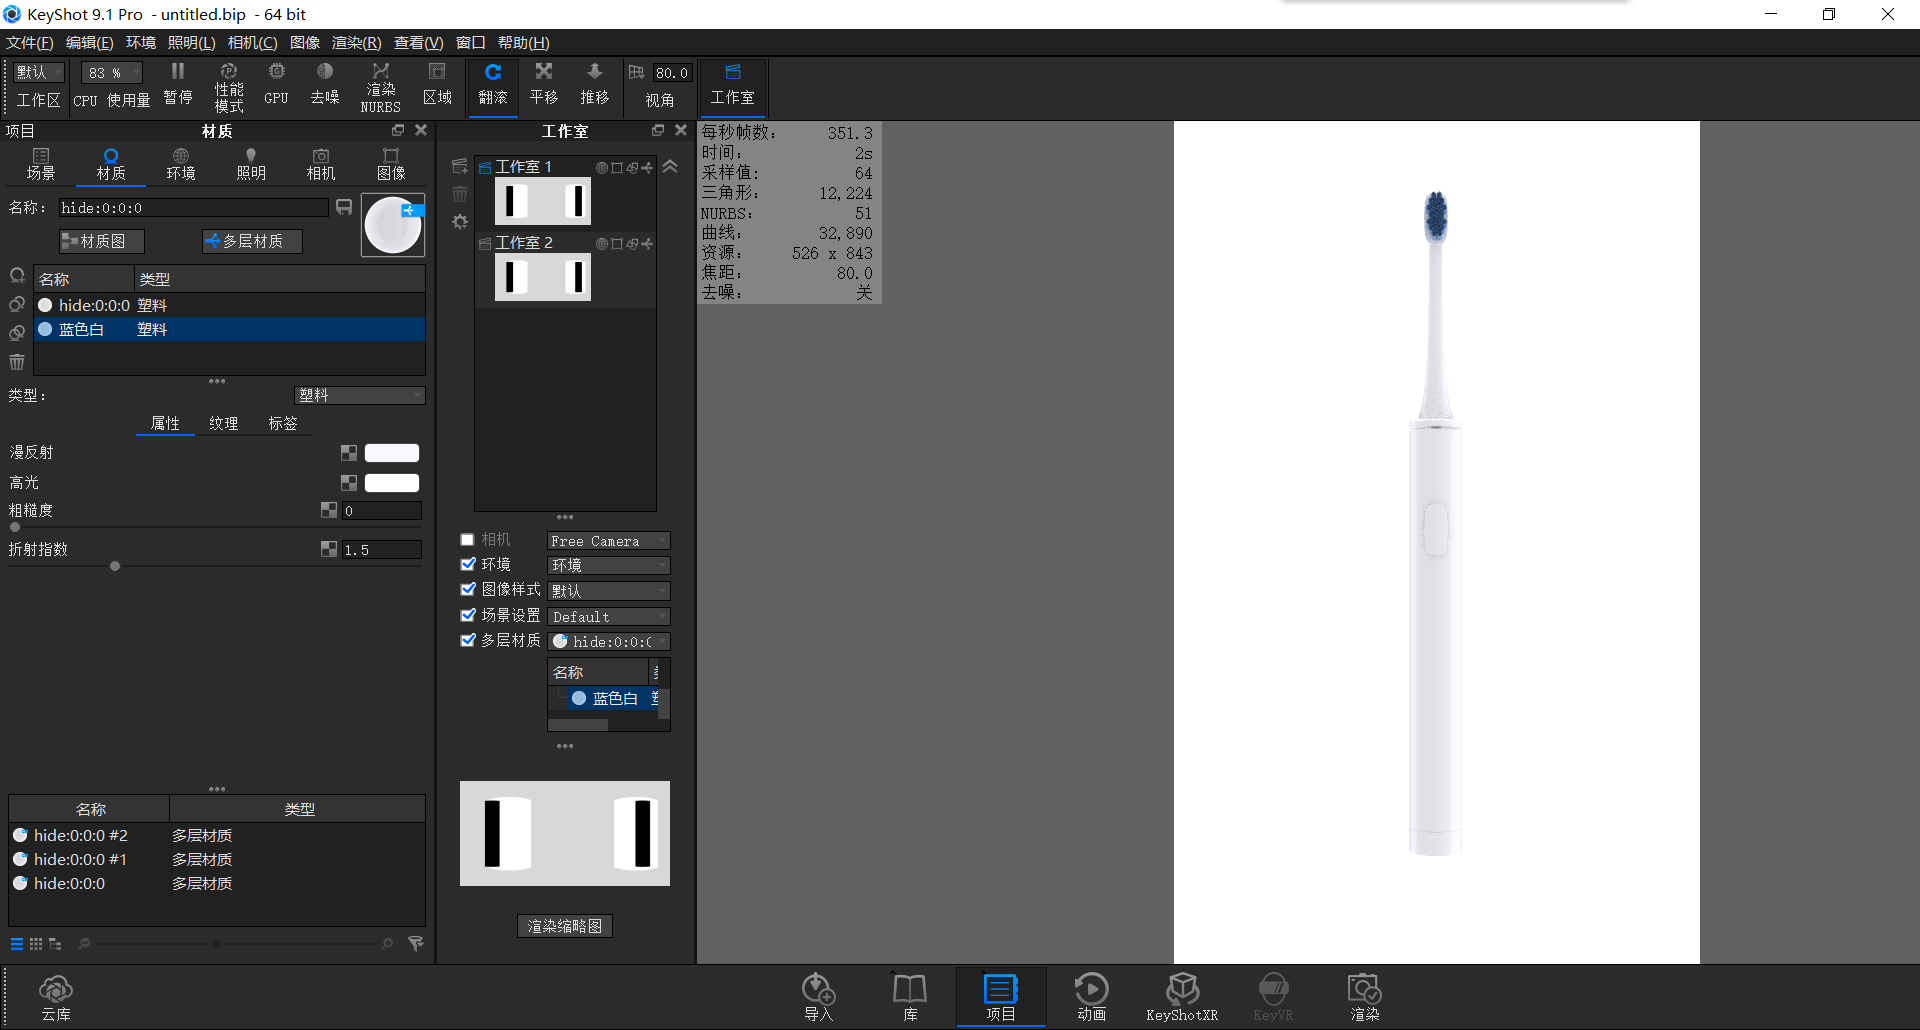
Then we open the studio and add these two materials (for the usage of the studio, please refer to "Keyshot Rendering Tutorial: Memphis Style Elvis Speaker", which is explained in detail)

We click rendering, change the output format to psd, check clown and add it to psd (clown is to use solid colors to layer the materials, which is convenient for us to directly use magic wand tools to matte. if we do not select to add to psd,clown channel will be rendered into a psd file separately)
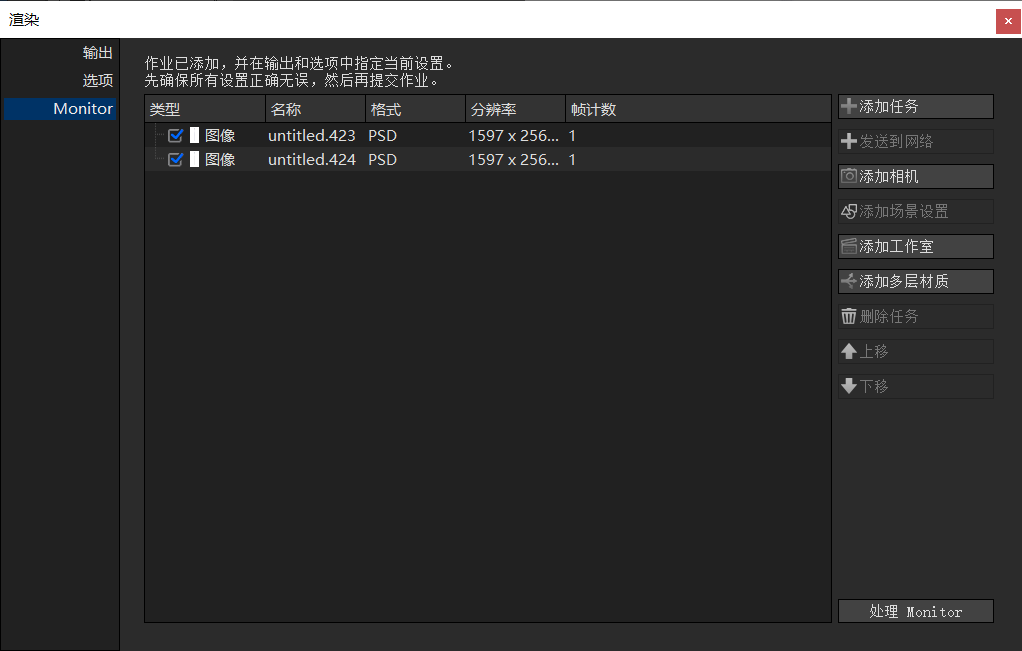
Then we change the sample value to 500 and add the two studios to the Monitor.
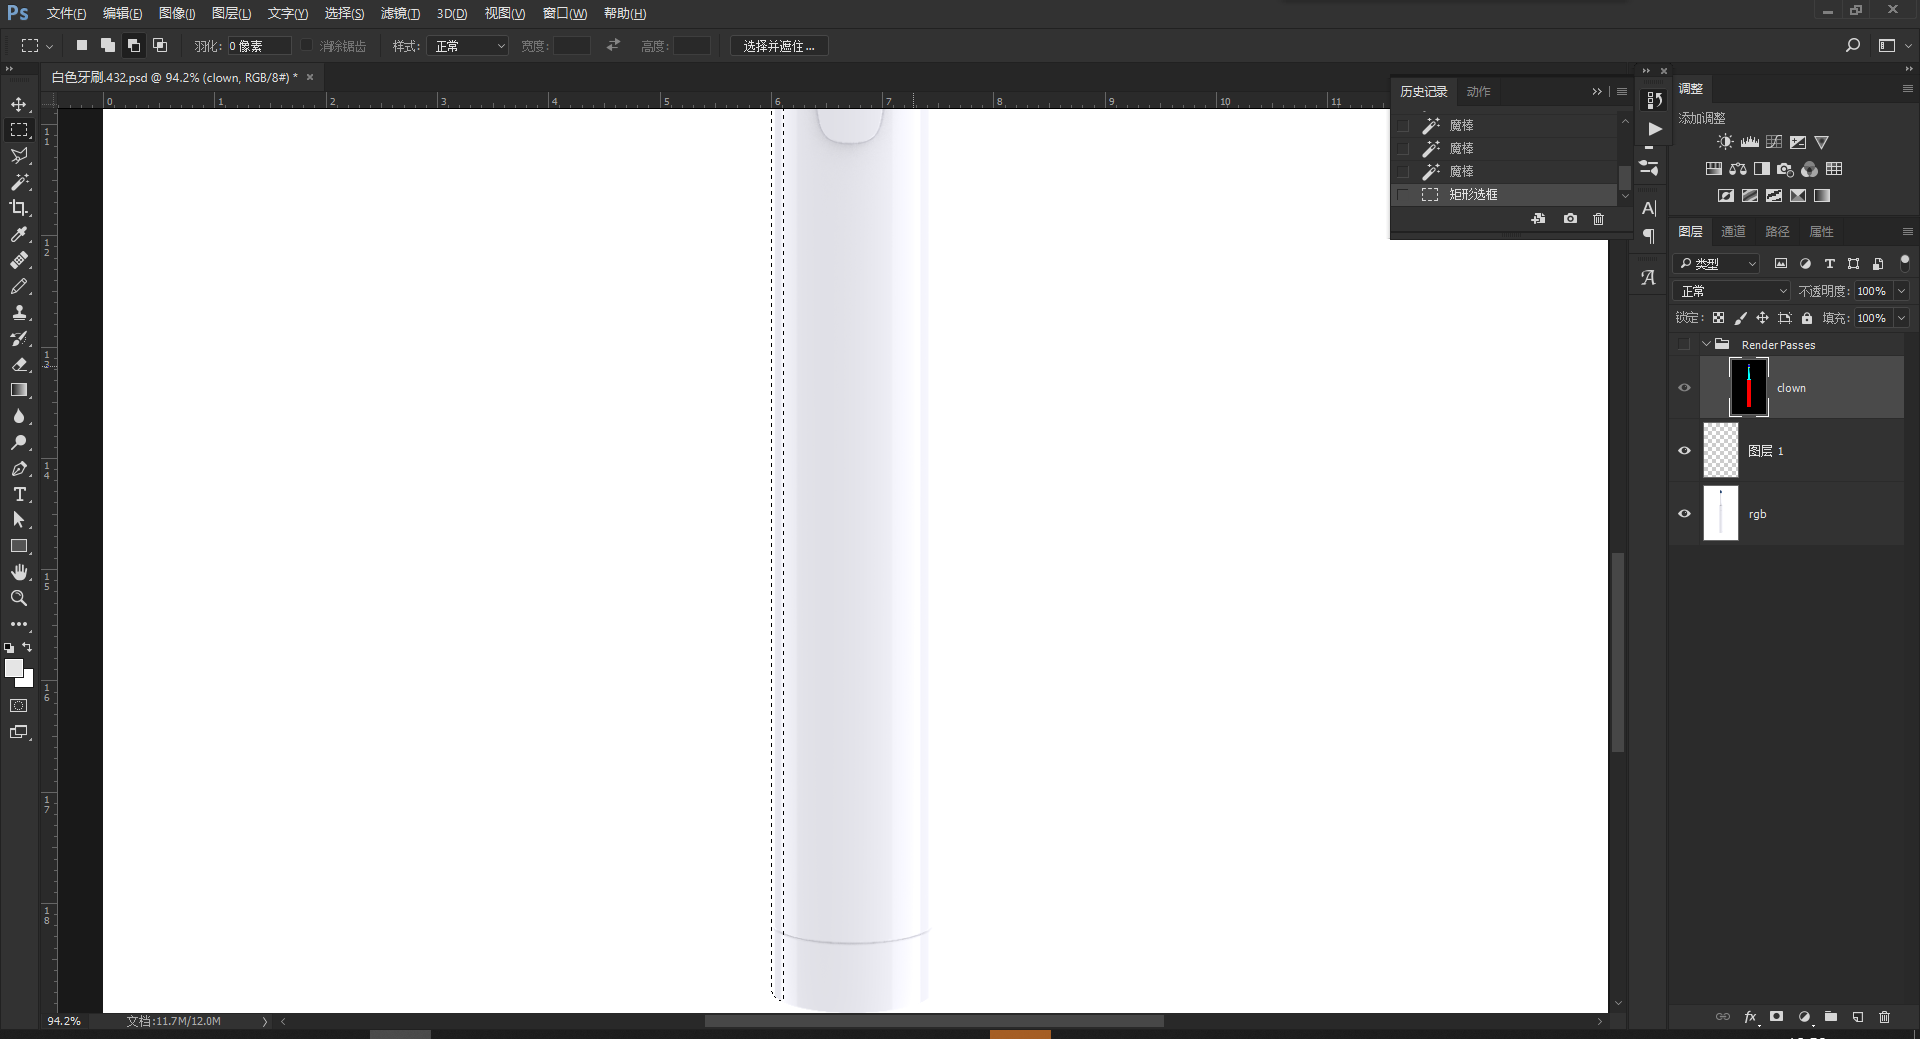
After rendering, we come to psd, select the bottom cylinder in the clown layer, and then select the extra highlight, leaving the selection size as shown in the figure.
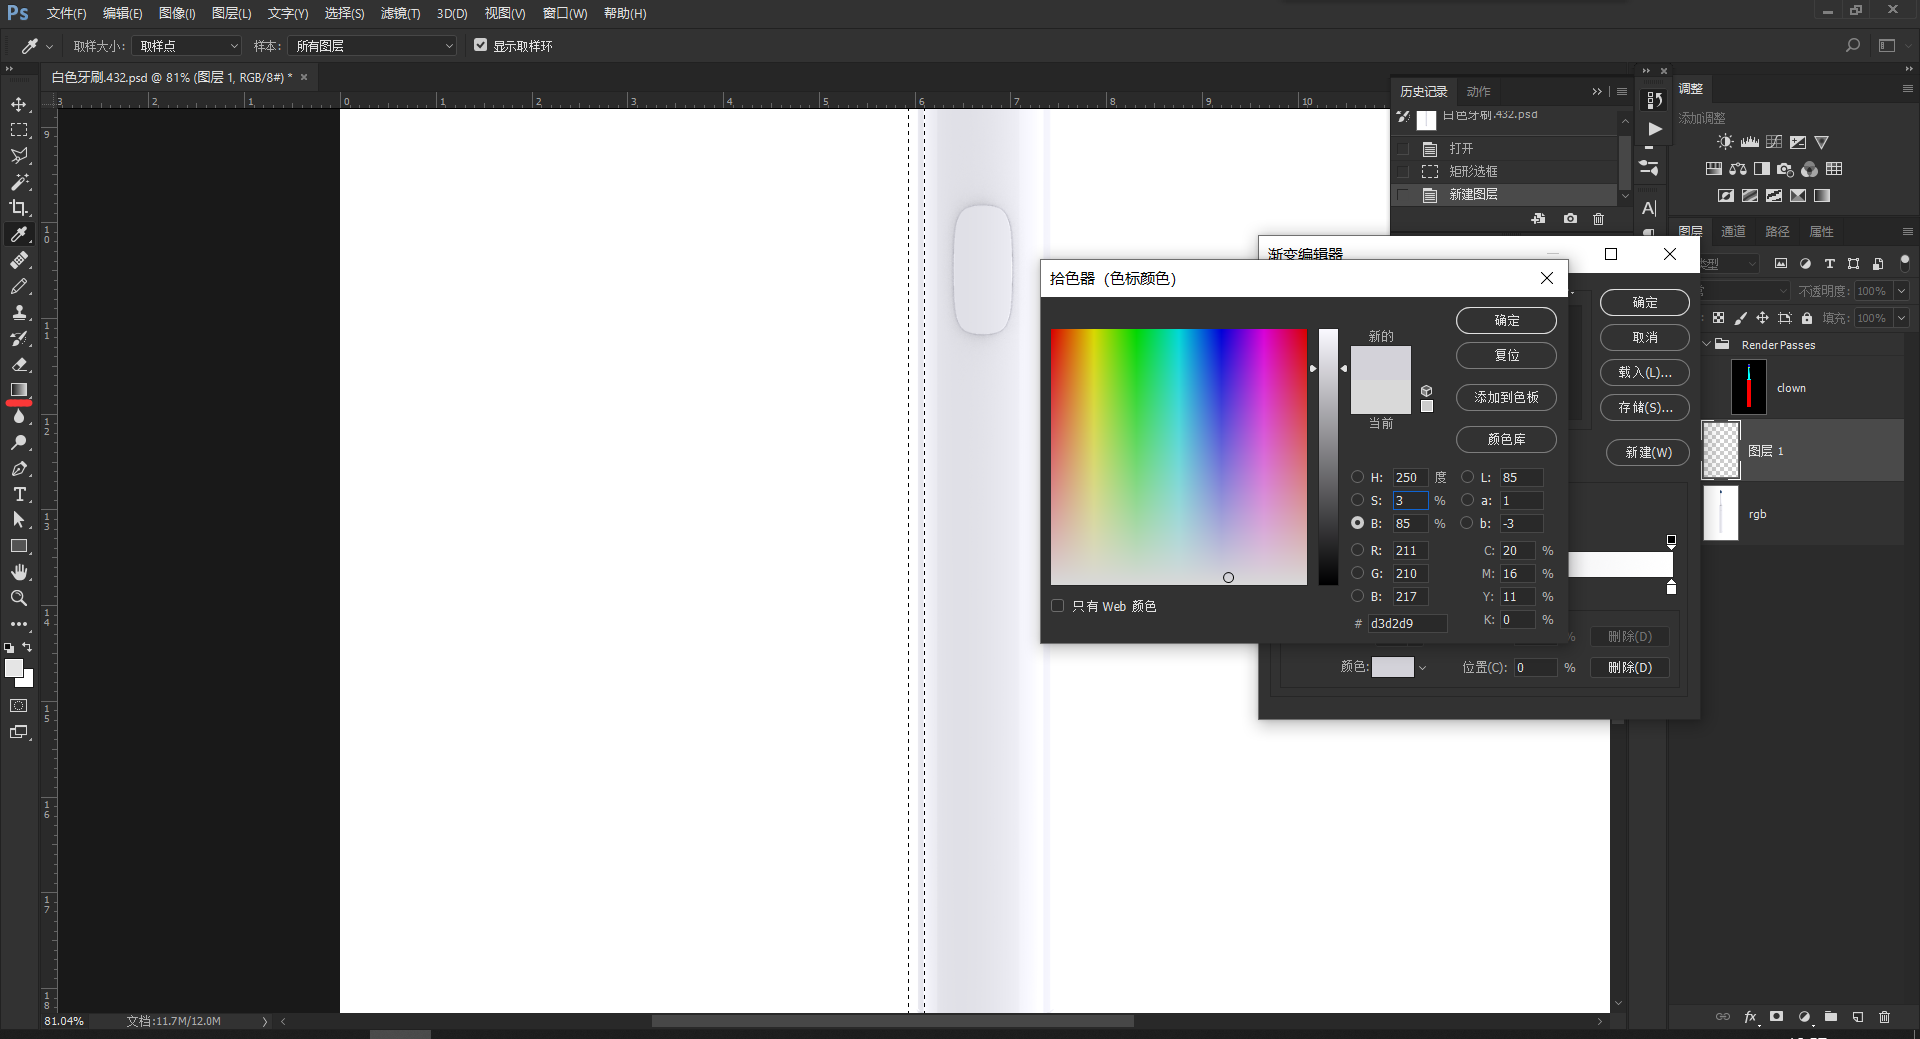
Then we open the gradient tool and change the gradient style and color.
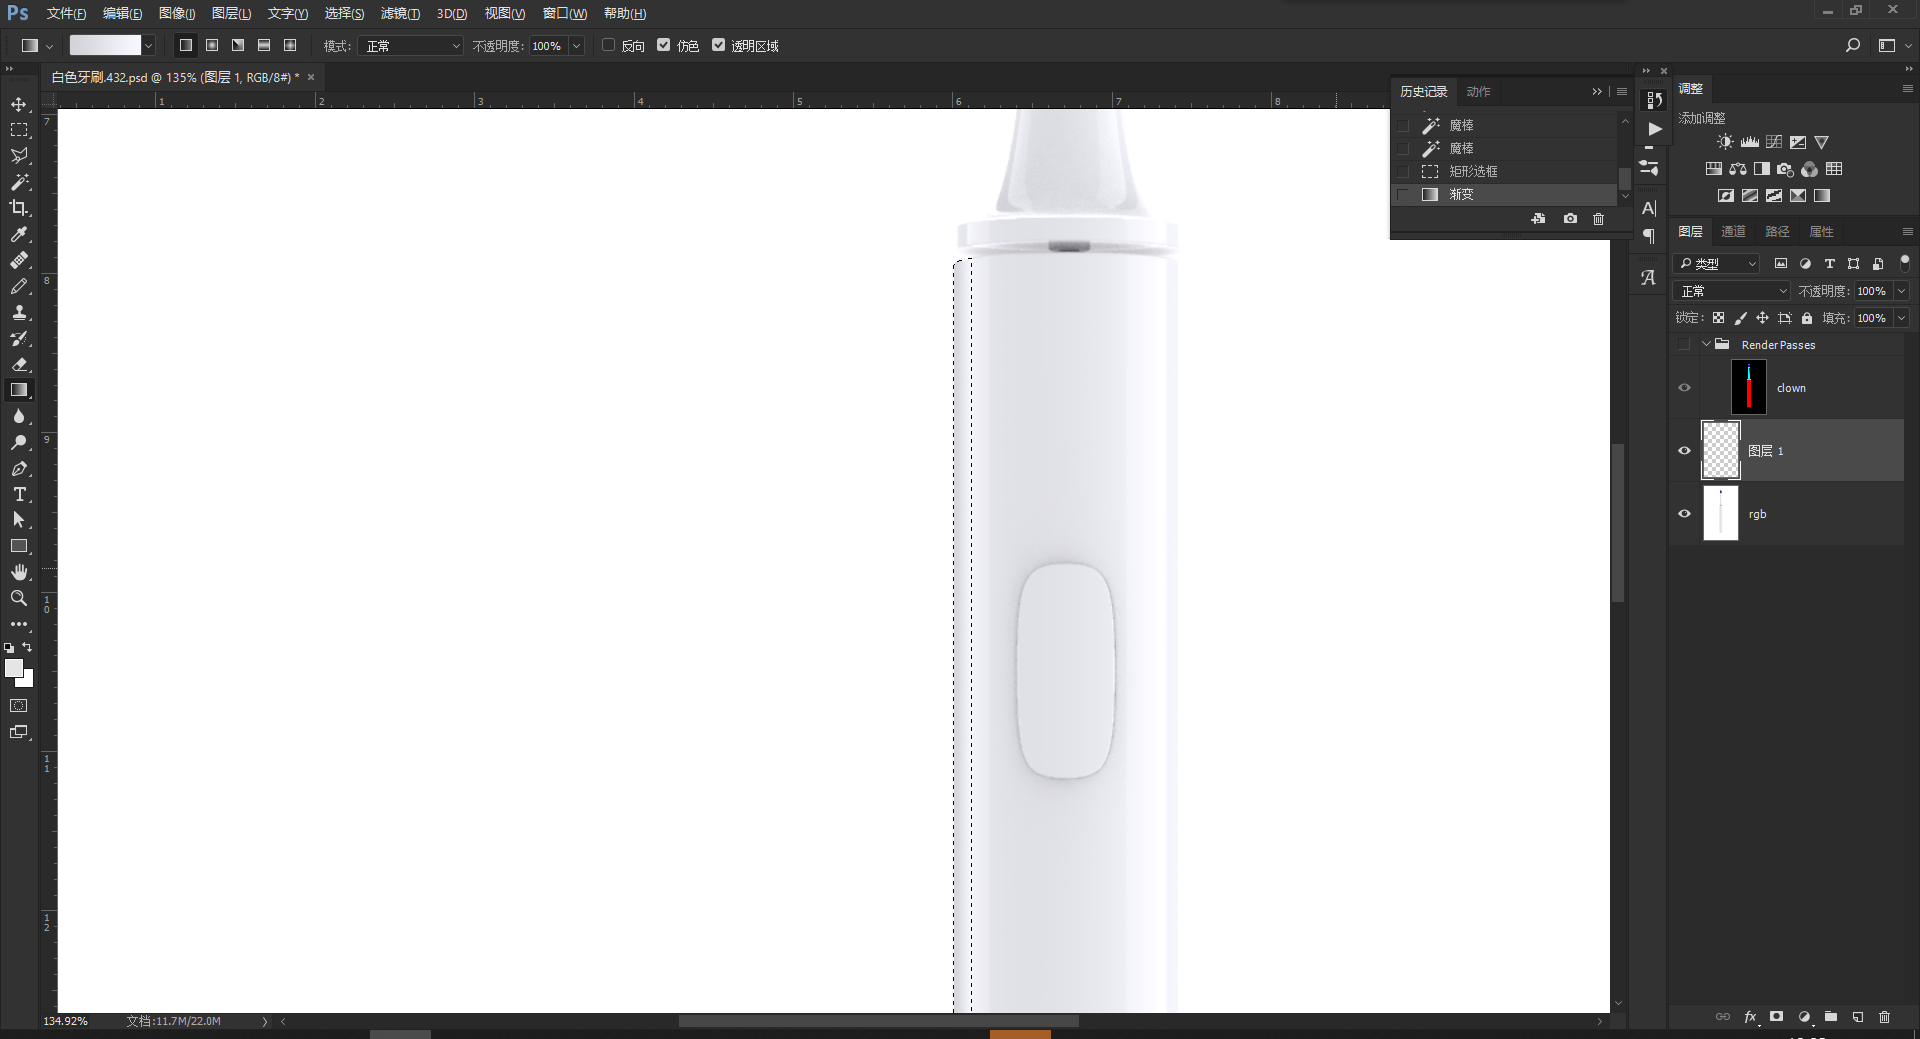
Then fill in the selection area
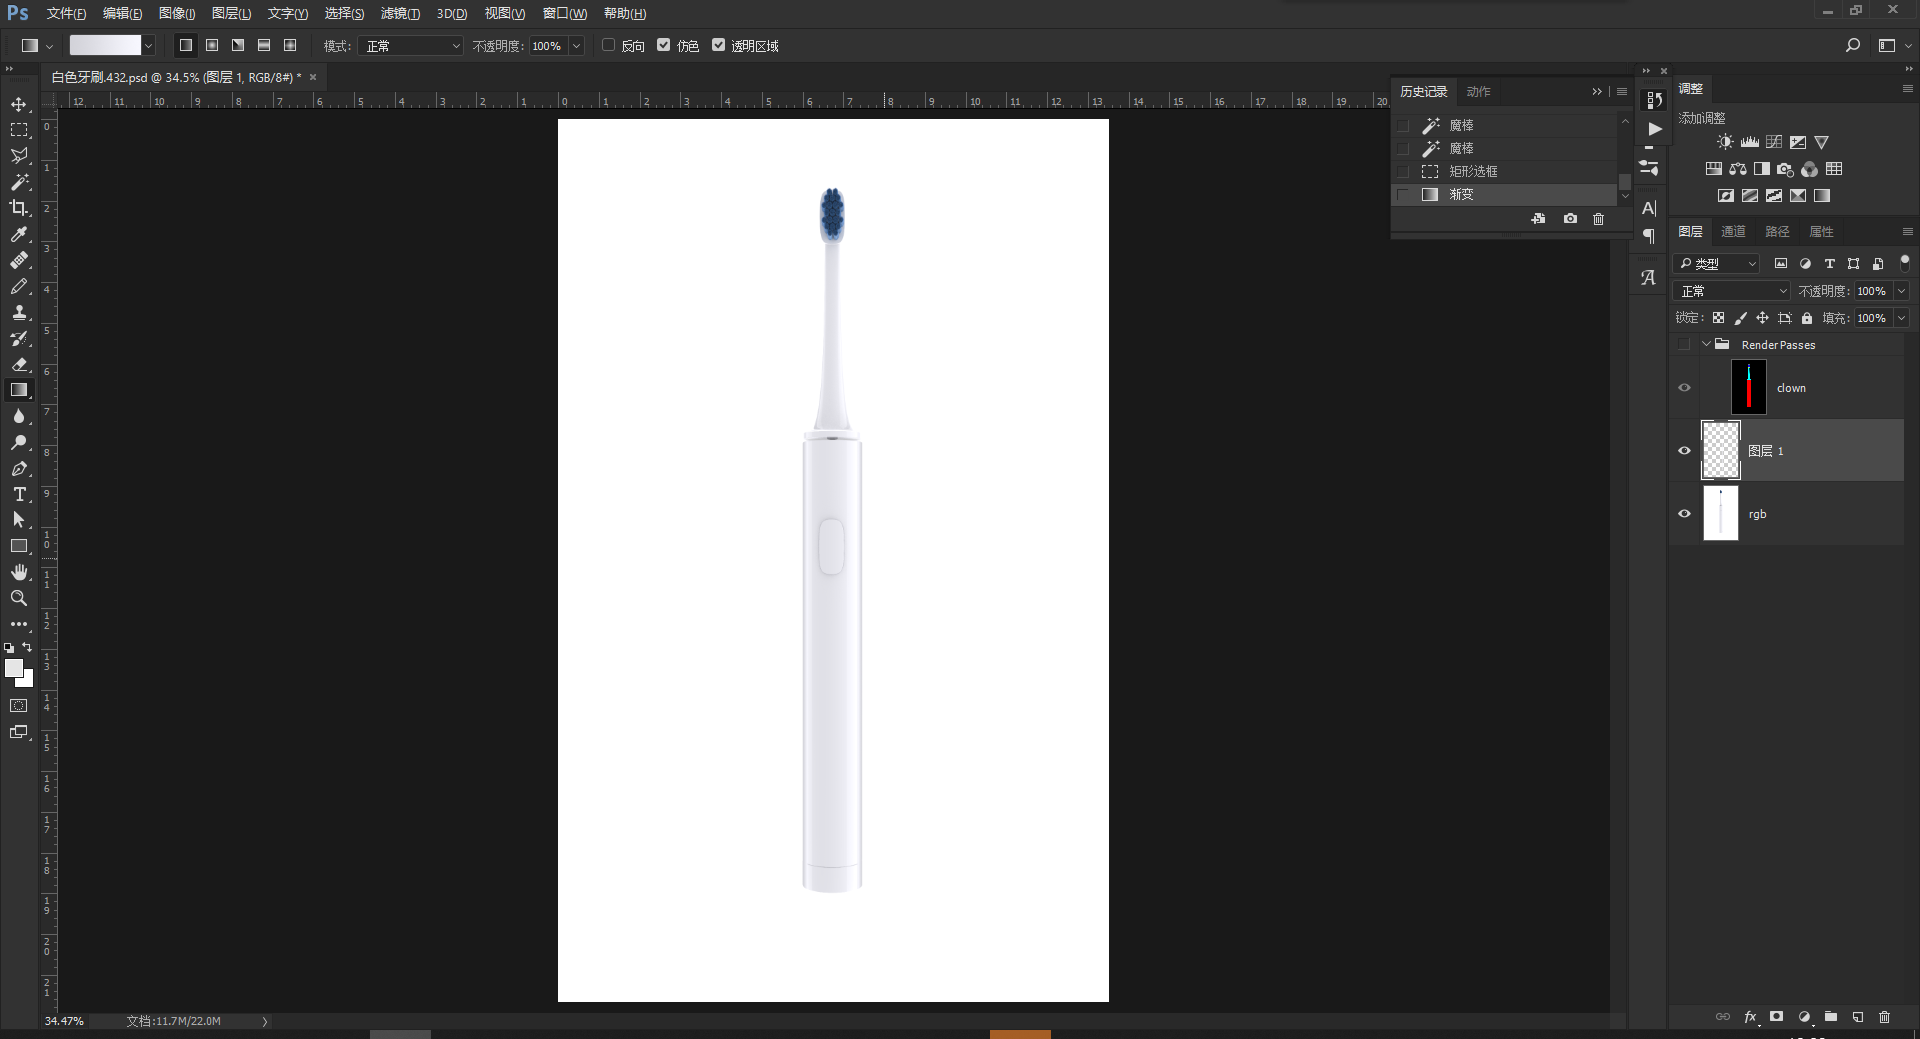
Repeat this step on the other side, and the final effect is shown in the figure
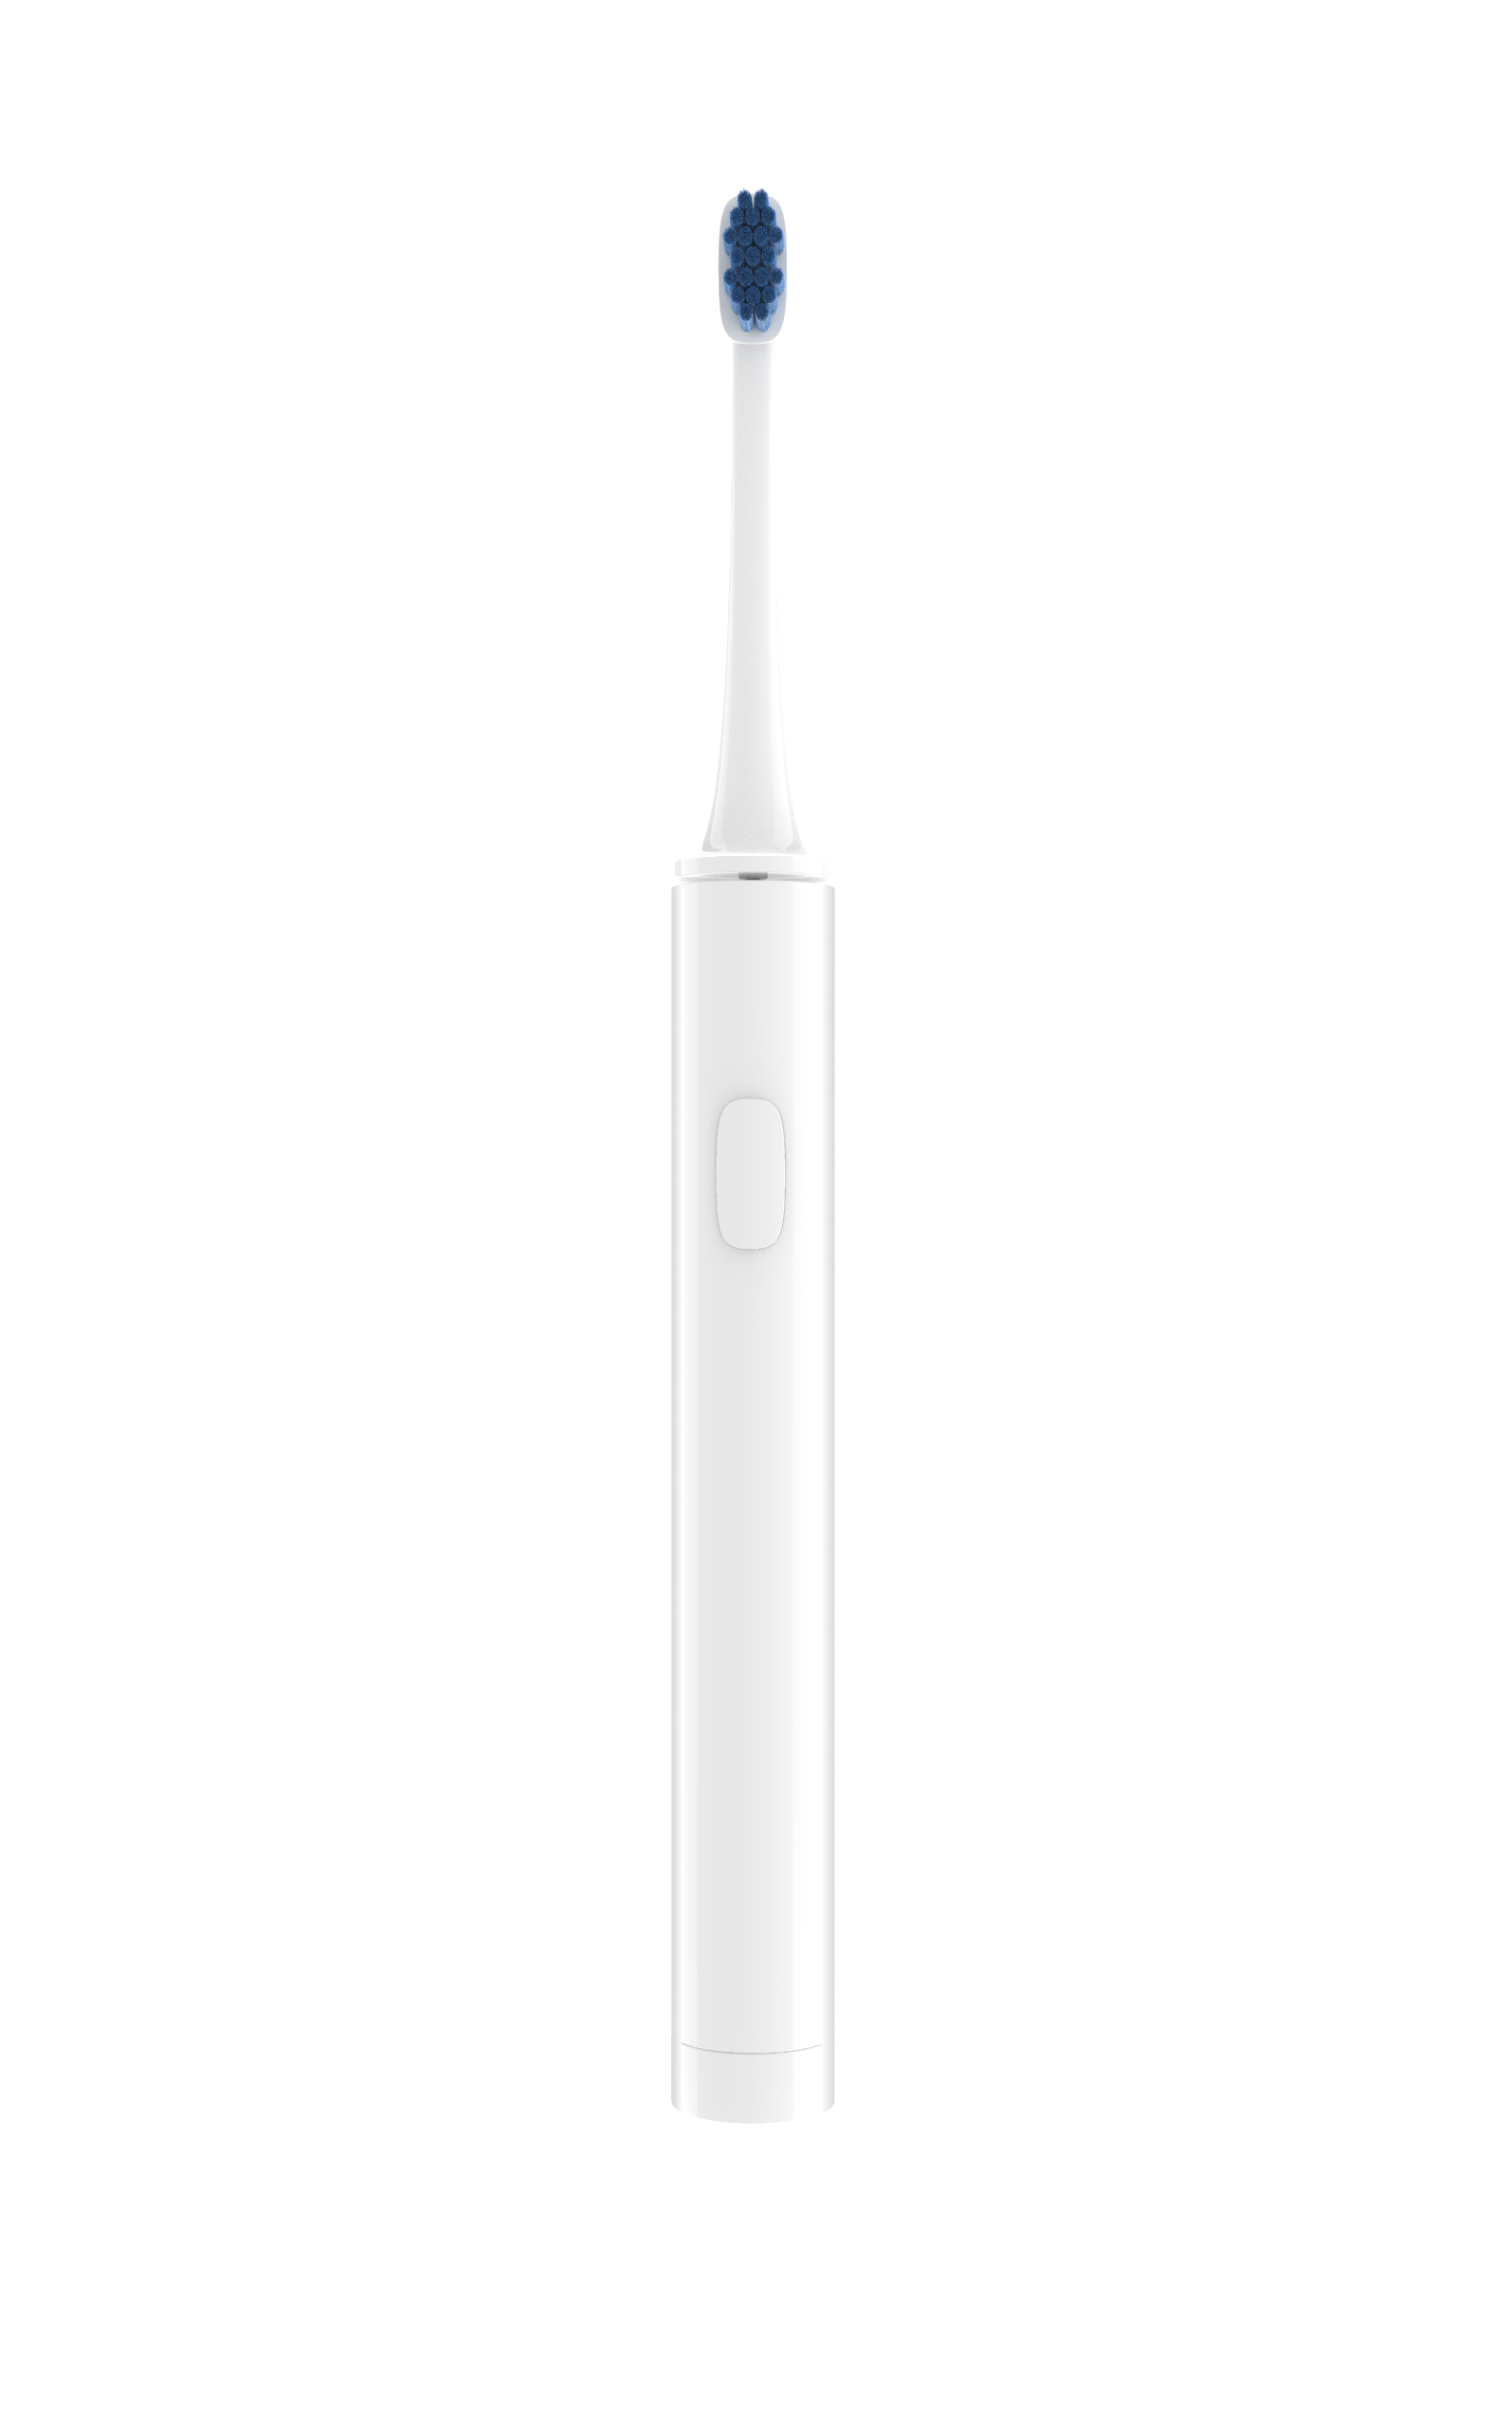
Then we will perform a ps treatment on the pure white toothbrush in the same step.
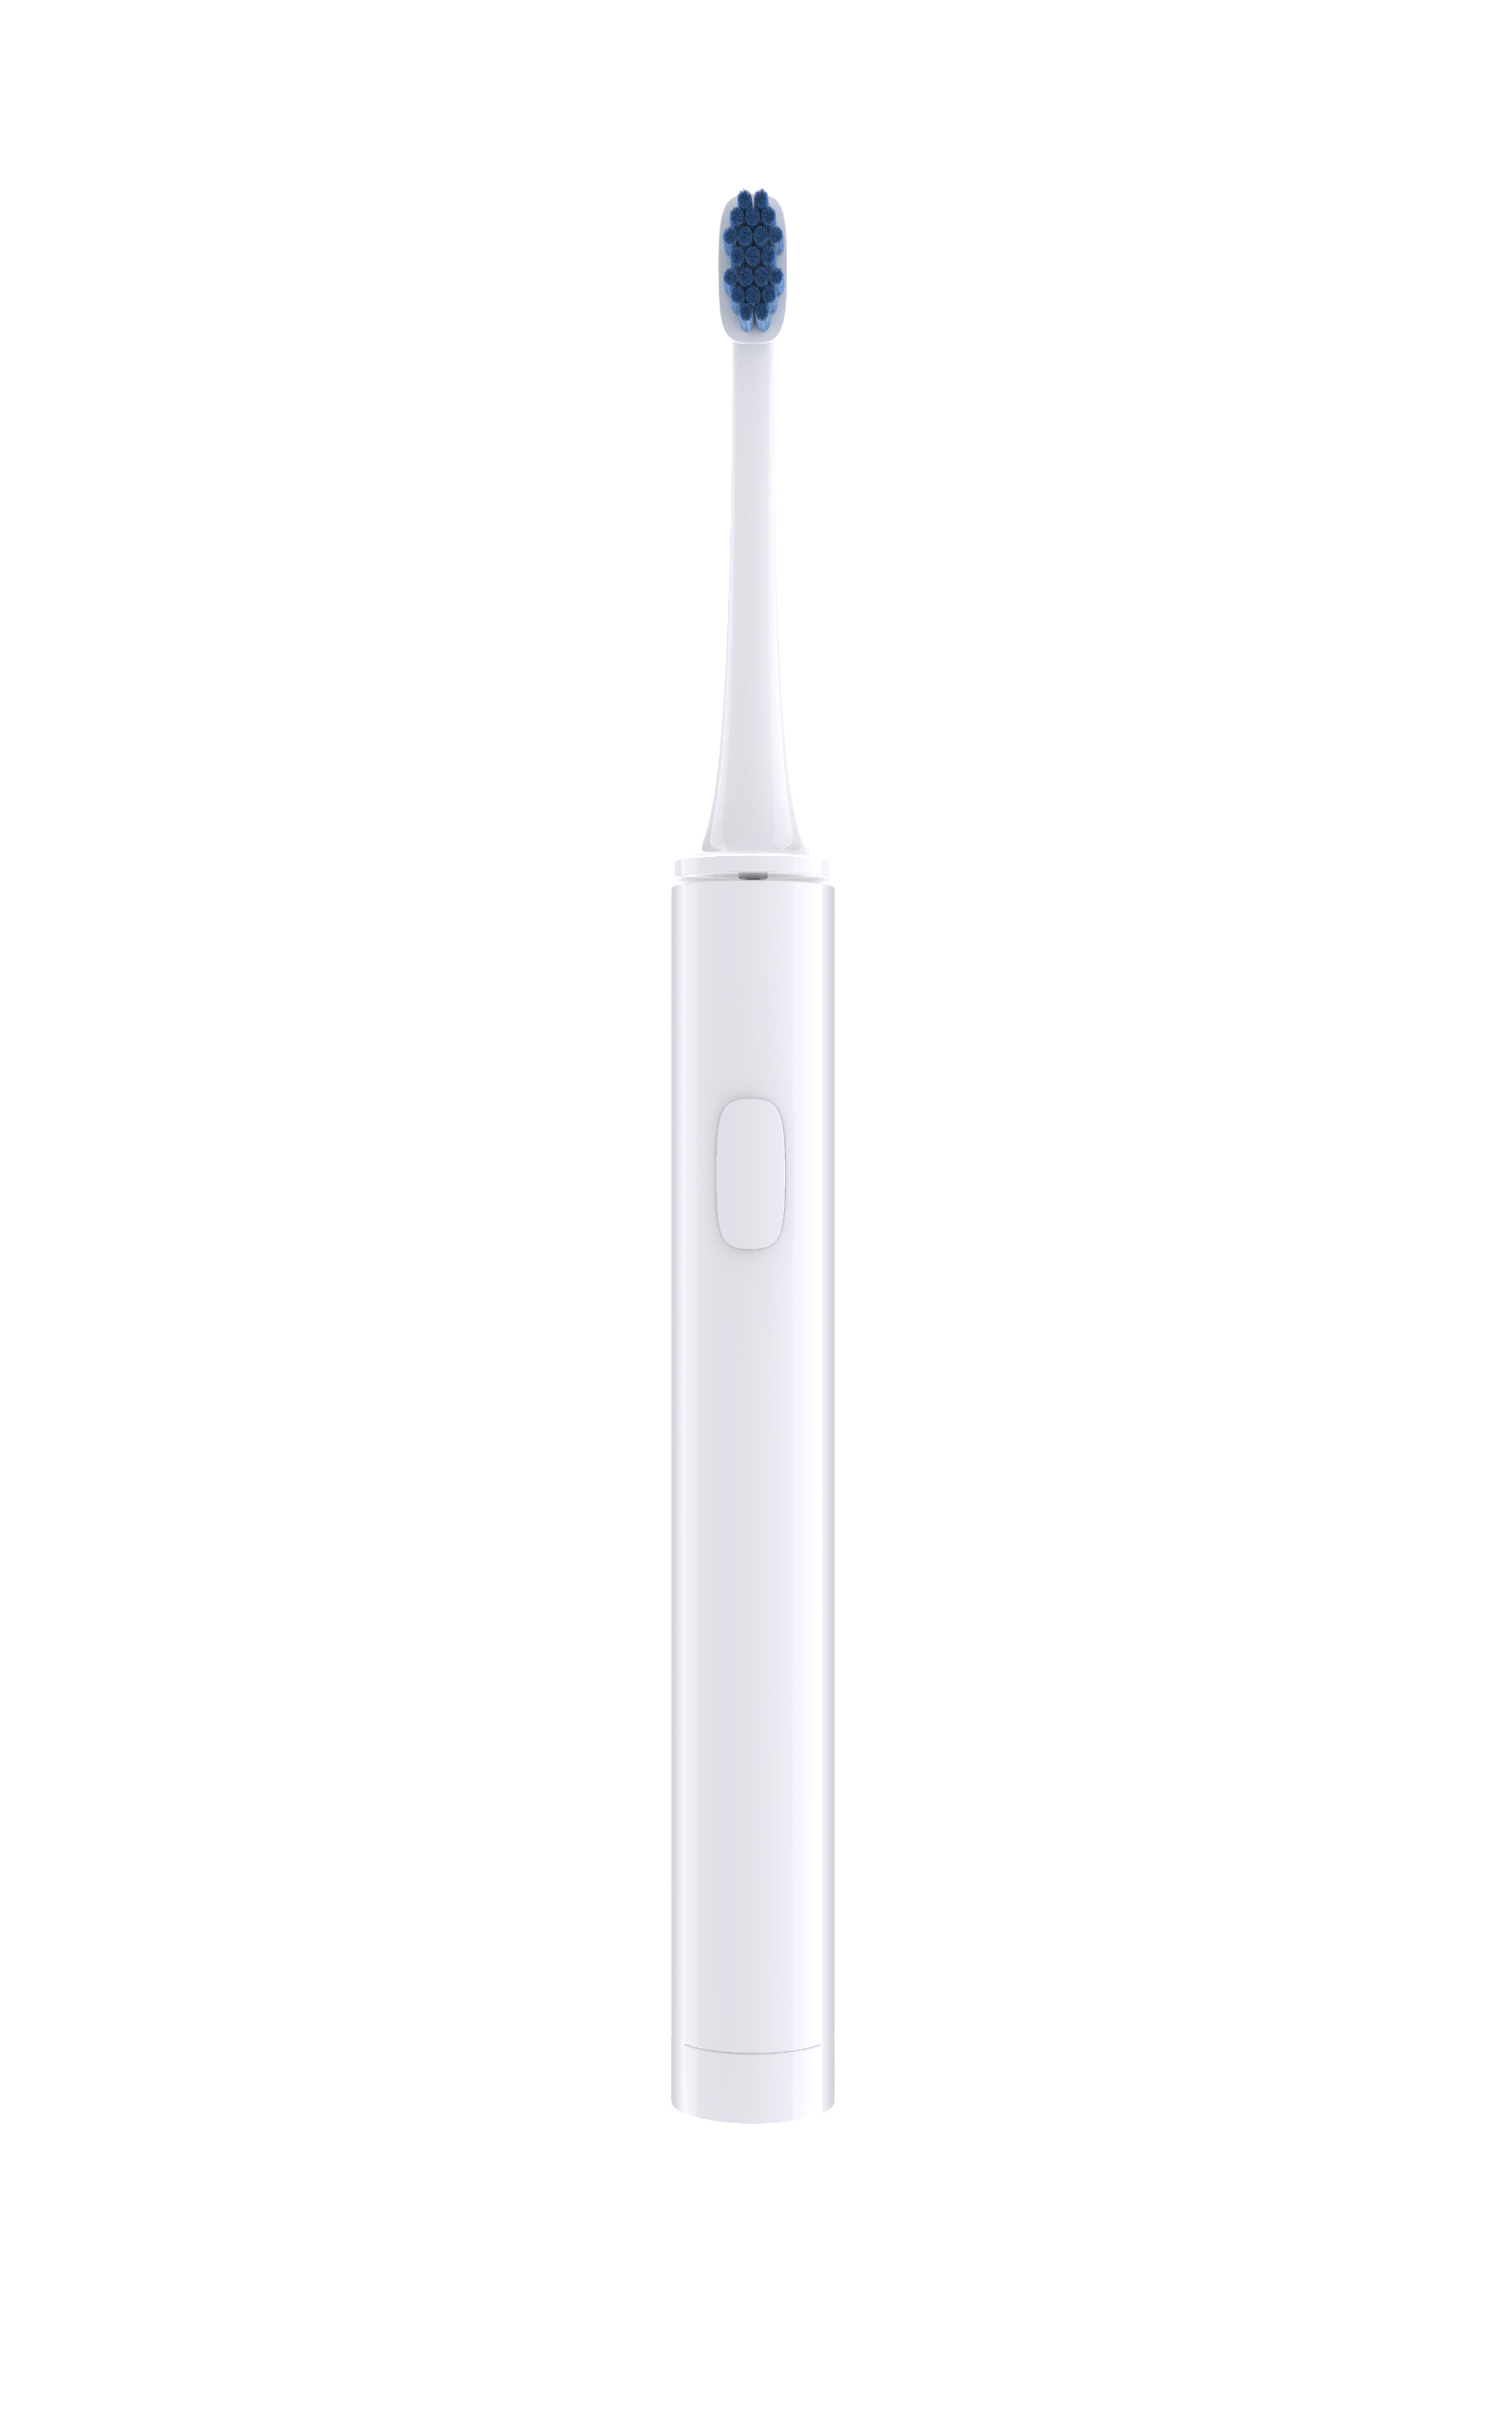
After comparison, we can find that the colder white with a blue tone is more transparent than pure white. Is it a bit tempting to give it a try now? Please ask me for the source file at any time. I feel good and hope to continue to pay attention to my homepage or give me some praise. This is the greatest support and encouragement for me to keep updating. Thank you!
Those who need source files can leave comments and email, and I will send them as soon as I see them.
The copyright of this work belongs to 二哈. No use is allowed without explicit permission from owner.

New user?Create an account
Log In Reset your password.
Account existed?Log In
Read and agree to the User Agreement Terms of Use.

Please enter your email to reset your password
ms495976665@163.com kneeling for source files
Please share your study, thank you! fanfansays@outlook.com
Big Brother Source File Sharing 1824542108@qq.com
Boss, please ask for the source file ~ thank you 1326195952@qq.com! ~
Great God, please share the source files, crab crab! 2472130539@qq.com
Hello, Great God, thank you for your selfless sharing and asking for resources to 836210966@qq.com. Thank you
329576008@qq.com ask the big brother to send a source file to practice, thank you !
What's your skill is great, can you share this white rendering material 603306225@qq.com thank you!
Big Brother asked for the source file. I finished watching it in one breath. YYDS 1842828590@qq.com
625293217@qq.com shooting
526274827@qq.com ask the big brother to send a source file to practice, thanks!
939430137@qq.com find a source file. thank you
13189308252@qq.com find a source file, thank you
If you want to learn dry goods, please send the source files and maps, 1946620689@qq.com
971868320@qq.com ask for a source file, thank you!