When making AI product videos, the real trouble is often not to "generate a good-looking picture", but to change the background, change the proportion, fill the angle, and then connect these still frames into videos. If you re-enter a long string of prompts at every step, the product’s appearance is likely to drift further and further away from your original vision. A key takeaway from this case is that the task was broken down into a node-based workflow that supports replay and branching.
1. First, treat the canvas as a "workbench."
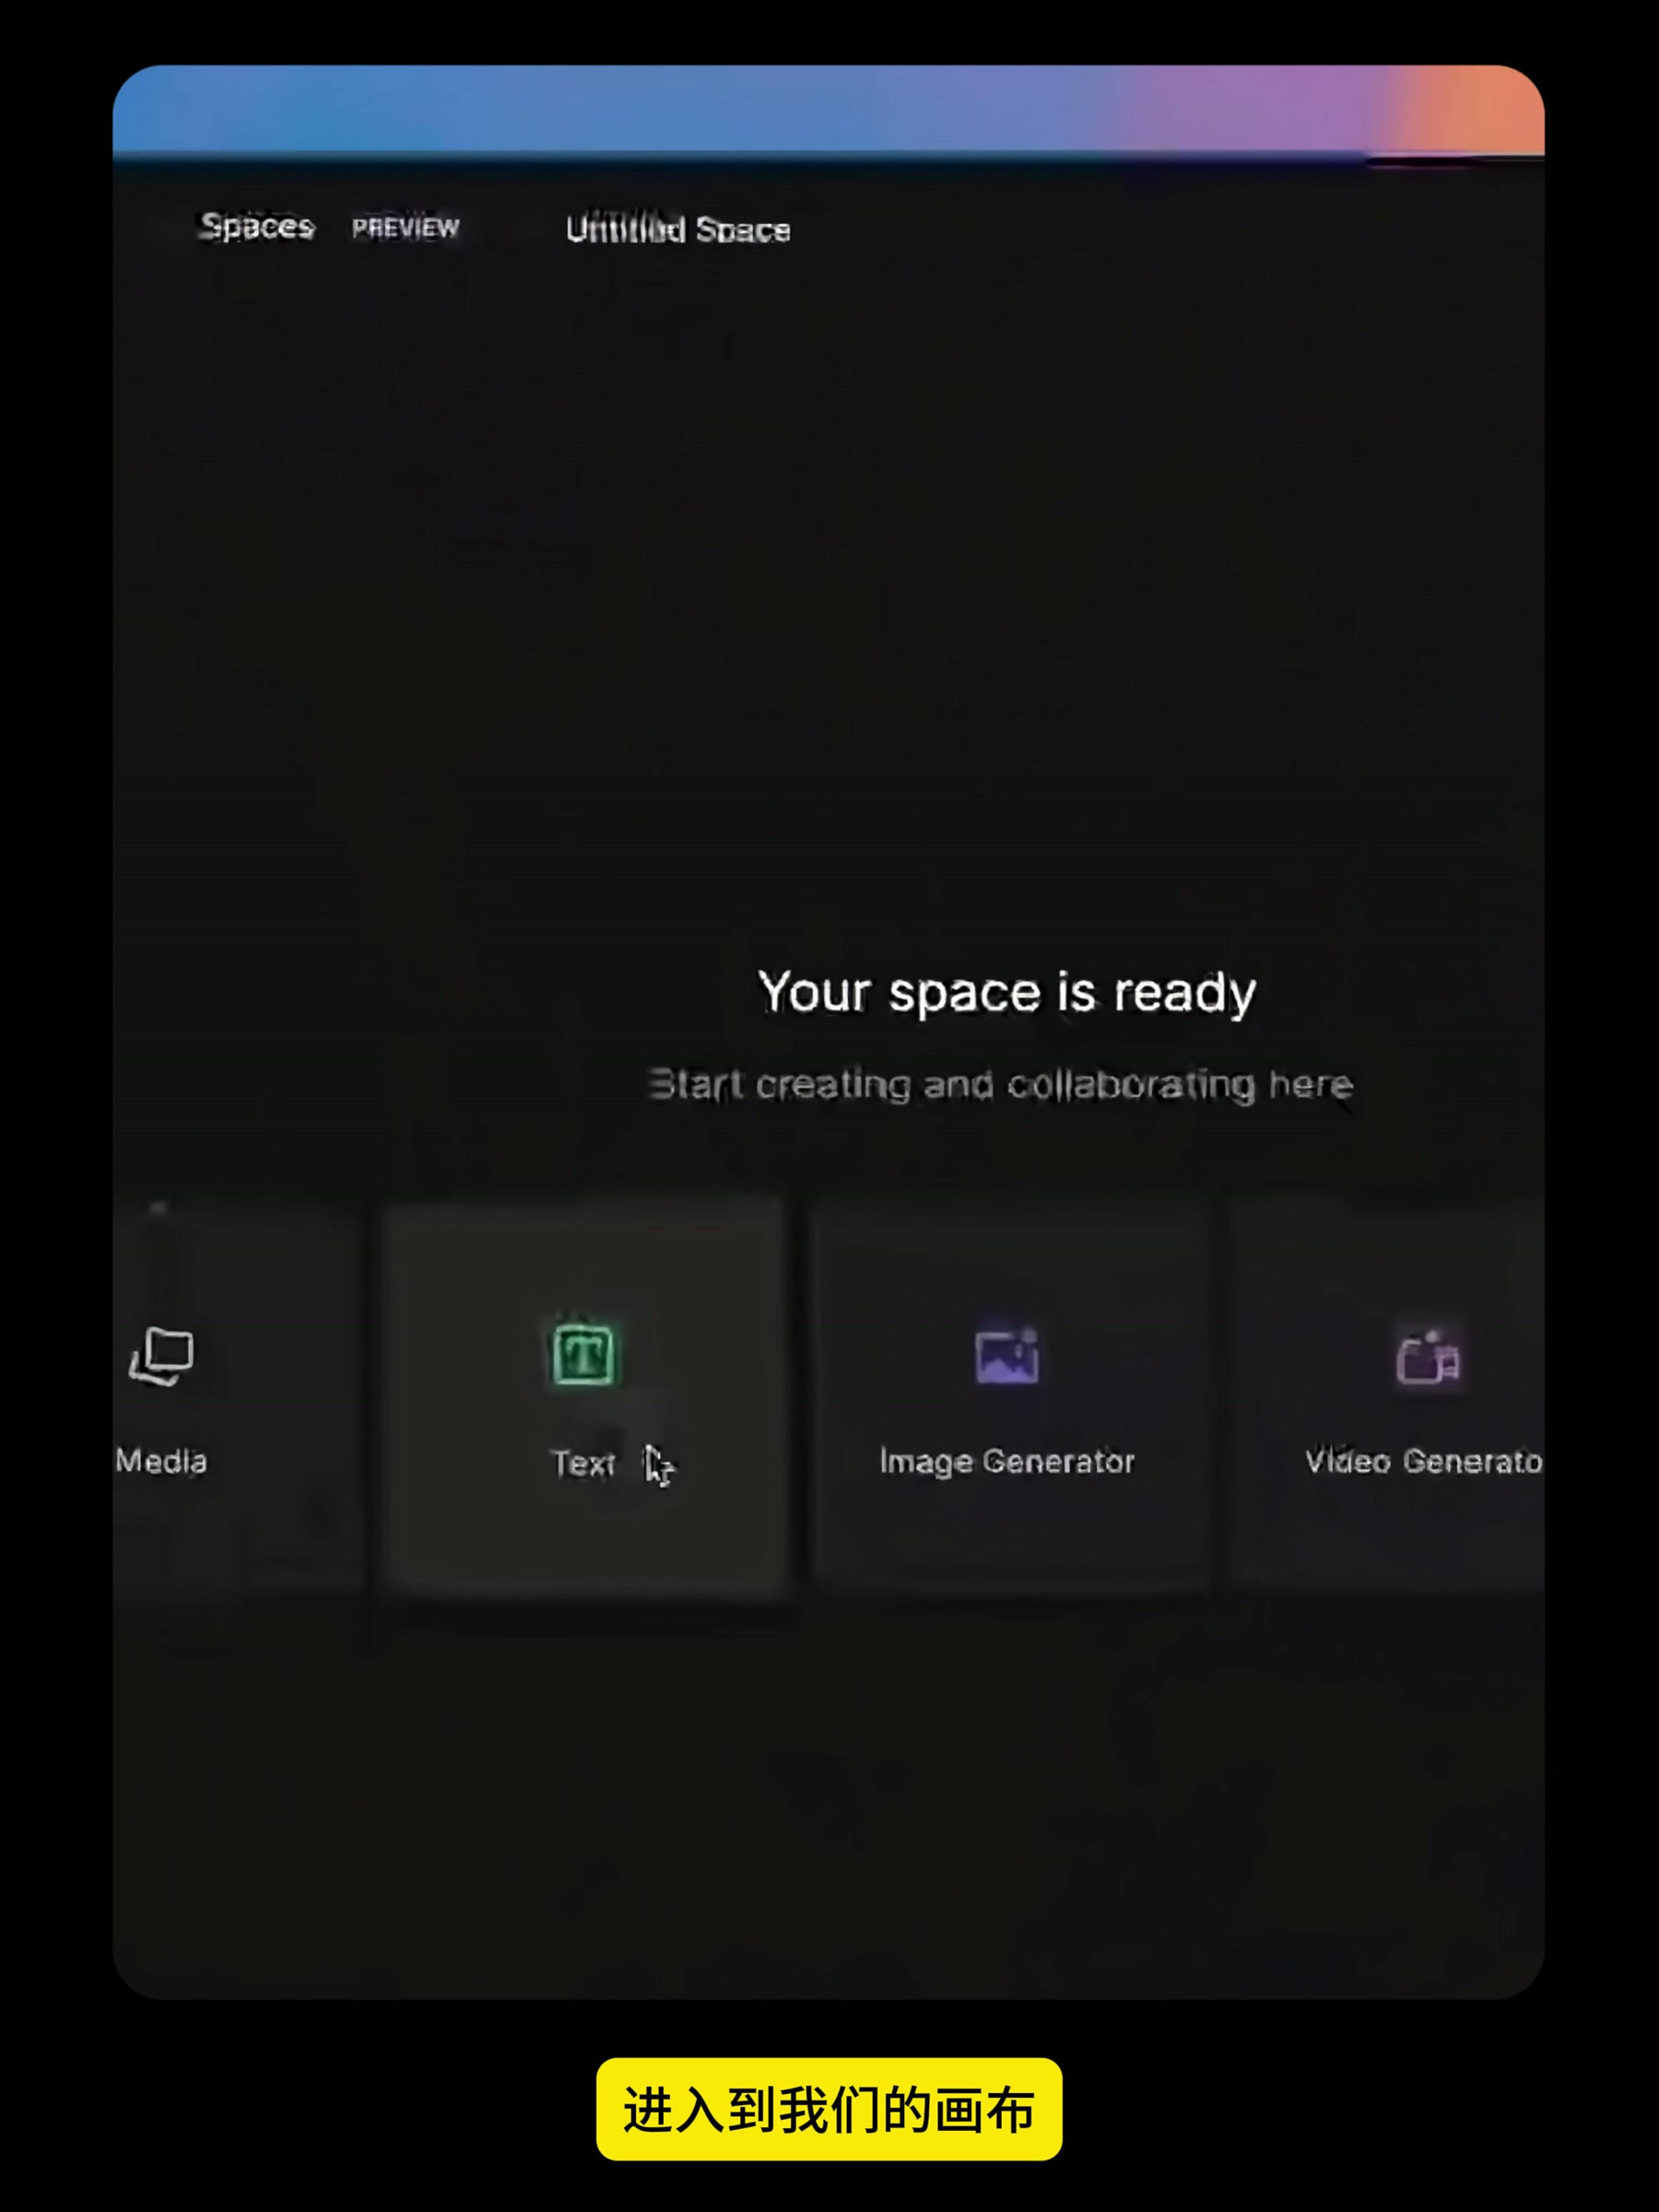
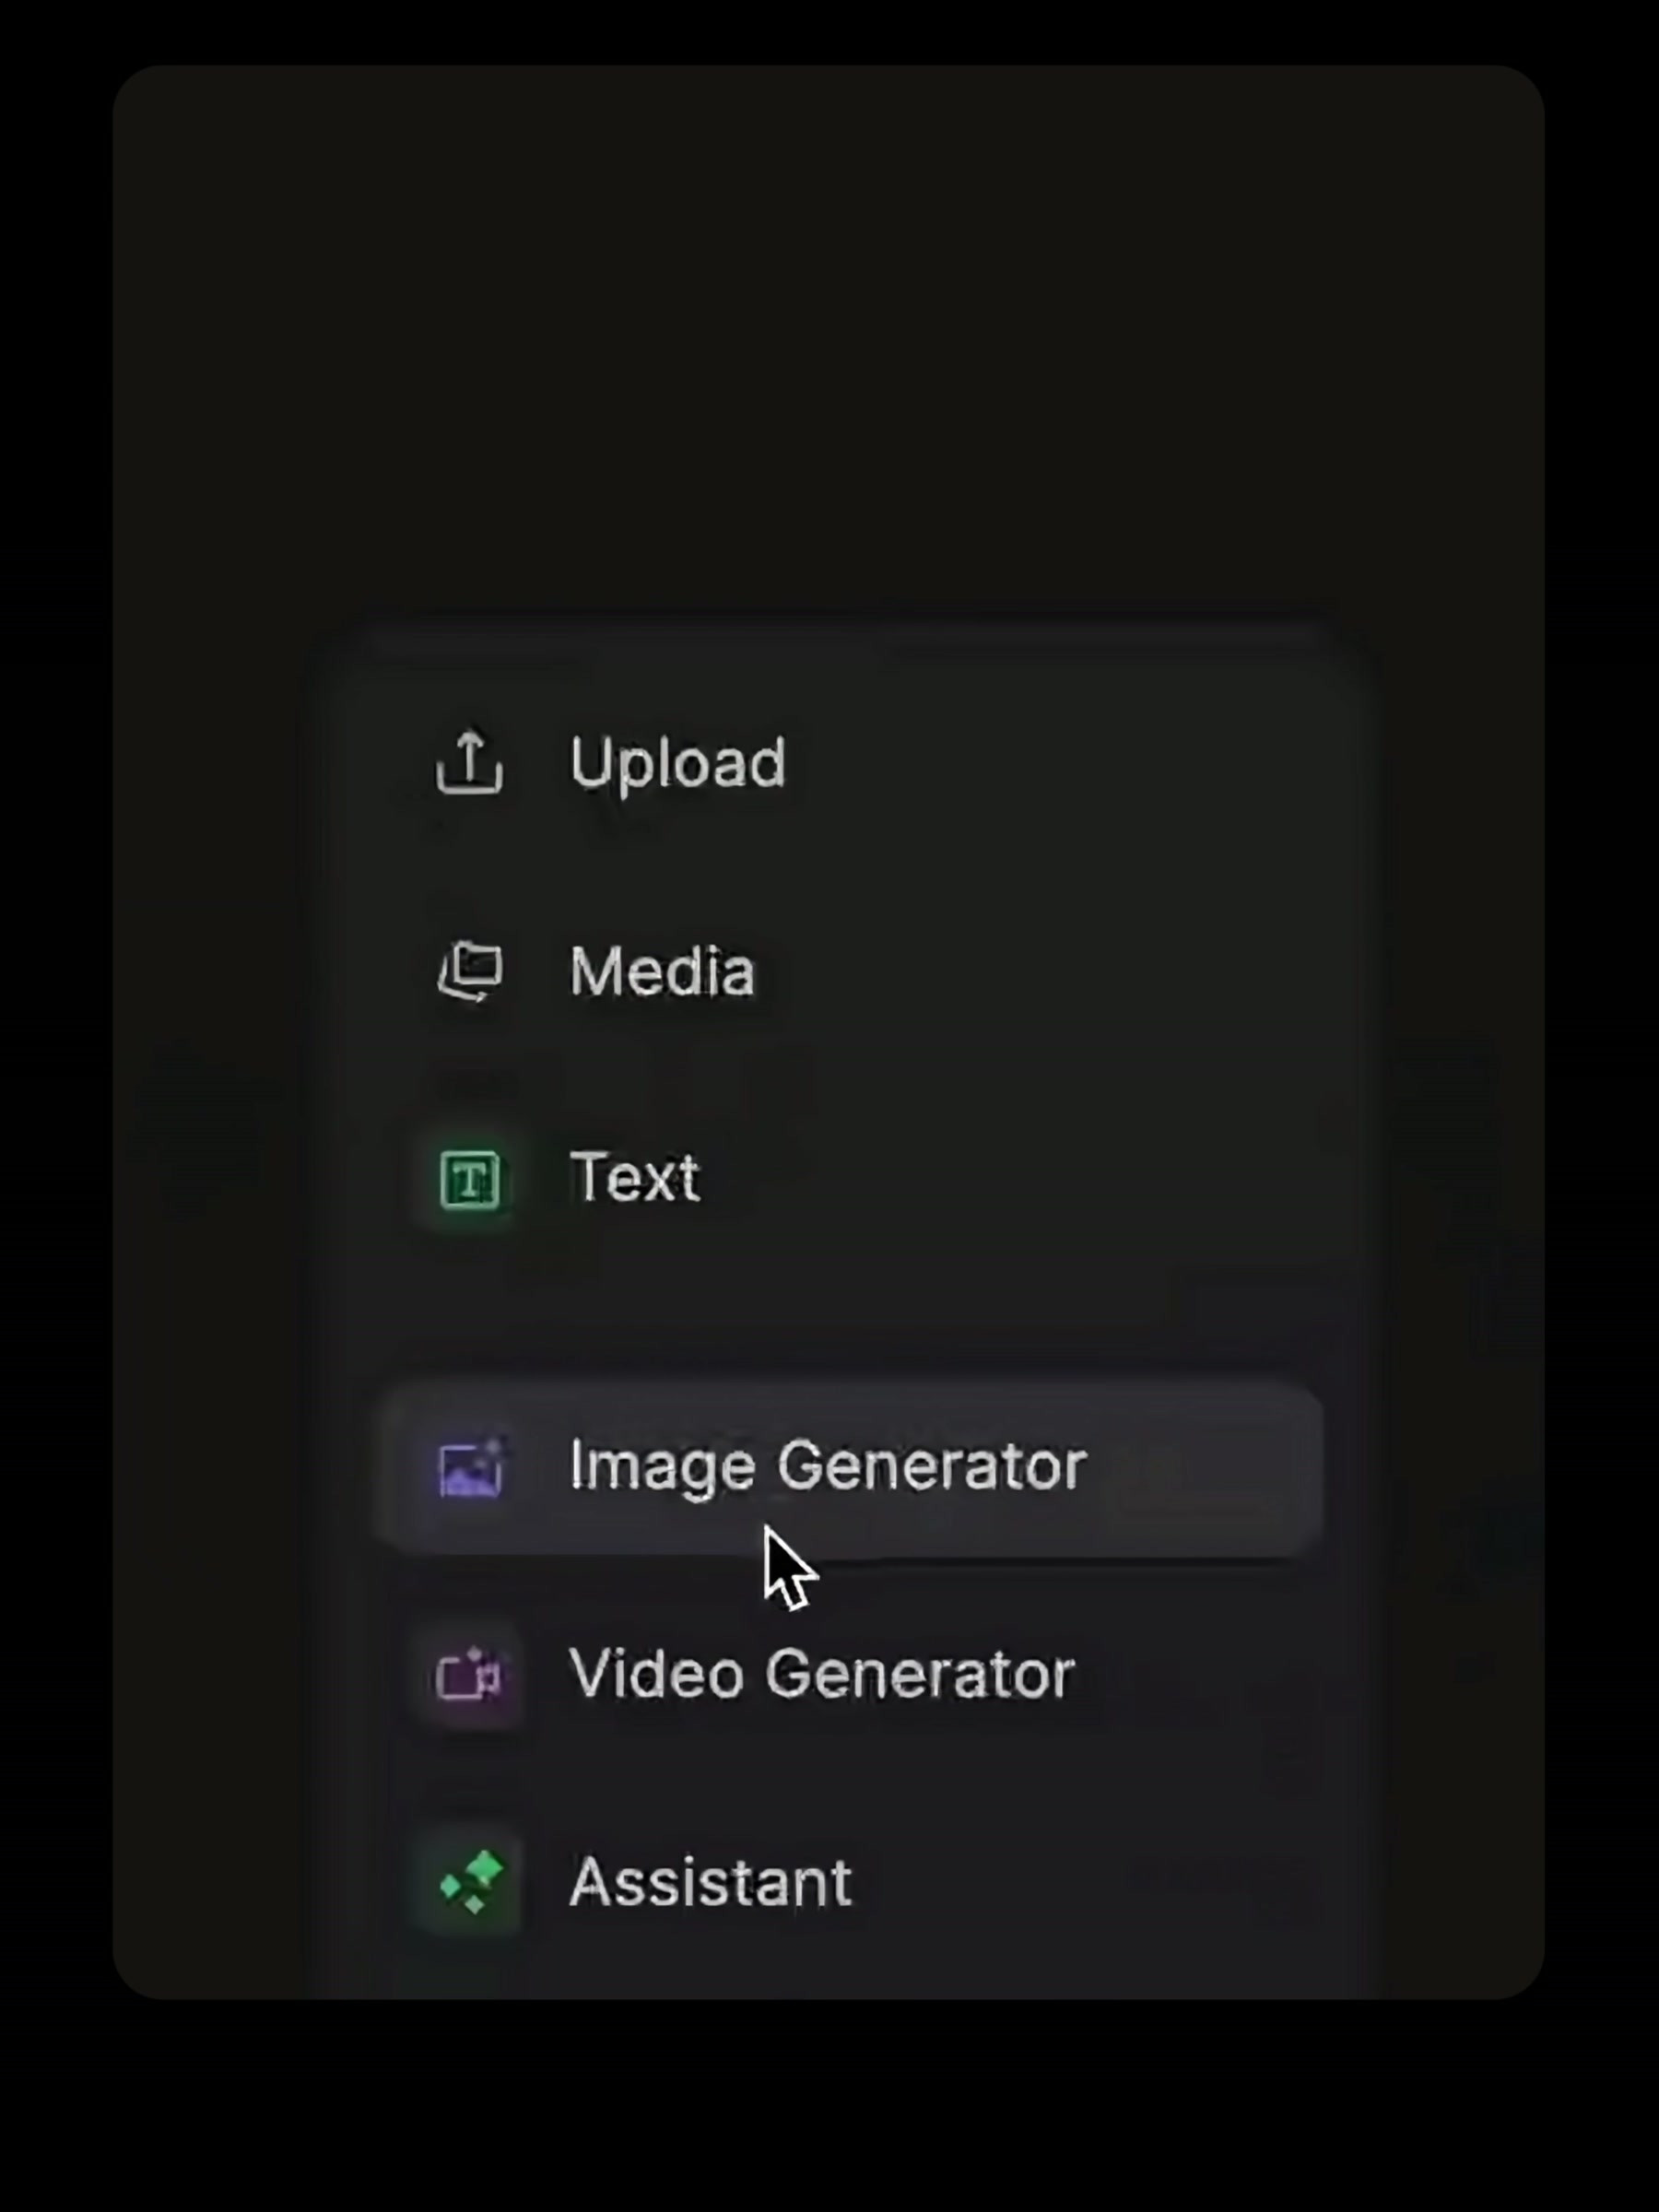
After entering the blank canvas, don’t rush to generate just yet. Disassemble this task by function: Text is responsible for saving text requirements, Image Generator is responsible for producing and modifying still frames, and Video Generator is responsible for turning the selected picture into dynamic material. In the future, when introducing new perspectives, simply extend from the existing results rather than having to start over from scratch.
2. The first prompt is only responsible for clearly explaining the product.
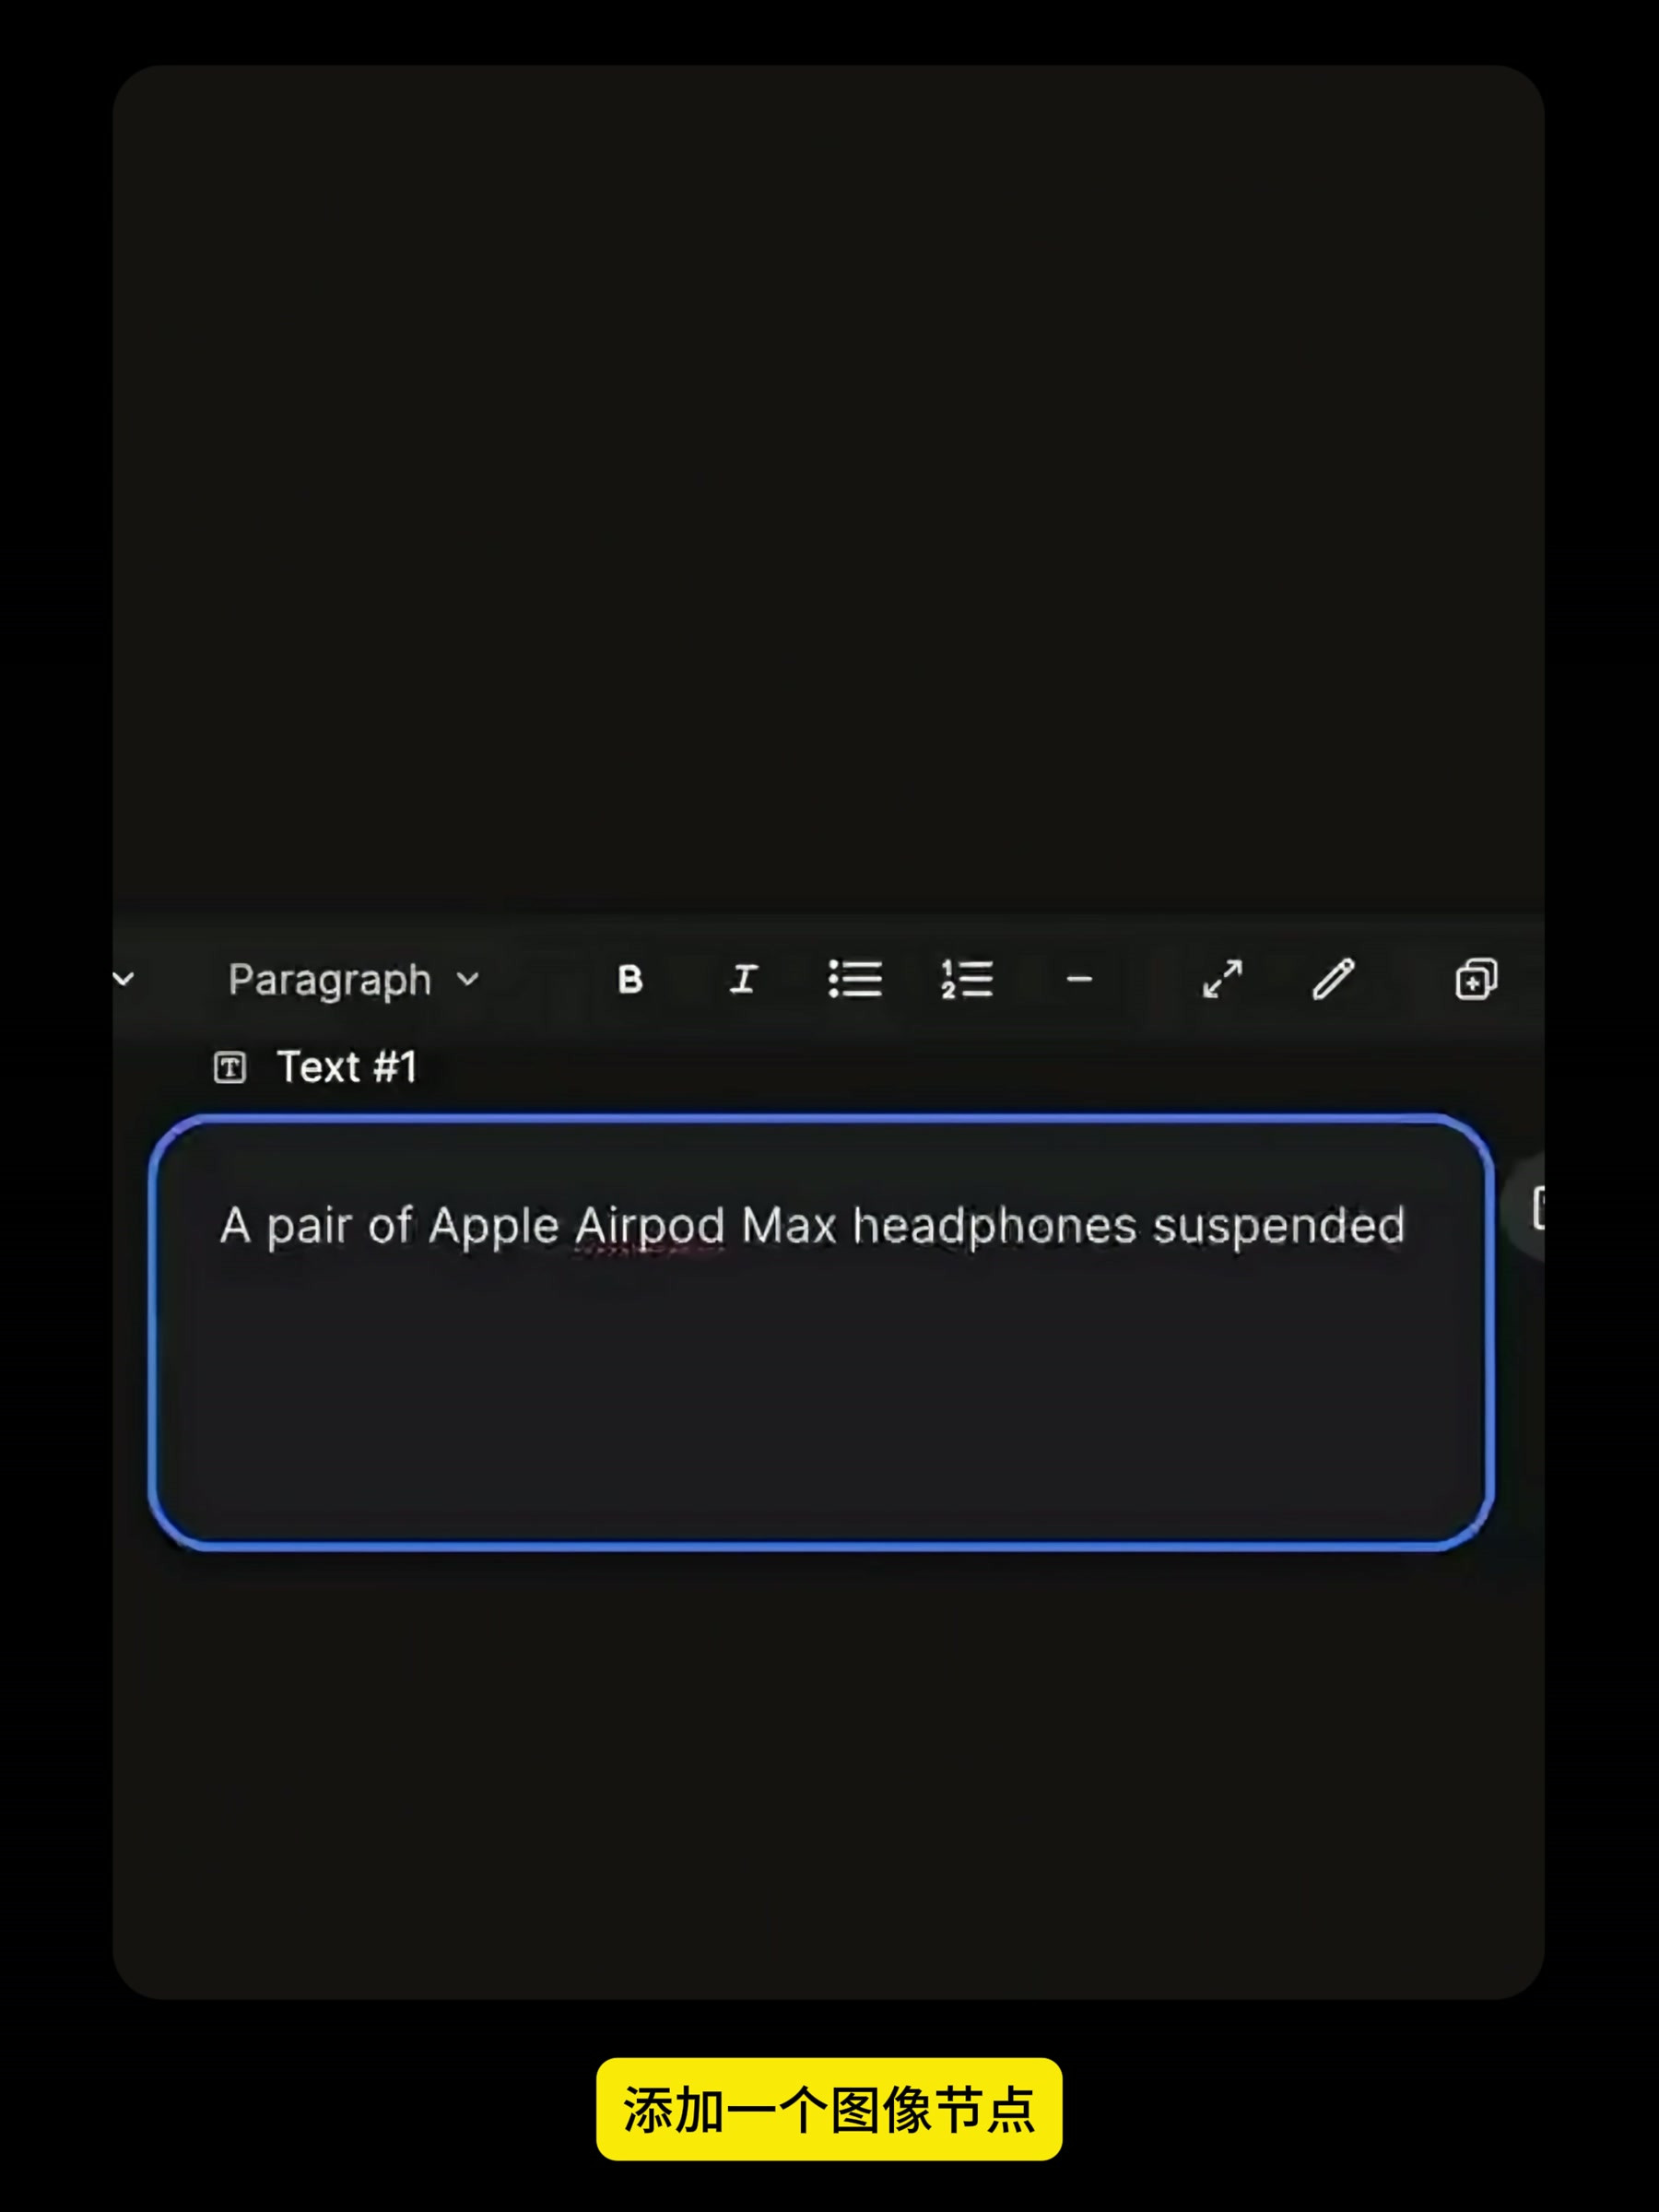
The video is first demonstrated with headphones. The text node reads: "A pair of Apple Airpod Max headphones suspended on a white background." This sentence is not long, but already includes the product, suspension state and white background. For white background product drawings, it is usually more stable to narrow the requirements first, and it is not necessary to put all the lights, lenses and background stories in at the beginning.
Next, add the Image Generator. The key here isn’t any particular button; it’s about saving the “text requirements” and the “generated results” separately. In the future, if you want to switch models, change the scale, or modify the product, you only need to replace the corresponding node; the rest can still be reused.
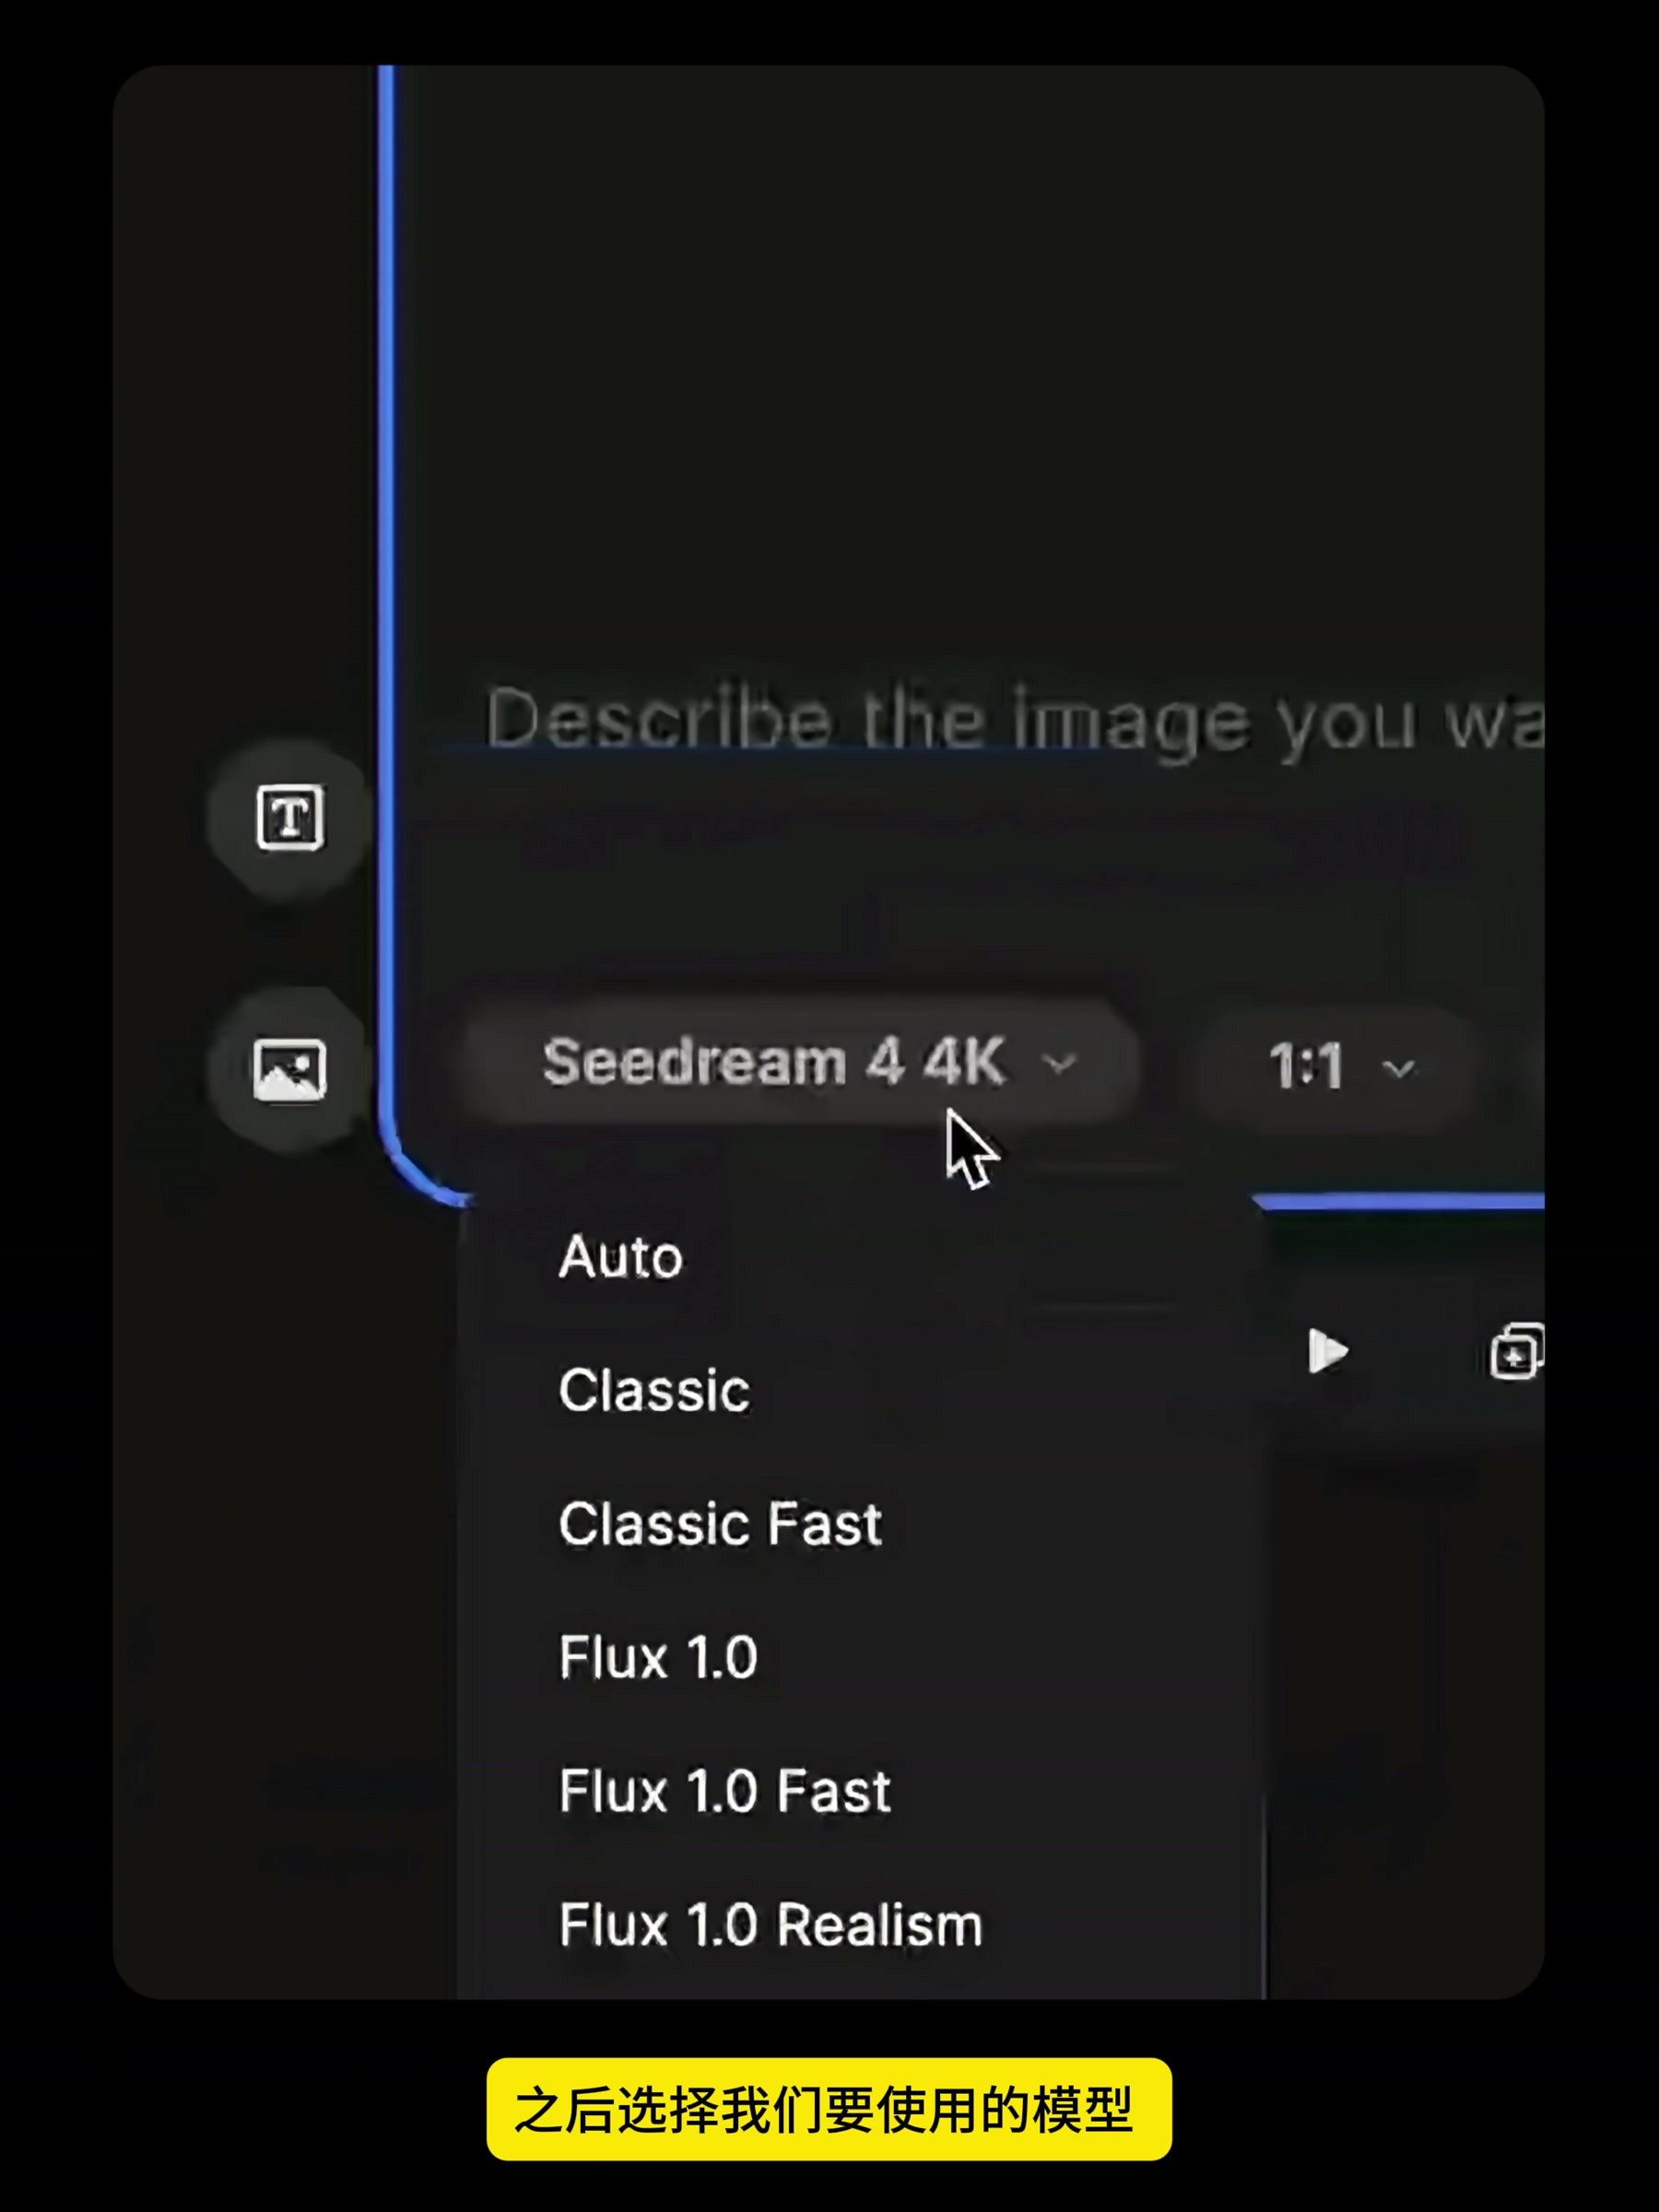
In the example image, Seedream 4 4K is selected; other available models are also visible in the interface. The model is not a fixed answer: first use a model to run through the structure, and then decide whether to replace it according to the product material, detail stability and generation speed, which will save time than repeated jumps at the beginning.
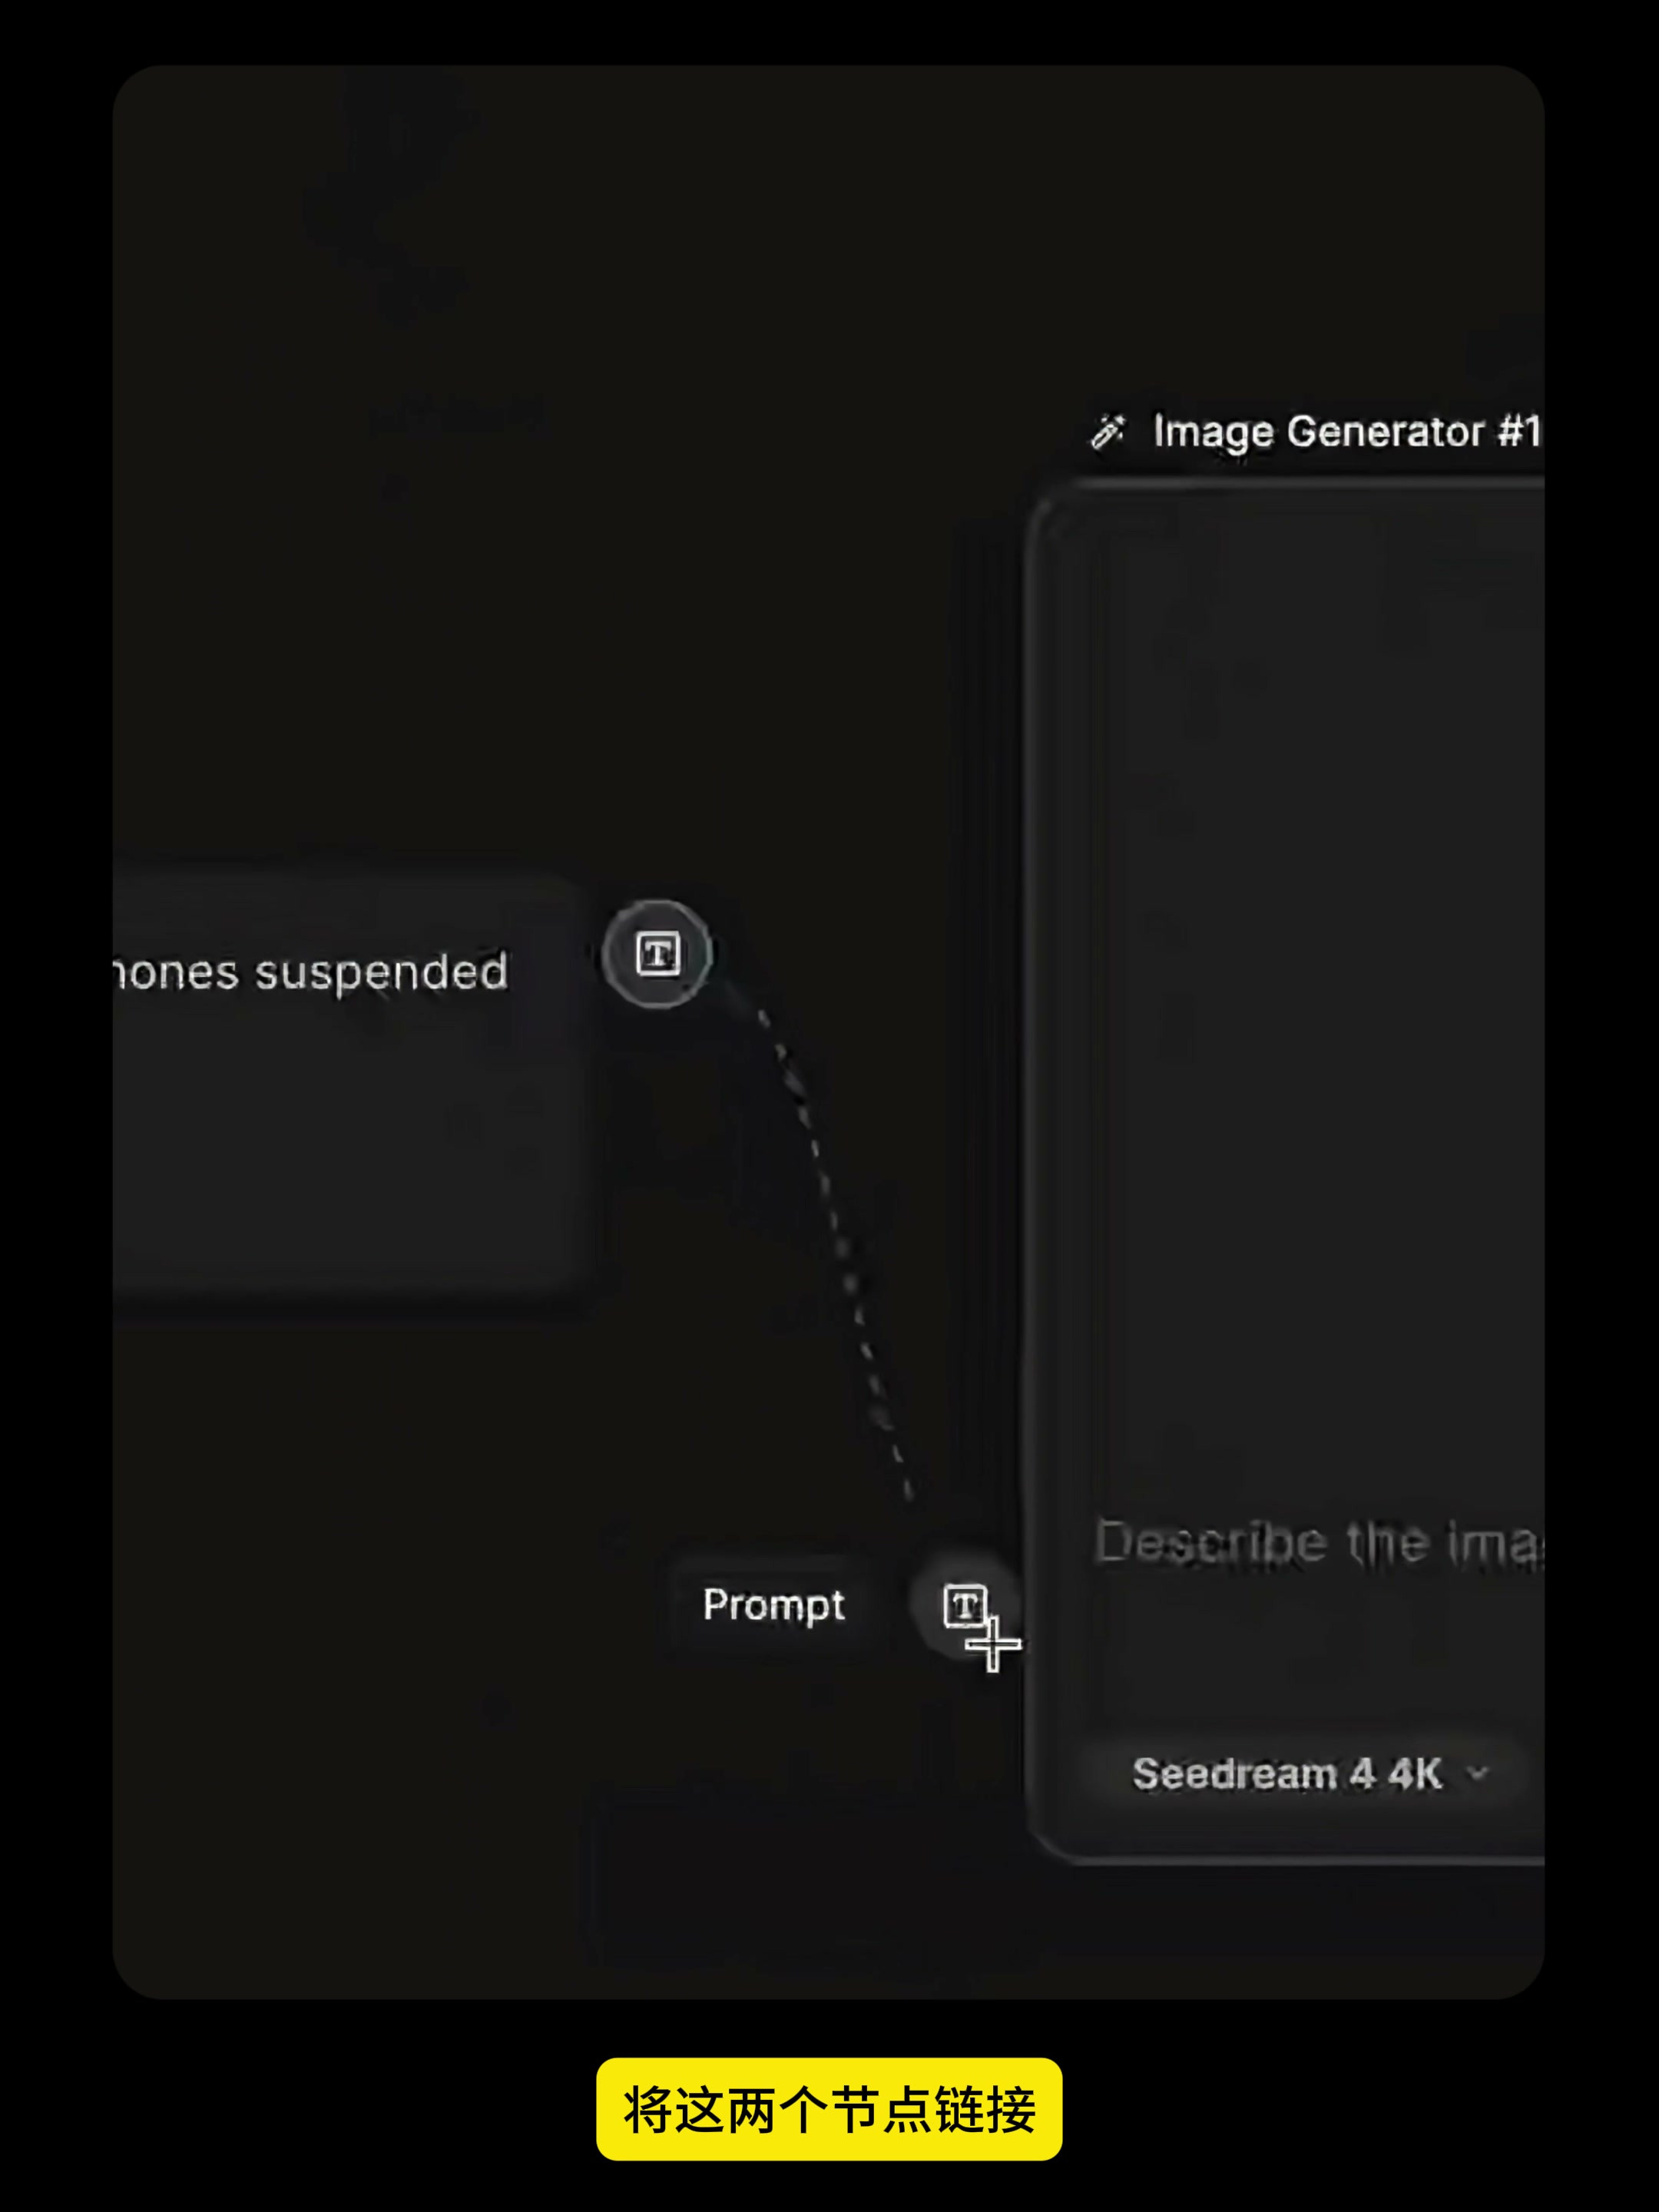
Connect the output of the Text node to the Prompt input of the Image Generator, and the text prompt will serve as the generation condition for the image node. The node line may seem like a minor operation, but it preserves the relationship between the input and the output. You can instantly see which image was generated by which prompt.
3. First create a clean base drawing, then refine the visual style.
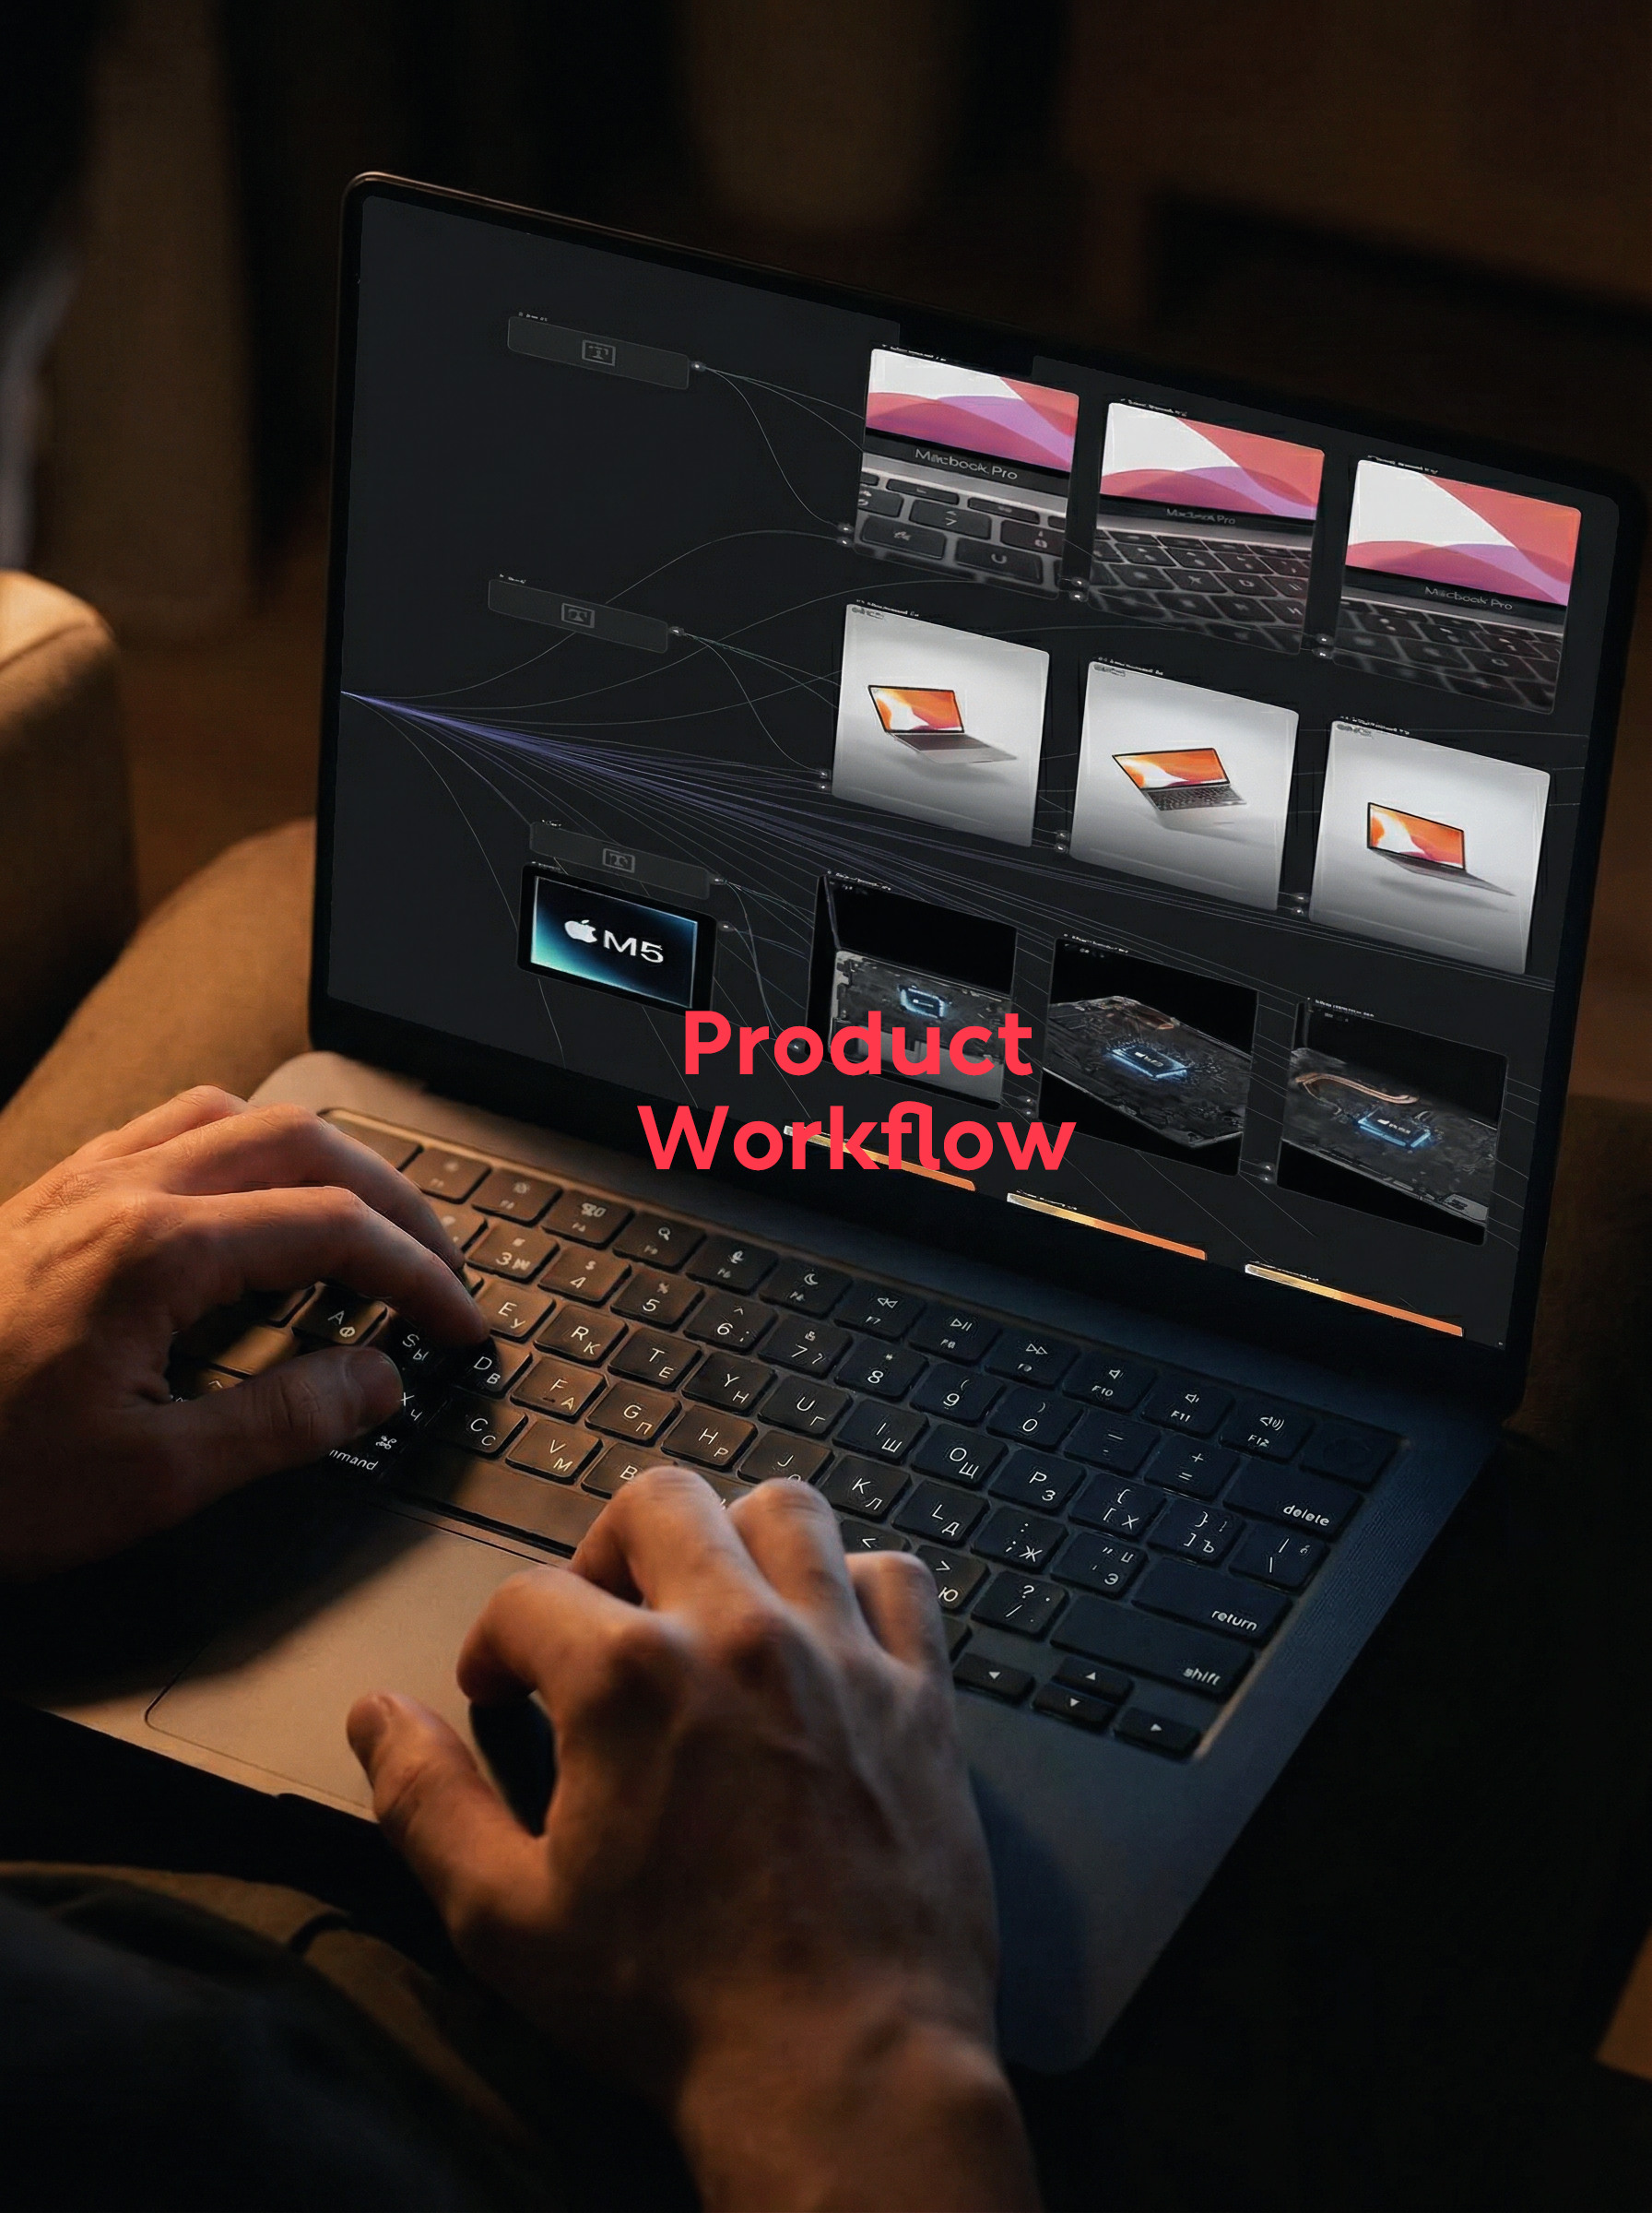
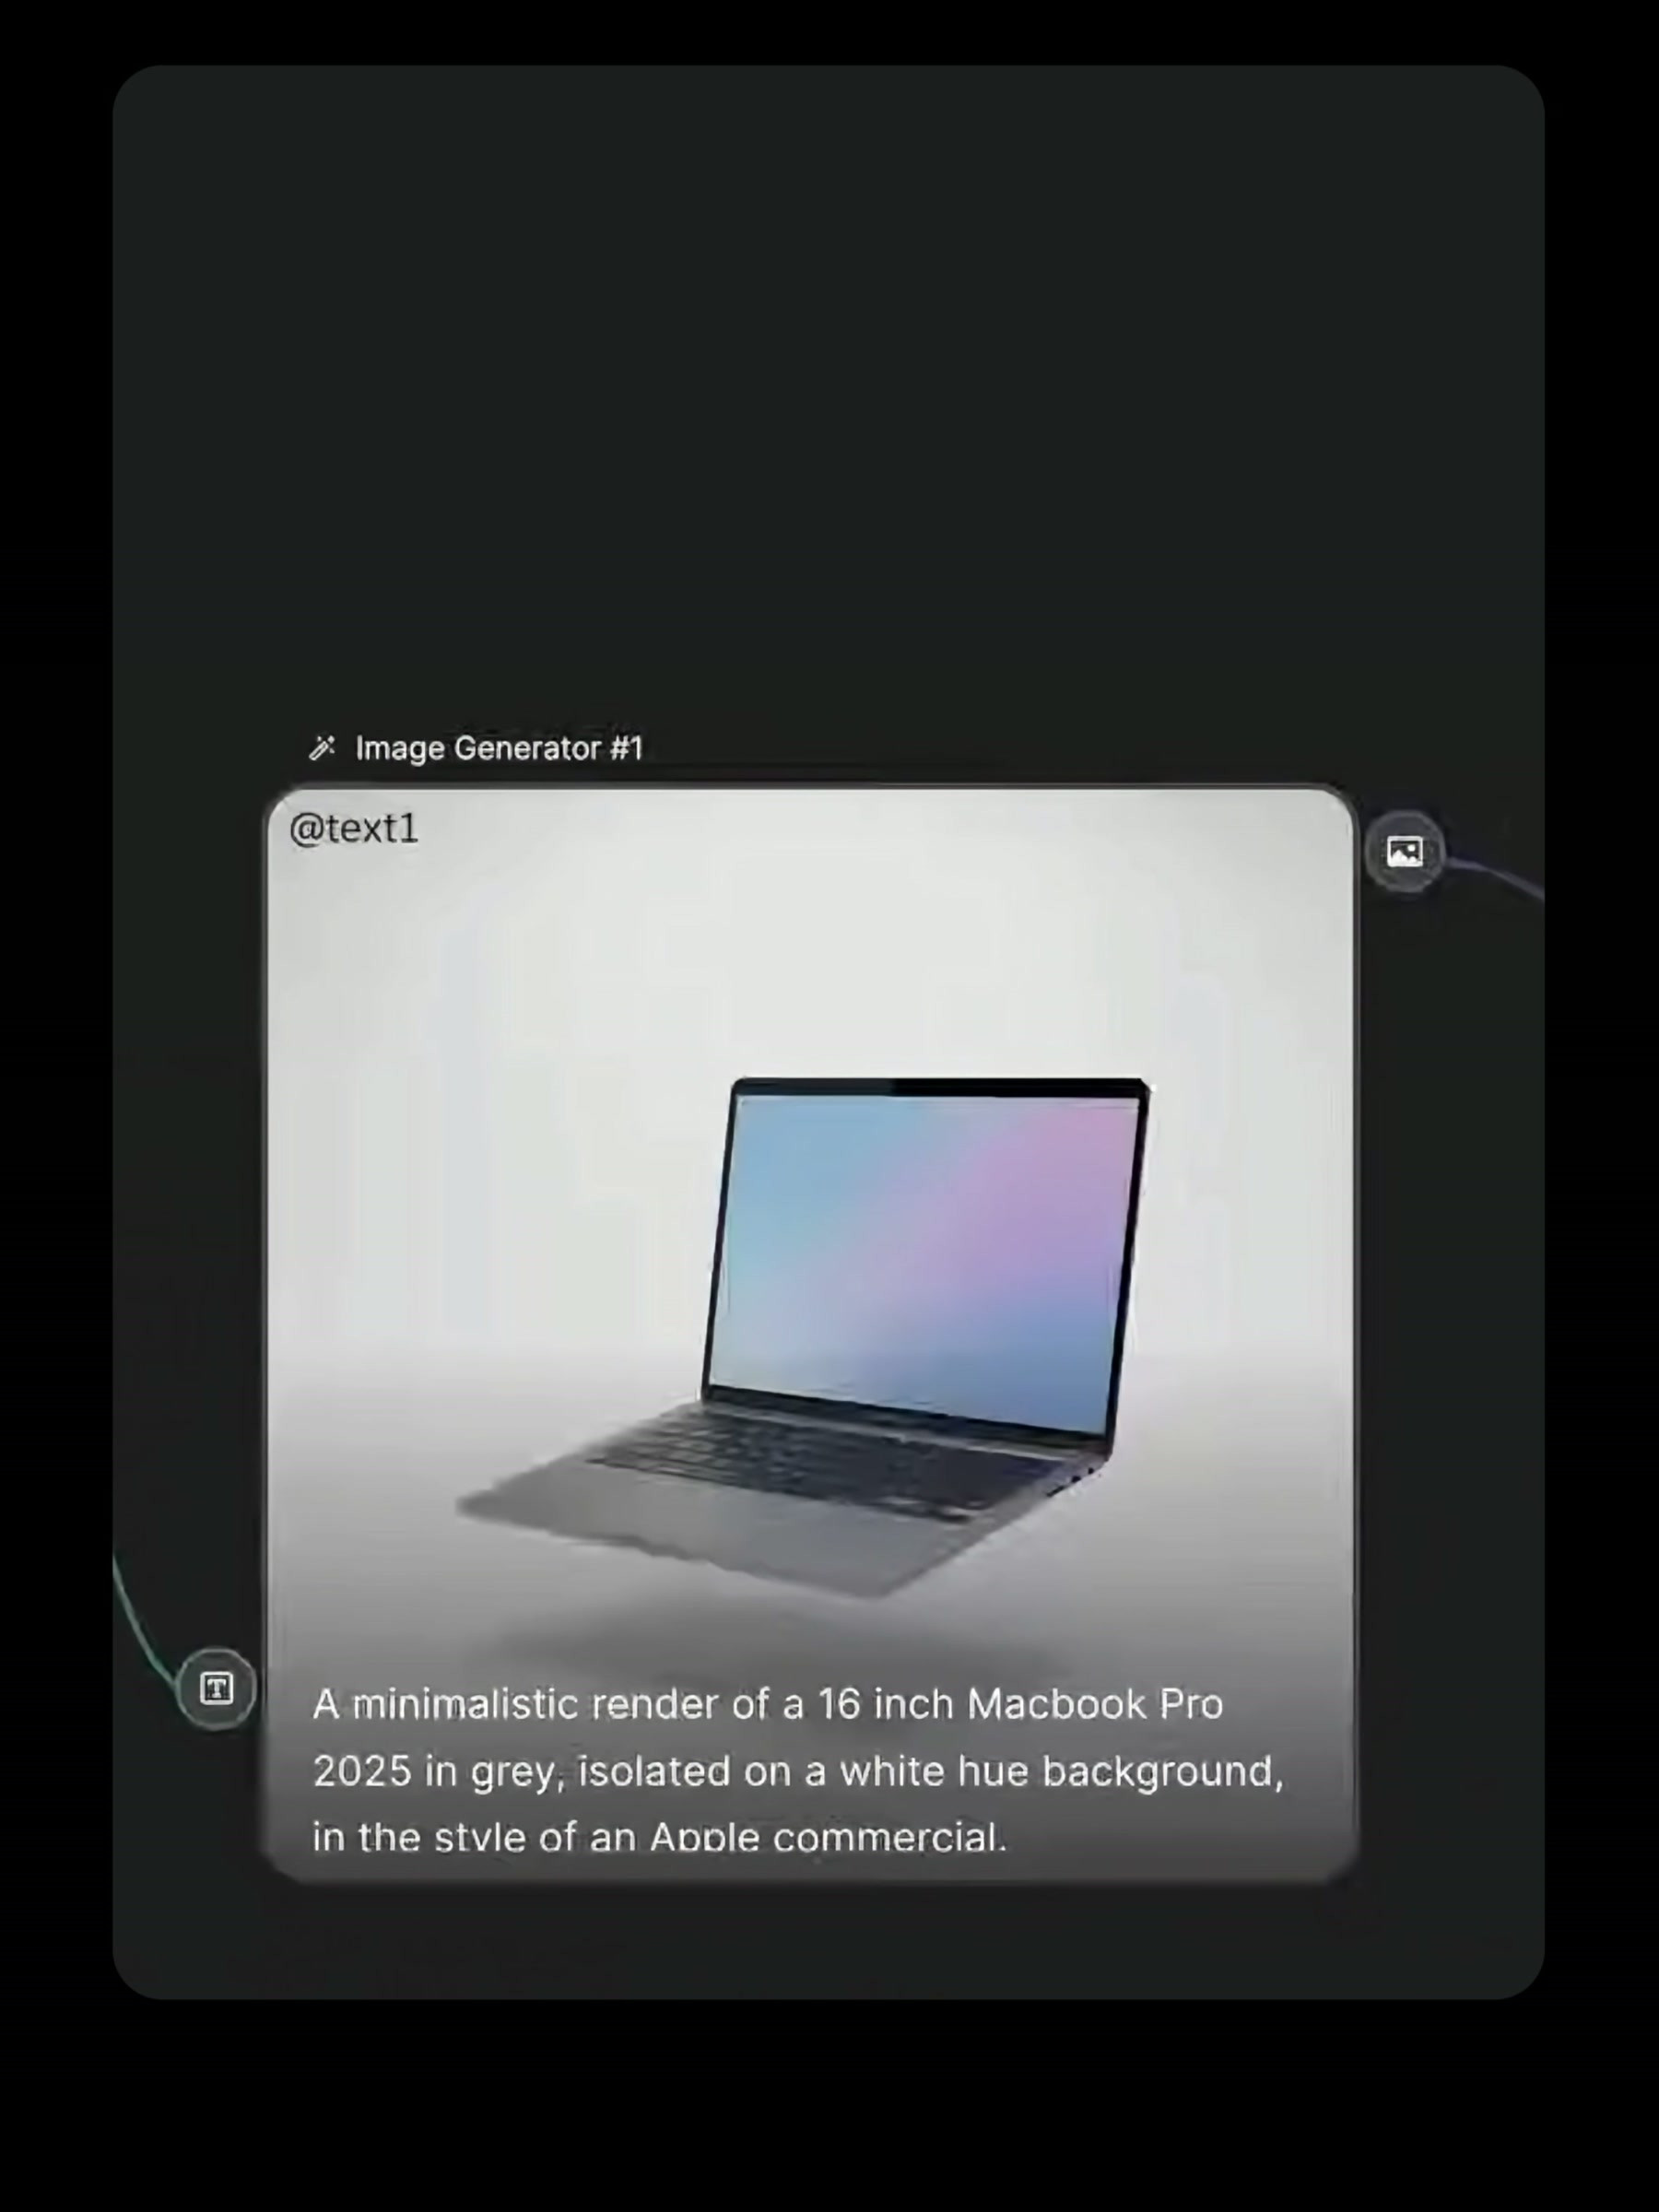
The official product example uses this prompt: "A minimalistic render of a 16 inch Macbook Pro 2025 in gray, isolated on a white hue background, in the style of an Apple commercial." It puts the product model, color, white background and advertising feeling in the same sentence, and first obtains a basic drawing that is convenient for further processing.
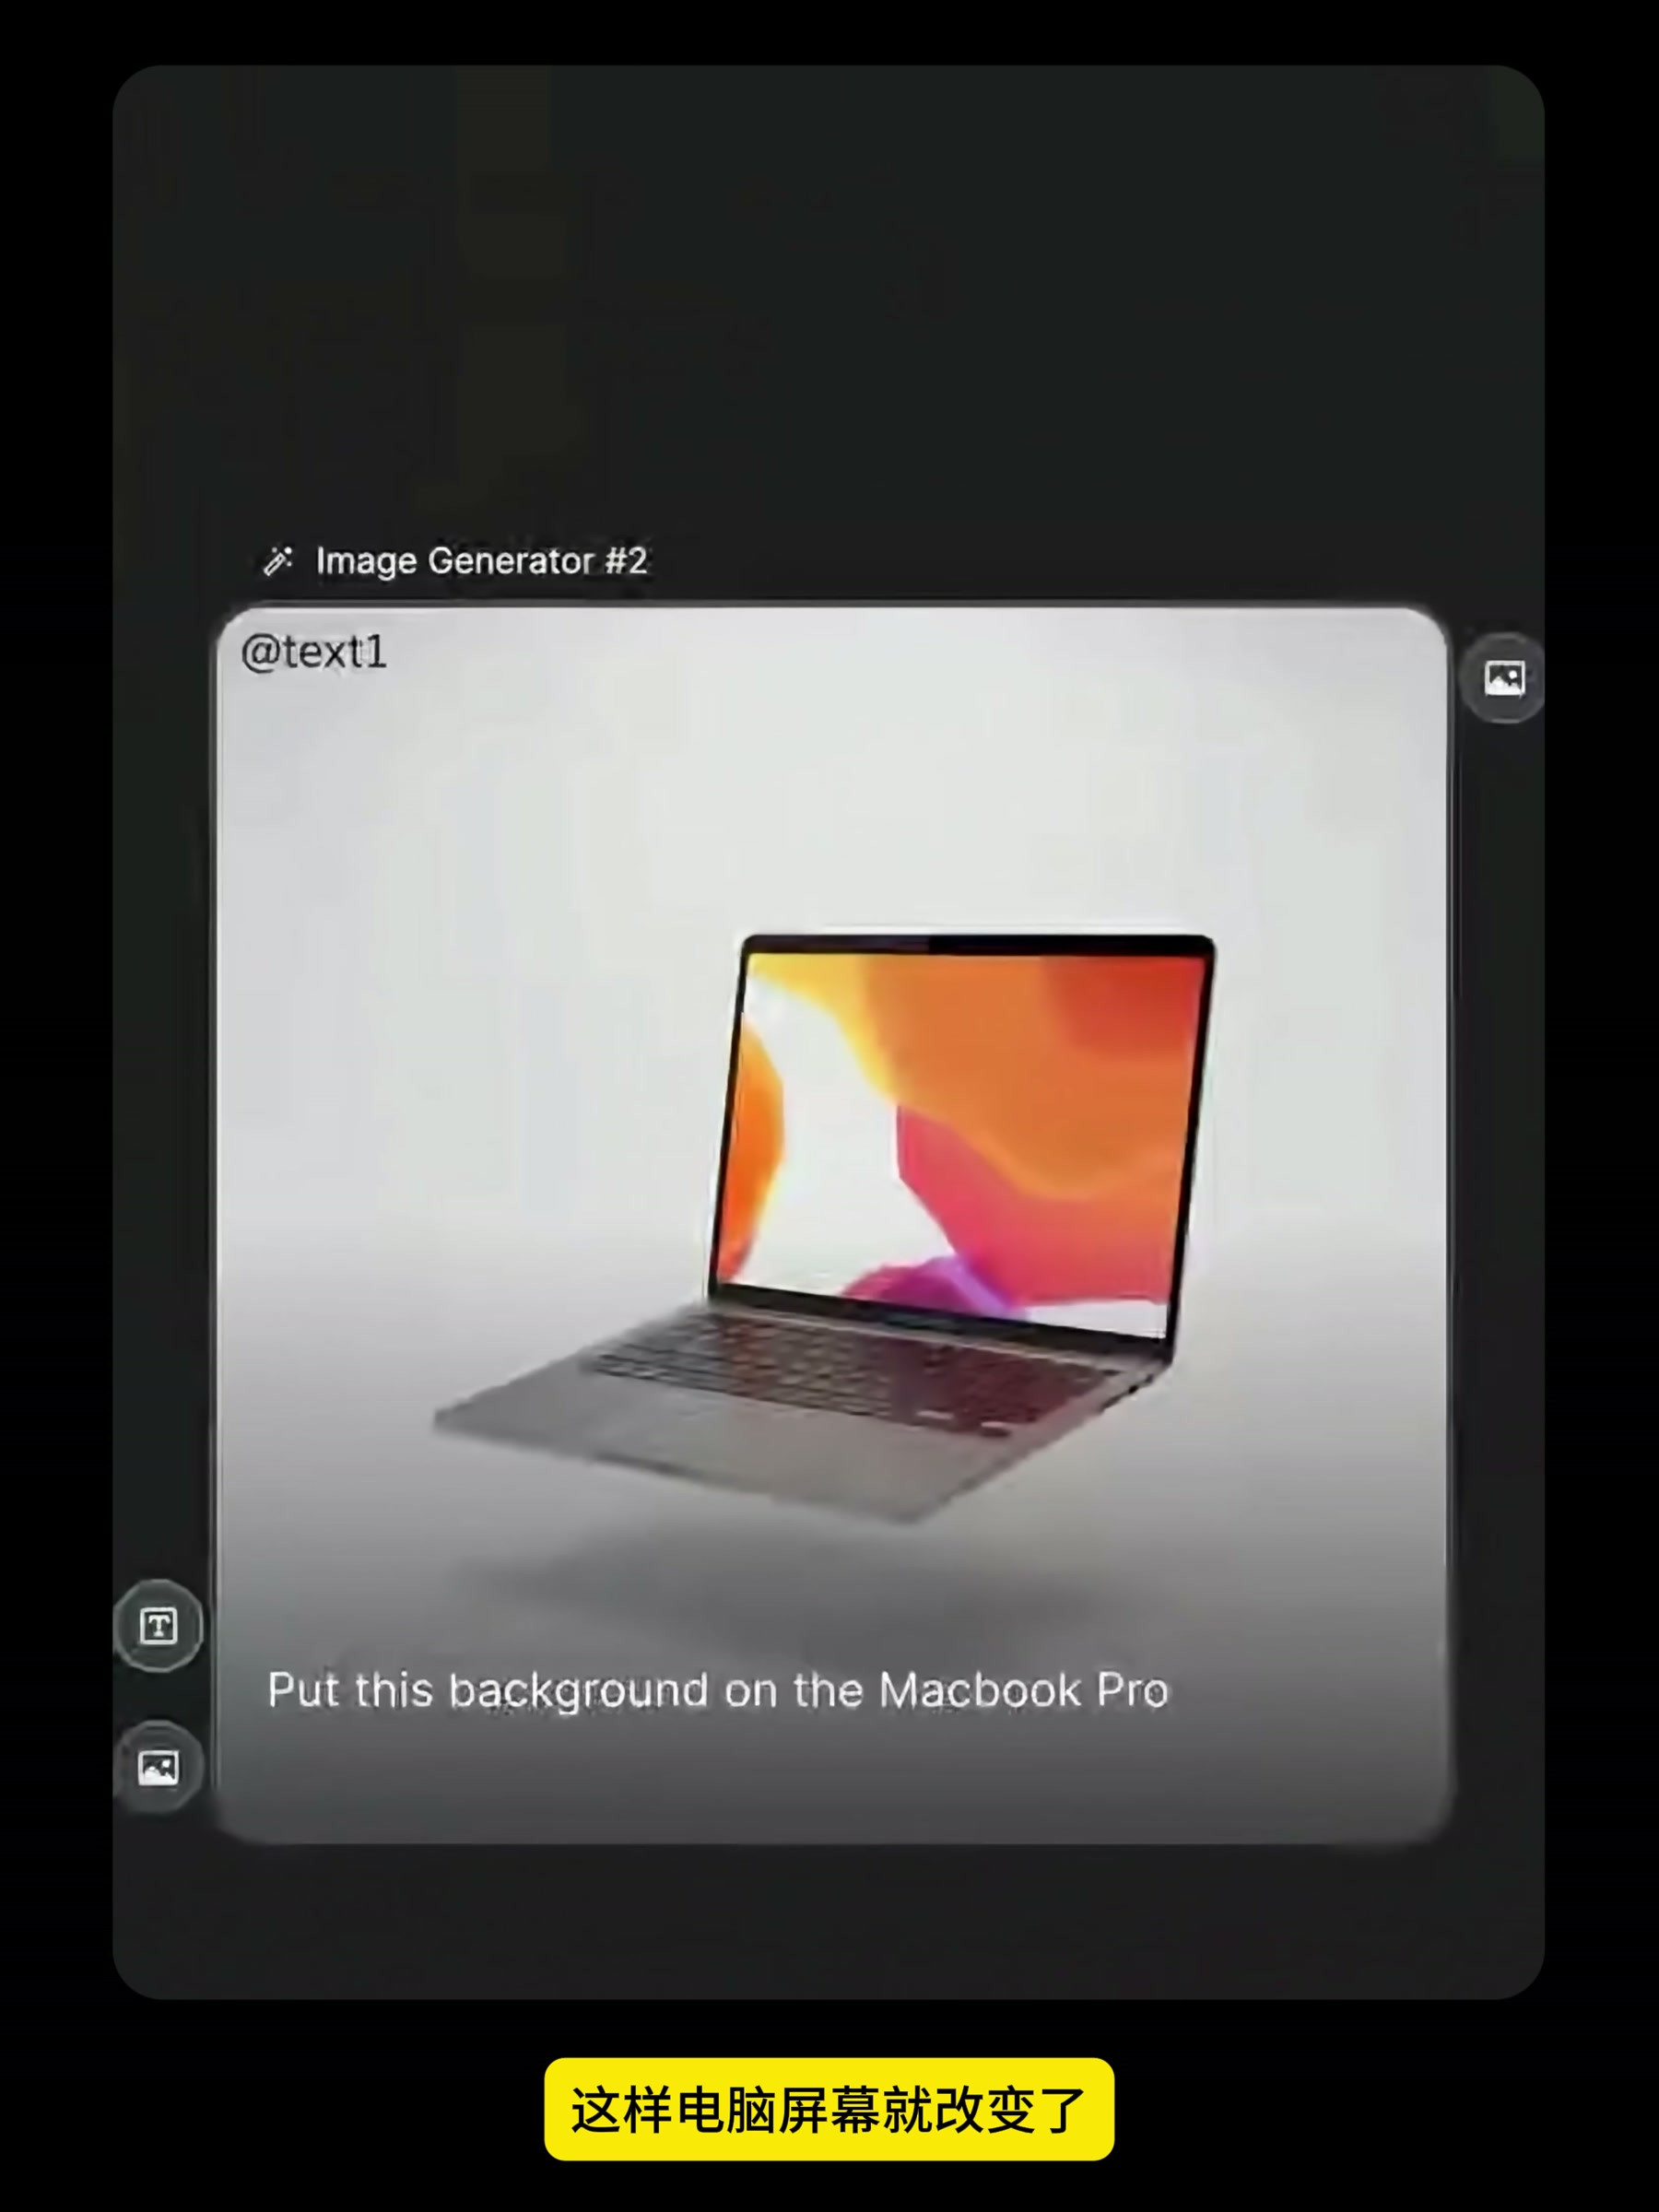
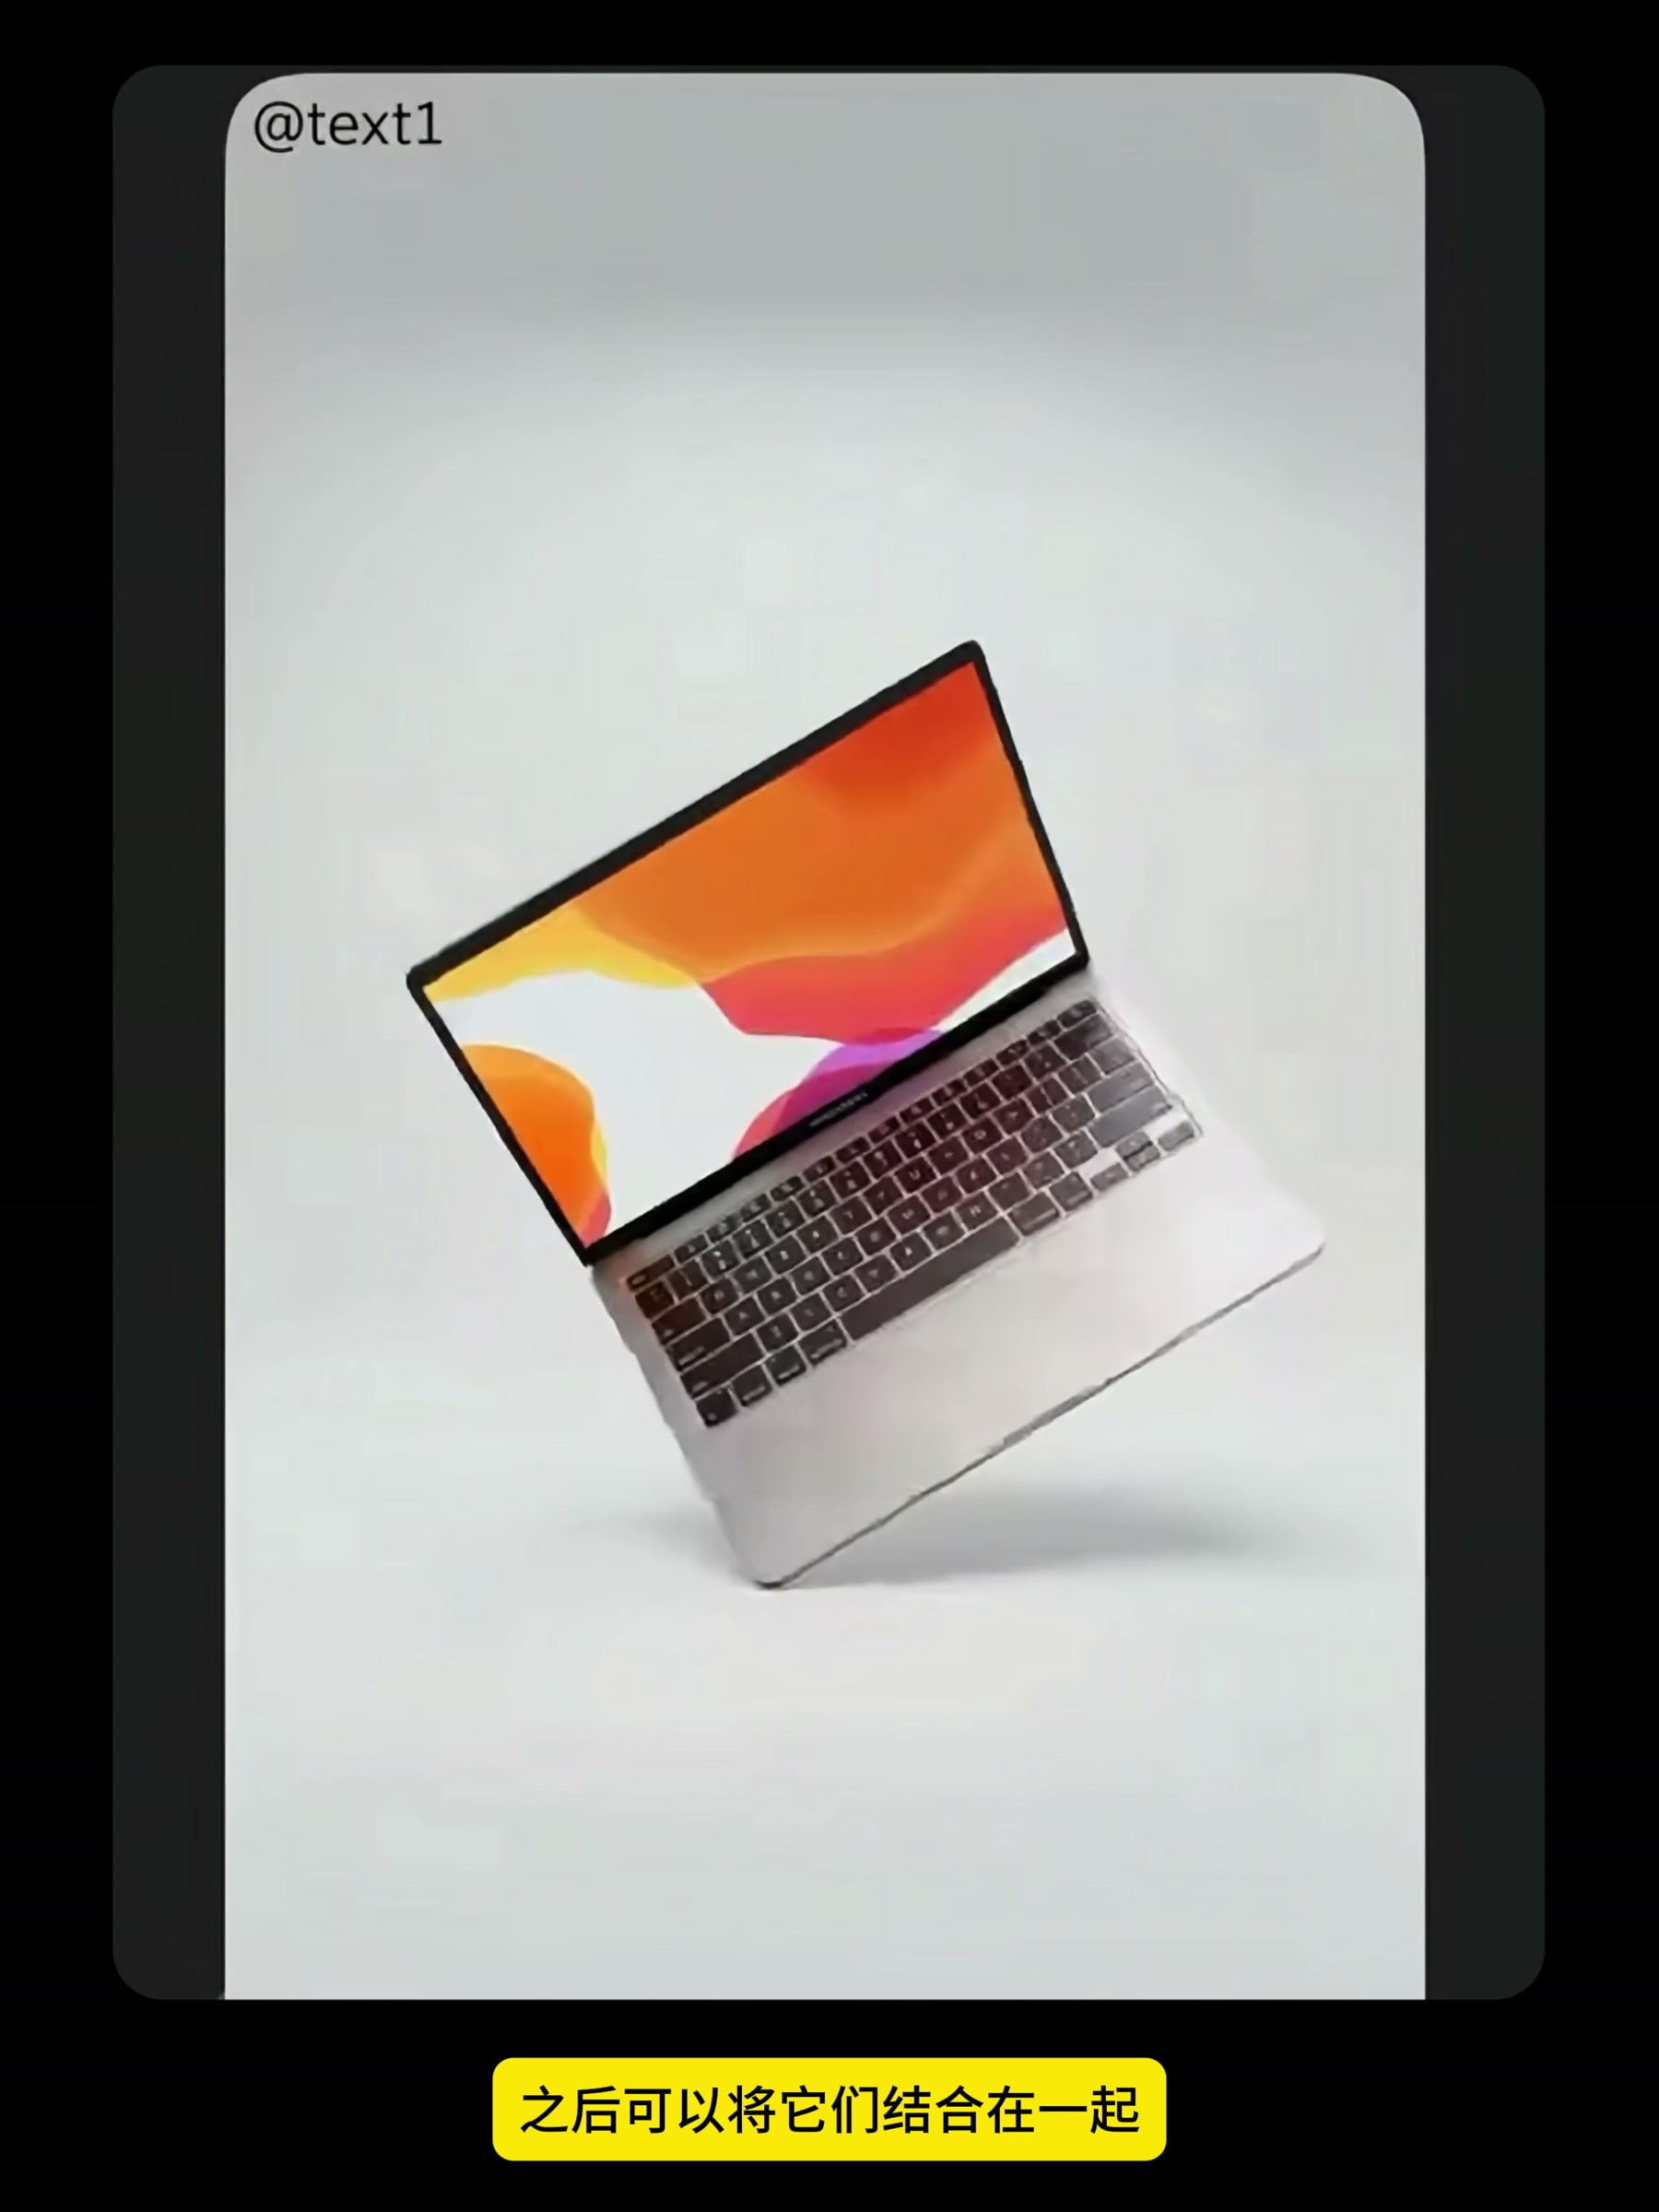
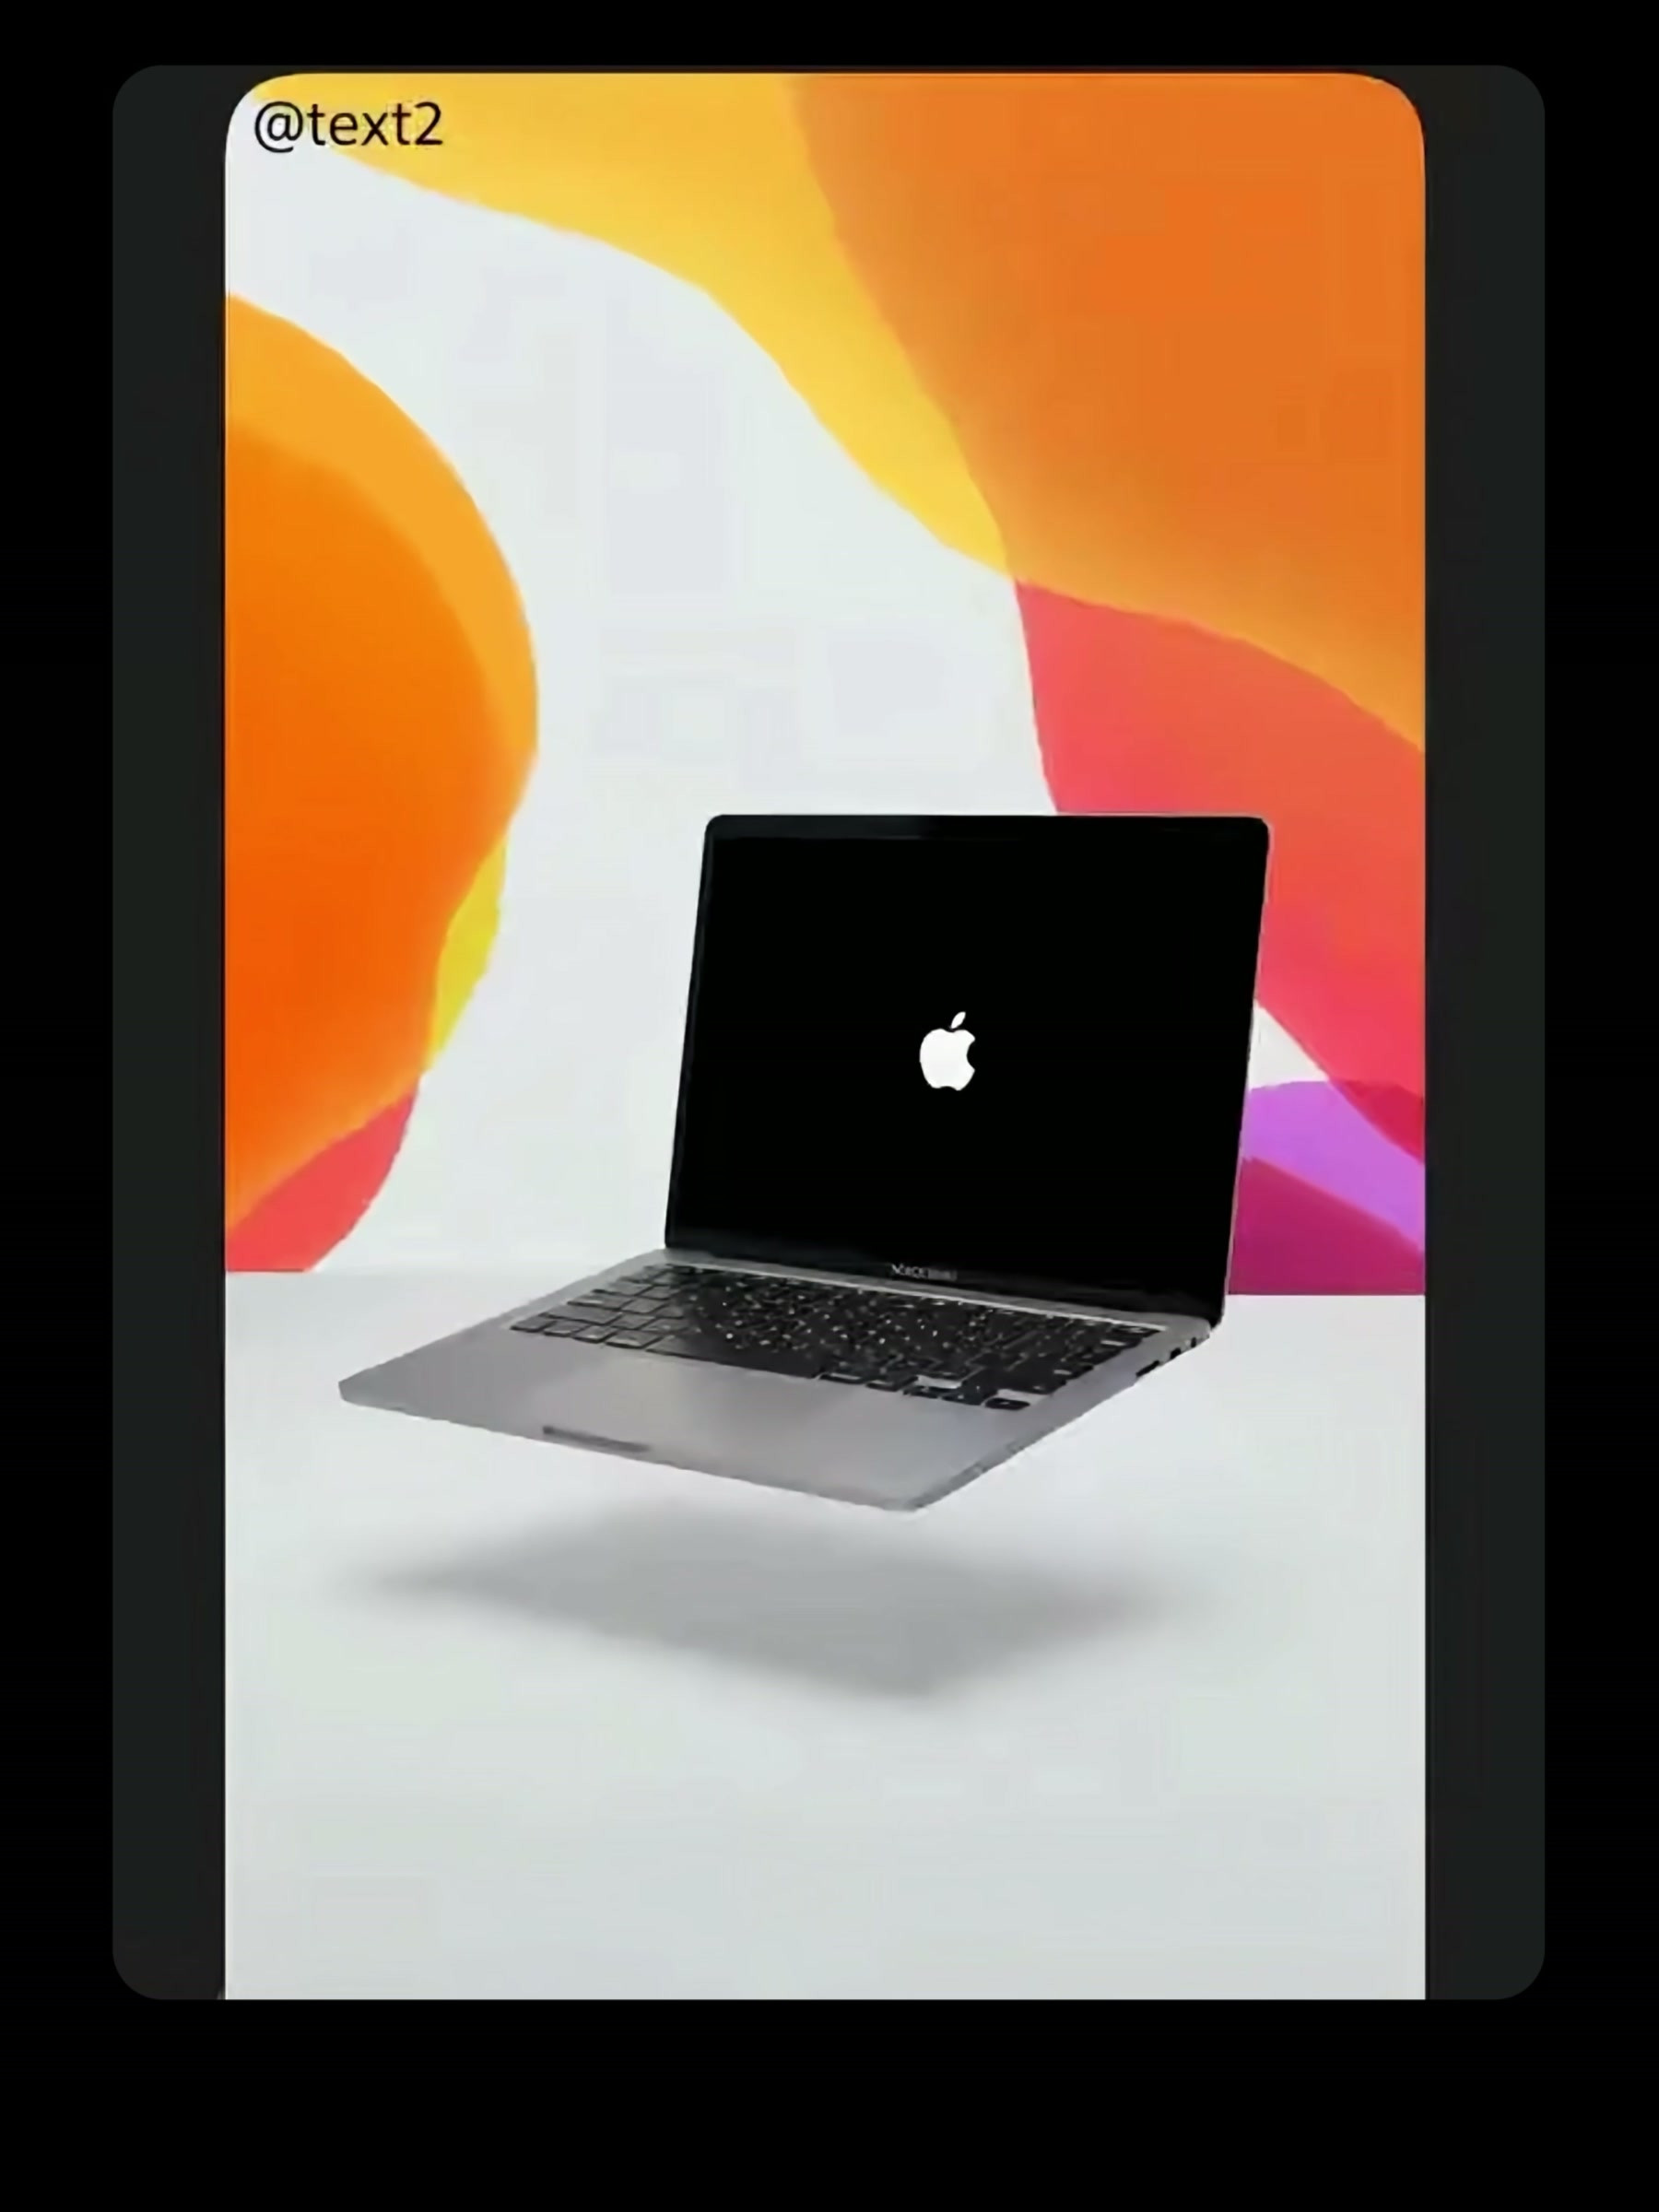
Here’s a very practical approach: don’t overhaul both the product design and the visual background at the same time. The case keeps the body and angle of the notebook first, then connects the orange-red abstract background separately, and uses a "Put this background on the Macbook Pro" to let the background enter the screen. This way, the scope of changes is narrower, and the product structure is easier to maintain.
4. Make aspect ratio adaptation a separate step as well.
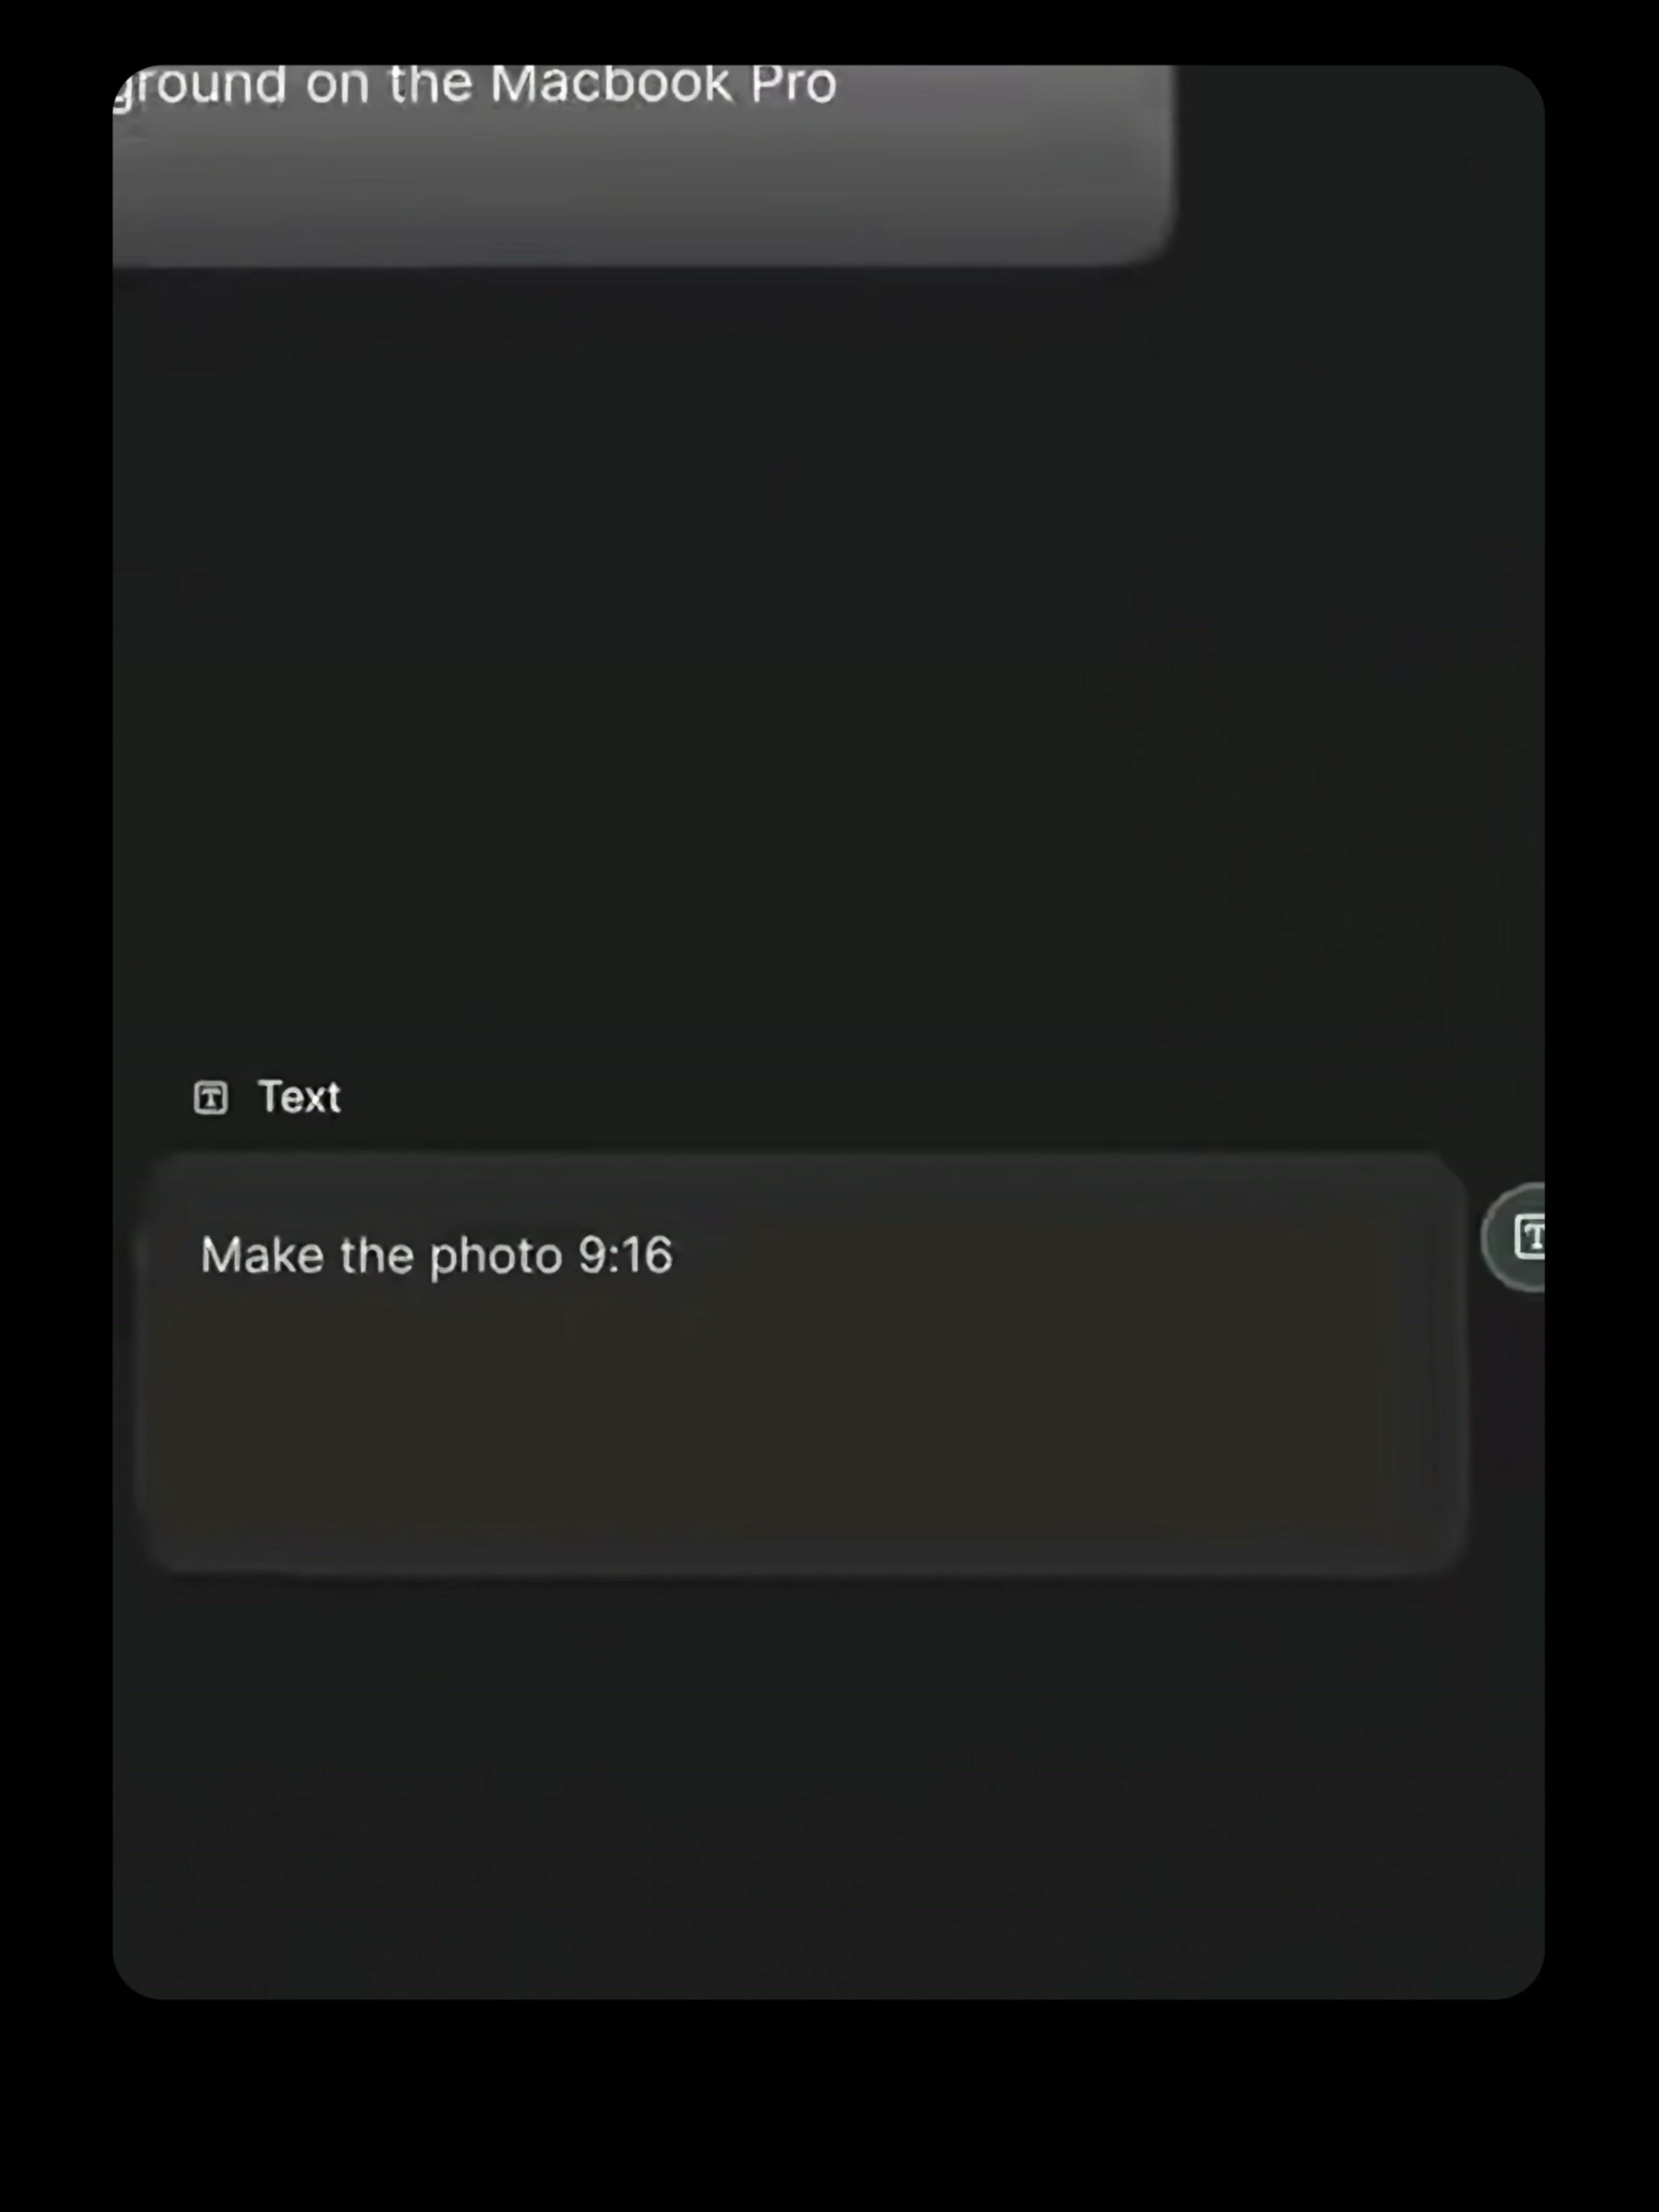
If the content is to be posted on a short-video platform, you can add another text prompt: “Make the photo 9:16”. Do not request a white background, background blending, multiple angles, and a vertical composition all at once during the initial generation. By isolating the proportion, it will be easier to pinpoint which step went wrong.
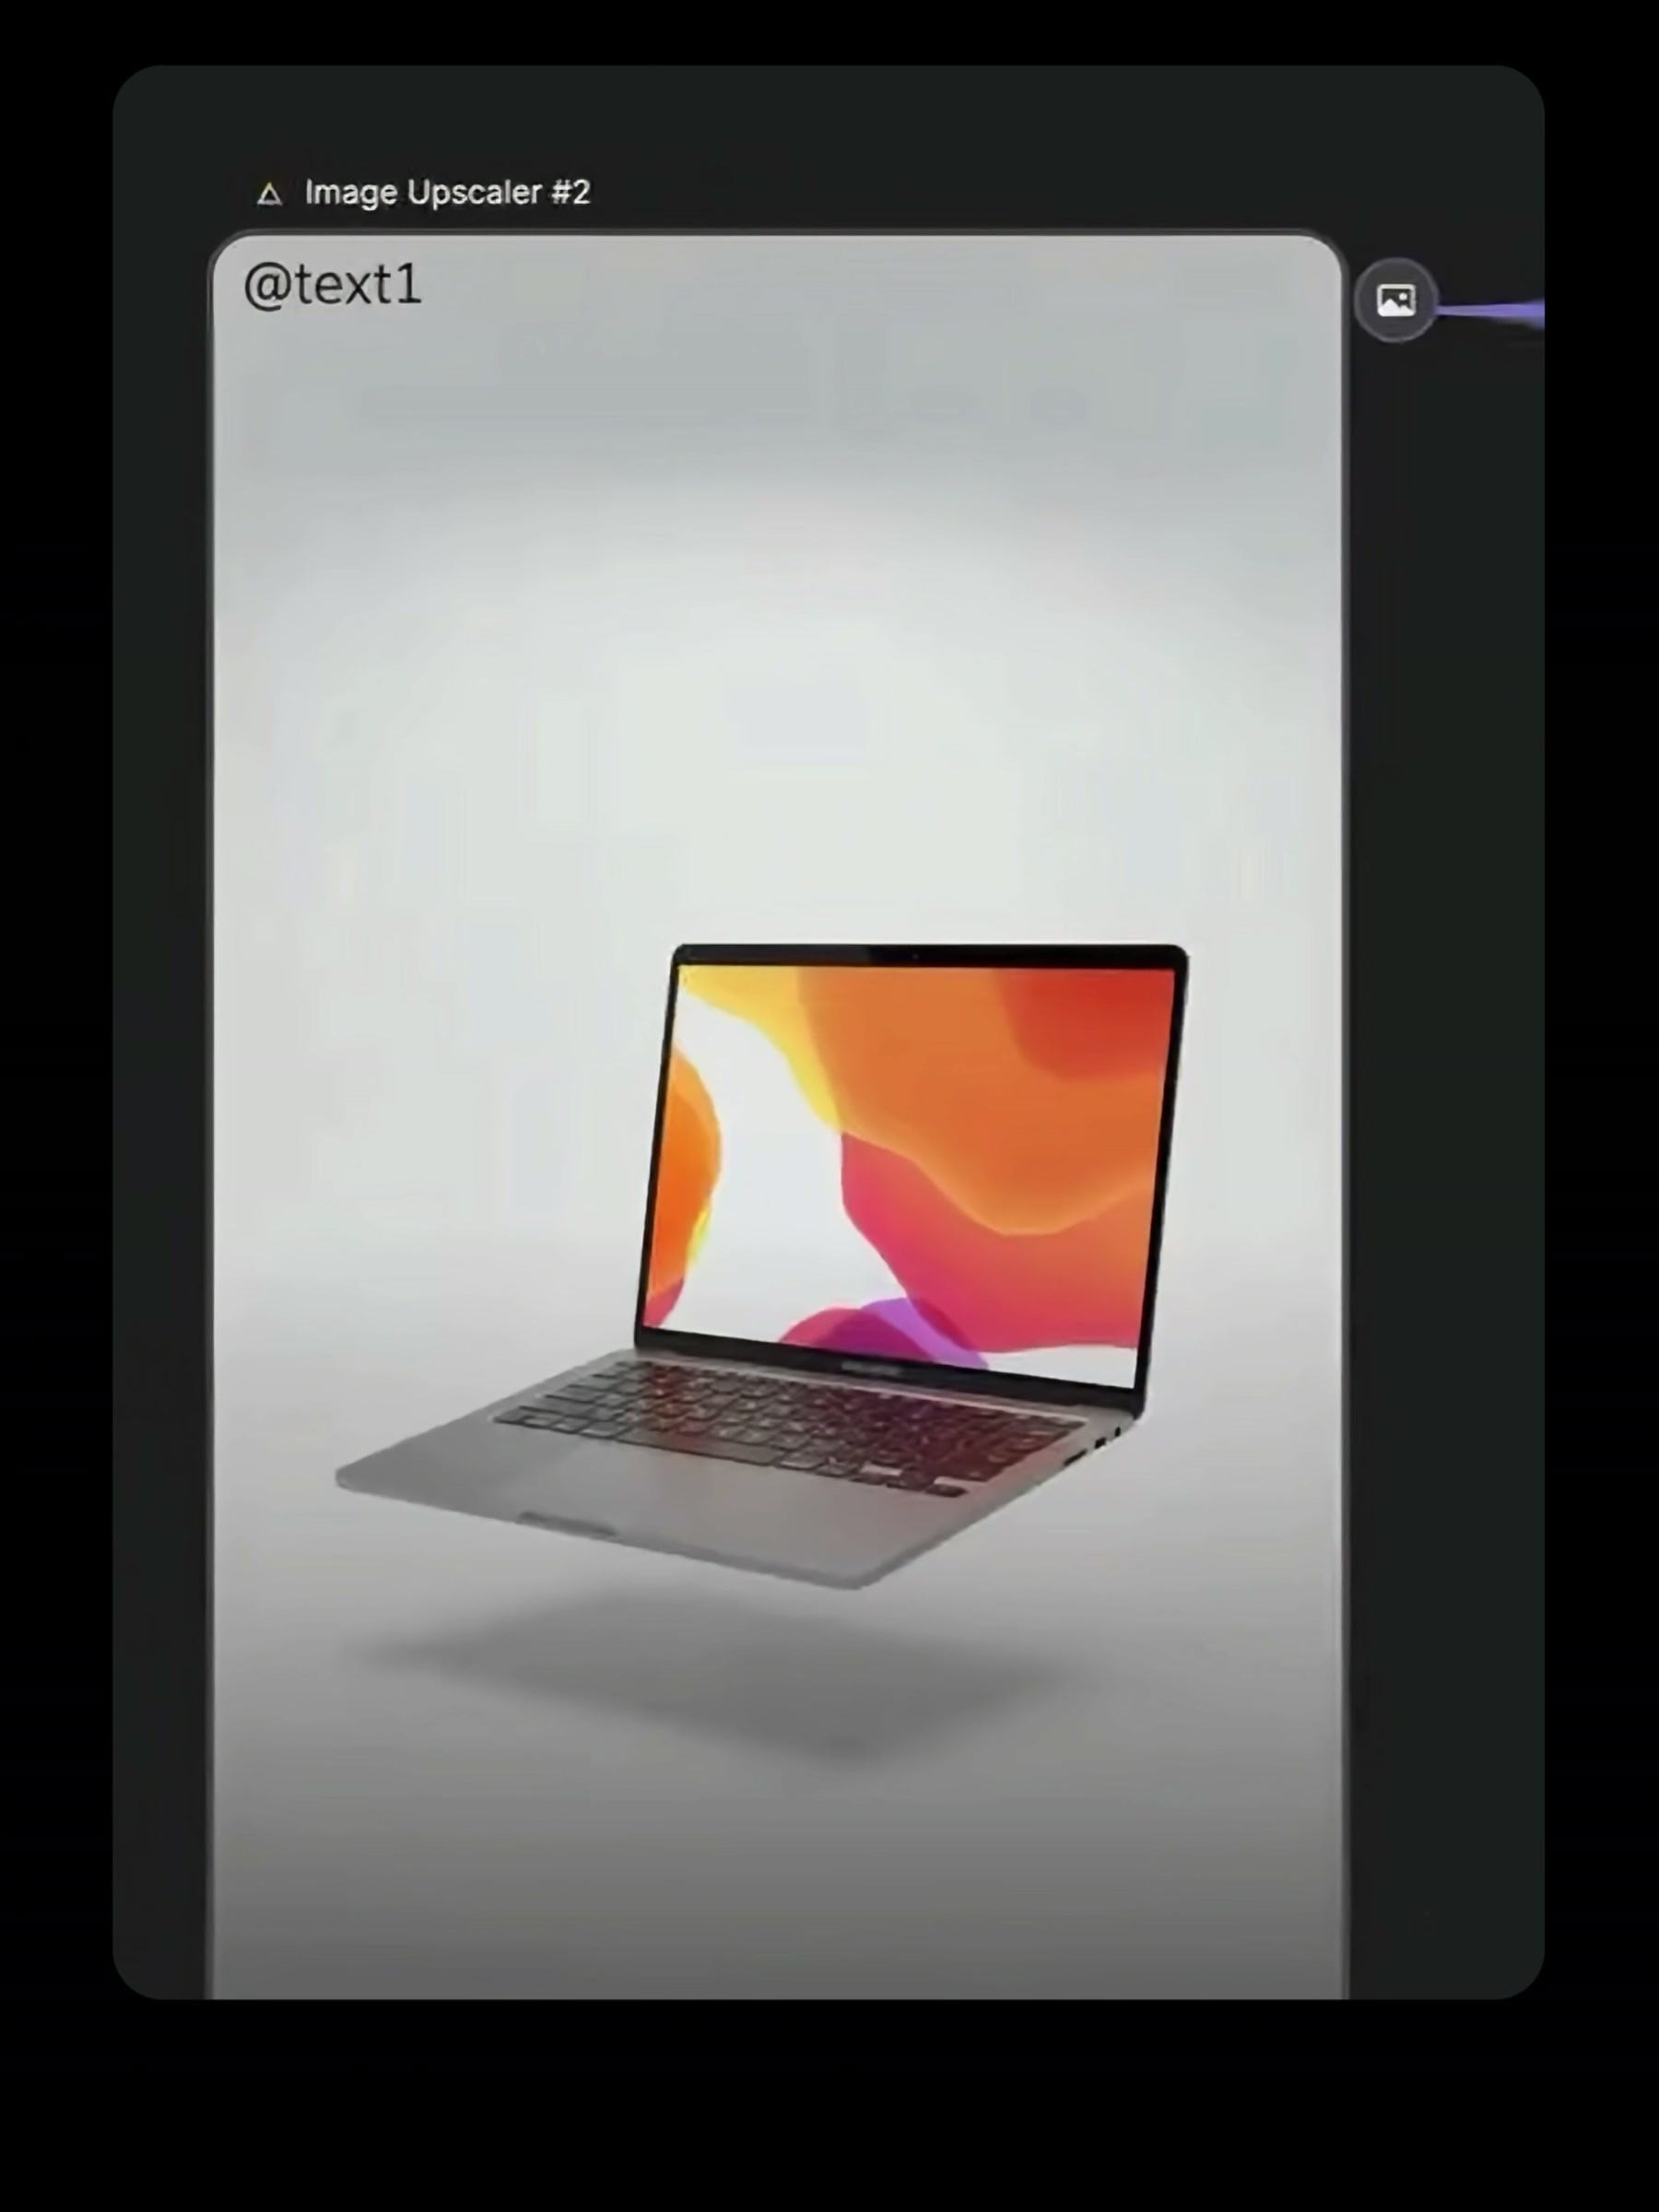
After the screen switches to portrait mode, the system feeds the result into Image Upscaler for enlargement. Aspect ratio conversion addresses composition, while high-resolution processing addresses clarity; it’s best to evaluate these two objectives separately. Especially the keyboard, ports, and edges of the device—when magnified, any warping becomes more apparent.
5. For the same set of product assets, create angle branches in batches.
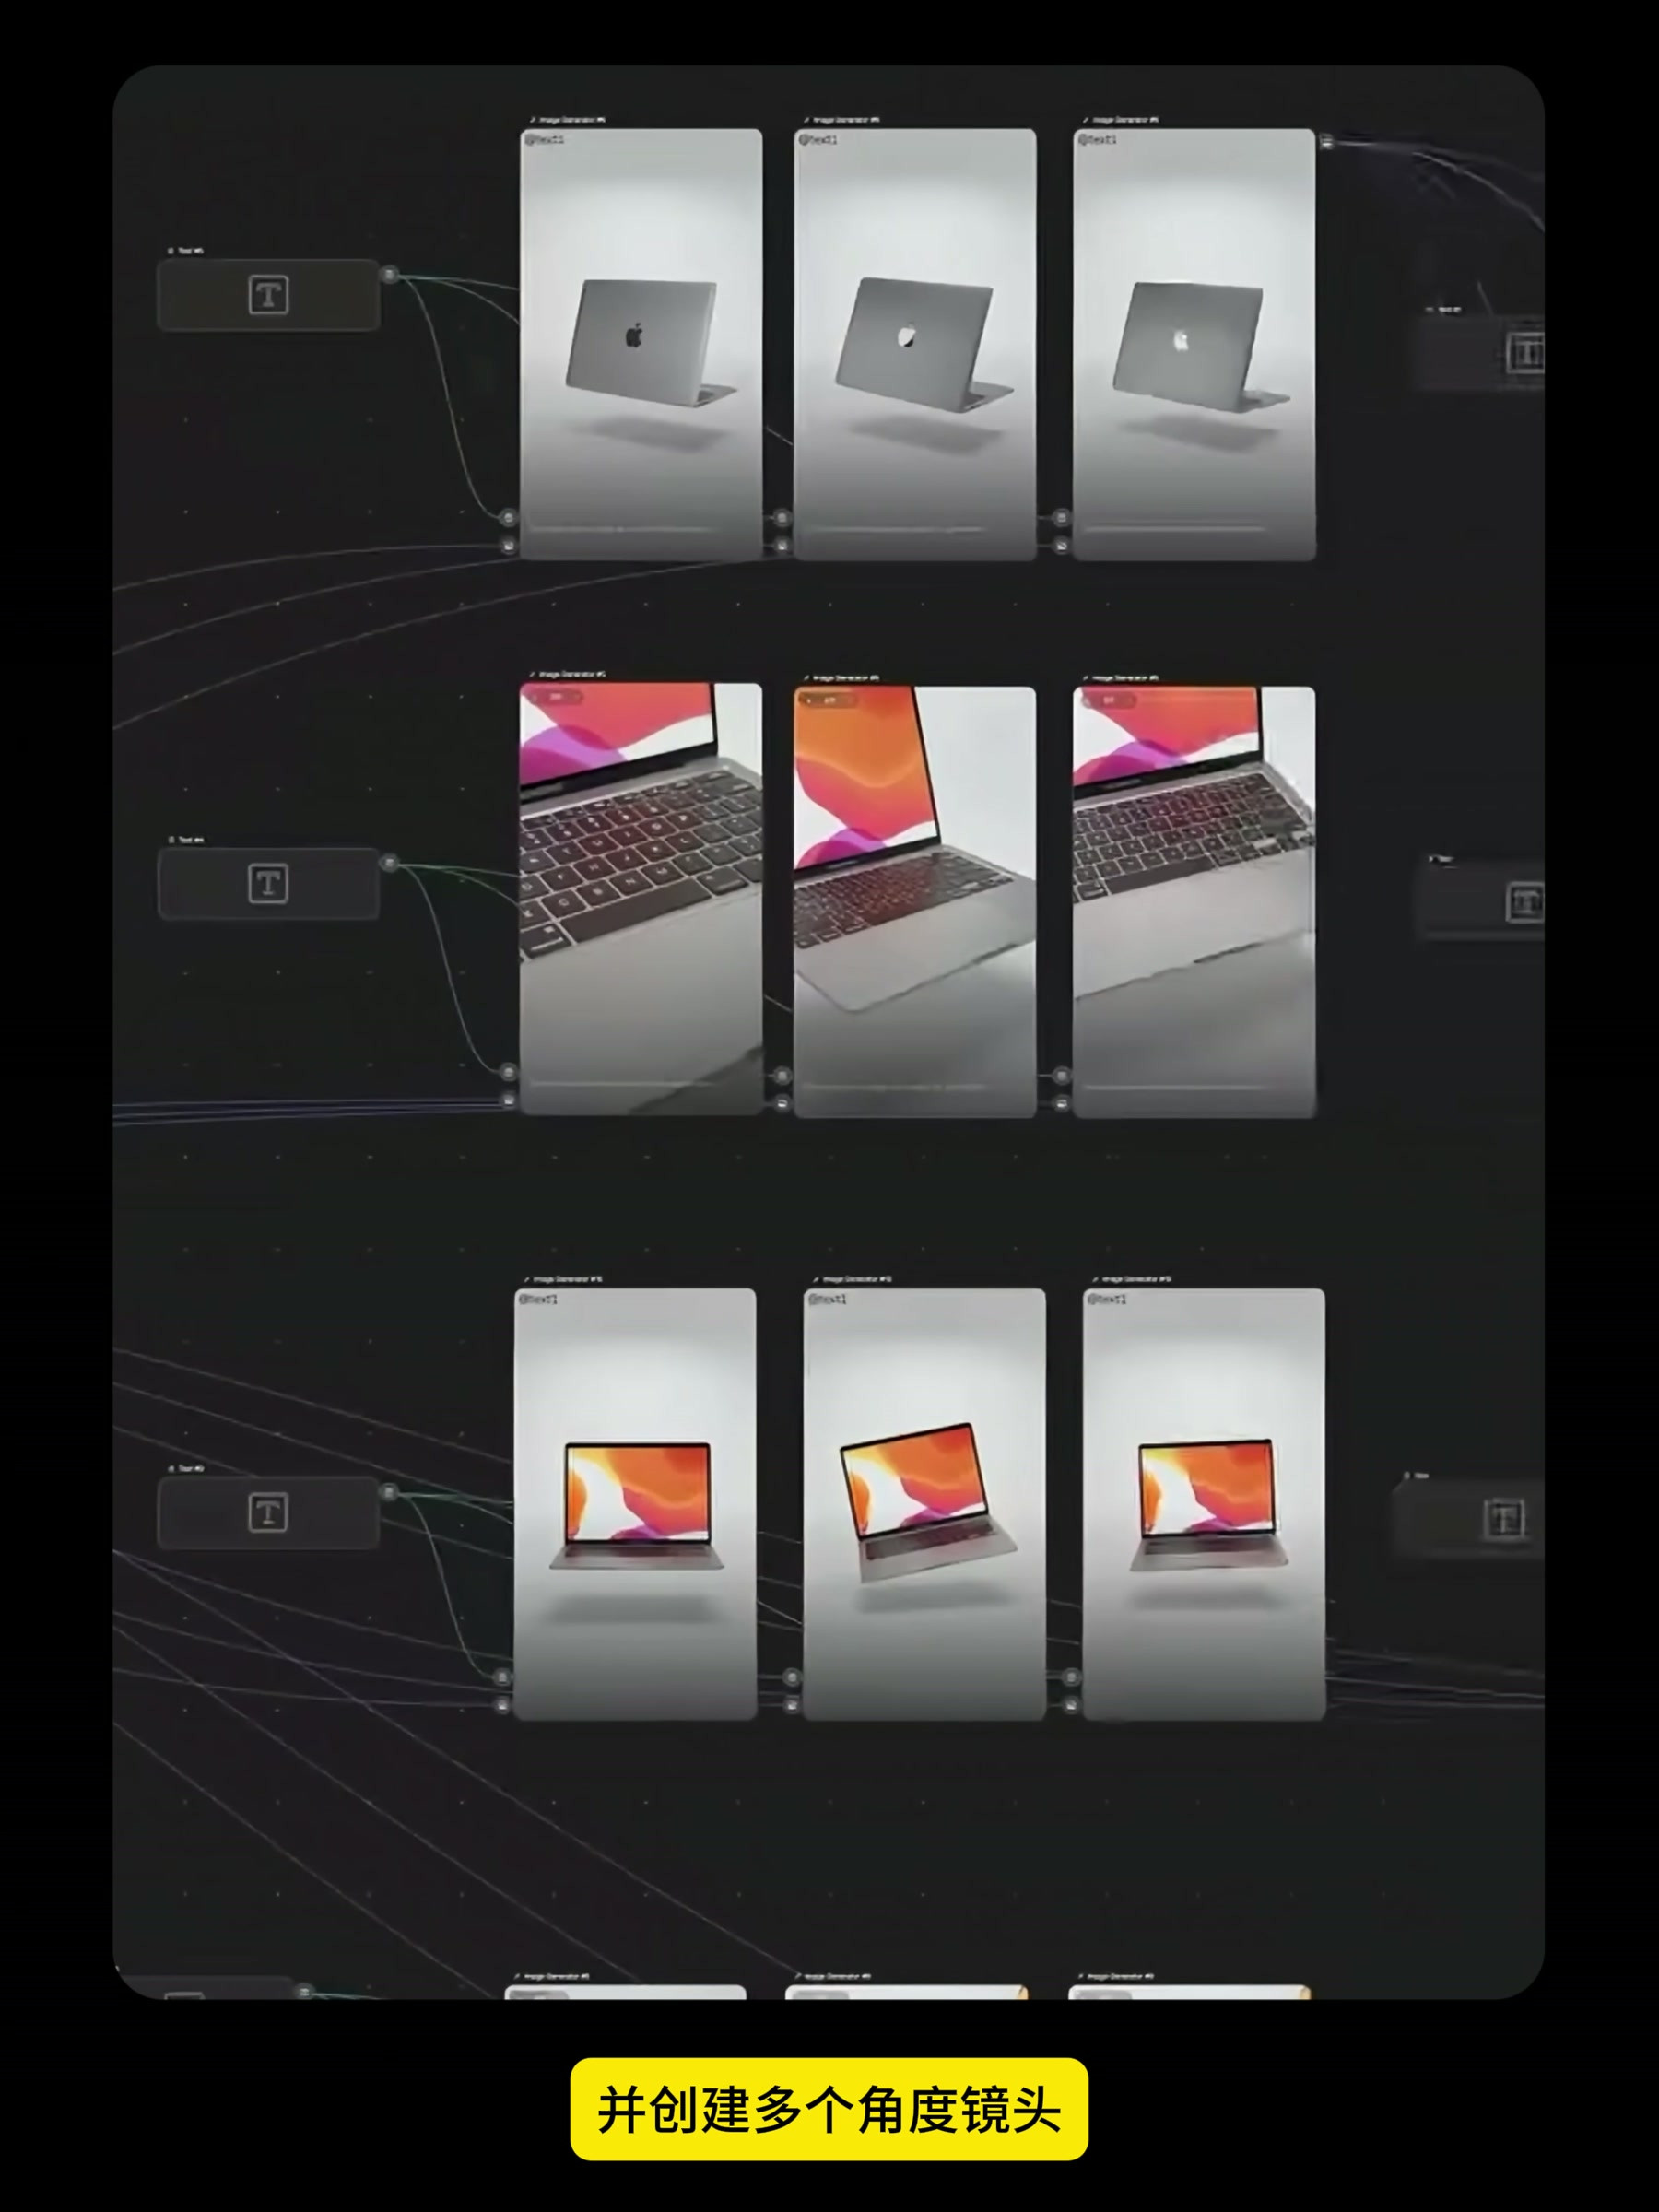
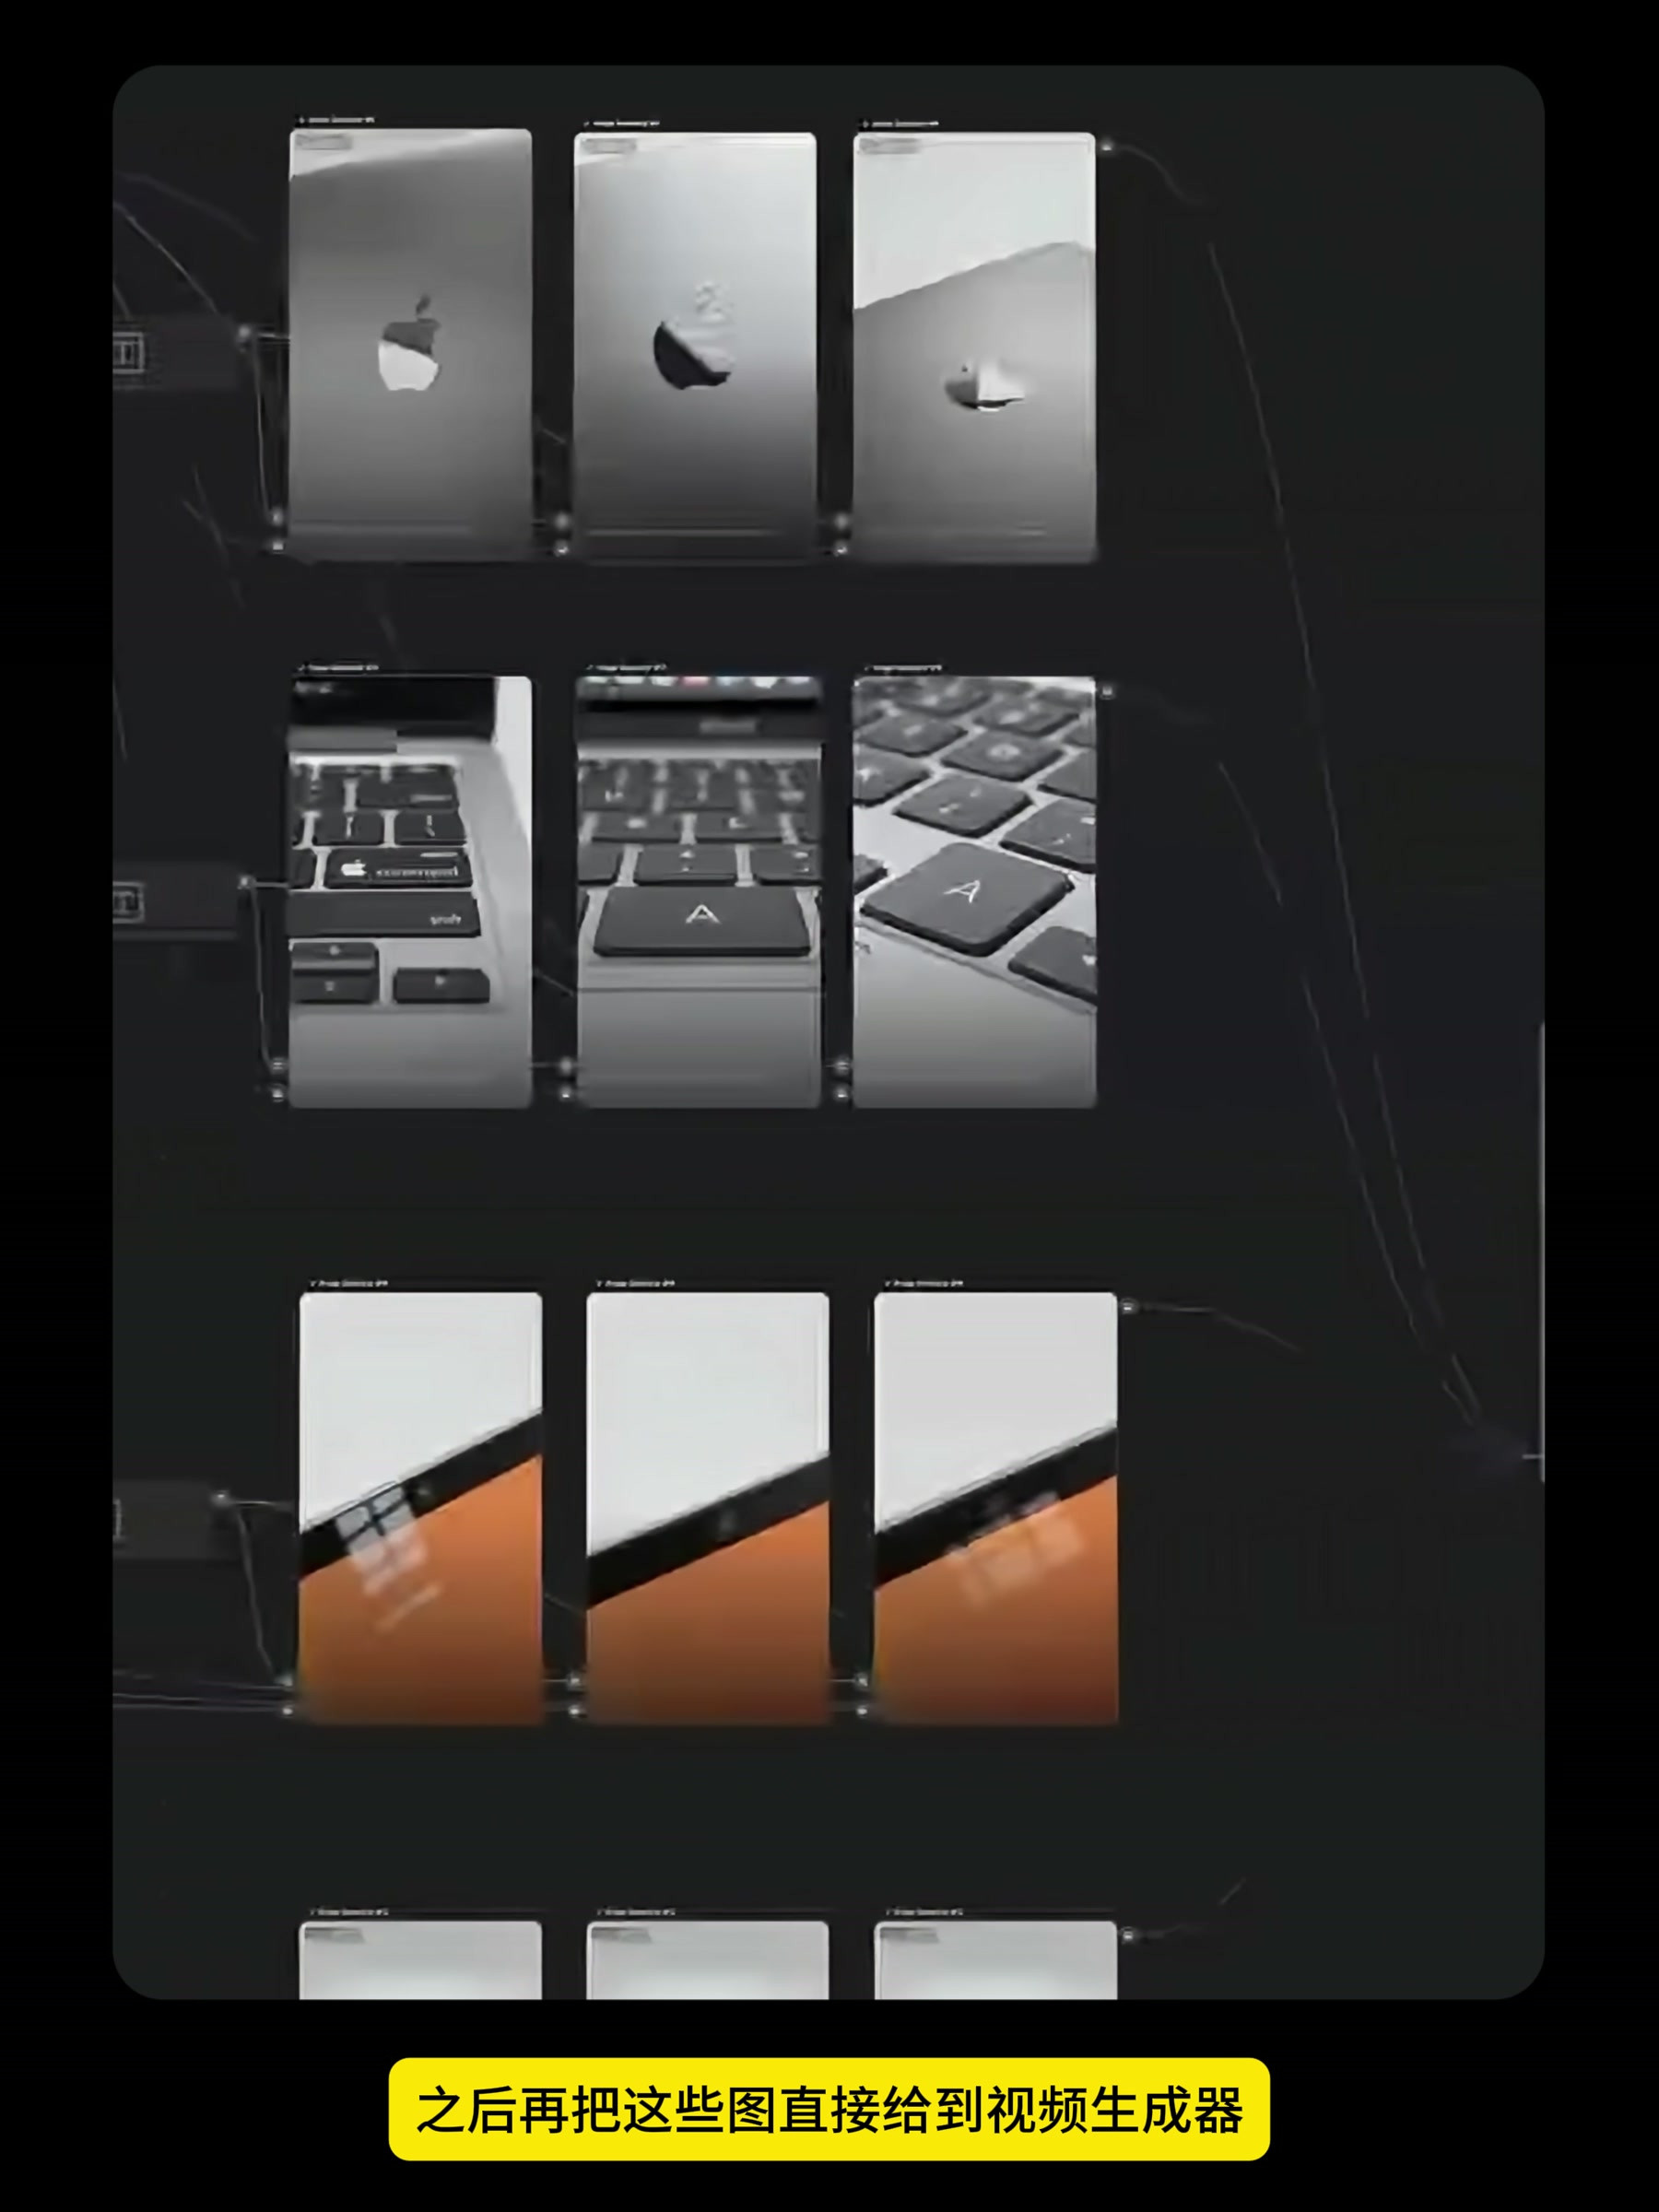
Once the base design is confirmed, you can expand outward from the same product identity. The video generates shots from the back, a close-up of the keyboard, the front, and a floating angle, with multiple candidate results retained for each shot. The purpose of this is not to cover the canvas, but to leave room for the choice of lenses behind: the perspective is responsible for explaining the product, the close-up is responsible for showing details, and the back and sides are responsible for supplementing the structure.
6. Select a still frame, then pass it to the video generator.
Send only the validated static frames to the Video Generator, rather than using all candidate images directly for video generation. Product videos must maintain consistency throughout; therefore, before submission, carefully check the body color, screen bezel, keyboard layout, logo placement, and shadow direction. There’s an issue with the still frame; it will only become more noticeable when it’s animated.
During the video generation phase, each camera angle can be assigned a single motion, such as a slow rotation, a zoom-in, or a hovering display. Don’t cram too many variations into a single clip; later, when you combine different angles, the pacing is usually easier to manage. The dynamic result presented in the case study is obtained by selecting shots from multiple sets of still frames and then combining them.
7. The final step is not to export, but to check.
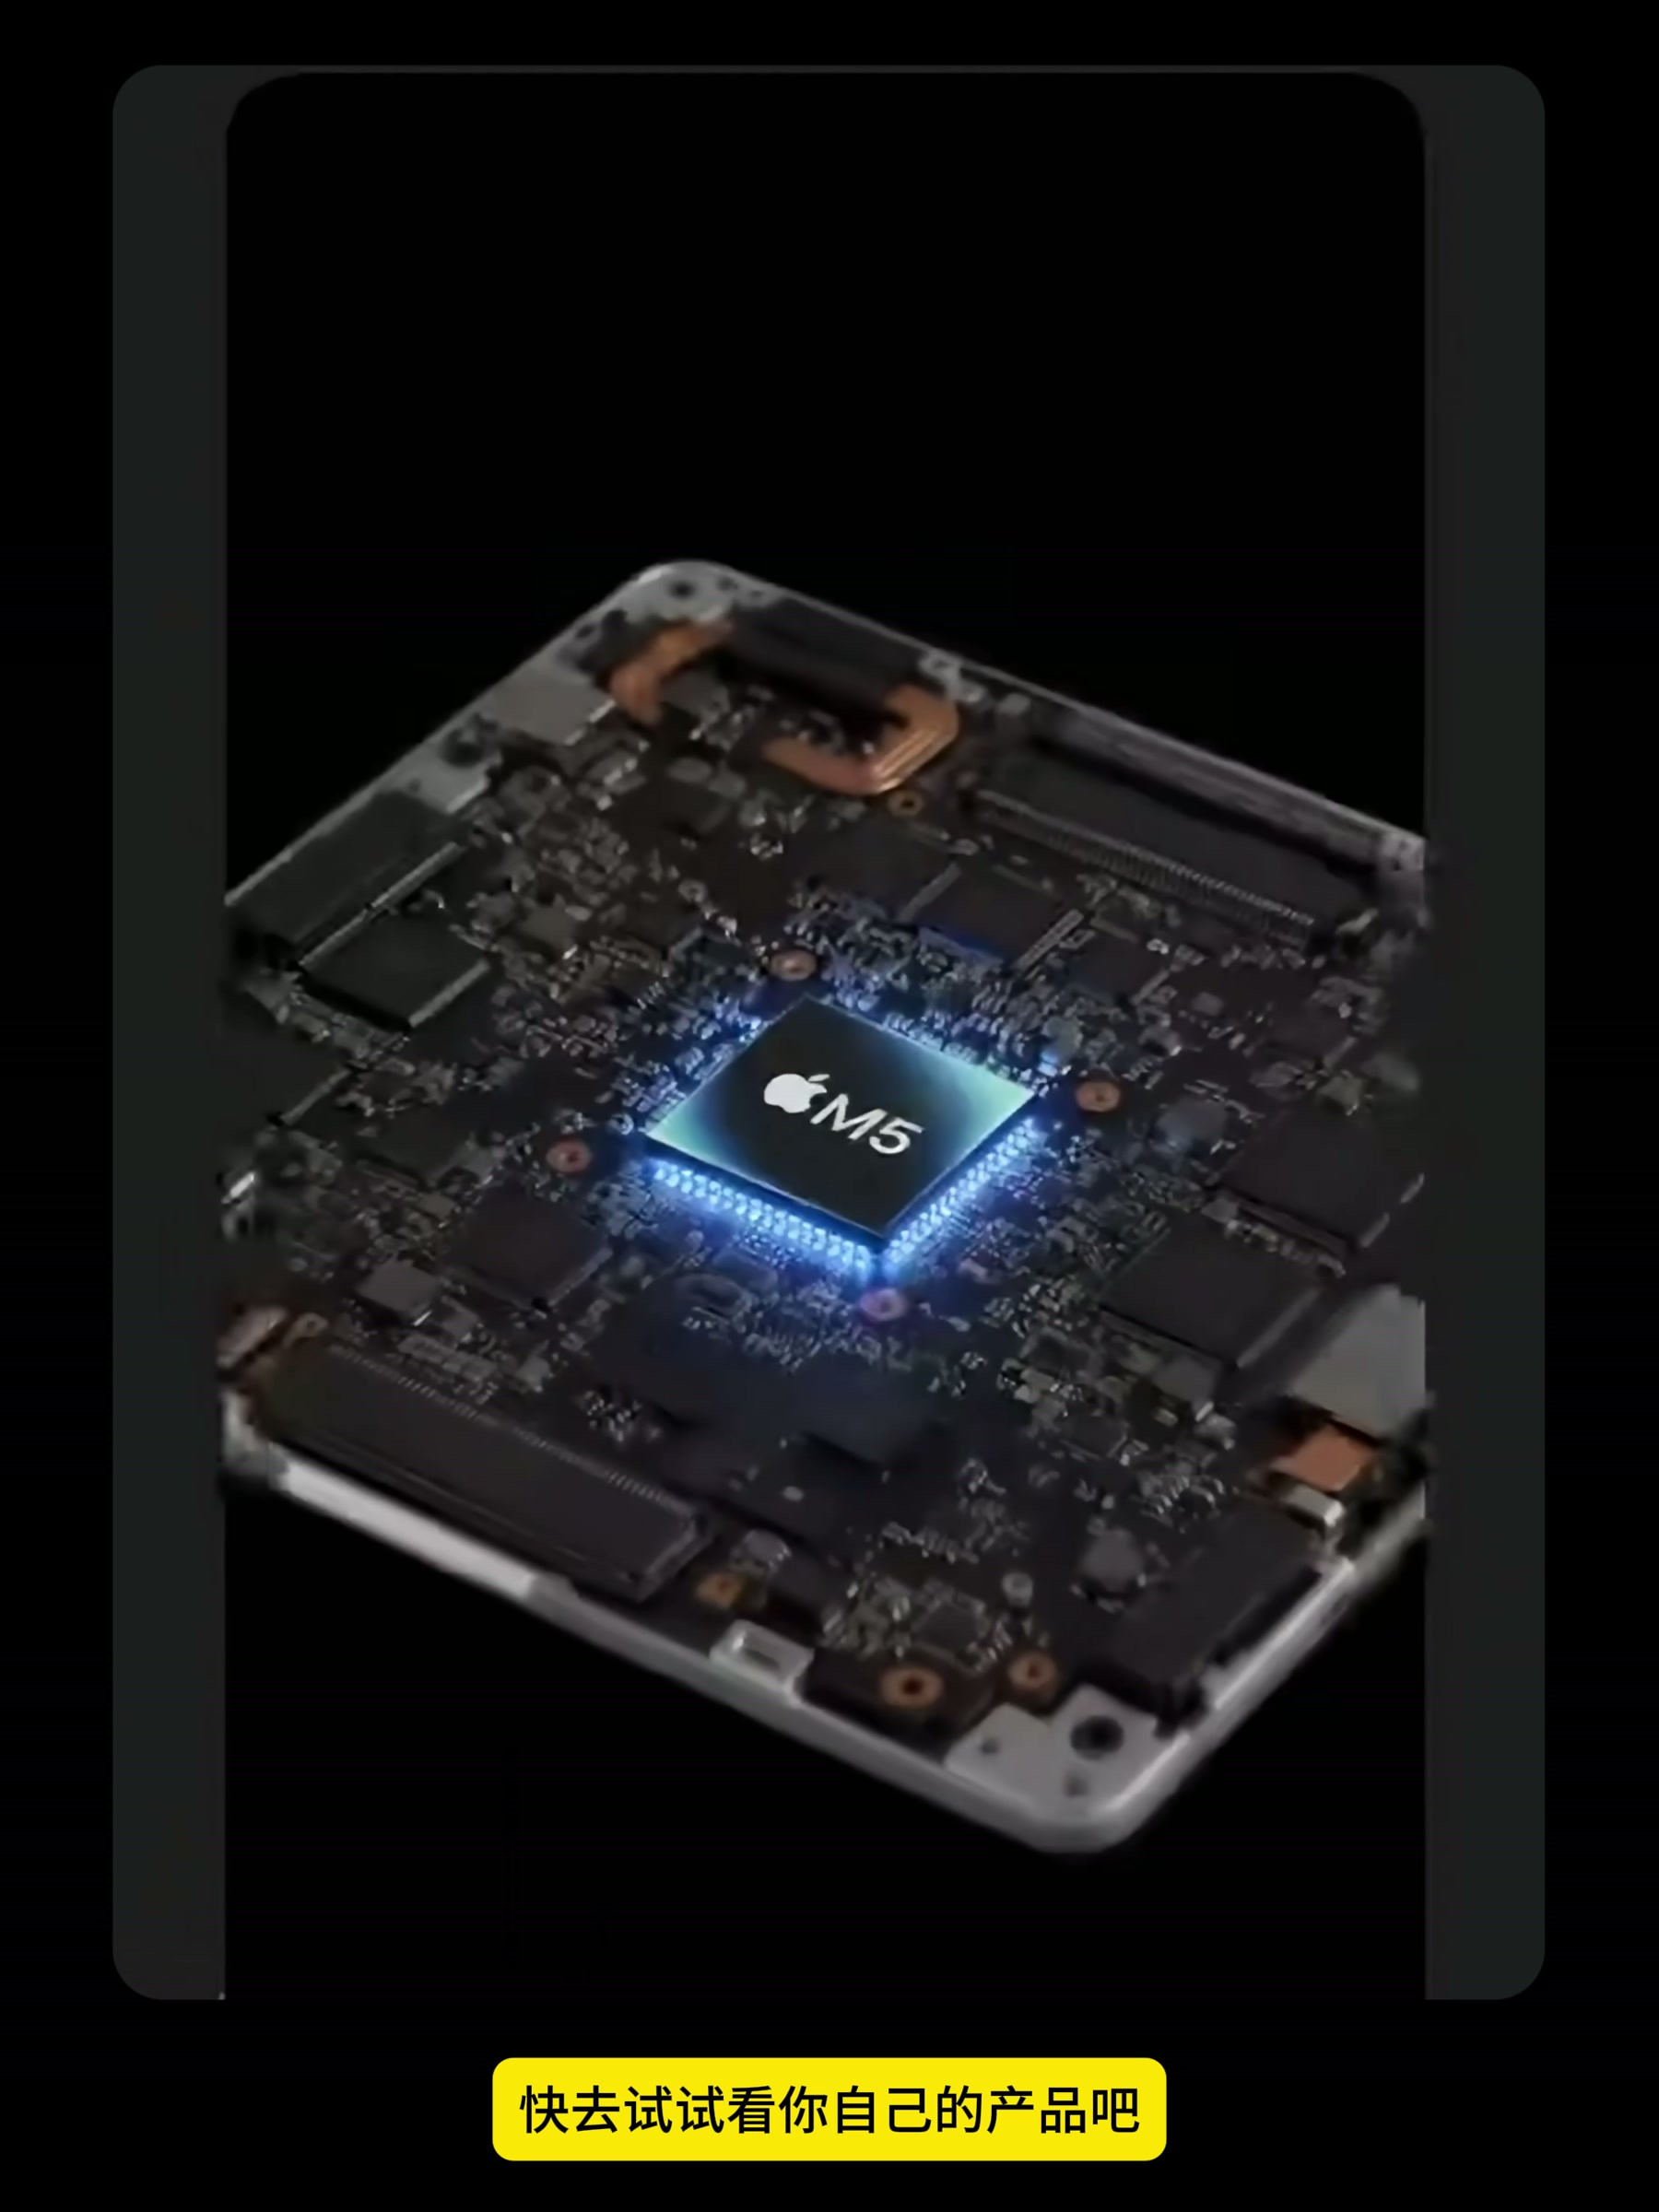
This type of generated imagery can be used for creative validation and concept shorts, but it shouldn’t be assumed to already match the final product. The case features visual representations of the chip and motherboard, which are closer to advertising concept art and should not be taken as direct depictions of the actual hardware architecture. Before release, check the model, Logo, keyboard, interface, chip text, body ratio and material reflection item by item. When it comes to real brands and product parameters, it is also necessary to confirm whether the use of materials and brand expression are in compliance.
Looking back at this process, what is most worth reusing is not a certain prompt word, but "fix the product first, then change the variables step by step": first make a white background basic map, then change the background, change the proportion, supplement the angle, and finally generate a video. Each step has its own nodes and results. If there is a problem, it can be reworked separately. When making the next product, it can directly replace the input and continue to use it.







100 points
Really good